


In the past week I’ve shown you how to make Origami Folded Purses and Beaded Handles for said purses.
Now let’s look at, in no particular order, some finishing details to make your bags truly special.
Consider making the two sides of the bag slightly different
A few years back the oriental purse was the bag I carried with me. One thing that was frustrating was the constant flipping back and forth to find the side with what I needed in it.
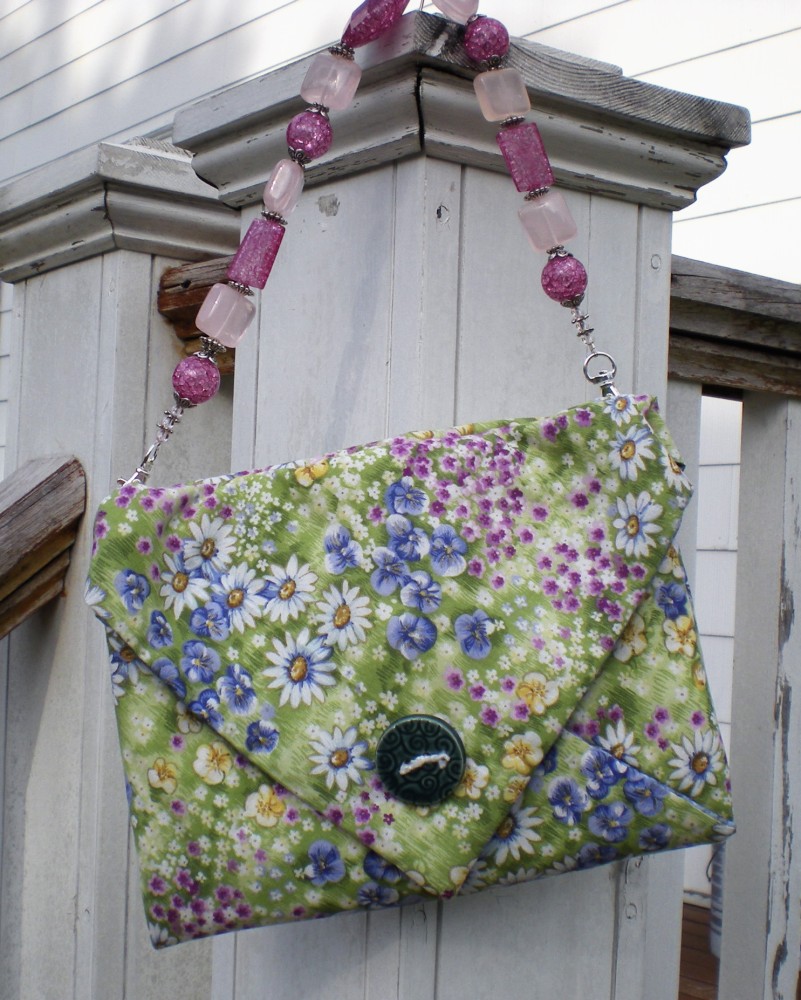
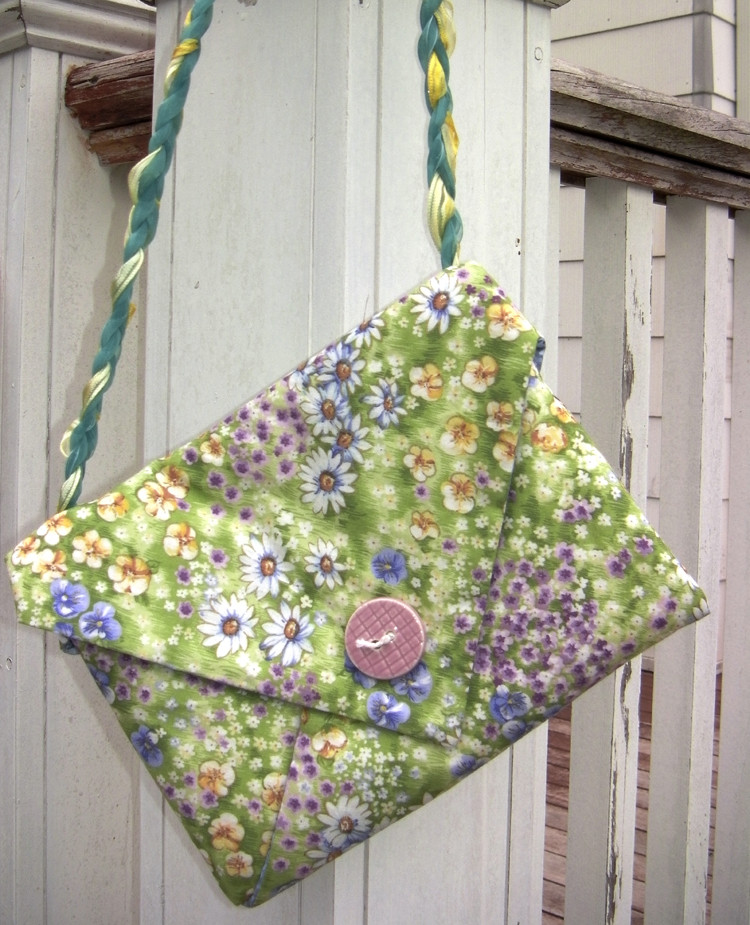
So, when I made the floral purse, I put a pink button on one side…
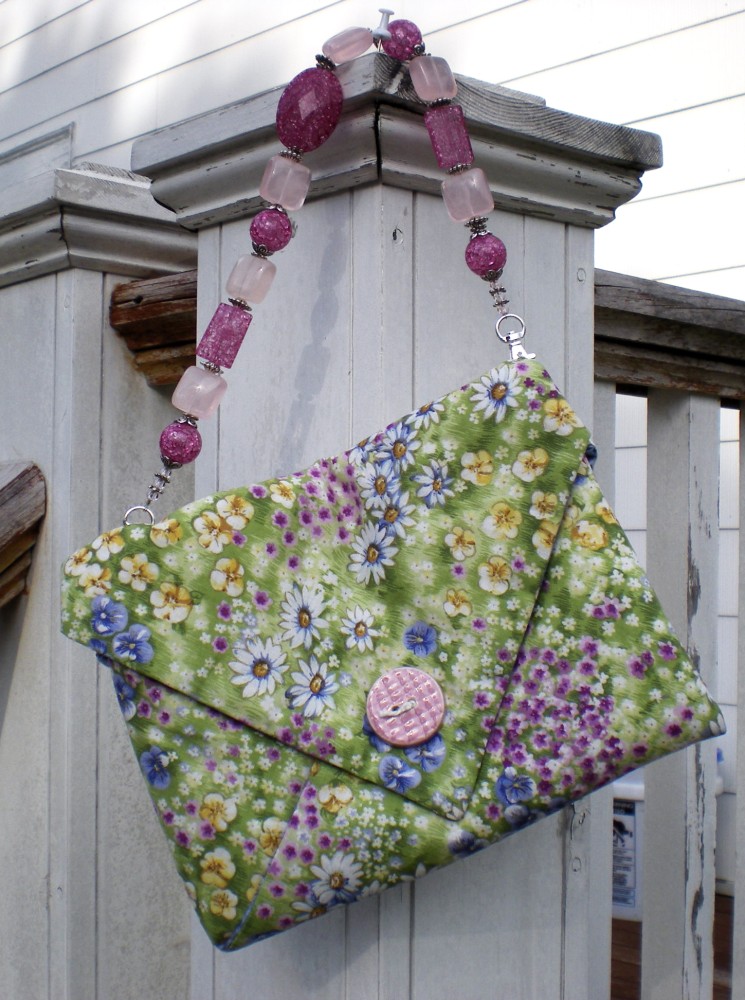
…and a green one on the other side. Now you’ll know that your wallet is on the pink side, cell phone is on the green, or whatever.
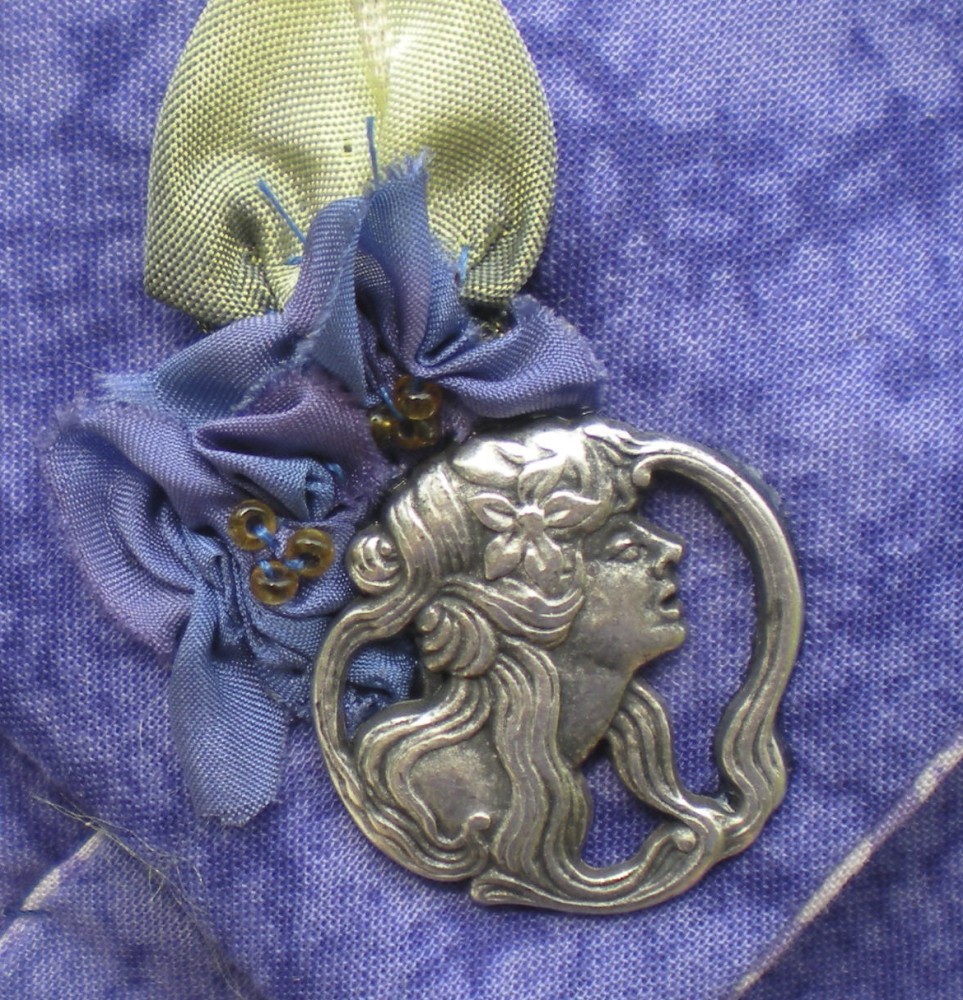
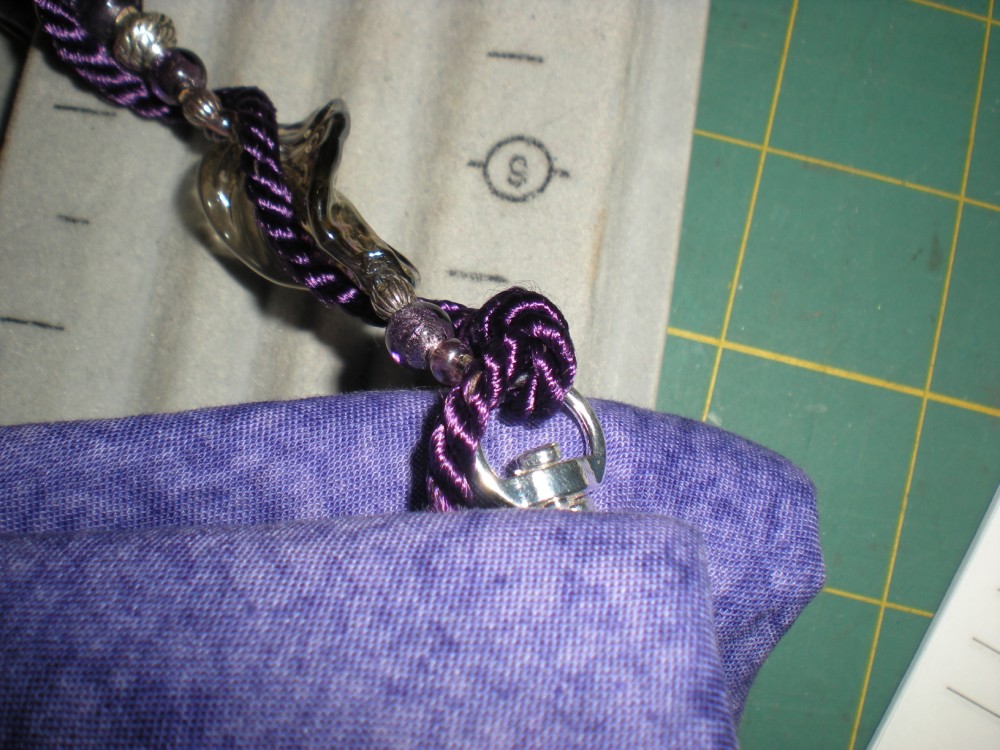
The difference on the purple purse is a bit subtler; one side has two leaves…
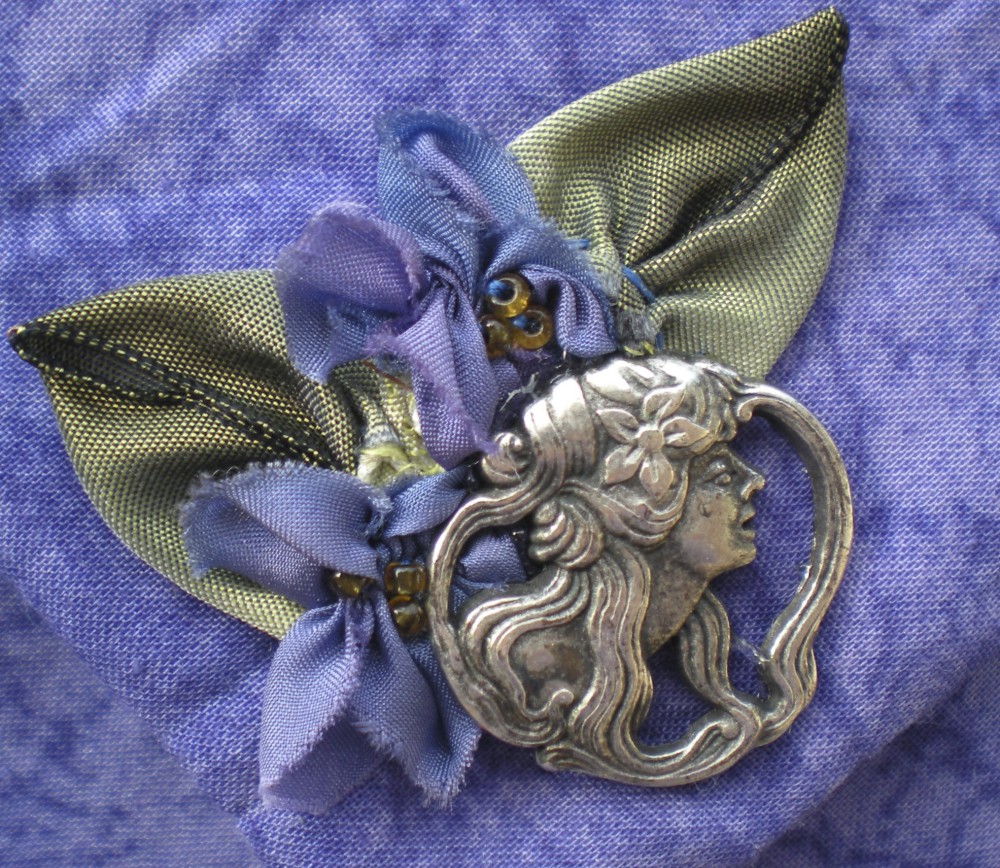
…and the other side has only one leaf.
This leads me to the next point:
You can use embellishments other than just buttons
The purple silk flowers and leaves are actually there to solve the problem of the buttons not being able to entirely cover the back of the magnetic clasp. I’m so happy I needed to solve that problem, though, because I think they add SO much to the purse.
You could add a ribbon bow under your buttons, clusters of ribbon or silk flowers, beading… the possibilities are endless.
If you don’t like how it comes out, you can change it
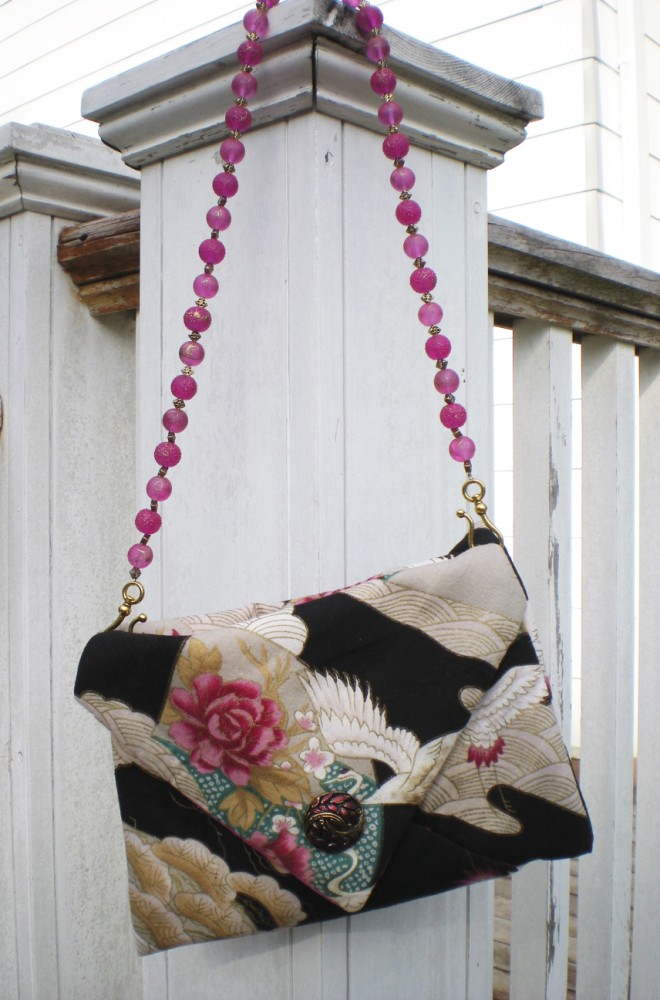
This floral bag was made for a class sample, and it was beyond the scope of the class to add beaded handles. I really struggled to find something quick and easy that I liked for a handle for this bag
Late one night before the class I settled on this braided ribbon. I never was satisfied with it, and it was a relief to take it off and add the beads.
I carried this black purse with me just like this, and was happy with it…
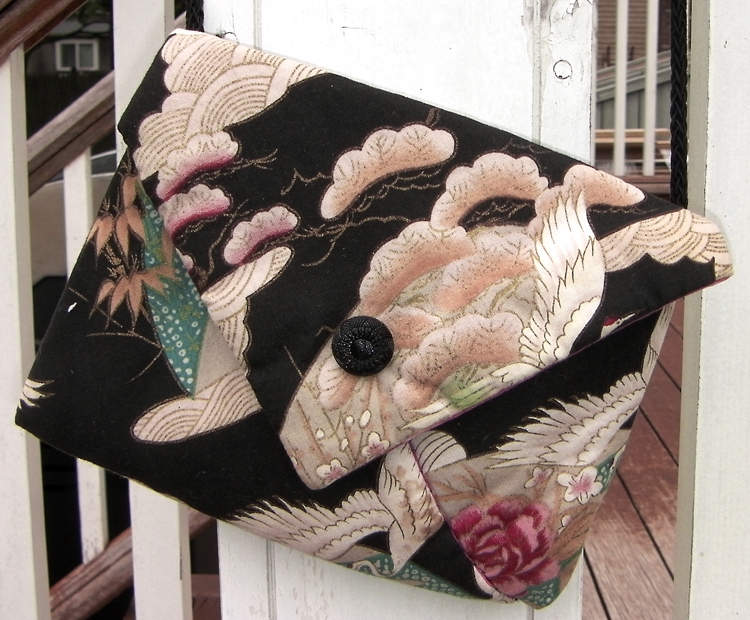
…but I’m even happier with it now. 🙂
How about jazzing up the beads with a twisted cording?
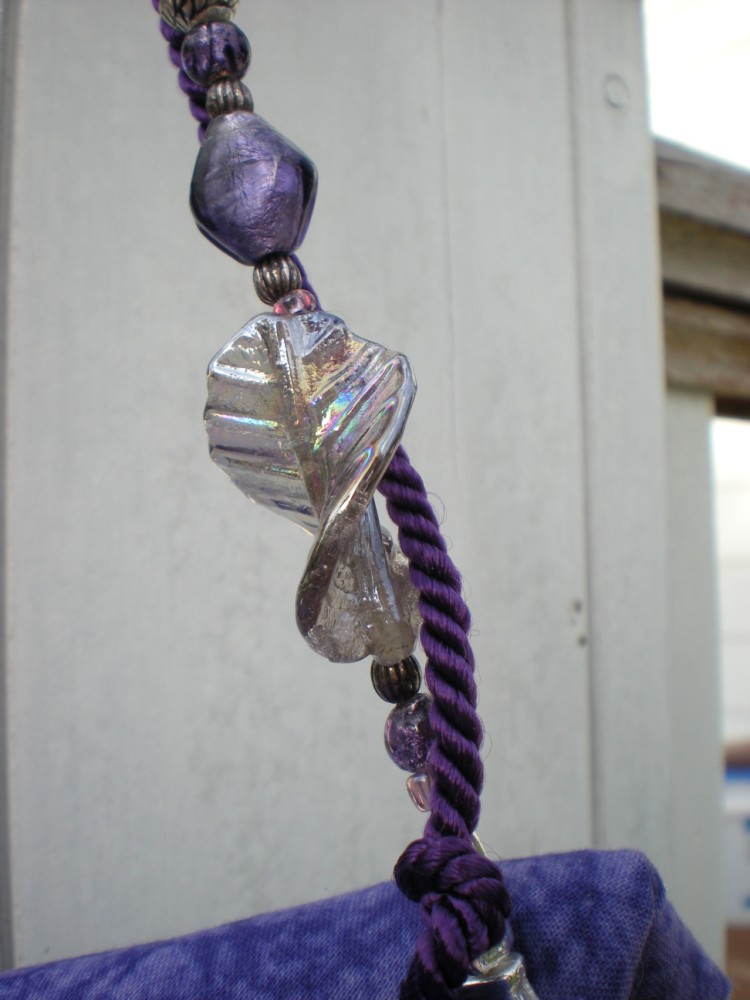
Someone was kind enough to give me this purple cording to use on this bag, so I really wanted to incorporate it with the beads. When I saw these twisty glass leaves, I knew they’d be perfect.
If you want to twine cording around your beaded handle:
- Twist it just the way you want, then tie it to the ends of the clasps.
- To keep it from untwisting, tack the ends of the cording to the inside of the side seams. (Simple enough, eh?)
And finally, my favorite trick of all time:
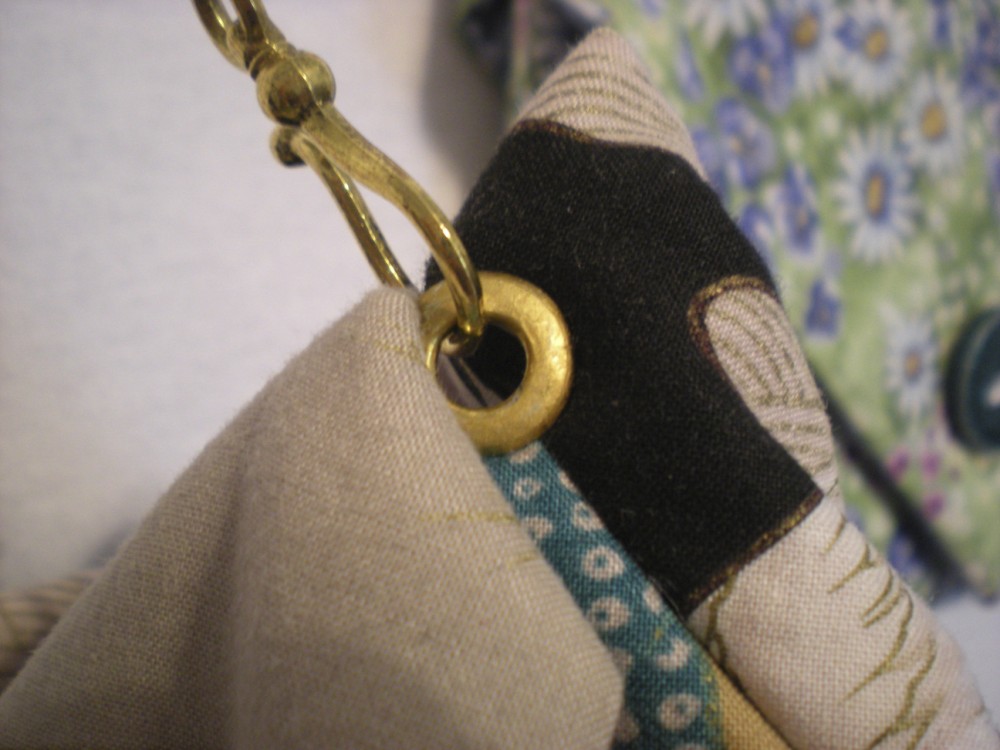
Use alcohol inks to change the colors of your hardware
The eyelets for this purse really needed to be something other than silver in order to go with the beads and the gold bits in the fabric print, but I could only find them in silver.
Alcohol inks to the rescue! They are awesome, because you can use them to permanently color any non-porous surface. This means glass, glazed ceramics, metals, plastic… are you starting to get ideas? Oh, they are fun!
Dabbing on alcohol inks
So, to do my eyelets, first I dripped some Butterscotch alcohol ink all over them and blotted off the excess. This colored the inner sections where I couldn’t reach with my dabber.
Then I applied one dot of Gold Metallic Mixative to a small piece of felt (make sure to shake up the mixatives well before using) and dabbed this on my eyelets. Voila, gold eyelets!
I could have made them any color the alcohol inks come in, and even blended colors. You could try mixing browns and oranges to get a brassy look, or even just coloring them black would look cool.
Painting on alcohol inks
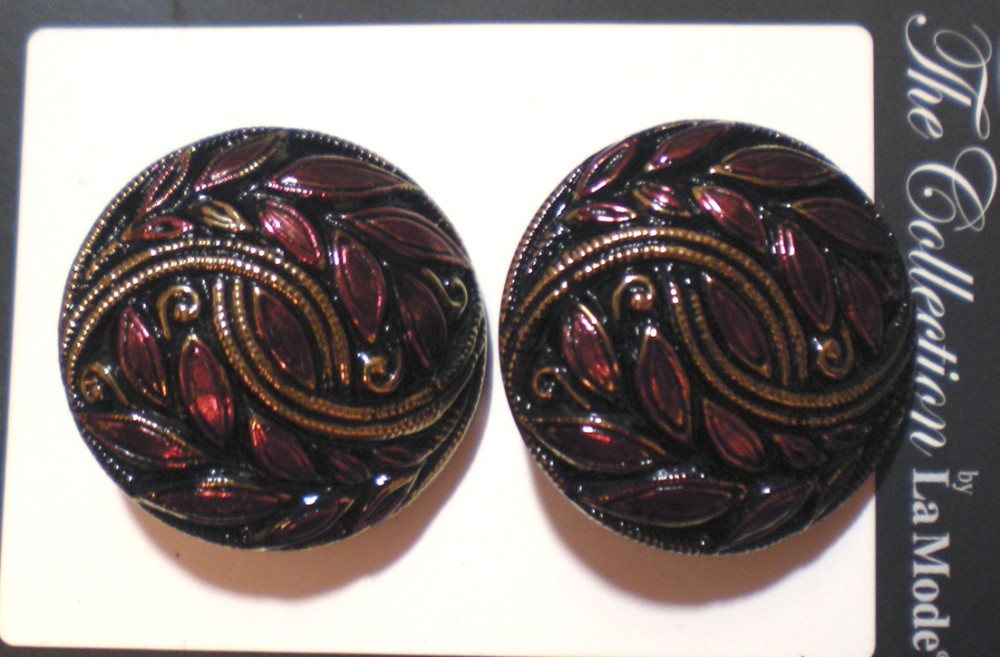
Aren’t these buttons gorgeous? I thought so; I picked them out to replace the solid black buttons on the oriental purse. (They oughtta be amazing, they were $8 for the pair! Thankfully, I had a 50% off coupon with me.)
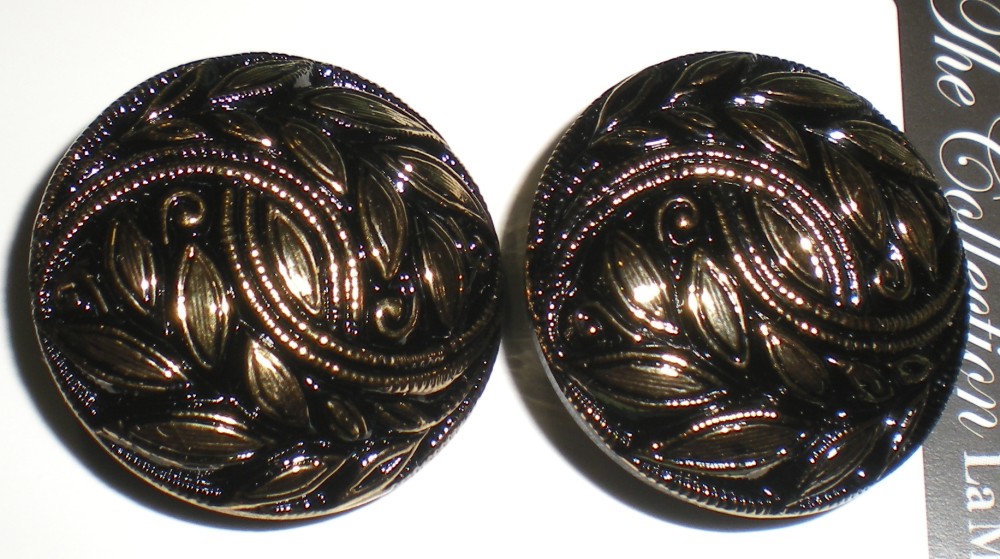
However, I thought they could use a bit of pink in them to tie them in with the handles and the pink in the fabric print. How to do it?
No problem, once more it’s alcohol inks!
To paint with alcohol inks you will need:
- Alcohol Blending Solution (sold near the alcohol inks in craft stores)
- A refillable water brush (make sure to label this as blending solution, you don’t want to confuse it with water)
- Alcohol inks in your choice of colors (some of my favorites are: Cranberry, Butterscotch, Terra Cotta, Raisin, Eggplant, Denim, Stream and Espresso)
- A small paint palette or even just a small plastic plate
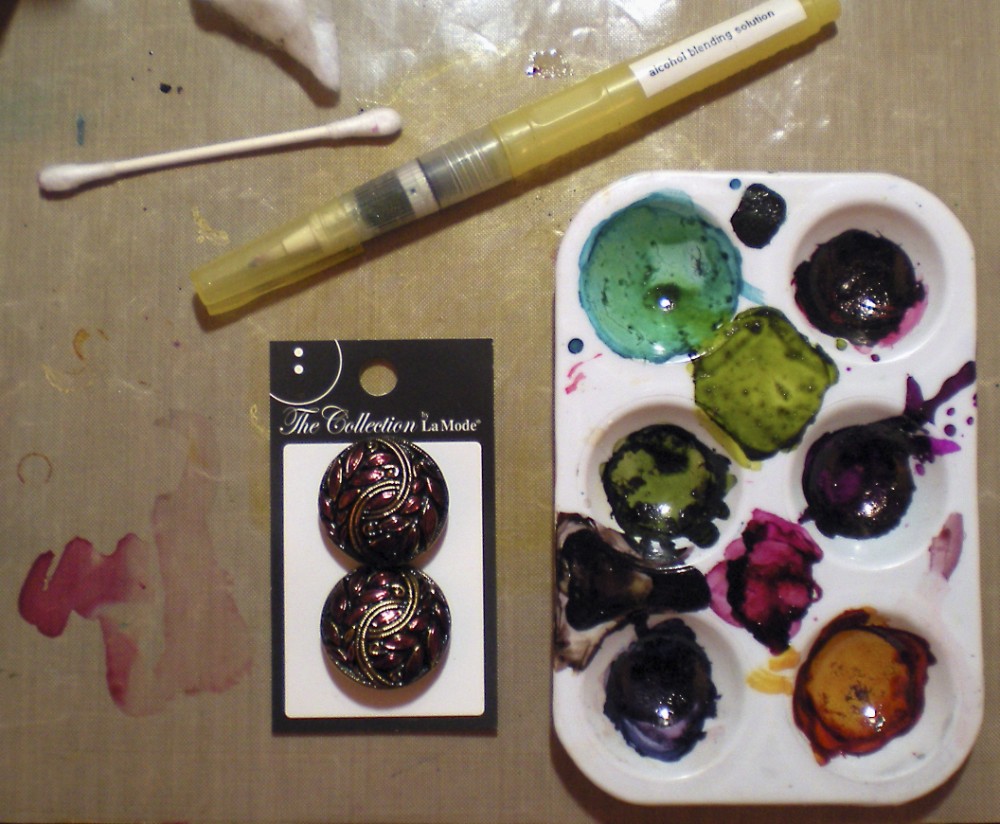
First, drip several drops of each alcohol ink color you want to use onto your palette or plate. Now, leave them alone and let them dry. It should only take a few seconds. And it will look like an utter mess. Yup, I know this sounds weird, but it works.
While you’re waiting, fill the water brush with alcohol blending solution and label it as such. I mean it! If you confuse this with water, you will be sorry.
Now take your brush and gently squeeze it, the solution should start to flow from the brush tip. Lightly rub this into one of the colors of dried alcohol ink. It picks up the color onto the brush and now you can paint with that color on your object.
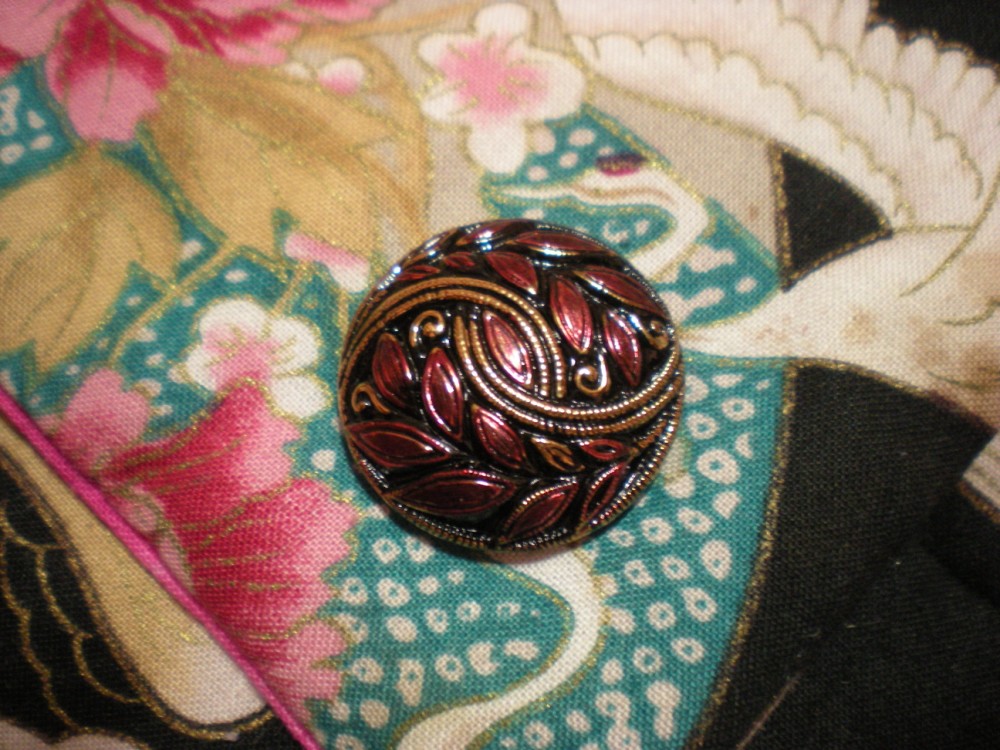
I chose to paint the little leaves on my buttons with Cranberry alcohol ink. Wonderful!
When your brush runs out of color, just go back to the palette to pick up some more. If you want to change colors, just scribble the brush onto a Non Stick Craft Sheet until the liquid runs clear.
You can use the blending solution to clean off the craft sheet, fingers and most anything else when you’re all done. Also, if you’re not happy with what you’ve done, just wipe it with blending solution to remove all color and start over.
Now my buttons go perfectly with my bag.
By the way, it’s a good idea to first test alcohol inks and the blending solution in an inconspicuous spot to make sure they won’t damage any existing color. Usually they won’t, but it smart to test first!
So there you have it, some fun details to add to your purses. I hope you’ll give this project a try. If you do, I’d love to see pics of your work. 🙂
Happy creating!

Great ideas! That was a neat trick with the buttons and alcohol ink! Very pretty!
I am ecstatic that I found your post about the alcohol inks. I’m new to sewing and I’ve adored your bags with the beaded handles. Why didn’t I notice your post about the alcohol inks until now? I have a difficult time finding hardware in different finishes … I never knew there was a way to change the finish. How ingenious! Thank you for sharing! p.s. I adore the new handles for your floral bag, the clasps are lovely!
Hi Garden Gal,
I agree that alcohol inks seems almost miraculously versatile in the way they can be applied. I love ’em for just that reason. 🙂 So glad you found the article helpful.
Happy creating!
Sany