


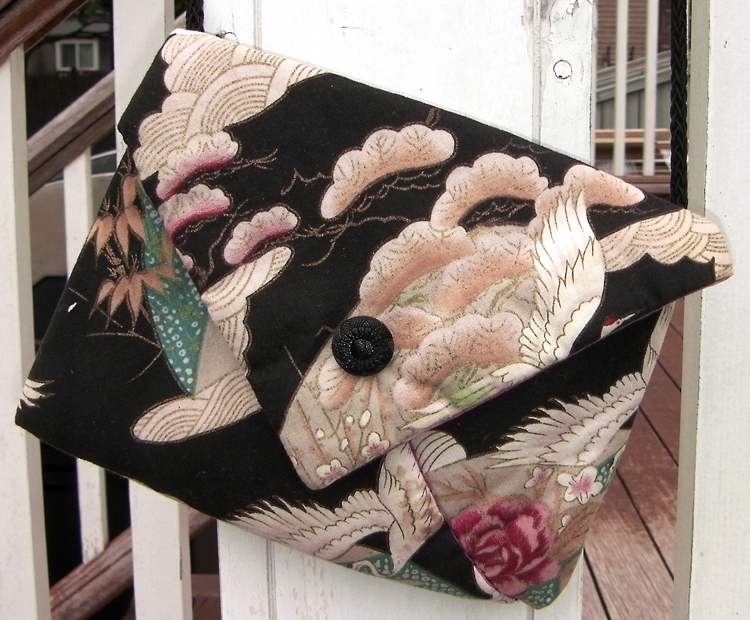
For quite some time I have been wanting to show you all how to make these fun origami purses.
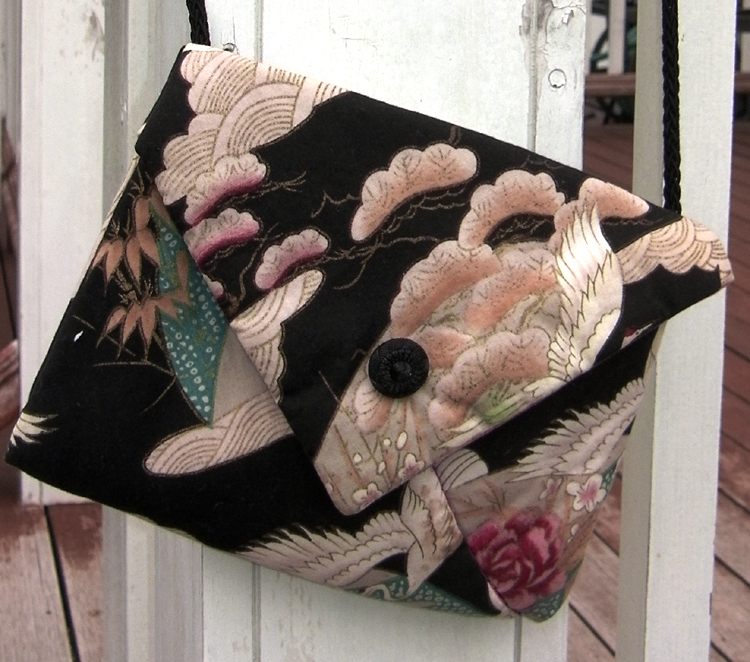
Depending on the fabric you choose they can be very elegant, or just plain cute.

To make one origami purse, you’ll need:
- 2 fat quarters, contrasting or coordinating colors (one is the lining, one is main fabric) If you don’t want to use fat quarters, you’ll need 1/2 yard of each fabric; this will be enough to make TWO purses.
- 18” square lightweight batting
- 4″x1″ scrap fusible web
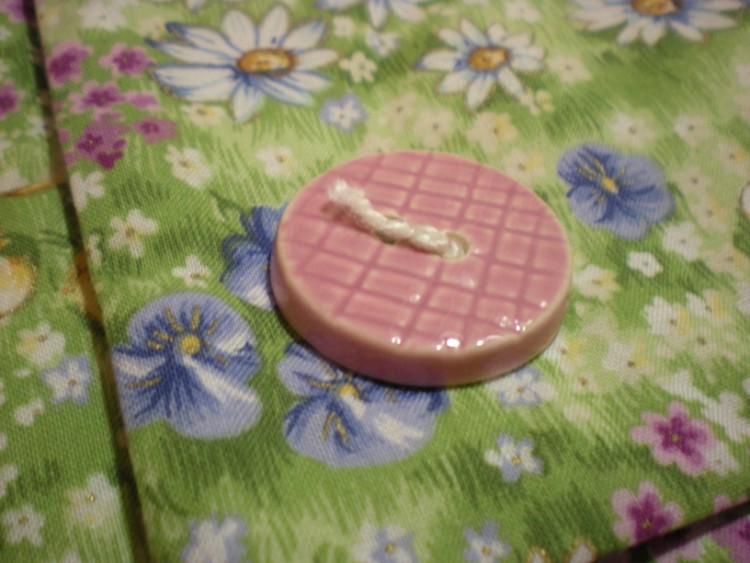
- 2 decorative buttons (or large beads)
- 2 closures (hooks, magnets, Velcro)
- 1 yard cord or ribbon for strap (or 3 yards to make a braid) OR, Go here to learn how to make gorgeous beaded handles.)
Also, you might want to check out finishing details for ideas and inspiration.
First steps:
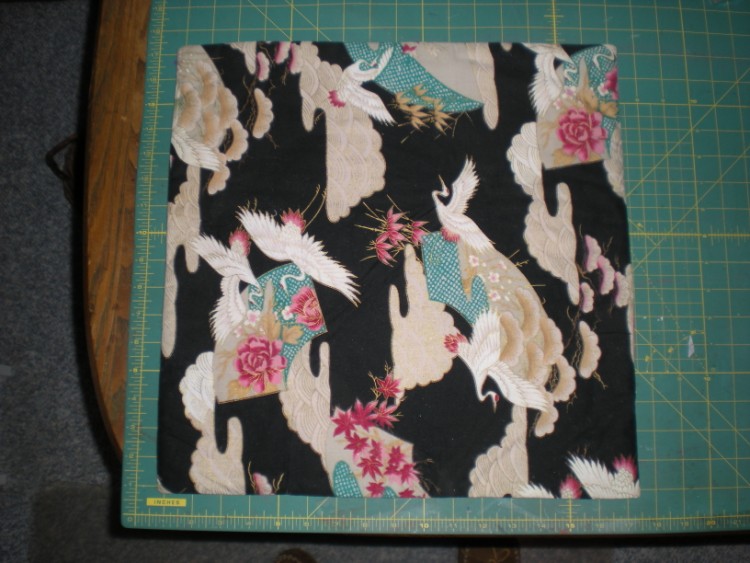
- Cut each FQ into an 18” square.
- Layer squares, right sides together, top with batting square, pin.
- Stitch around through all 3 layers, using a ¼” seam, leave an opening to turn. (This is an excellent time to use a walking foot if you have one, if you don’t, just be sure to pin thoroughly.)
- Clip corners, turn right side out and press; tuck in scrap of fusible web and fuse opening closed (or slipstitch if preferred)
What you have at this point is basically an unquilted mini quilt. You can quilt it at this point if you want, I’ve never bothered, but it might add some nice dimension.
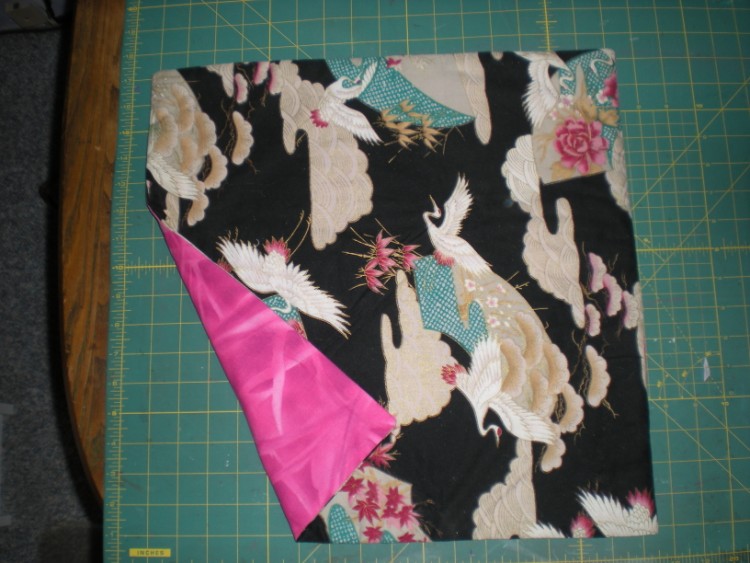
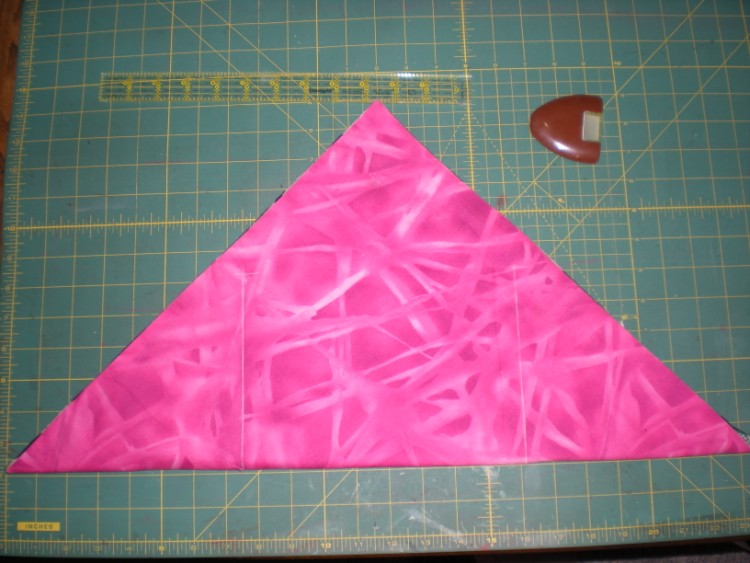
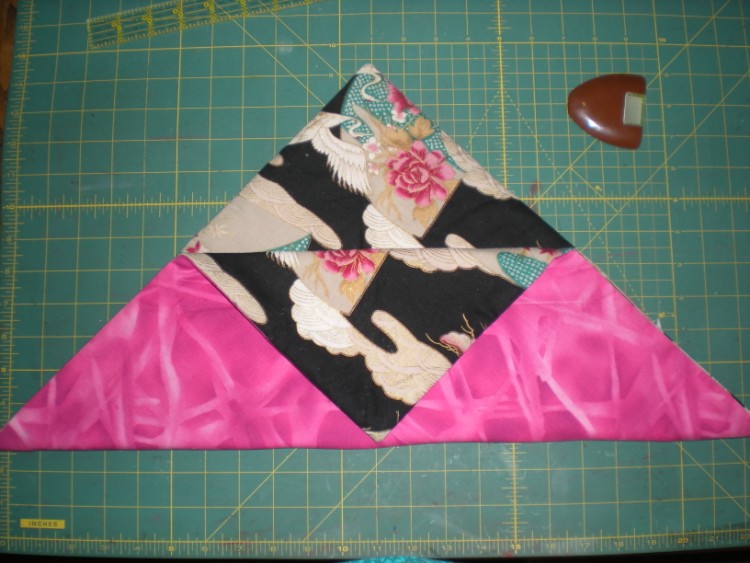
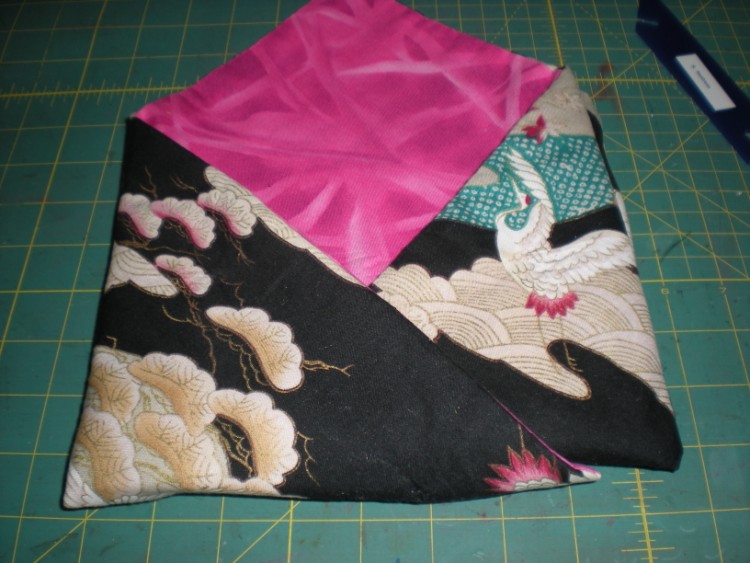
Fold this layered square in ½ diagonally, keeping the lining side to the outside. Measure in 7” from each side point and draw a 6” long line, perpendicular to the fold.
These top corners will be the main flaps of our pockets and the most prominent part of the bag. If you have a large scale print, like I have here, you may want to check and see if the visible design from folding on one diagonal is nicer than from folding on the other.
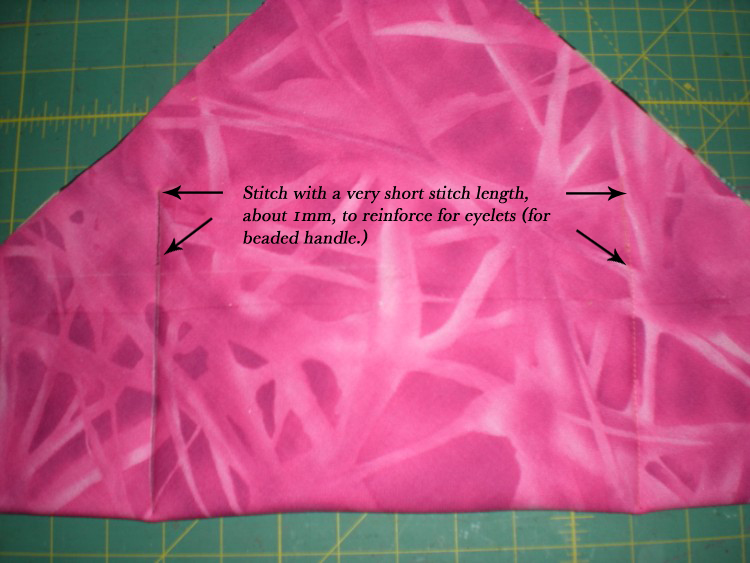
Stitch along your two 6″ lines, backstitching securely at each end. If you are going to go ahead and add beaded handles stitch the top part of each seam (the part not next to the fold) with a very short stitch length (like 1mm) for about 1 1/2″.
Turn the triangular sections outside the stitching right side out, pull each point towards the opposite stitching line, folding along the stitching line, one will overlap the other.
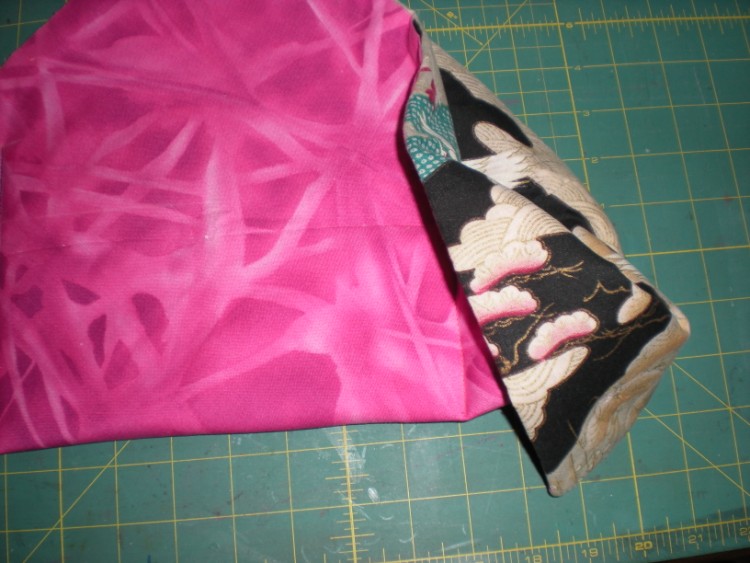
Starting to fold one side…
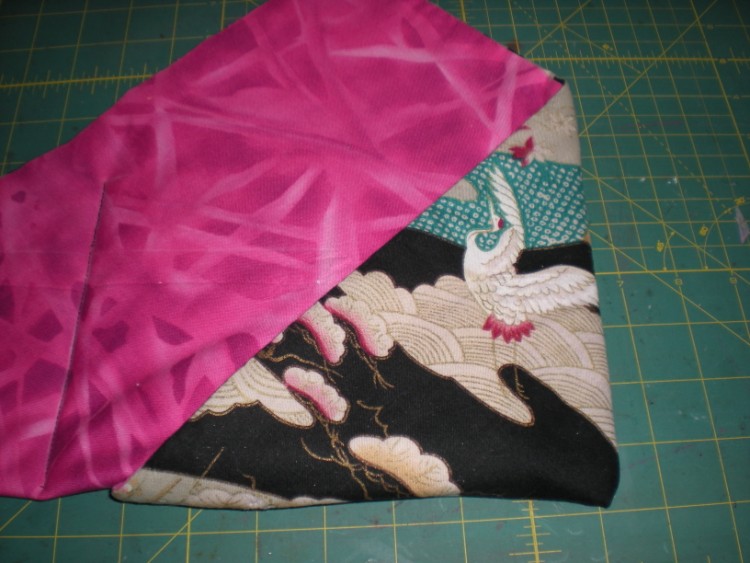
Both sides turned right side out.
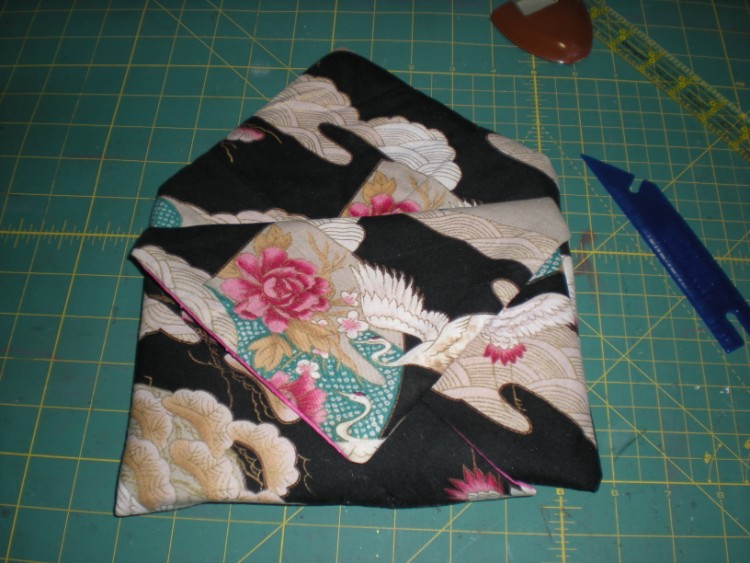
When you fold down the flaps…

…you can see that you’re nearly done!

Now pin these two triangular sections together where the outer one overlaps the inner.
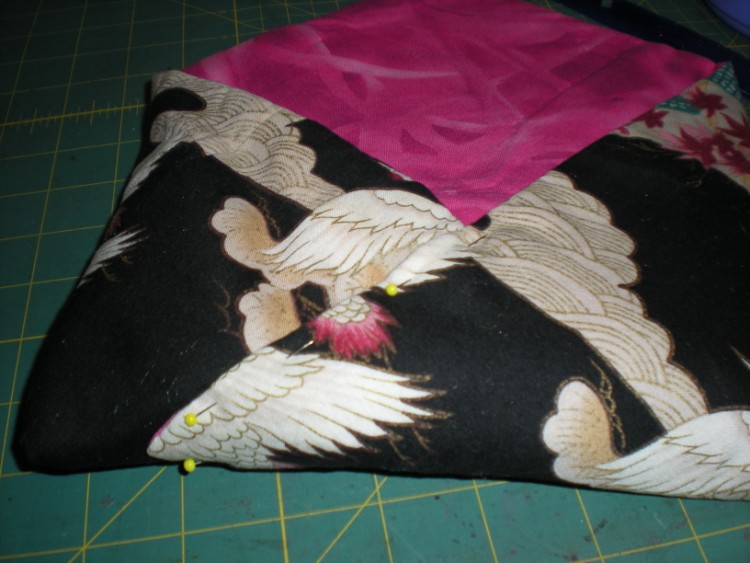
The pinning will go all the way from one side, around the bottom and to the other side.
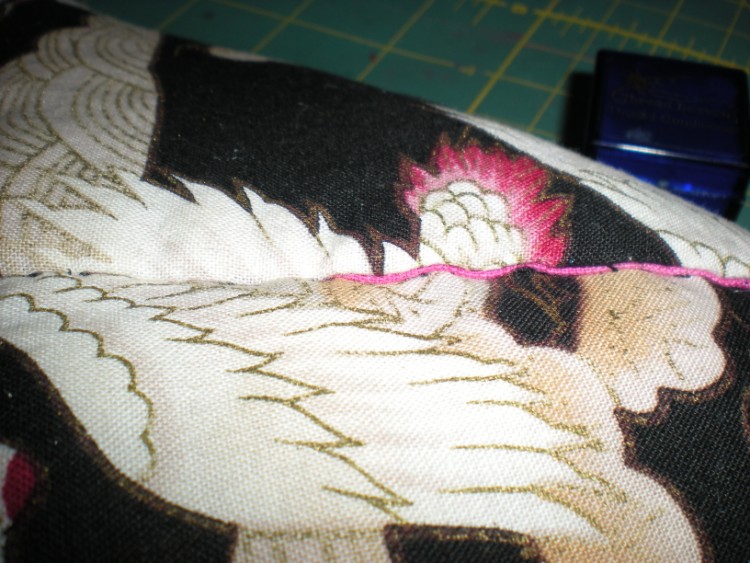
Hand stitch the overlapping sections together, being careful not to catch the inside of the bag lining in the stitching.
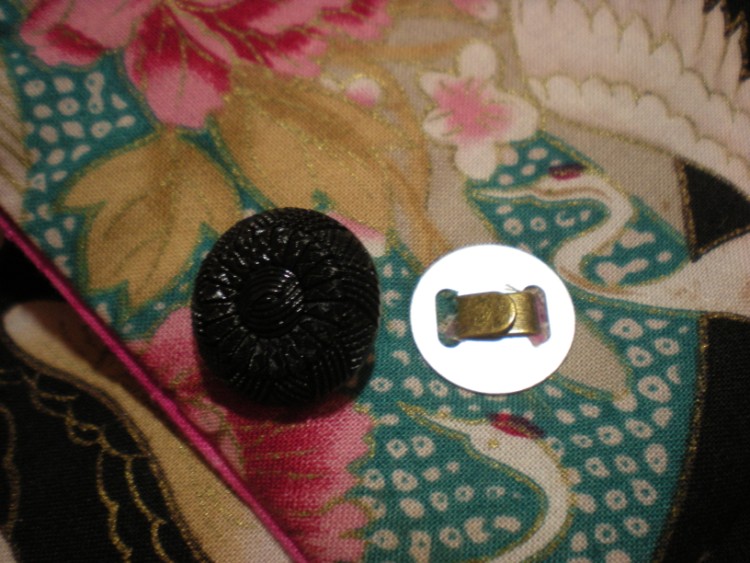
You can use whatever you like as a closure (velcro, hooks and eyes) but I’m going to show you how to add these magnetic catches for a very professional finish.
They look like this, and can be found near the purse handles in craft stores.
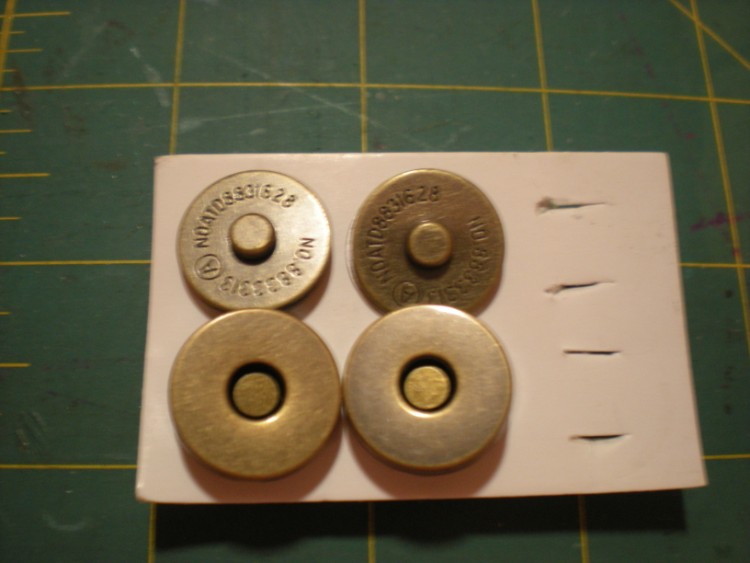
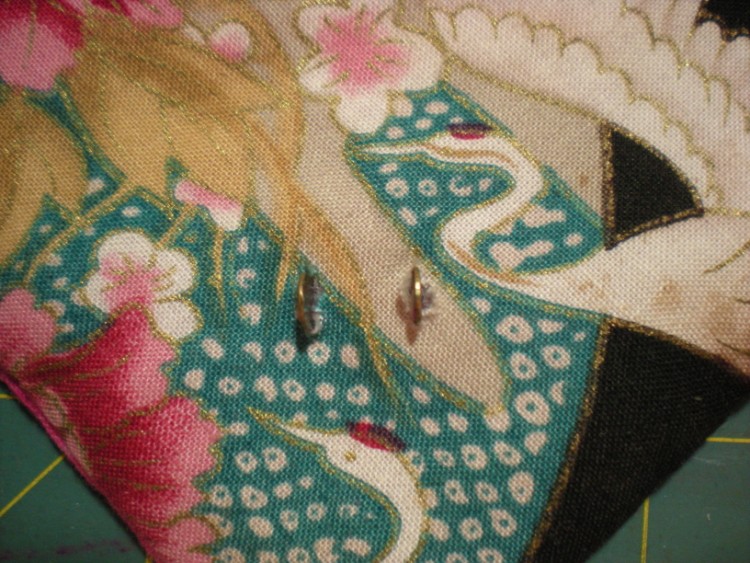
As you can see, the backs have prongs, these will poke through the fabric…
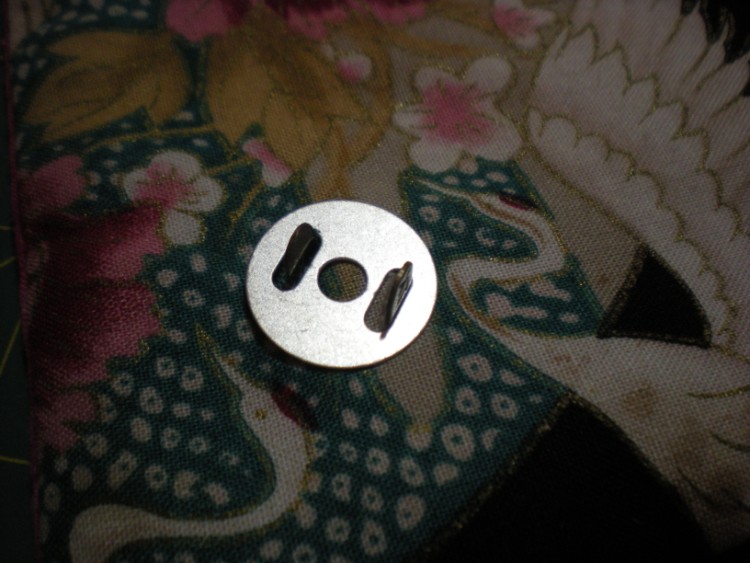
…then go through these washers on the other side. This stabilizes and keeps them from pulling out.

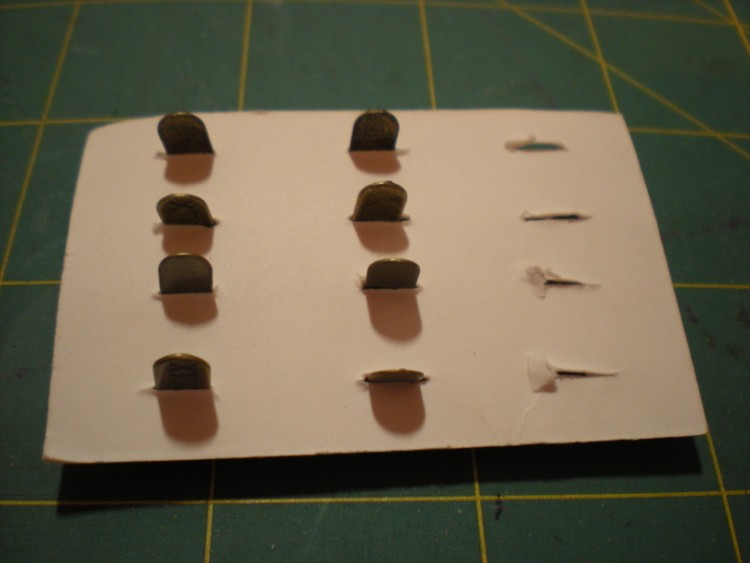
You will need to mark where your catch will go. First position the catch where you want it to go. Then rub the prongs firmly on your fabric, they should make marks. You can just barely see them here.
Now use a seam ripper to make a small slit through all three layers (fabric, batting and lining.) Make the slit a little smaller than you think it needs to be. You can always go back and make it bigger, but there’s no making it smaller!
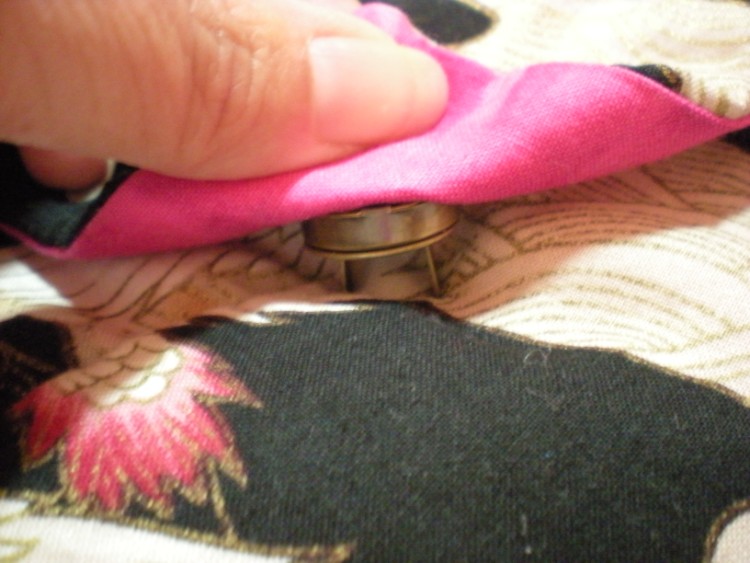
From the inside, push the prongs through the slits.
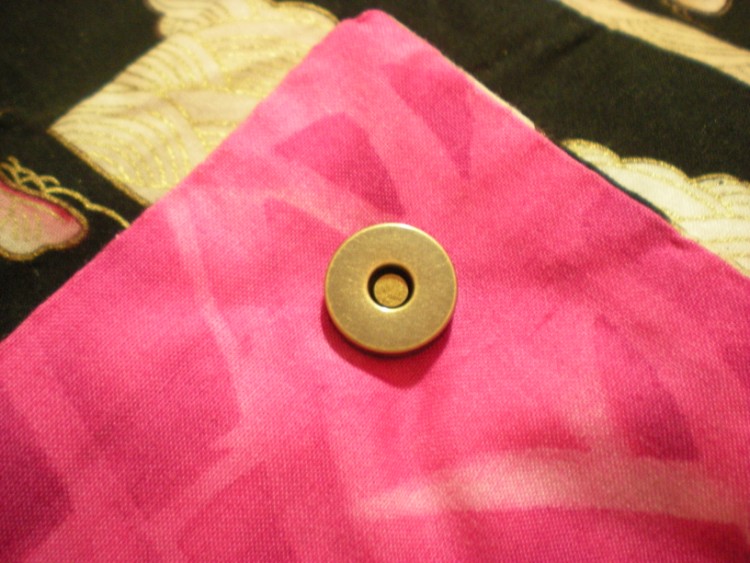
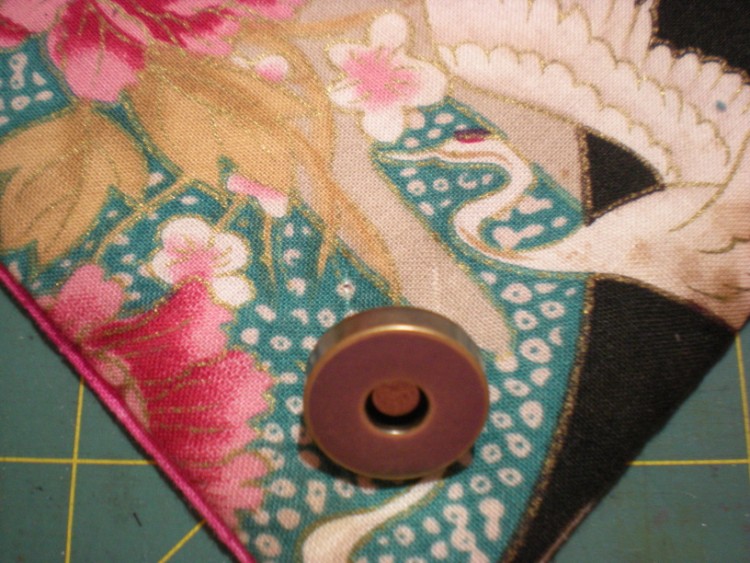
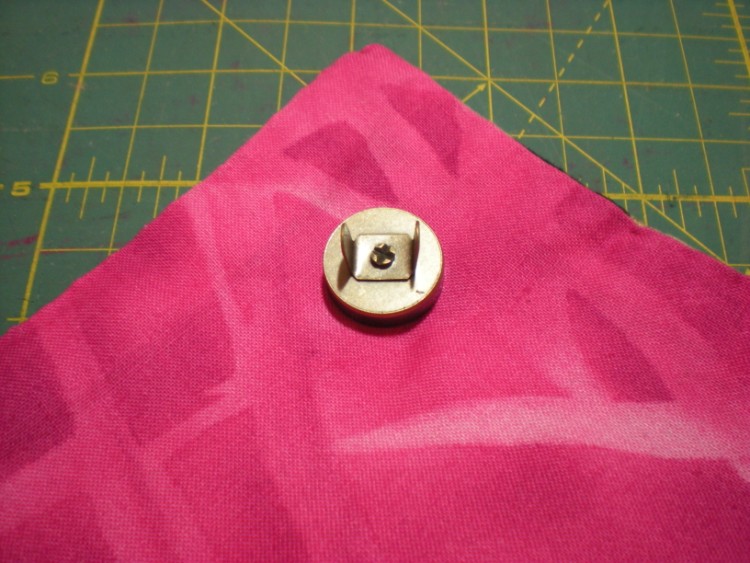
The prongs will be sticking out the right side of your purse flap. (This is ok! We’ll cover it up later with a decorative button or bead.)
Now slide the washer over the prongs…
…and bend the prongs inward.
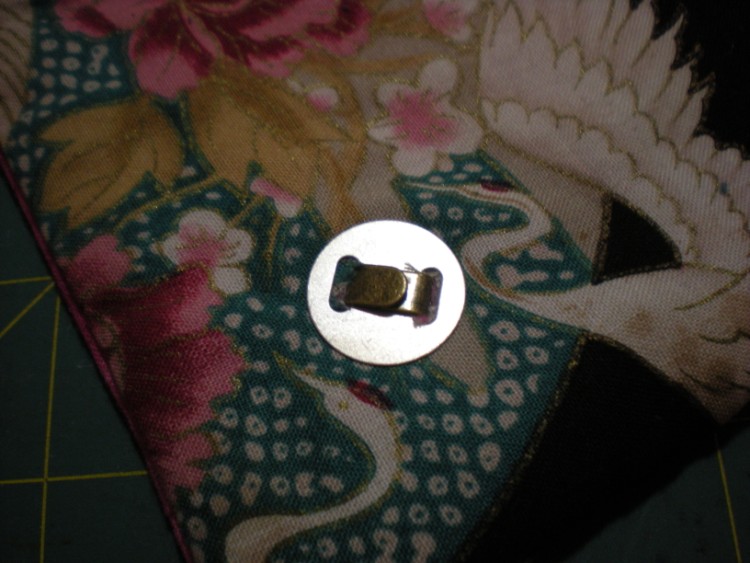
Now attach the other side of the catch to its mate.
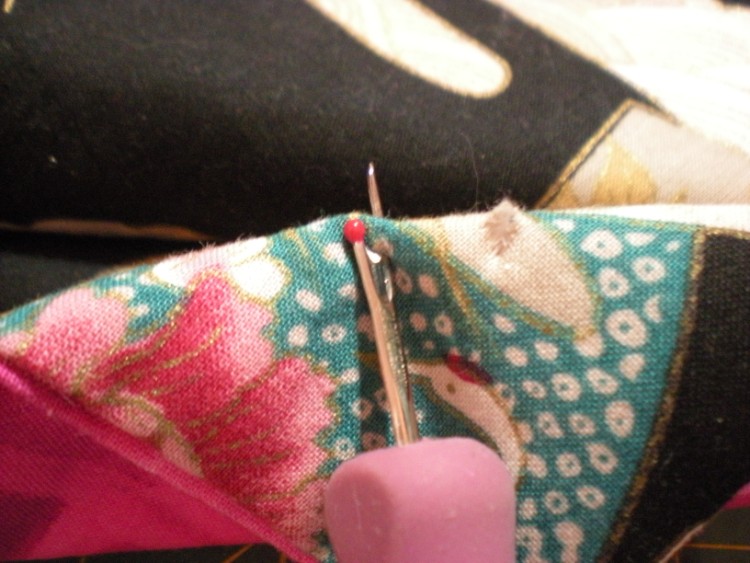
Fold the flap down and position it just where you want it.
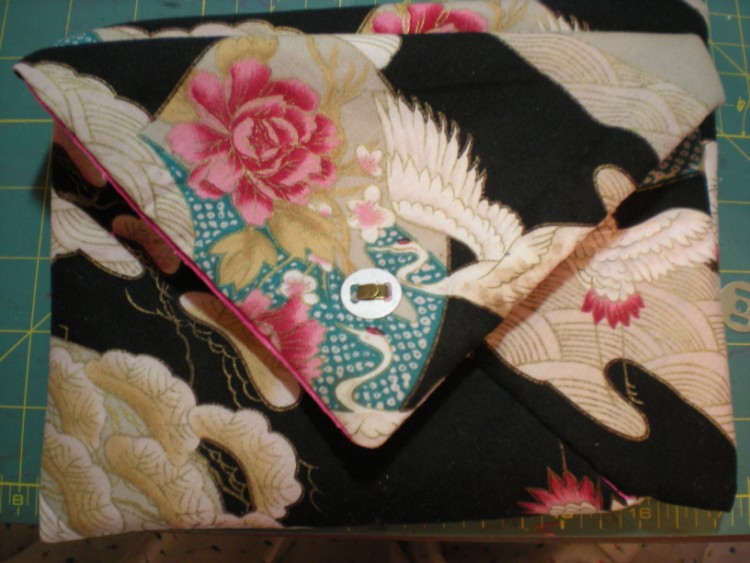
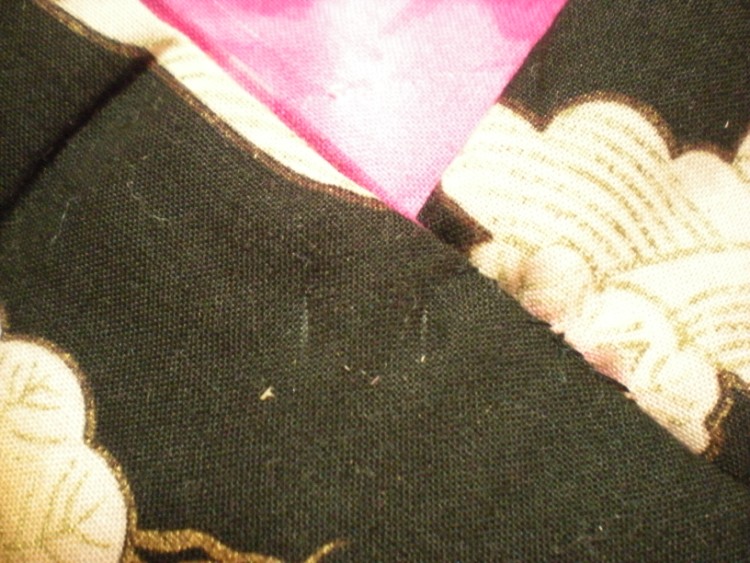
Once again, use the prongs to mark where slits should go. If you find you can’t see the marks, go ahead and use a fabric marker to draw lines right next to the prongs.
I had to mark the above white section with a marker, but as you can see below, they show up better on darker fabrics.
Now cut your slits, insert the other half of the catch, add the washer and bend in the prongs, just like before.
I’ll bet that was a lot easier than you thought it would be!

Now you can add a strap of cord, ribbon or even braided ribbon, whatever you like. Stitch the ends of the strap at the top of the seam line on either side. However, this is a redo of this purse and I’m going to add a beaded handle. (Make sure to subscribe to this blog either by email or feed reader so you don’t miss that post, coming up in a few days!)
Since I’m going to be adding a new handle, I may use different buttons. If I were to use this button, I would cut off the shank with wire cutters…
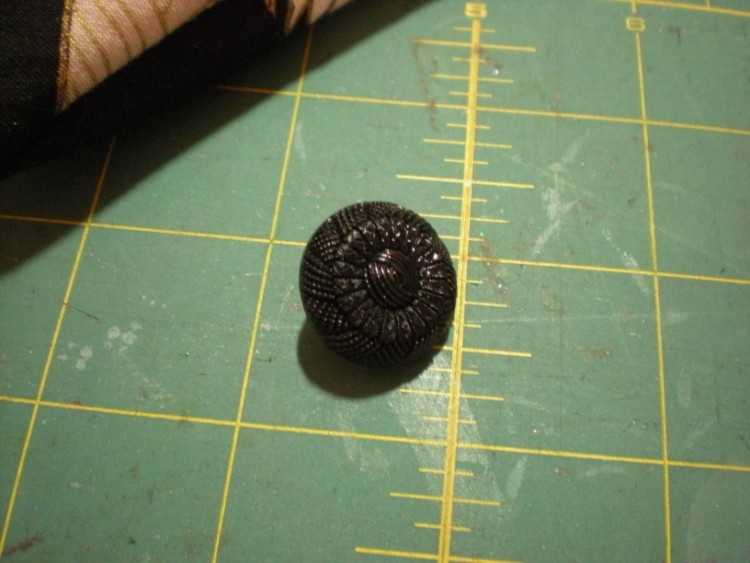
…and then superglue it to cover the backside of the magnetic catch.
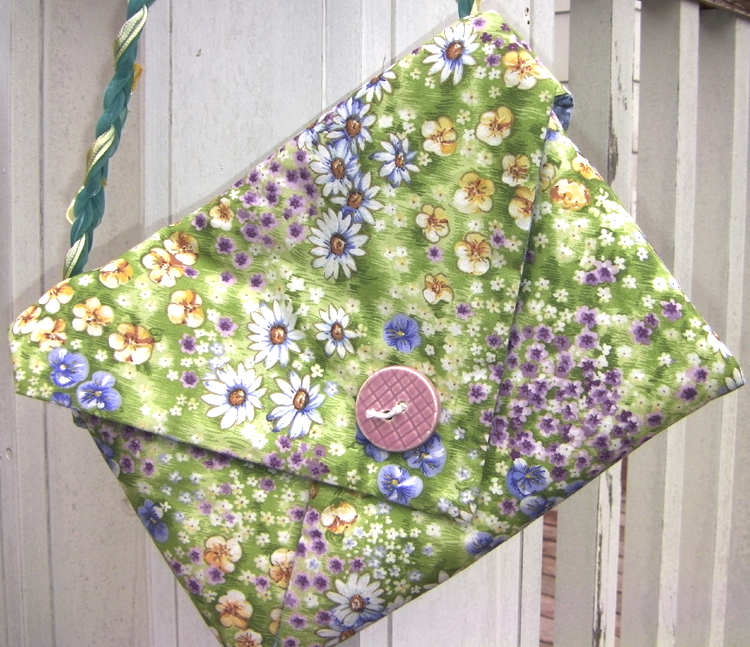
Like I did on this bag:
This bag got a braided ribbon handle. That’s going to get replaced with a much nicer beaded one, very soon.
This is a class I’ve taught on several occasions, it’s always a fun time. I’m making available my class handout with the directions for free. Feel free to print it, use it, distribute it, even teach it! All I ask is that you leave my site name and link intact. Thank you. 🙂
Have fun and happy creating!

This is SO CUTE!! I’ve printed off your pdf and will be watching for the tutorial on the beaded handle.
Hi Robin, I’ve updated the pdf, just a smidgen. I noticed that I’d listed a scrap of fusible web with no explanation of what to do with it. You can use it to close the opening in the 18″ square after turning. It’s my shortcut to save on slipstitching. Have fun!
What a fun purse. I am going to share it with my sewing friends. I made one out of beaded denim. Now I want to make one that is a little more dressy. I started out with a 24″ square. It makes a really nice, not too large size!
Glad you like the project, Patti. I’d love to see pics of your completed purses. 🙂
Happy Creating!
Hi Sandy,
I was looking for something to make my daughters for Mother’s Day and found your pattern! I am sure they are going to enjoy their bags. Thank you so very Much!
Have fun making the bags, Chris!