


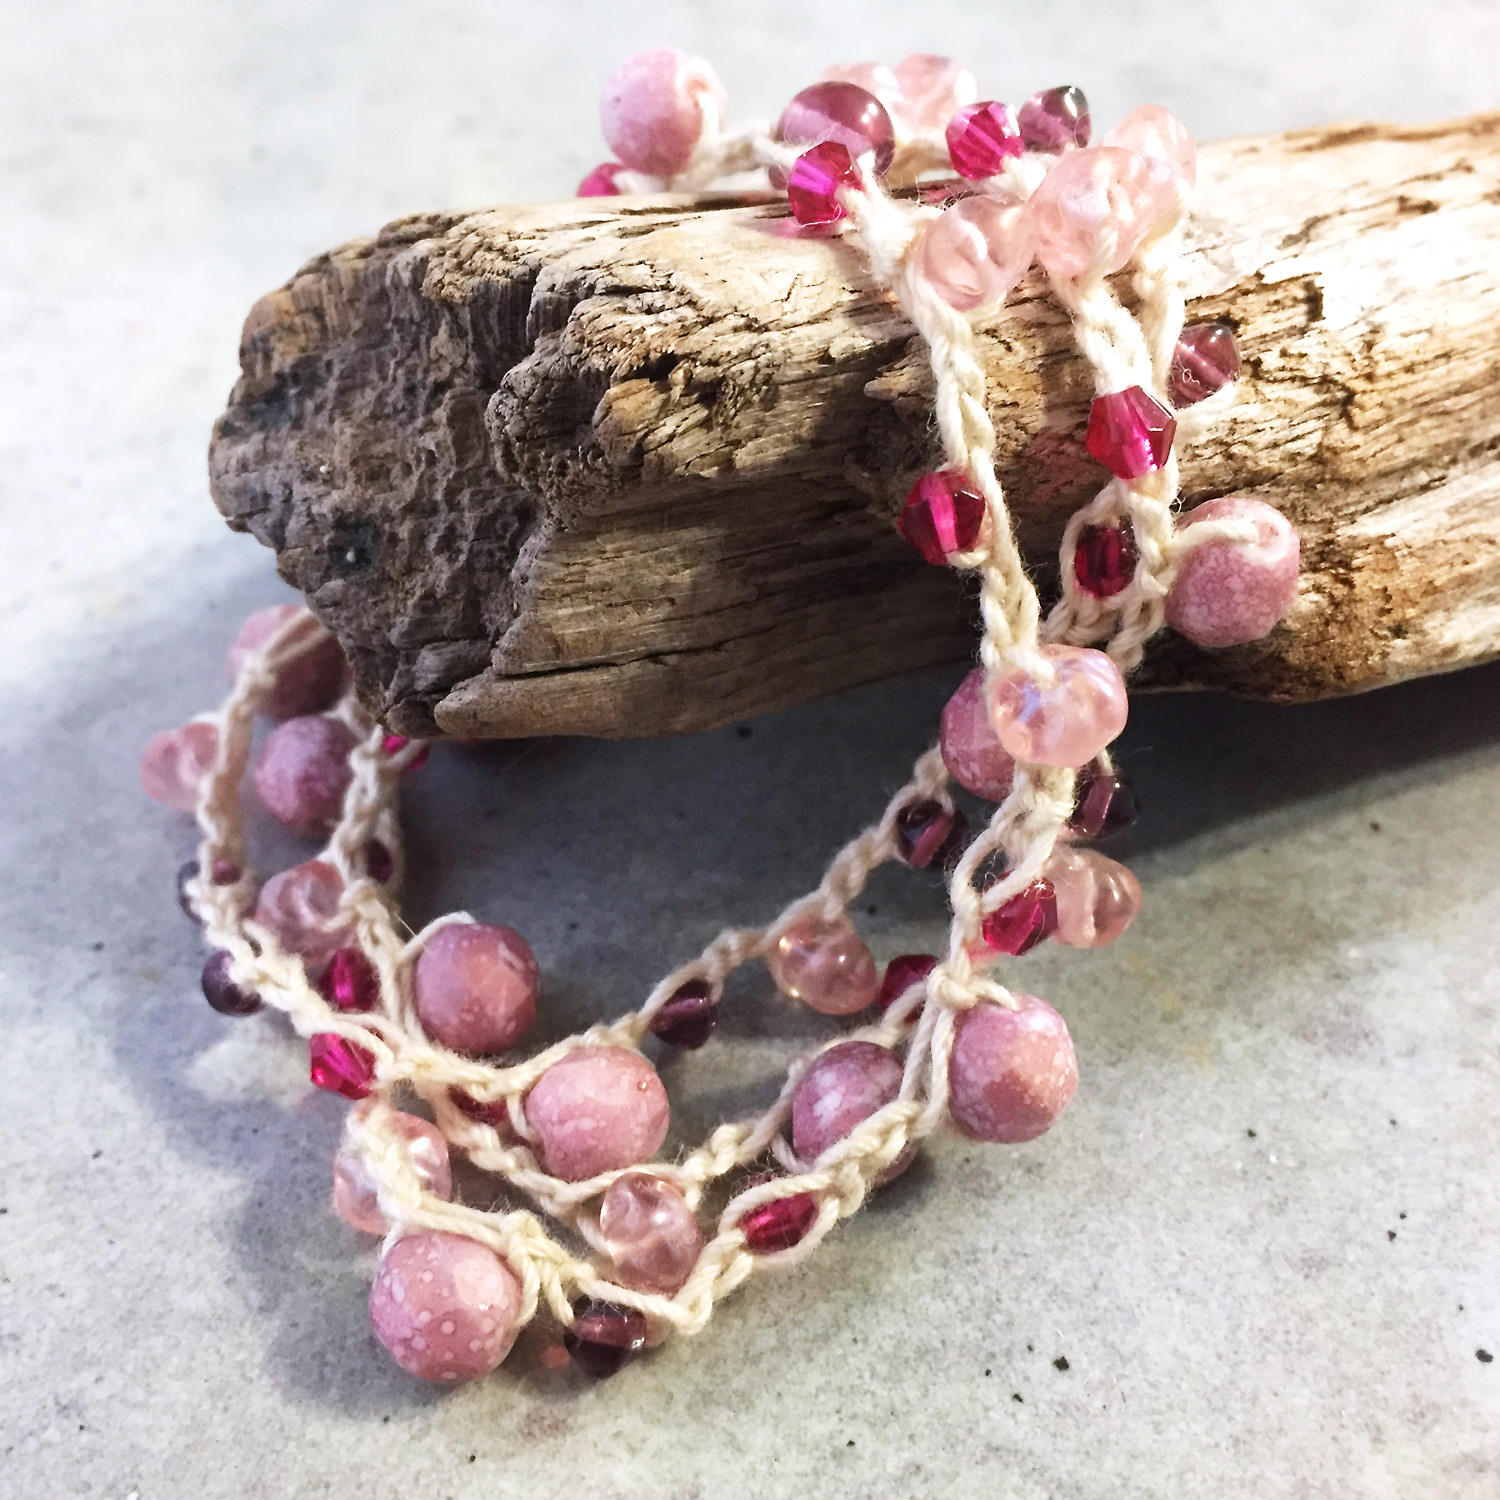
Crocheted ropes of beads may look complicated, but it’s actually very easy to create this earthy boho look.
You only need to know a single basic crochet stitch!

Watch the video to learn:
- Simple steps for crocheting with beads
- Tips for choosing the right thread
- Which beads you should never use in bead crochet projects
- Ideas for jewelry you can make using your crocheted pieces
Tools & Materials:
- Crochet cotton, S-lon or other cord of appropriate weight for your beads
- Beads with a large enough hole for your cord to pass through
**Do not use beads with sharp edges such as Swarovski crystals or bugle beads** - Size E, 3.5 mm crochet hook
- Big eye needles
- Button for closure of bracelet
- Hypo-cement or other jewelry glue
- If making a necklace, findings may include head pins, eye pins, bead cones, chain and a clasp
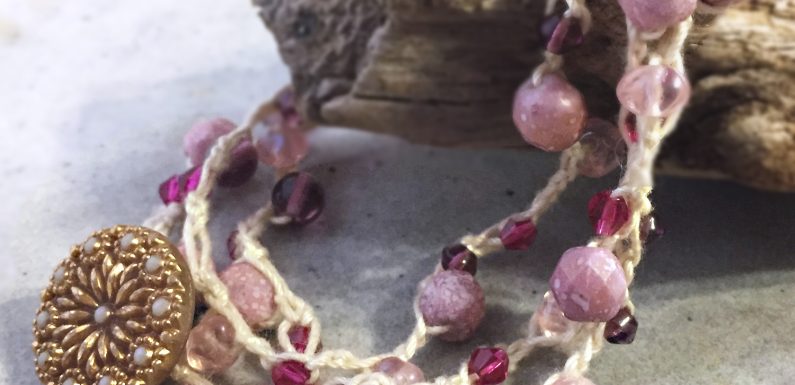
Materials for Pink Posy bracelet:
**Note: a few of the colors I used are no longer available, I’ve linked to similar items
- 4 mm Czech glass saucer, Amethyst
- 4 mm Czech glass machine cut, Fuchsia
- 6 mm Czech glass druk, Amethyst
- 6 mm Czech glass rondelle, Peach Rainbow Iris
- 7 mm Czech fire polish, Rose Luster
- Czech glass button

Au Natural necklace:
**Note: this started as a bracelet, as shown in the video, then I changed my mind and made it into a necklace.
- Czech glass & chips mix, Champignon
- Hand painted Chinese porcelain bead
- 25mm Unakite donut pendant (shown, but not used)
- Dragonfly button, for bracelet (the one I used is from ArtBeads, but is out of stock, I’ve linked to similar buttons)

Tips:
- Beads with 1mm holes would be ideal
- Don’t use a cord that is too fine for the beads
- Crystals and bugle beads could cut your thread
- Work from the spool, string on your beads first
- It’s better to string on more beads than you think you’ll need
- If you are using larger beads 6-9mm+, you’ll want to space them out on the cord when crocheting
- Do a few tests to determine how much to space them.
- A good place to start:
- 2-3mm beads – 1 bead every chain
- 4-5mm beads – 1 bead every other chain
- 6-8mm beads – 2 empty chains between every bead
Overview of the steps:
- Start by making a chain of enough stitches to loop around your button closure.
- Leave an 8″ tail so you can sew the loop closed later.
- Make your piece as long as you want (enough wraps for a bracelet, lengths for a necklace, etc.)
- Cut the thread, leaving a 10″ or so tail.
- Tie on a button last (loop thread through button loop or holes a few times)
- Knot and secure with a dab of glue.
- Test chain on other end for size in relation to button, knot closed and secure with a dab of glue.
Enjoy the video, happy creating!
Watch the Bead Crochet Success on Your First Try video on YouTube.
