


If you’ve been hanging around the polymer clay world for any amount of time, you know we love to borrow techniques from other media.
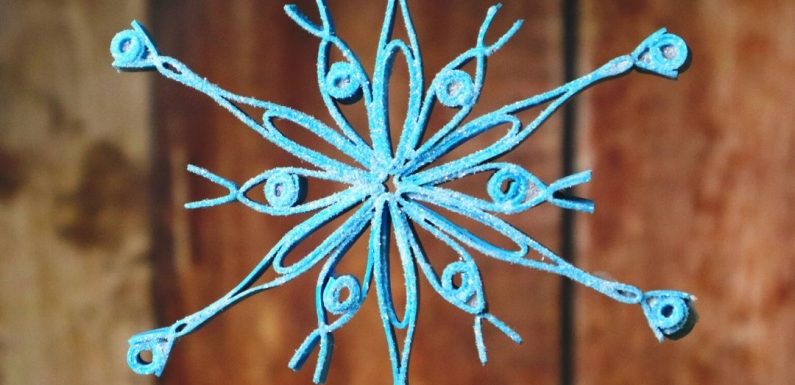
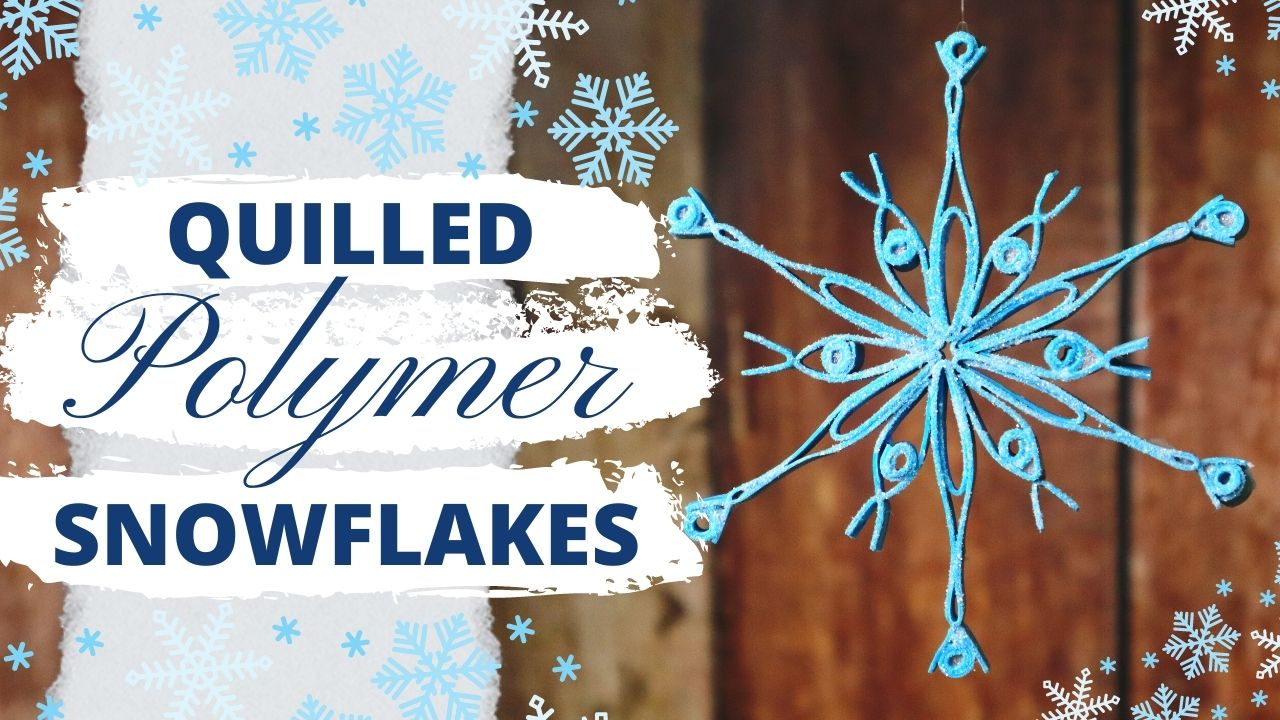
In today’s video you’ll learn how to adapt the paper quilling process to create beautiful polymer snowflake designs.
Watch to the end to see my fails and what NOT to do!
Tools and Materials:
- Polymer clay, about 1 oz., either a solid color or a stripey sheet
- Clay blade
- Craft knife
- 1” diameter acrylic roller or wooden dowel
- Pasta machine
- Scrap piece of paper to cover dowel
- Scrapbook adhesive
- Knitting needles, 2 and 10mm
- Scissors
- Rotary paper trimmer, optional but useful (I imagine a heavy duty guillotine style cutter would work as well.)
- Printable 60 degree snowflake template
- Glass tile (can be from a picture frame)
- Super glue gel
- Craft glue (the design of this bottle is brilliant!)
- Non-stick craft sheet
- Extra fine glitter
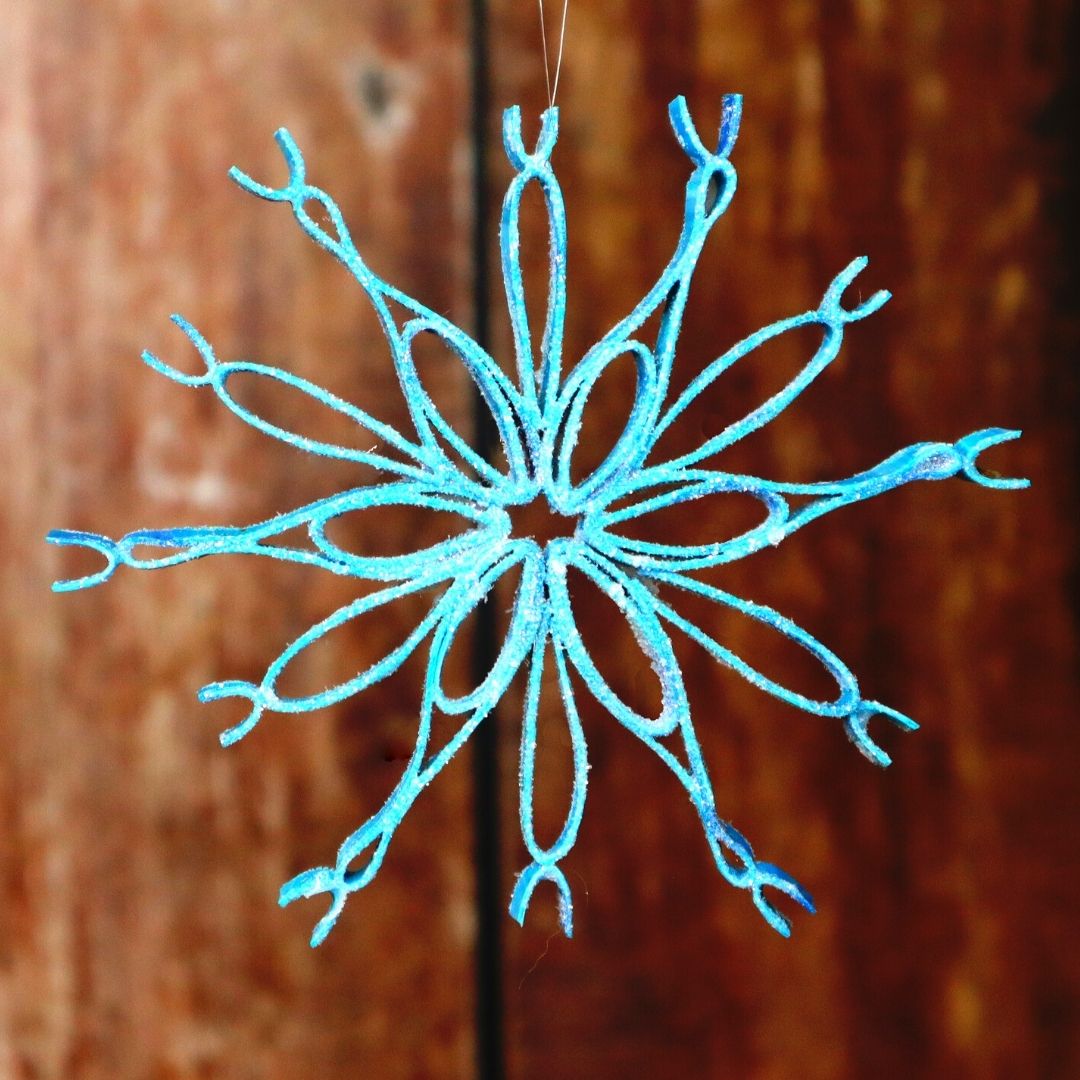
For inspiration check out this Pinterest search for “quilled snowflakes.” You’ll likely need to simplify and adapt most of these for creating in polymer.
Tip: If your glass tile gets covered with super glue (like mine did!) a bit of acetone will soften the glue. Then it scrapes up fairly easily with a single edge razor blade.
This project had a number of fails before I got to a design I liked.
Let me save you some time by suggesting a few things NOT to try.*
- Adding texture to the clay sheet before putting on the roller. Sounds nice, right? But not only does it create a raggedy looking edge, it makes multiple weak points in your clay.
- Baking the clay tube round, then flattening while warm. This only worked once out of the three times I tried it. 🙁
- Baking the thin sheet of clay flat, then cutting and shaping after baking. Ok, this one might work for some applications, but I found it fiddly and annoying.
* Feel free to try to prove me wrong, you might come up with much better designs than I did!
Enjoy the video and happy creating.
Watch the Quilled Polymer Snowflakes video on YouTube.
