


Well, color me amazed. It’s the 4th of December and I’ve managed to accomplish projects inspired by three of Tim’s 12 Tags of Christmas so far. If you don’t know what I’m talking about, Tim Holtz is only the king of all things distressed and paper crafty. Check out his web site here. Even if you aren’t into paper crafting, you’ll have to be impressed.
Tim loves to demonstrate his creative techniques on large manila shipping tags. Five years ago he started doing the 12 Tags of Christmas on his blog. Every day from December 1st through the 12th at midnight he posts a new tag, full of clever tricks with ink and paper. He always includes step-by-step directions with excellent photos.
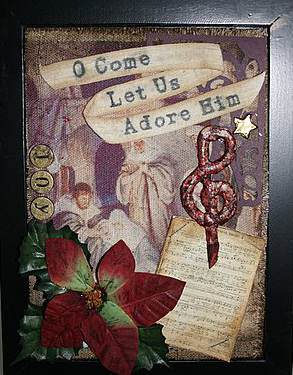
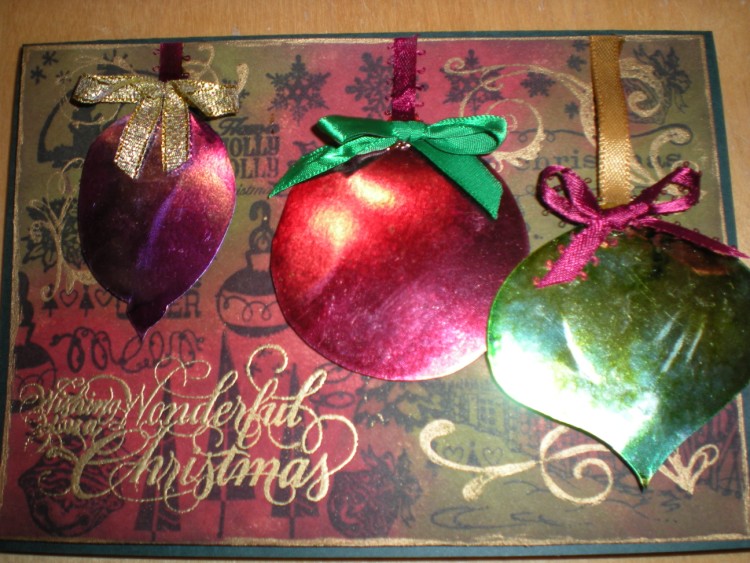
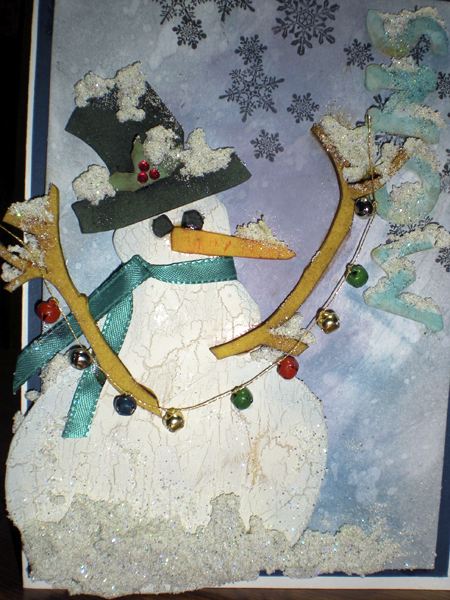
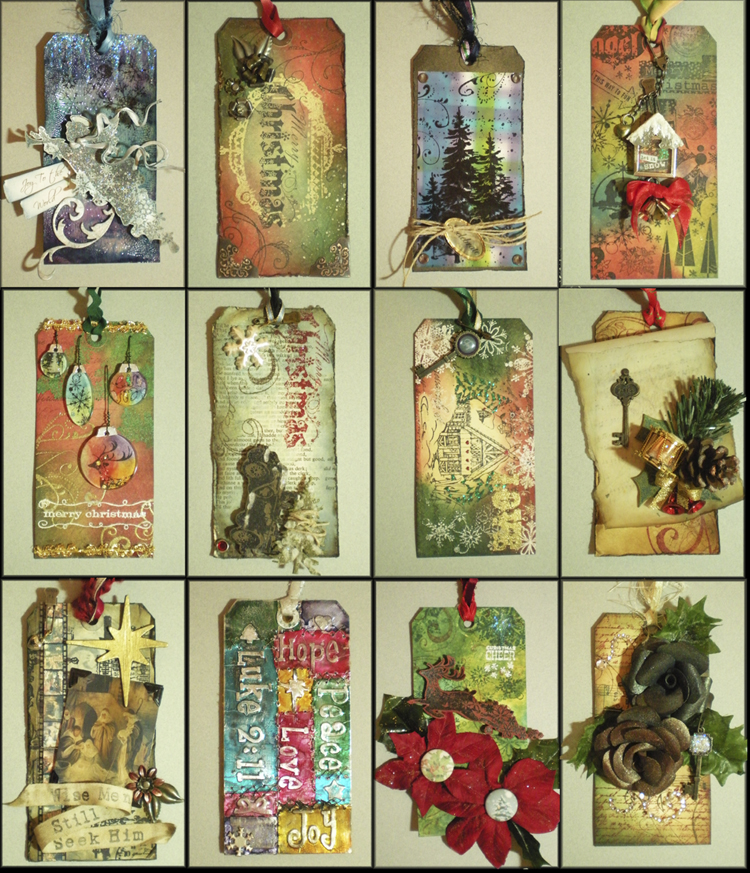
I stumbled across him in his second year of doing the tags and made Christmas cards based on his tags each day. Silly me didn’t take photos of all of them, but here are a few.
(Click on any of the photos to enlarge.)
The next year I decided to just make the tags.
Last year, well… erm. See this stack of paper?
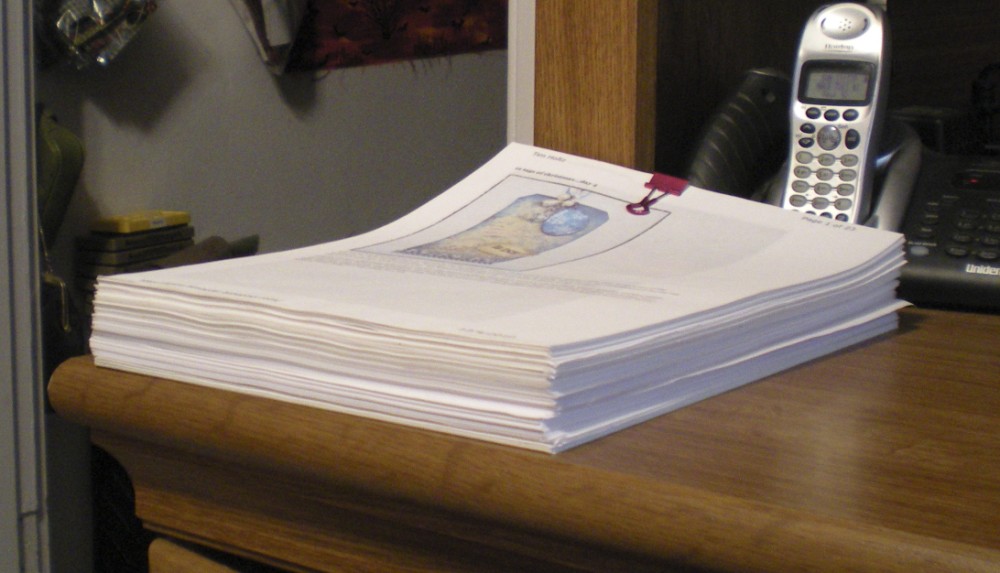
Yup, those are the directions from last year’s tags, all printed out and neatly clipped together by day. And, yes, they have been sitting on my desk for an entire year.
:::::::::hangs head in shame::::::::::
So, back to today! I’m so happy to report as of tonight I am nearly caught up (with this year, not last year!) I attribute this to two reasons: 1) I’ve been collecting Tim’s supplies for three years now and can pretty much make do, even if I don’t have the exact items he used, and 2) I decided to only use his techniques, but not worry about making copies of what he’s done.
In fact, I was in Michaels on Thursday, December 1st, 40% off coupon in hand, and walked out without buying anything. This is mind blowing. Seriously.
This change of mind set is actually incredibly freeing. 🙂
For day one, I made this card.
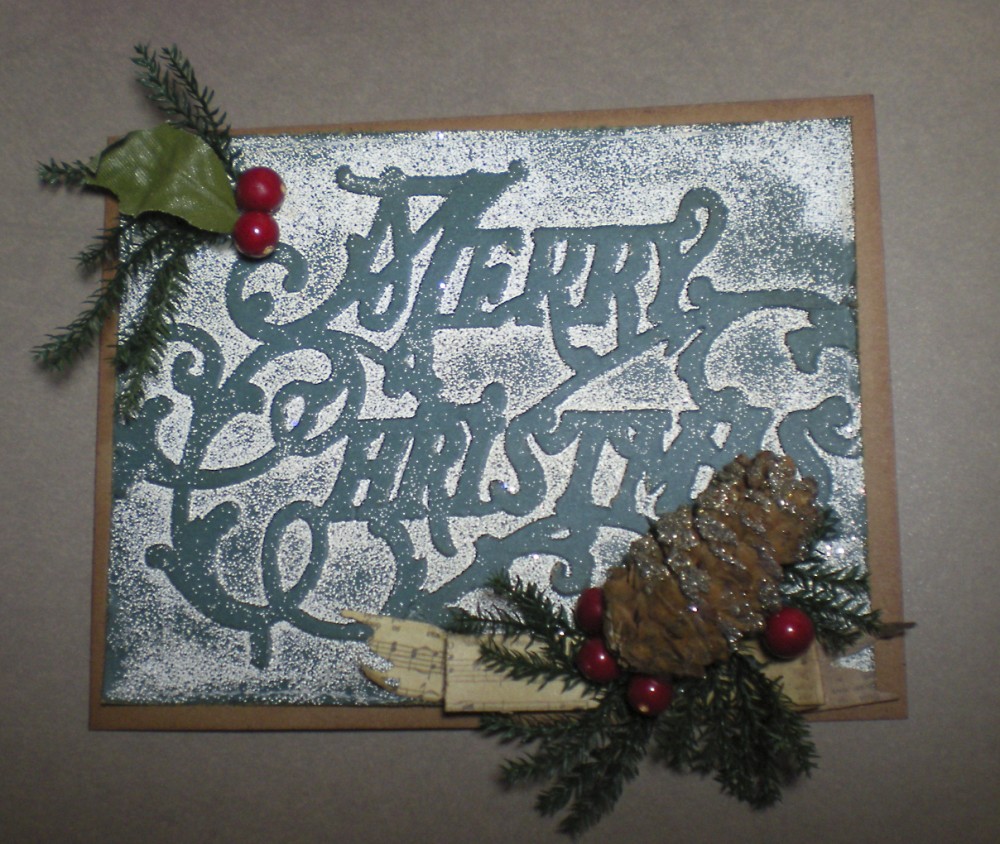
The main technique was to ink up the background portion only of the embossing folder. After running through your die cutting machine you sprinkle on embossing powder, it only sticks on the inner parts of the pattern. Kinda neat. I love how it came out using the Merry Christmas embossing folder set.
It only took me 20 minutes to dig up this pinecone which was left over from a class I took with Tim last year. Perfect.
For day two, I did a scrapbook layout. The main technique was to use Picket Fence Distress Stain over resist paper. Did you know that you can make any paper a resist paper with a large background stamp (like this Harlequin Background Stamp
, and Clear Embossing Powder?
Here’s the paper after embossing:
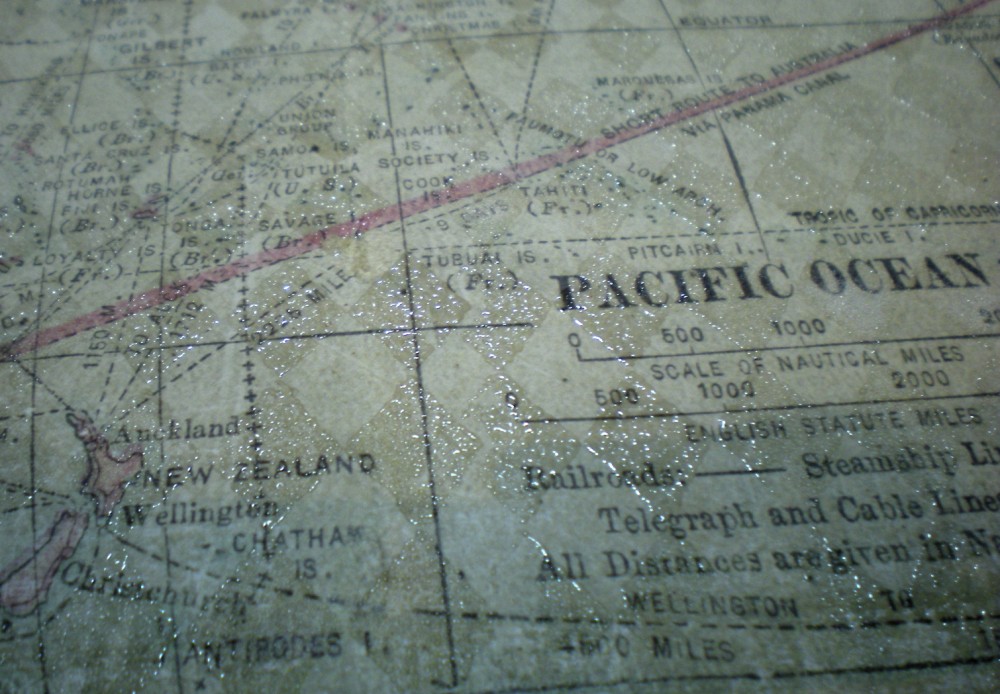
And here it is after adding ink. See how the embossed areas resist the ink? Pretty cool.
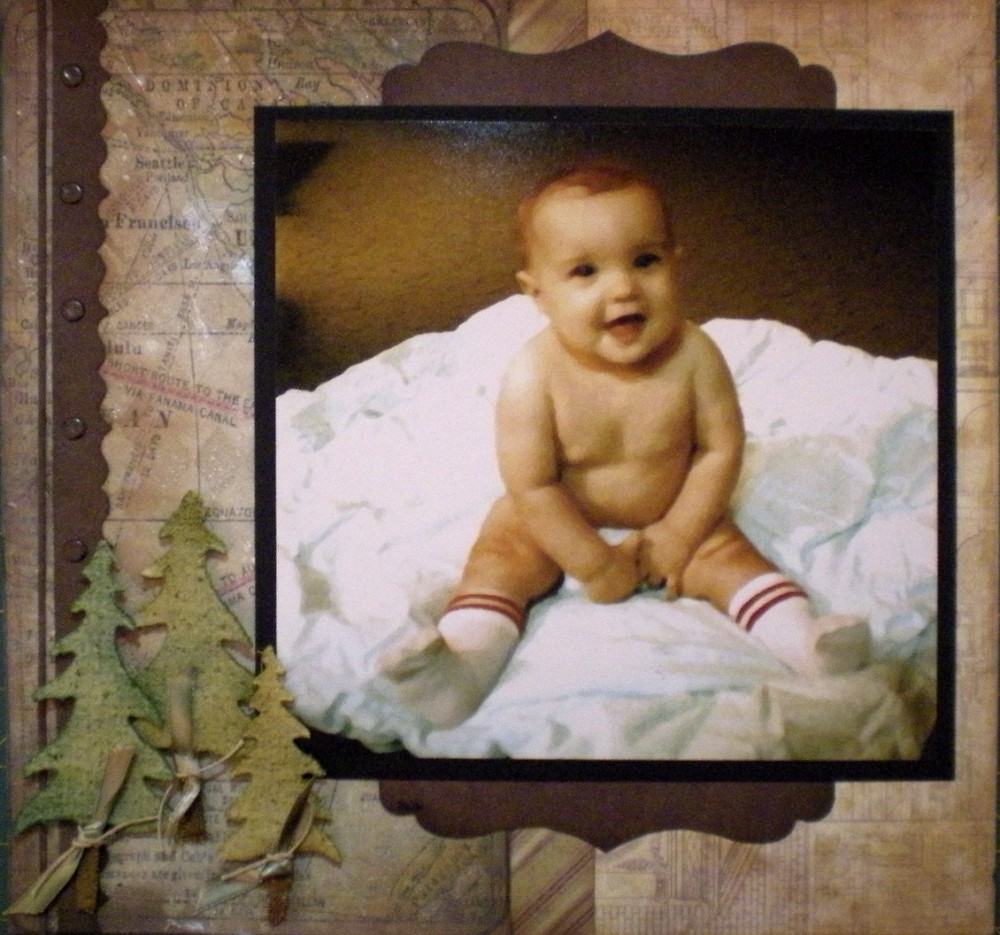
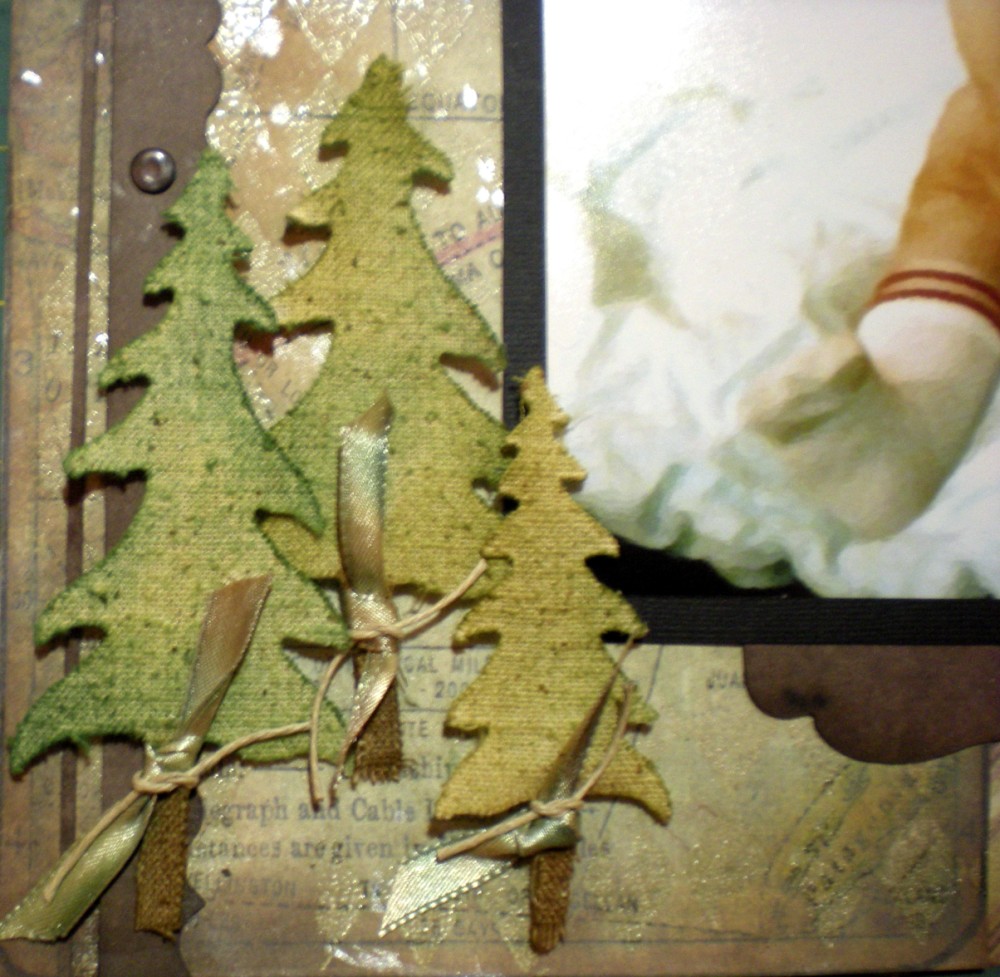
I didn’t have any sticky back canvas, but I’ve got plenty of fabric. To stabilize it, I stuck this to some sticky back vellum and cut out trees using my Sizzix Medium Pine Tree Die (yellow die) and Sizzix Pine Tree Die (red die.)
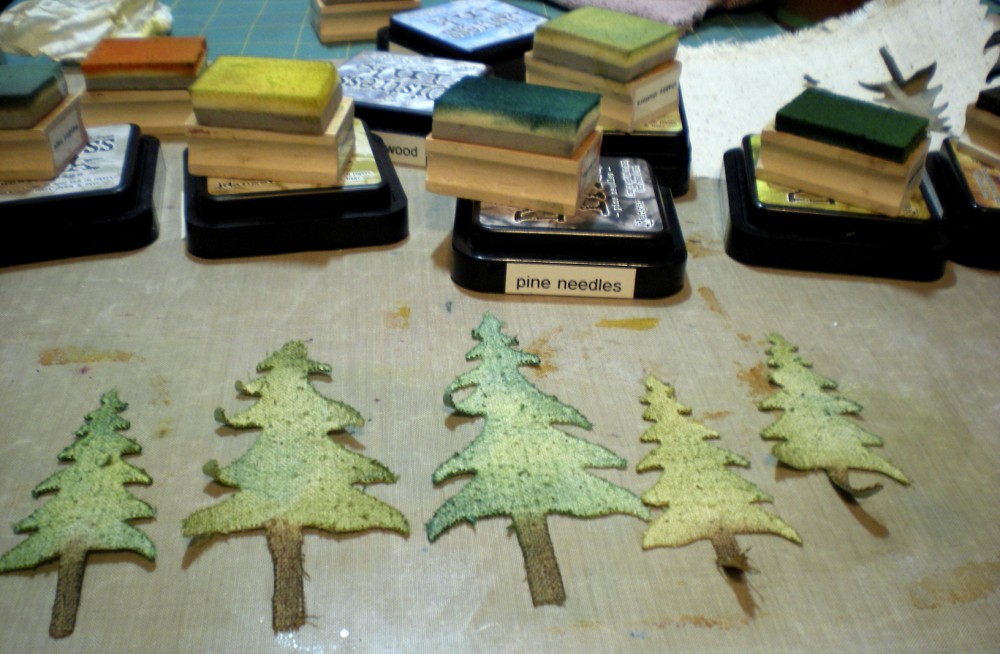
The trees were inked with every shade of green distress ink I own, including Peeled Paint, Pine Needles, Bundled Sage and Shabby Shutters, with some Vintage Photo and Walnut Stain for the trunks.
The brown paper is from the Retro Grunge Paper Stash; it was cut with the Bracket on the Edge Die
. These make great borders and accents.
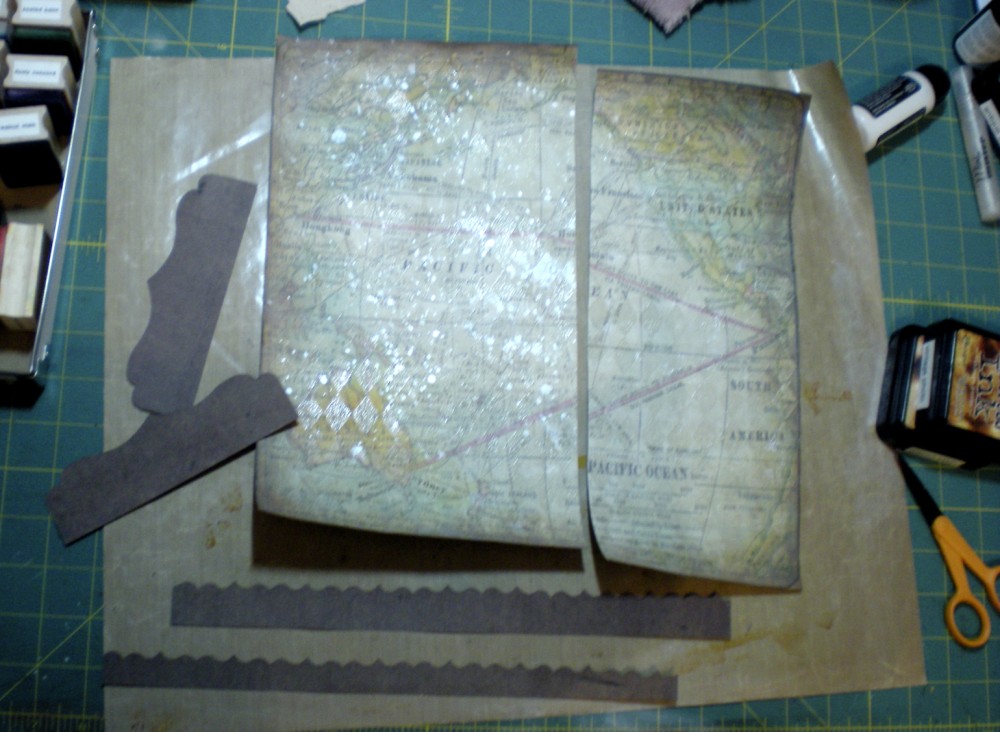
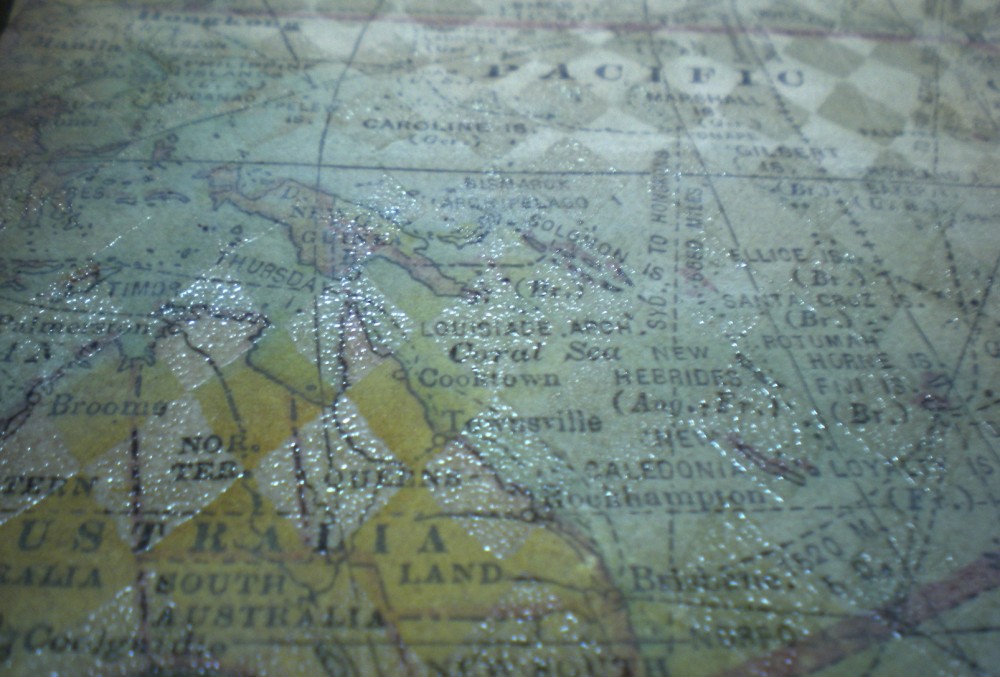
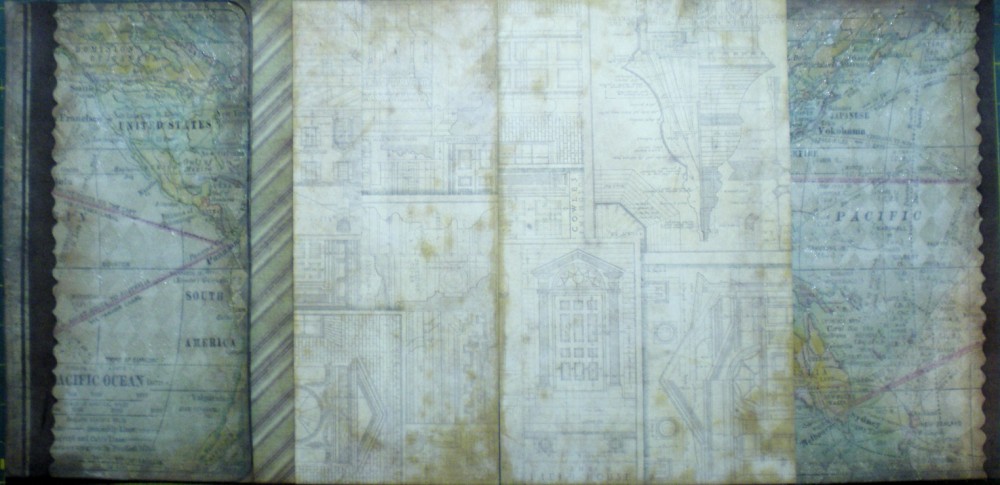
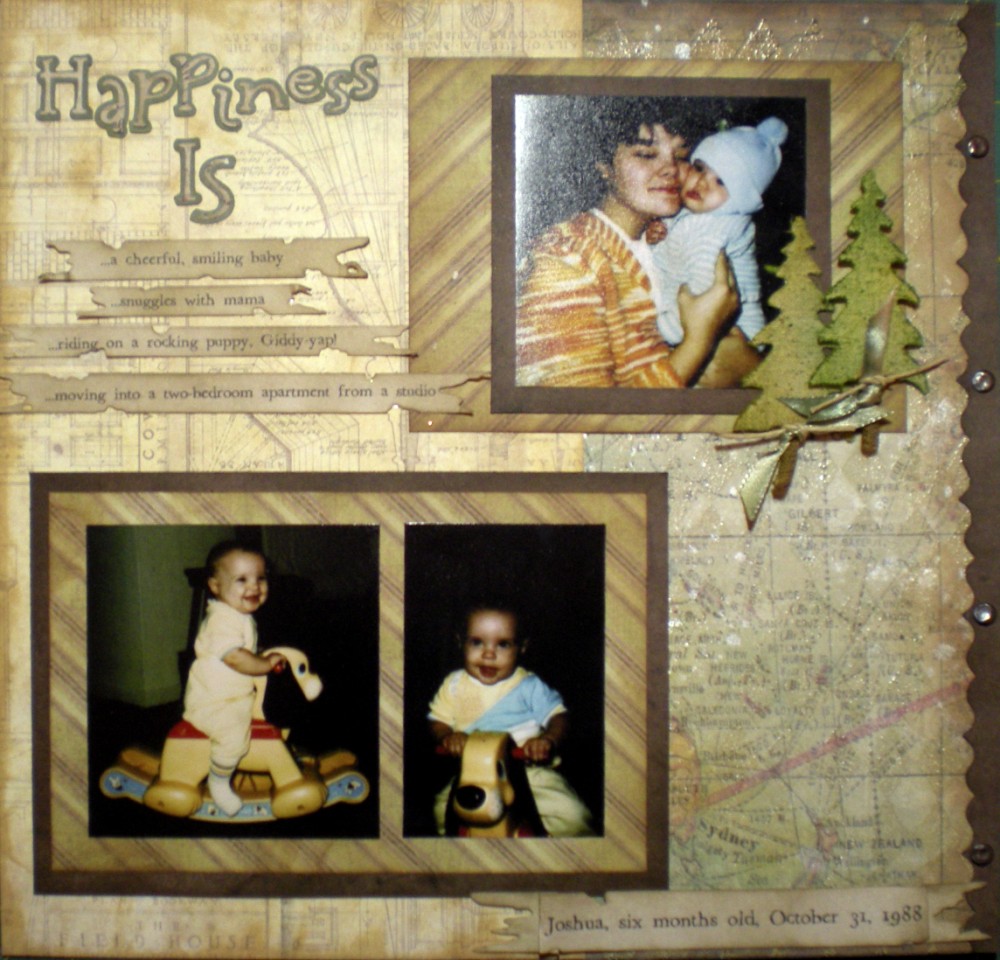
And here’s the layout, all ready for photos. The map and blueprint papers are from Tim’s Crowded Attic Paper Stash. The diagonal stripe is from a paper collection I got at Costco.
Here’s the left side of the layout. If the photo of the baby looks familiar, it’s because I used it in a Photoshop tutorial a while back. (That baby is 23 years old, btw. Wow, I am behind in my scrapbooking, lol.)
Here’s the right side. The journaling is done on paper cut with the Tattered Banners Die Strip. I also used it on the card from day one, above. The more I use this, the more I love it.)
Here’s a close up of the fabric trees. I really love following Tim’s lead because he reminds us to add in detail, such as dying the ribbon with distress inks, or beating up the brads with a hammer.
For day three I made another card. Since the stickles are still drying and I need to go to bed, I’ll share details about that tomorrow.
Happy creating!
