


As promised in yesterday’s post, here is my project based on day three of Tim Holtz’s 12 Tags of Christmas.

The main technique here is creating a custom stamp pad. (More on that in a moment.)
You can see I’m still loving the Tattered Banners Die Strip. The stamp is Old World Map Stamp by Inkadinkado. (Great on cards for guys!)
I used an old Sizzix die which is no longer available for the Holly, but this one looks similar.
I used red stickles on the berries, but they were way too bright for this antique looking card. Rubbing on a little Antique Linen Distress Stickles toned them down perfectly.
Another great tip from Tim was to wrap twine around something like a pencil and heat it for 10 seconds to set. Instant shaping. Awesome!
Now, about today’s technique. For quite some time Tim has been teaching us to use Cut n Dry Foam and reinkers (like these, Vintage Photo Distress Ink Reinker, Worn Lipstick Distress Reinker, Broken China Distress Reinker) to create a custom colored ink pad for our stamps. Last year I actually did finally purchase some Cut n Dry and made custom pads for two of my stamps.
As Tim suggested, I stamped off a sample image, stored my stamp pad in a ziploc bag and adhered the sample to the outside of the bag.
Here’s my sample from the Old World Stamp:
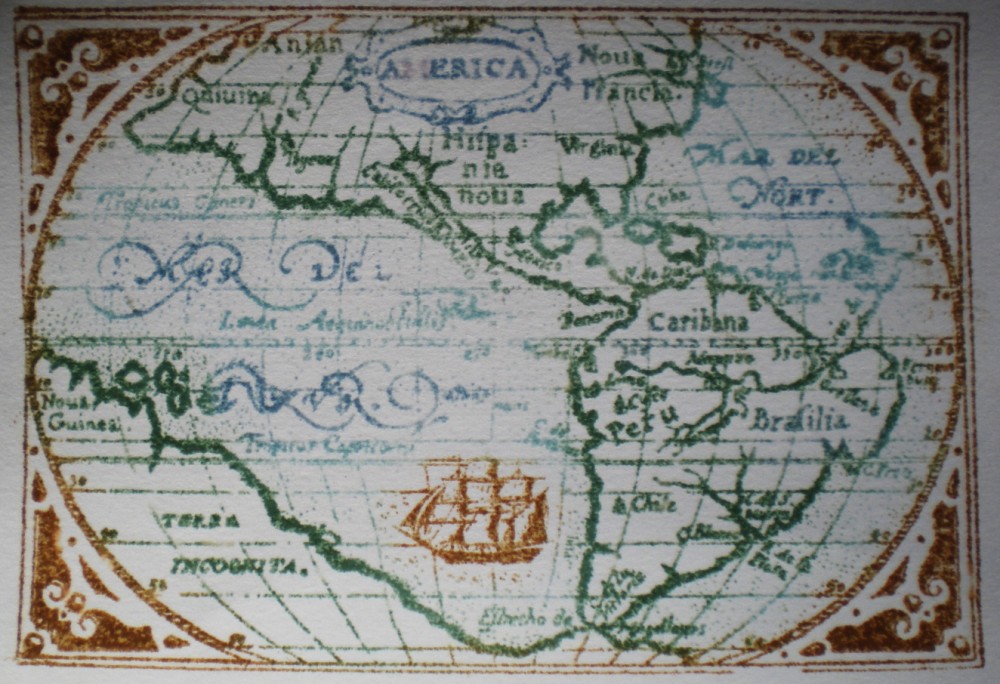
And here is how it stamped last night (about 10 months later.)
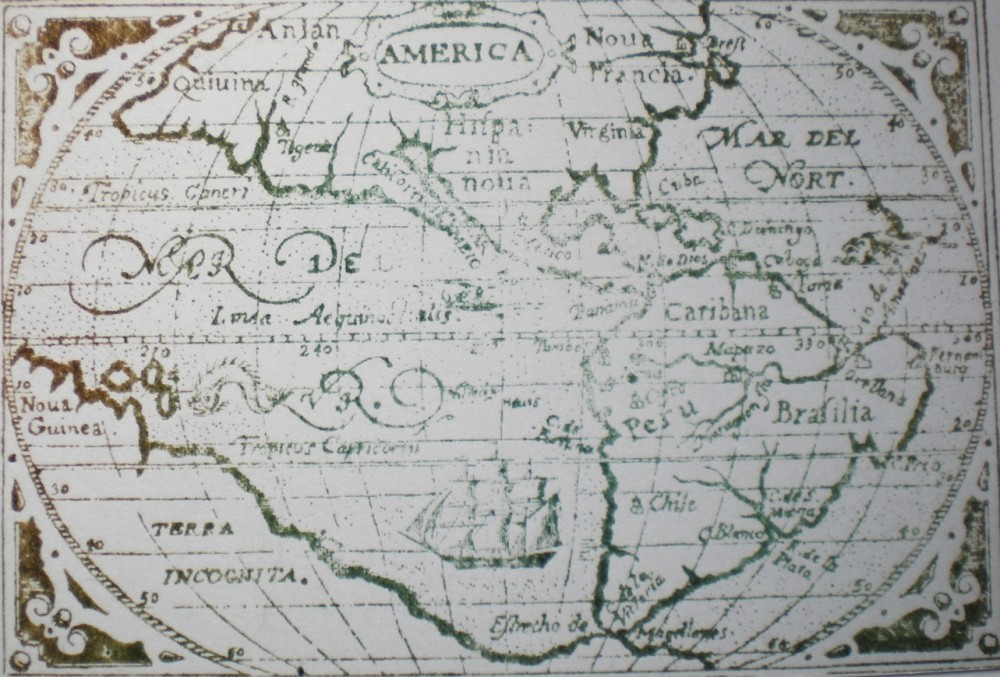
This is a cool stamp, and would look good in most any colors, but I was sorry to see that the inks had not stayed in their places. The greens appear to have done the most moving, and pretty much took over the blues.
Like I said, not a big deal with the map stamp, but take a look at this one, done at the same time as the map.
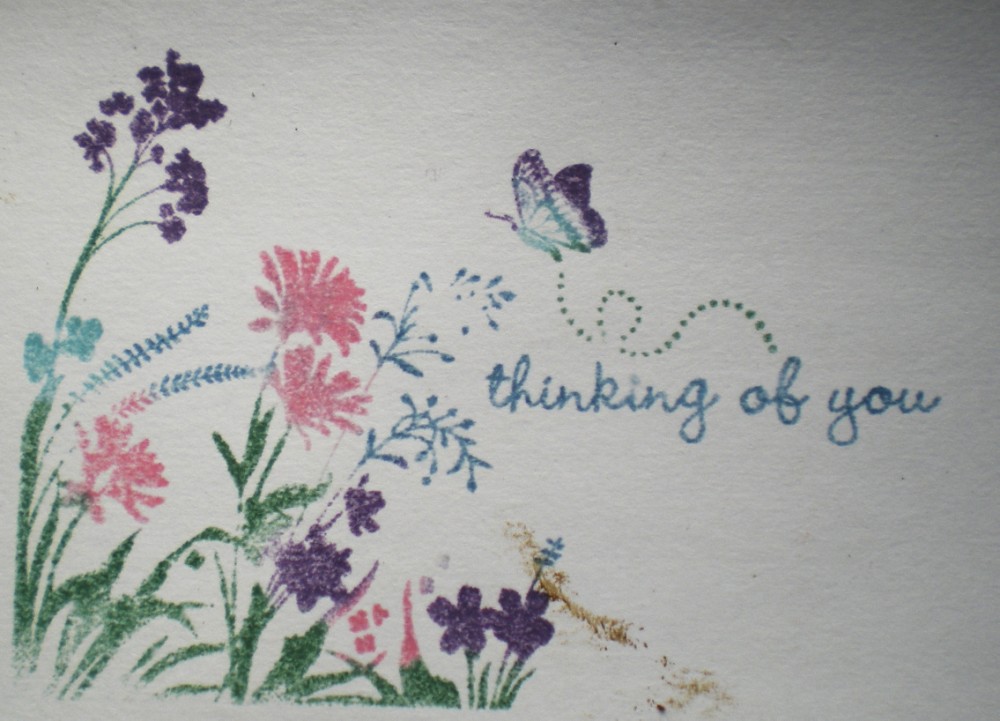
Here’s how it stamped last night, quite disappointing.

Again, it seems like the greens have taken over. Ah, well. I used Distress reinkers, I wonder if other inks behave differently?
I will continue to use this technique, but will have in mind more projects I’m going to make in multiples right now, rather than saving for future use.
Hopefully I’ll have time later today to work on days four and five!
Creative Hugs,
Sandy
*****Update******
After writing this post I sent Tim Holtz an email asking him if he had any comments or insights regarding my problem. Approximately four minutes later he sent me this reply: (Thanks for being so quick to respond, Tim!)
hi sandy – thanks for the email. when i go back to use a custom stamp pad (depending on how long it’s been stored, etc) if the inks have migrated, i simply re-ink the areas i want to punch the color up in. bascialy from your photos, the inks have still maintained separation (as in the entire pad is not muddy brown), but it appears the lighter colors wicked some of the darker distress. another thing i do, if i feel i’ve used the pad, and the colors are too far gone, is to rinse the pad in water, let it dry overnight and start fresh as your stamped image will still be left on the fabric. hope this helps and thanks for the kind words…

Technically, this is beyond me, but I sure can appreciate the effects. I plan to use a few of the Christmas tags I acquired from you on gifts for some special people. 🙂
Eh, it’s not beyond you. You just don’t have the multitude of supplies that I have.
–and the expertise in using them.