


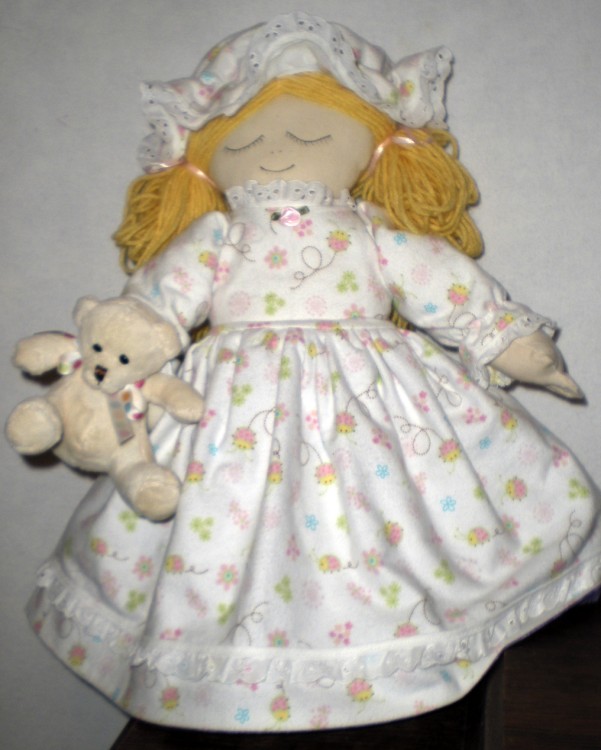
We’re continuing on with our Topsy-Turvy doll. If you missed the previous posts, you can find part 1 here and part 2 here. Hope you’re having fun with this project! We’re making this little lady. Her sleeping counterpart is underneath her dress. Kinda fun!

For the skirts of the dresses: (10″x40″ pieces)
Topstitch lace 2″ from one long edge of each skirt. Lace will be towards bottom of skirt.
Sew center back seams of skirts, leaving 3″ unsewn at top. Press this seam open and continue pressing back 1/4″ on unsewn section. Sew skirts together along bottom edges. Press this seam open, then fold along seam and press, creating a double-sided skirt.

Treating skirts as one, gather top edge. This is very heavily gathered so I like to zigzag over a cord (like crochet cotton) to make my gathers.
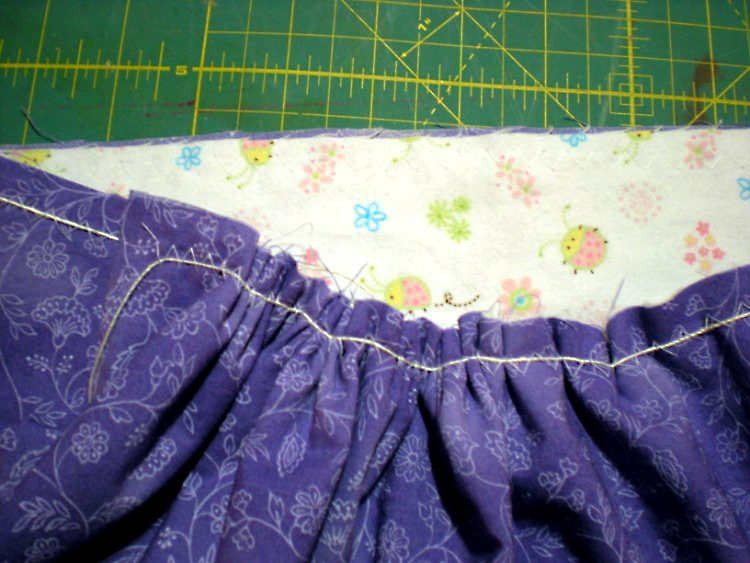
Gather the skirts to fit the bodices and sew the waistline seam, matching center backs and having gathers even all around. (The skirts will be sandwiched between the two bodice sections.) Check to make sure the seam is satisfactory, then remove crochet cotton and trim seam to reduce bulk.
Now it’s time to dress your doll. Make sure you put the nightgown on the side with the sleeping face and the day dress on the awake face. Hand sew the open center back seams on both dresses.
We’re coming down the home stretch! Tomorrow we’ll give our ladies their hair and finish up.
Click here to go directly to the 4th and final part.

Are the dolls made for sale and how much price wise.
By the, thank you for making the patterns available.
Hi Eneida,
If you would like me to make you a custom doll, I would be happy to do so. They are quite labor intensive, as I’m sure you can see from the tutorial, so the price would be $400. This would include your choice of fabric colors and styles, as well as hair style and hair, eye and skin colors. I would need 10-14 days lead time once I receive details.
If this is a bit out of your budget range, I encourage you to give the pattern a try. It’s a fun and very satisfying project!
Thanks for stopping by,
Sandy
I guess I missed a step or twelve. How is the bottom of the dress attached to the top of the dress once its gathered?
Hi Debb,
Directions for attaching the bodices to the skirt are on the top of page 11 of the pdf, which you will find here, http://keepsakecrafts.net/Topsy%20Turvy%20Doll%20pattern%20and%20directions.pdf.
Hope this helps.
Happy Sewing!
Sandy
I found it much easier to finish the skirt completely, hemming the bottom, sewing a casing for the elastic, and inserting the elastic before attaching the bodices. That way the skirt is gathered to the correct diameter and is much easier to attach to the bodice. I made the elastic waists small enough that I didn’t need to attach them to the doll, they stay firmly in place on their own.
That sounds like a good modification to the construction!
Is it possible to get a printed pattern for this doll?
Here you go! http://keepsakecrafts.net/Topsy%20Turvy%20Doll%20pattern%20and%20directions.pdf
thank you! I have been looking for this doll!!
You are very welcome. Hope you enjoy the pattern. 🙂
Happy creating!
My granddaughter and I made this doll together over the last few days. She turned out beautifully! The pattern was so easy to follow, and the end result is a gorgeous, durable, fun heirloom! Thank you so much for sharing this project. I look forward to making many more of these.
How wonderful that the two of you made the project together! I’m sure it was a special time, creating lovely memories for you both. 🙂
I made this doll and had so much fun doing it. Plan on making at least 4 more. I am having trouble with the hair. But I’m sure I will figure it out. Where can I send pictures?
Hi Lucy,
I’m so glad you enjoyed the doll pattern!
Feel free to share your work in my Facebook Group: https://www.facebook.com/groups/KeepsakeCraftsCreate/
Happy creating,
Sandy
I made three so far. I wish you had added pictures of the step of attaching the bodice to the skirt and how to finish the back. But overall, its a wonderful pattern and everyone loves the dolls.
Thanks,
Lucy
Hi Lucy, I’m glad you’ve enjoyed the pattern. 🙂