


Welcome to part 2 of our Topsy-Turvy doll. If you’re jumping into the middle, you can find part 1 here.
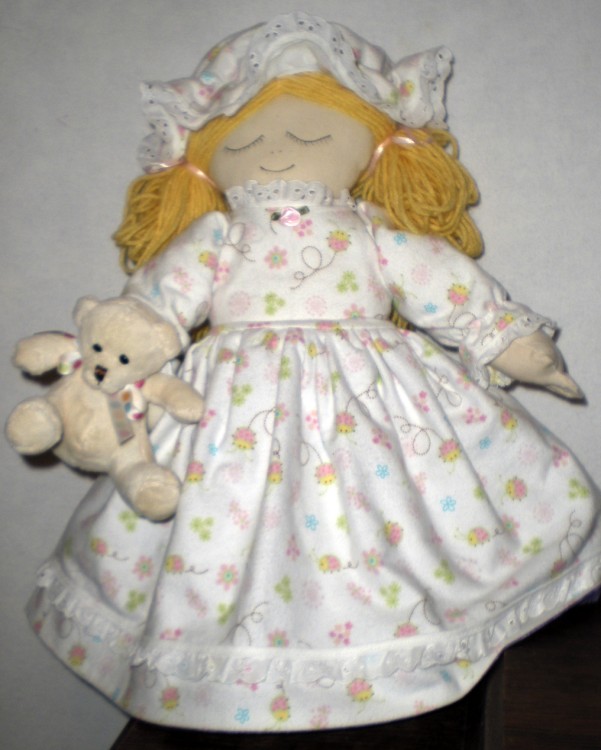
This is what we’re making:

At this point your doll faces should be complete, the bodies and arms should be sewn, stuffed and handstitched closed. Now you need to bring the arms to the sewing machine and stitch three lines on each hand to make the finger divisions. As long as you stuffed this lightly, you shouldn’t have any problems. Start sewing at the edge of each hand and stitch up towards the shoulder, then backstitch on the same line all the way back to your starting point. If your machine balks at stitching through all the thickness, you can hand sew these lines or skip this step altogether.
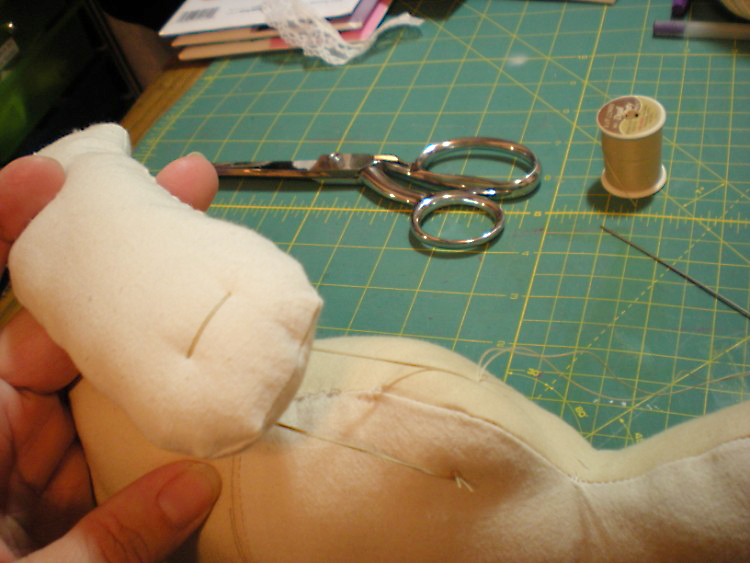
To sew the arms to the bodies, use very heavy thread and a long needle, like a doll needle. The thread I like to use is labeled “Extra Strong for Buttons, Carpets and Crafts.” Use doubled thread to go through the dots on the arm, then through the shoulder and back. Go around 3-4 times. Bury the knot in the doll. (In this photo I have the thread loose to show the path it needs to take. You’ll have to pull it tight as you sew.)
To make the clothing:
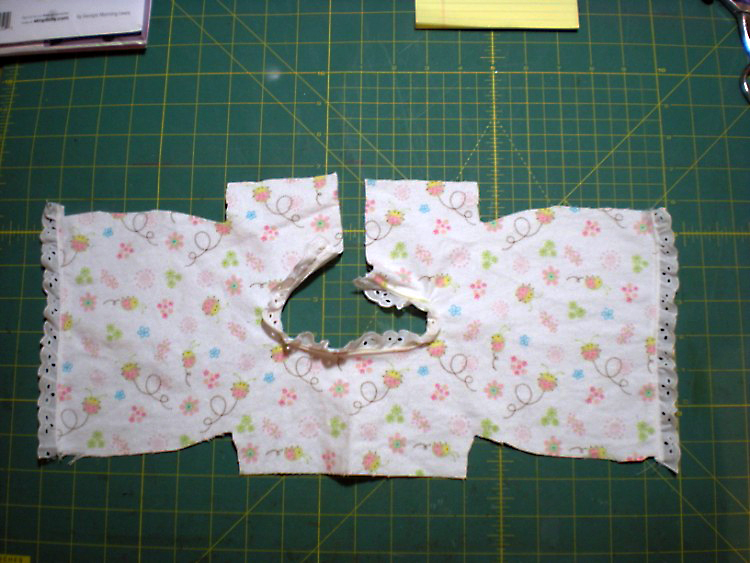
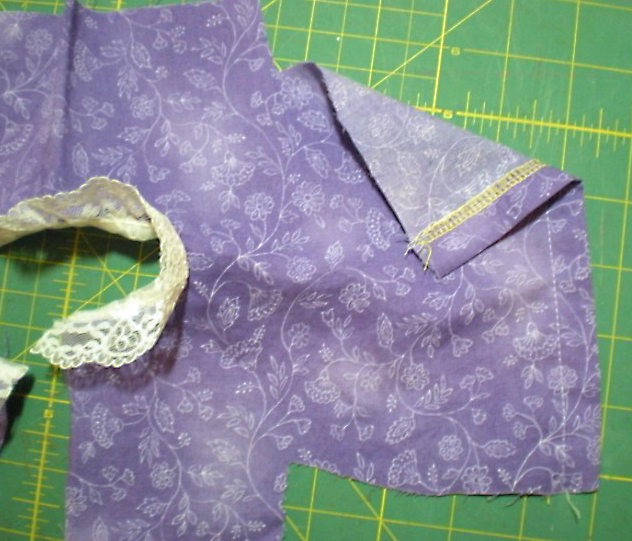
With right sides together, sew lace to necklines of both bodices. Match the raw edge of bodice to the gathered edge of the lace. If you wish, press seam toward bodice and topstitch to hold in place.
In the same manner sew lace to the edges of the nightgown sleeves and the nightcap.
Finish sleeve edges of day dress. Fold on line and stitch to make a casing.
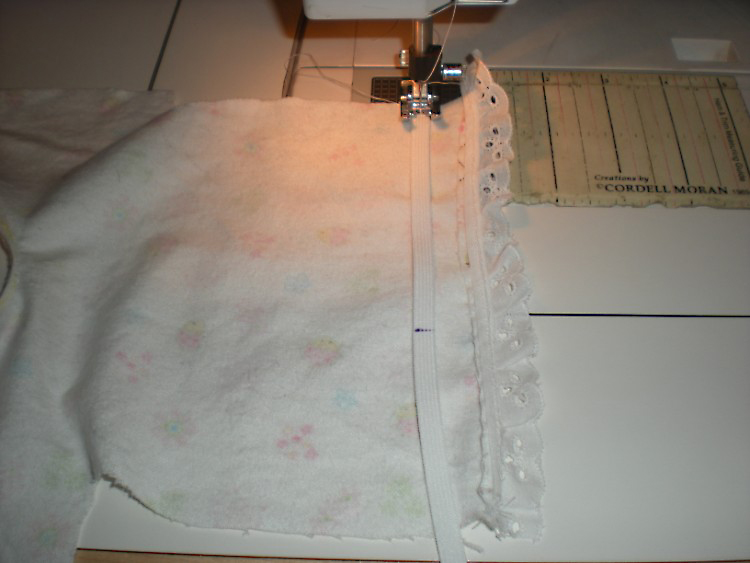
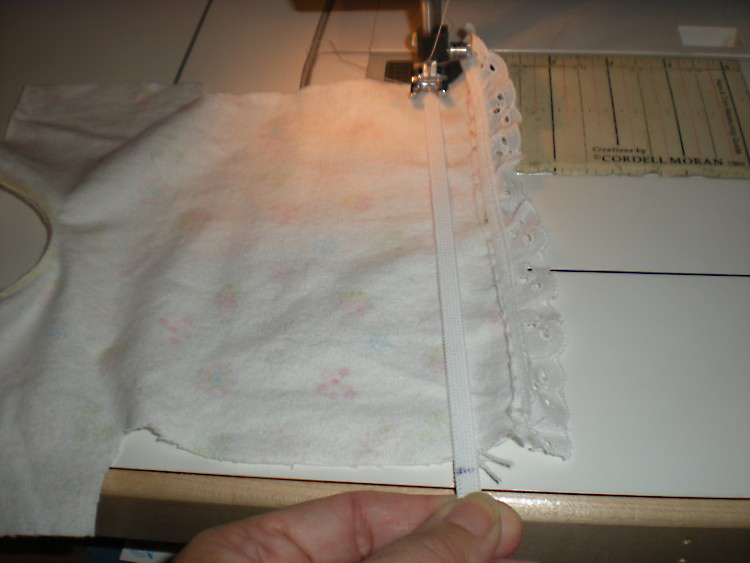
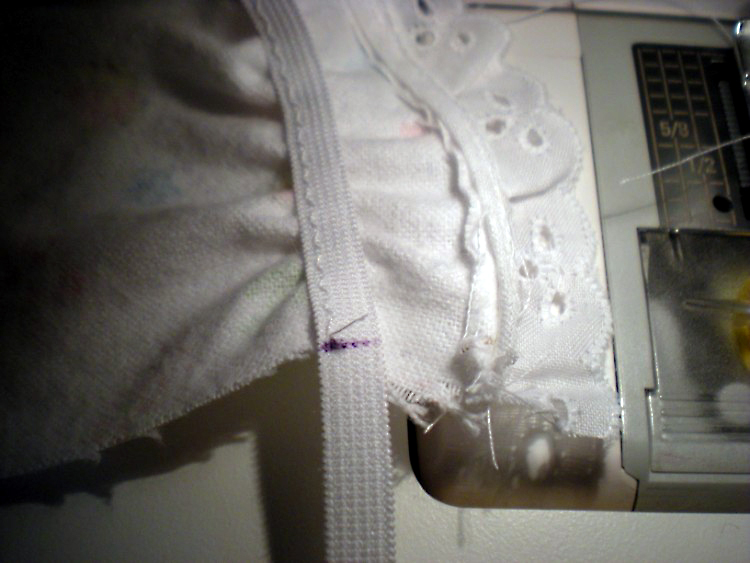
Use 4 4.5″ pieces of 1/4″ elastic. Use a zigzag stitch to sew one to each nightgown sleeve 1 1/2″ from finished edge of lace. (Tip: Leave the elastic long and mark at 4.5″. This gives you something to hold on to while sewing.)
Insert the remaing 2 pieces of elastic into sleeve casings on day dress, tacking in place in seam allowance.
Cut a 13″ piece of 1/4″ elastic. Zigzag stitch this to the nightcap, 2″ in from finished edge of lace.
Sew all sleeve and underarm seams.
Well, that’s plenty for today. Phew! Tomorrow we’ll decorate the skirts and get our dolly dressed.
Click here to go directly to Part 3.

I discovered your column by accident today. I love how you tackle the patterns and show the results. When I retire I want to sew and do the same and believe me it will be very soon. Until then I will enjoy and be inspired by your work.
Thanks for stopping by, Ann. Glad you enjoy my little blog. 🙂
I have tried to access the doll pattern from both links and neither seem to connect. My daughter was wanting to make this for a school project and with your good pictures I think I could recreate with extra effort but would love not to do what you have done so beautifully already. Is there a chance the links can be fixed again or could be pdf be e-mailed to me?
Hi Marsha,
So sorry for the inconvenience, the link should be working fine now. http://www.keepsakecrafts.net/blog/topsy_turvy_doll_pattern.pdf
Happy sewing!
Sandy
Sandy,
Thank you so much for the great instructions. Your work inspired me to make a Christmas story doll. One side is Mary, Joseph and Jesus. The other is an angel. Now my daughters are coming up with all sorts of interesting requests! Very fun!
Wow, that sounds wonderful, Anita! I’d love to see photos.
do you rembemer the” Little Red Riding Hood and the Big Bad Wolf Topsy-Turvy doll. do you or anyone you have that pattern
I’ve seen the Red Riding Hood/Wolf doll before but I don’t have the pattern myself. If you can’t find one online, perhaps you could adapt my pattern by changing the clothes and facial features. Let me know how it works out!