


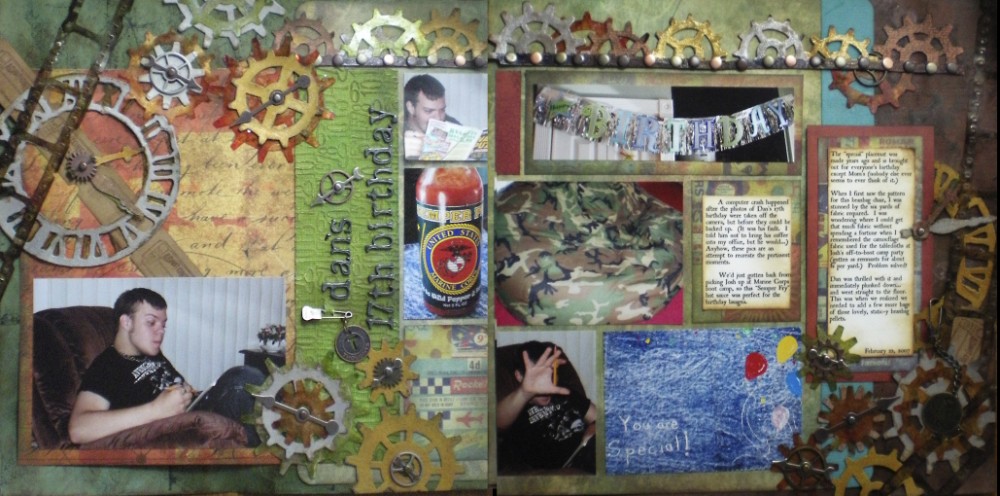
Last week I posted this Steampunk layout based on Tim’s Day 8 steampunk tag. (Has it really been a whole week? I’m usually a better blogger than that. Goodness. I don’t know what I’ve been doing all week but I have been busy.)
Check out the original post for how to do the gears and such.
Anyhow, I promised I would share how I approach doing a scrapbook layout.
My layouts always begin with photos. Trying to get our family pictures into albums and tell their stories is my reason for scrapbooking.
The next step is to get a general idea of the way the elements will be arranged on the page. This means having an idea of:
- How many photos you have, how large or small you want to use them and their orientation (horizontal or vertical)
- What major embellishments you want to use
- What type of title will be used
- How much journaling will be used
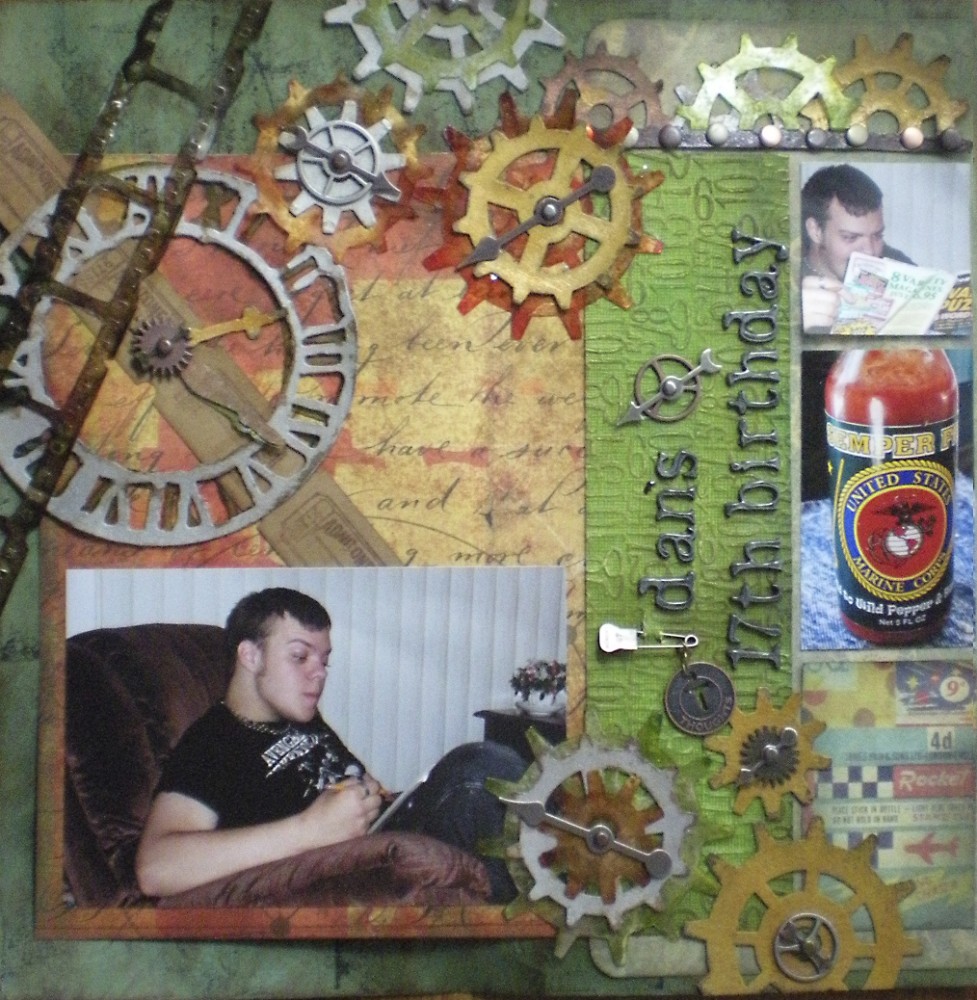
In the above layout I knew I wanted one of the 4″x6″ photos to be used full size, but the rest could be cropped down a bit.
Since it was based on Tim’s steampunk tag, I knew I wanted to use the large and the Weathered Clock Bigz Die
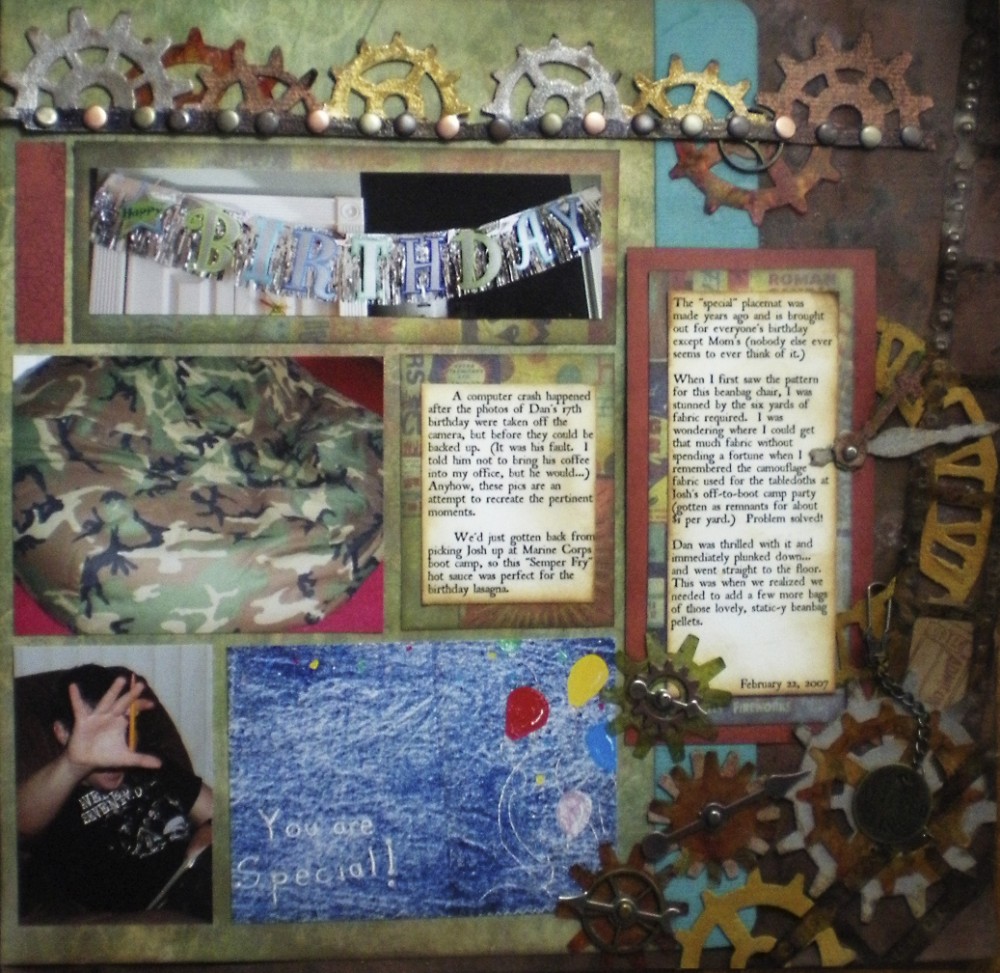
as a focal point, and the Steampunk On The Edge Die on a border.
I wasn’t real sure about the title, but I knew I had a fair amount of journaling to do.
I kept all of these in mind as I flipped through my files of scrapbook page sketches.
Whenever I come across a crafting idea I like, if it’s on the internet I print it, if it’s in a book or magazine, I copy it. These pages are then filed in a three-ring binder, like so.

This sketch from Creating Keepsakes magazine was the one I settled on for this layout. Lots of smaller photos, a large border strip across the top and plenty of room for other embellishments all seemed to work with my plan.
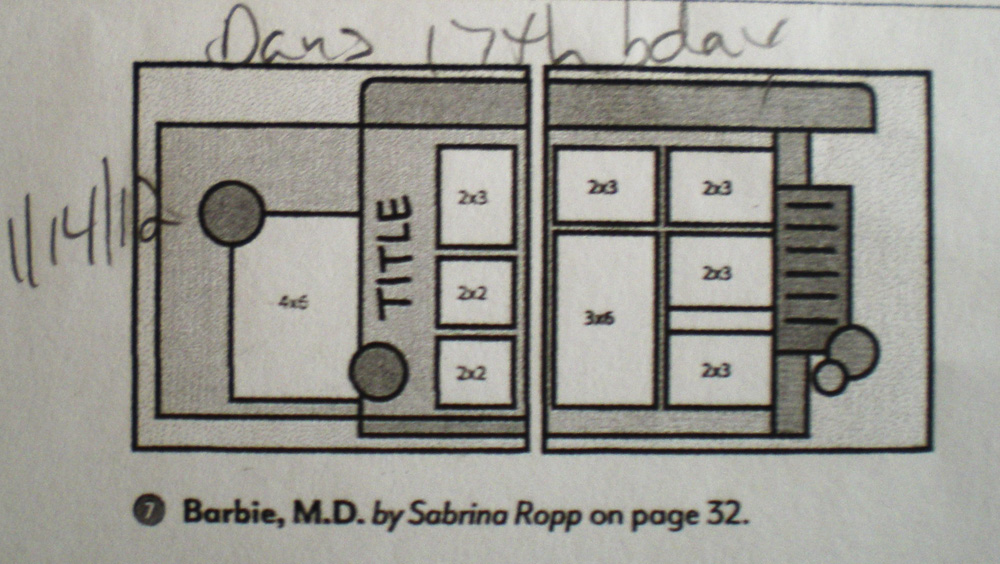
Although my finished layout rarely looks much like the original sketch, it’s nice to have a jumping off point.
The next step is to start choosing papers. Spread out your photos and start pulling out any paper that looks like it might possibly work. Don’t over think this step. If it might work, toss it on the table.
The resulting mess looks something like this:
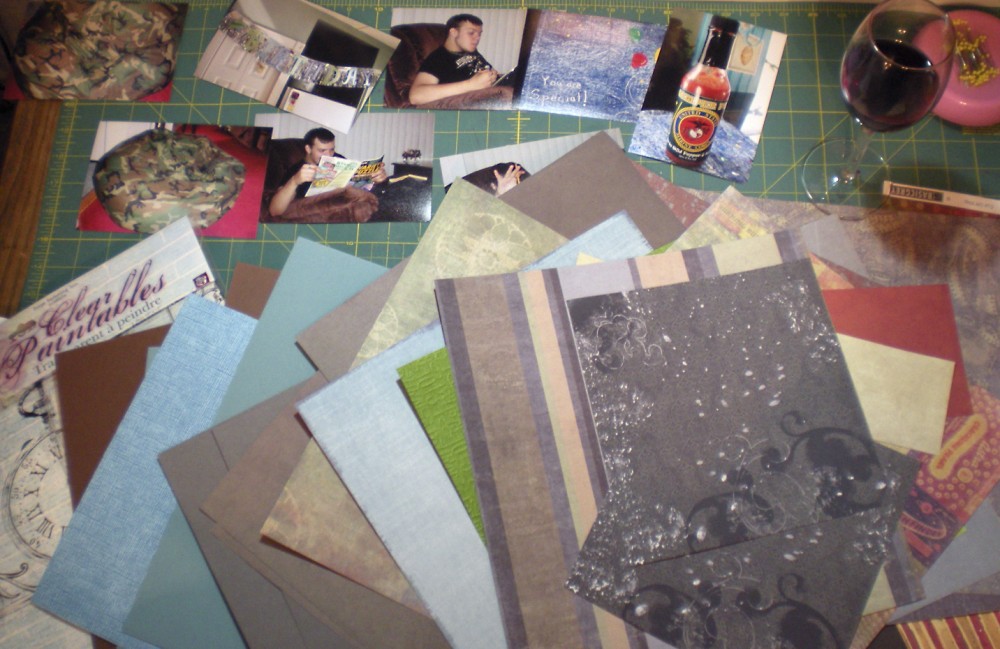
(Yes, the glass of wine is a very important part of the creative process. hehe)
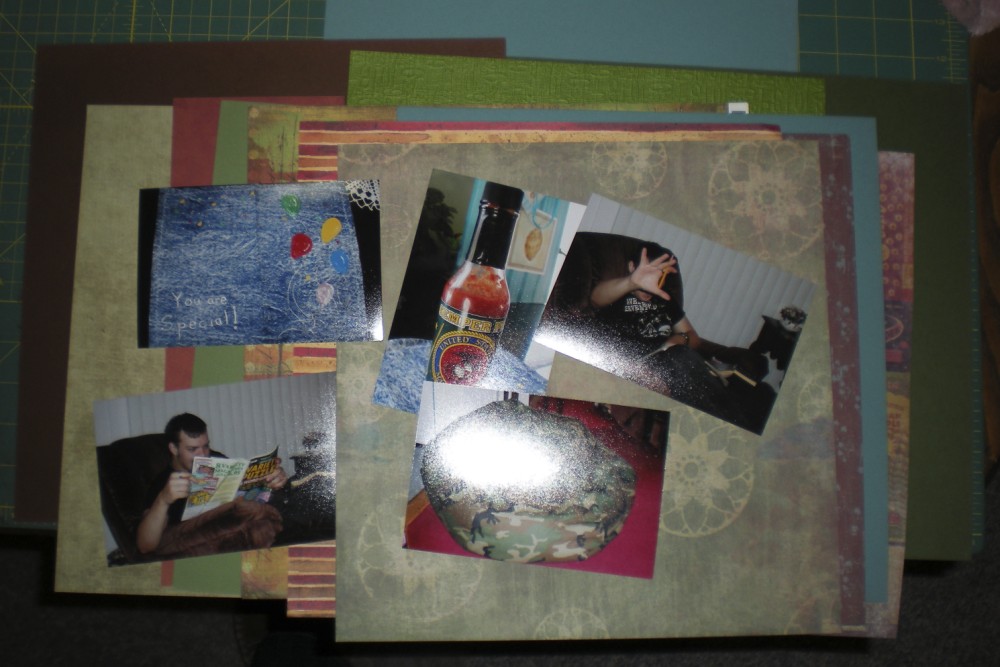
Next, with photos and sketch in hand, it’s time to choose which papers will be the background and the accents.
Culled down, the stack of paper looks something like this:
Now the fun really begins. It’s time to do the same process you just did with the papers, but now pulling out any and all embellishments you think might work.
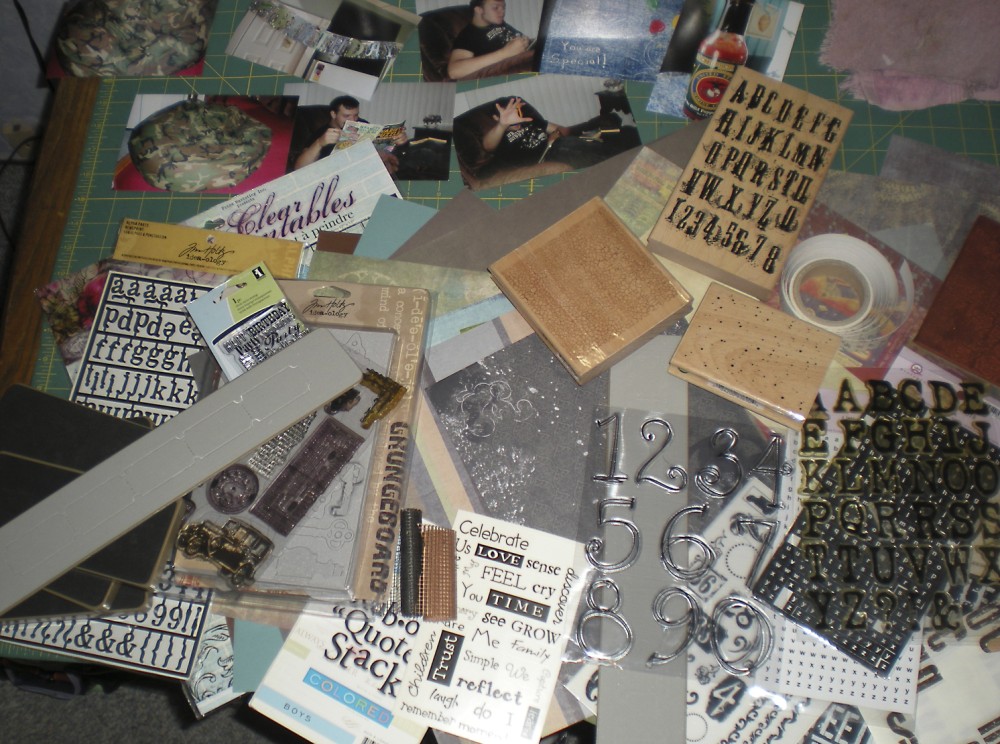
At this point I separate out the papers and embellishments I’m going to start with from the ones I’m not sure about. These usually don’t get put away until the page is entirely done. Sometimes at the very end there’s a little something extra that’s needed and I’ll find the perfect thing in the pile of leftover stuff.
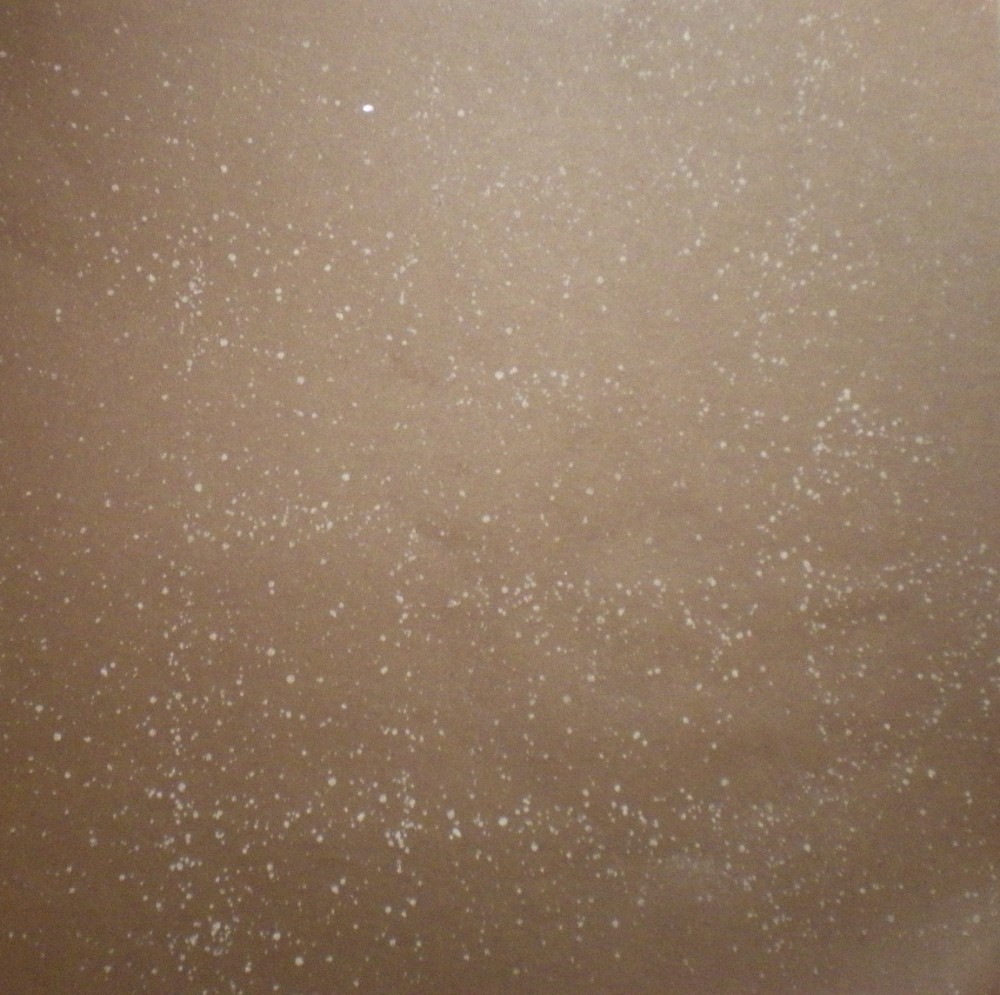
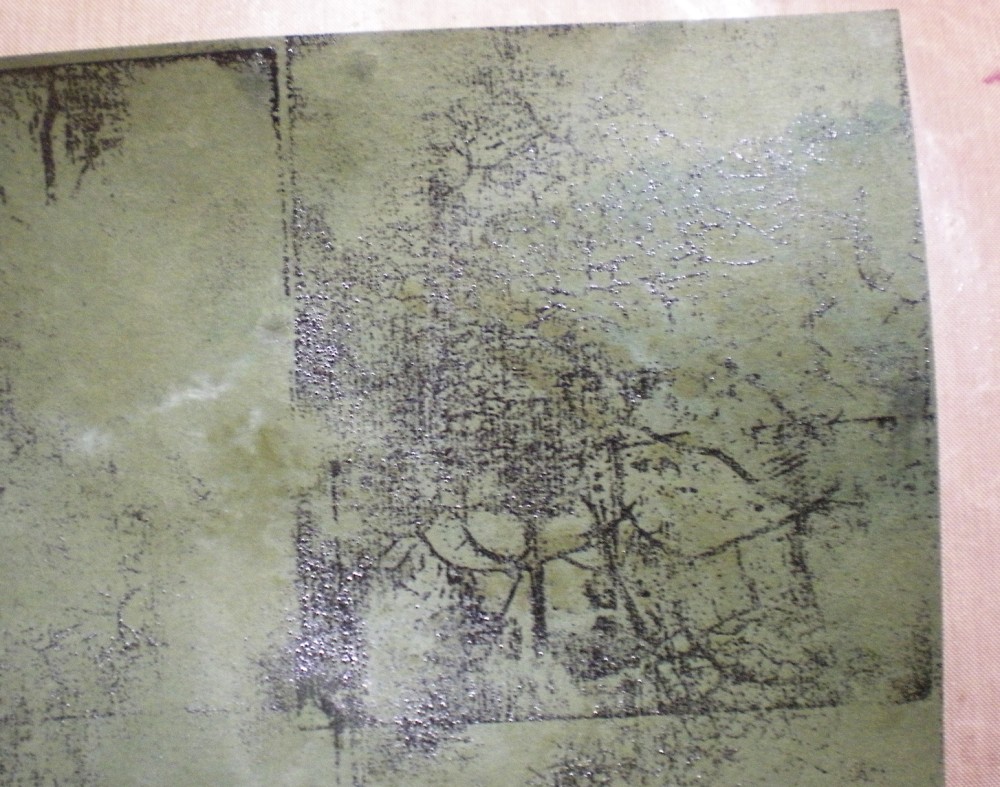
The next step is to decide which papers will be the backgrounds. These days I cannot seem to leave them as is, but must do some inking.
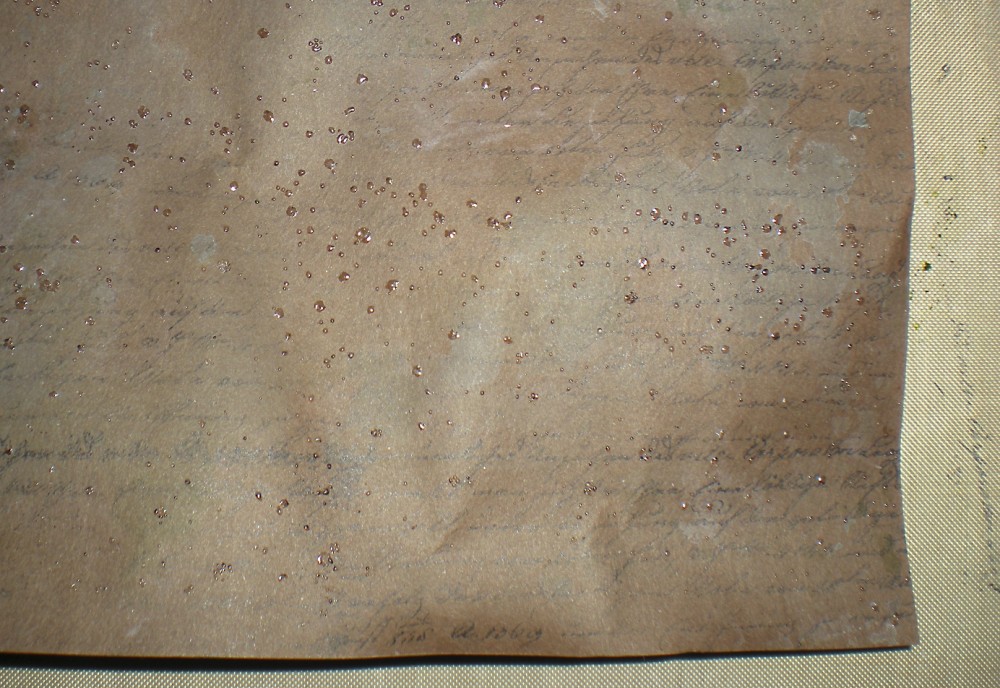
First, I heat embossed both pages with all over patterns. This one got the splatter stamp and clear embossing powder. (This photo is before I set the powder with the heat gun, as it was hard to see afterwards.)
This one got the crackle stamp and black embossing powder.
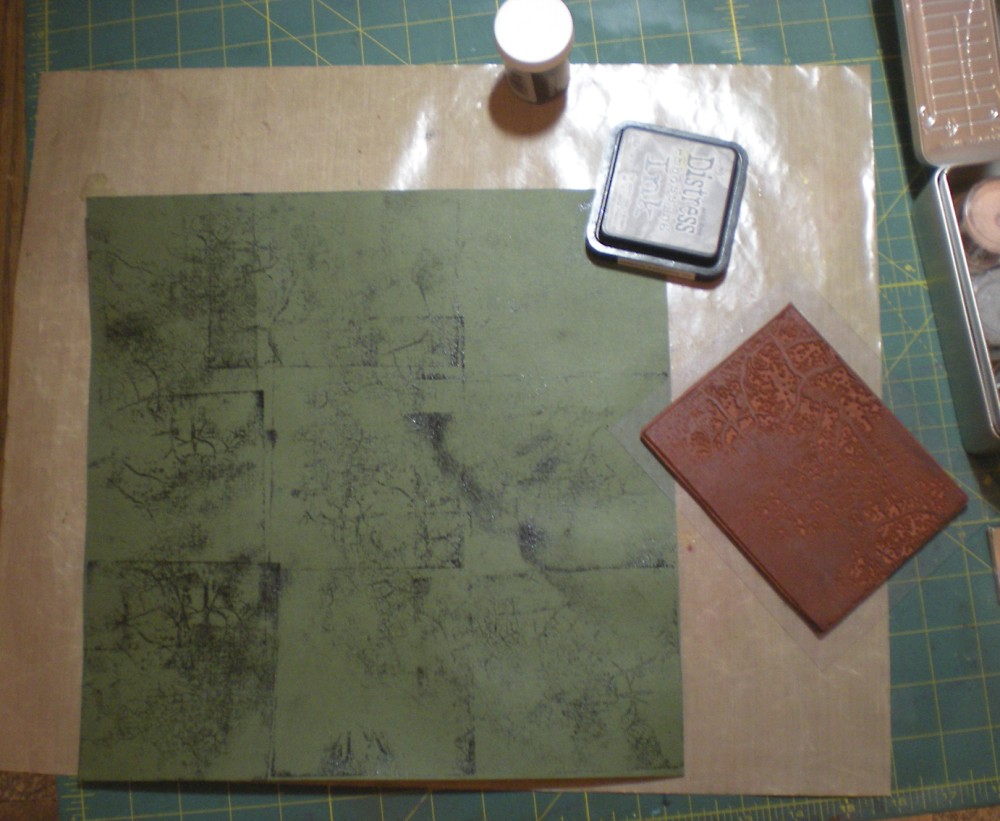
No worries about imperfect stamping, as they’re just distressed backgrounds.
Now, swipe some distress stains onto a Non-Stick Craft Sheet, I used Picket Fence Distress Stain, Peeled Paint Distress Stain, Faded Jeans Distress Stain and Vintage Photo Distress Stain.
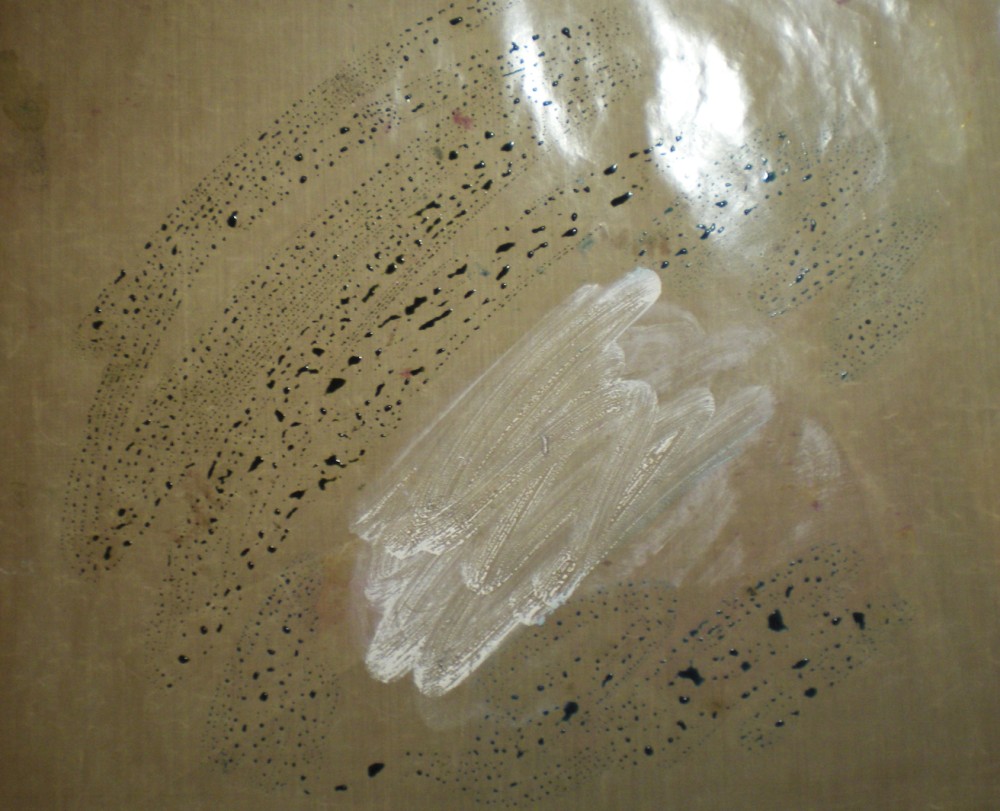
Spritz your paper with water, then swirl through the stains on the sheet.
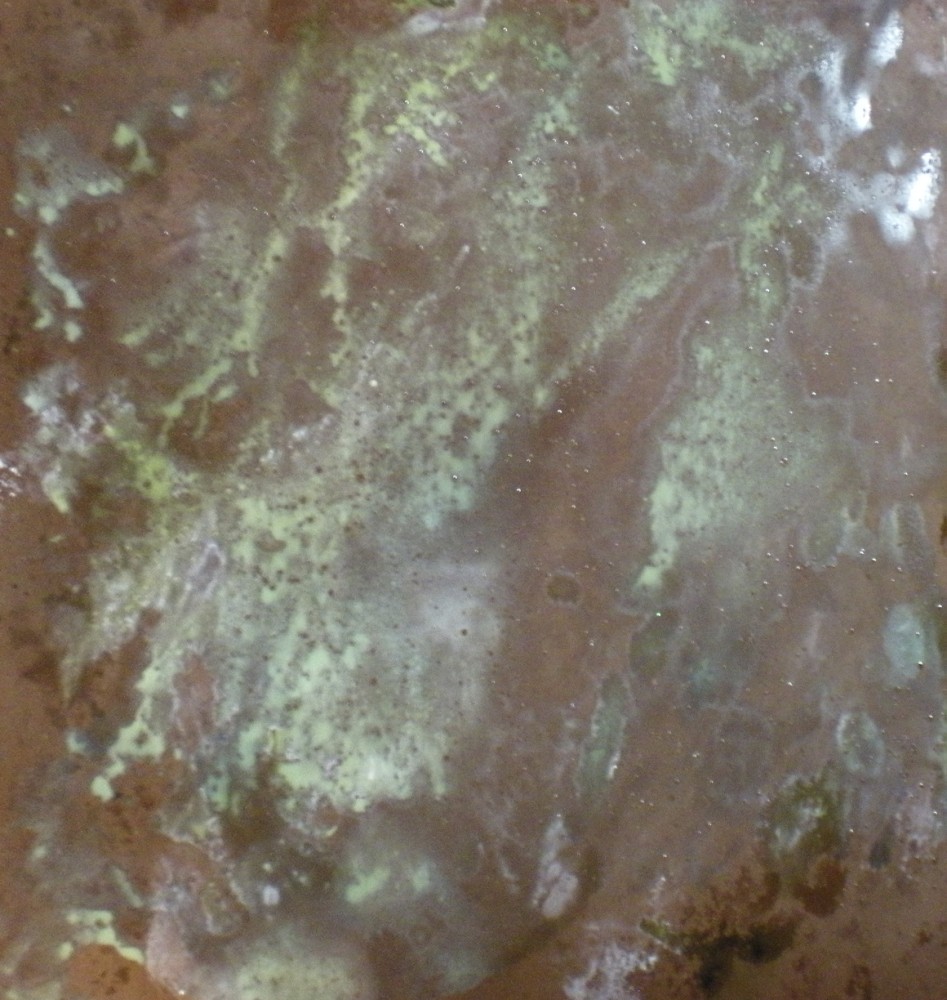
Dry with a heat tool, (the colors are much more subtle when dry) then overstamp with another background stamp.
Cool, huh?
Now that you have your background pages all wonderful you can start laying out everything else, accent papers, then photos and then embellishments.
Hope you found this helpful.
Happy Creating!

Barbie, MD??
It’s great. I love it. The subject of the scrapbook may not care about it now, but some day he will. 🙂
Ha, Barbie MD must have been the subject of the example layout in the magazine. Toldja mine would barely resemble the original.
Yes, it is my hope the boys will someday treasure these albums. In the meantime, I enjoy working on them.