


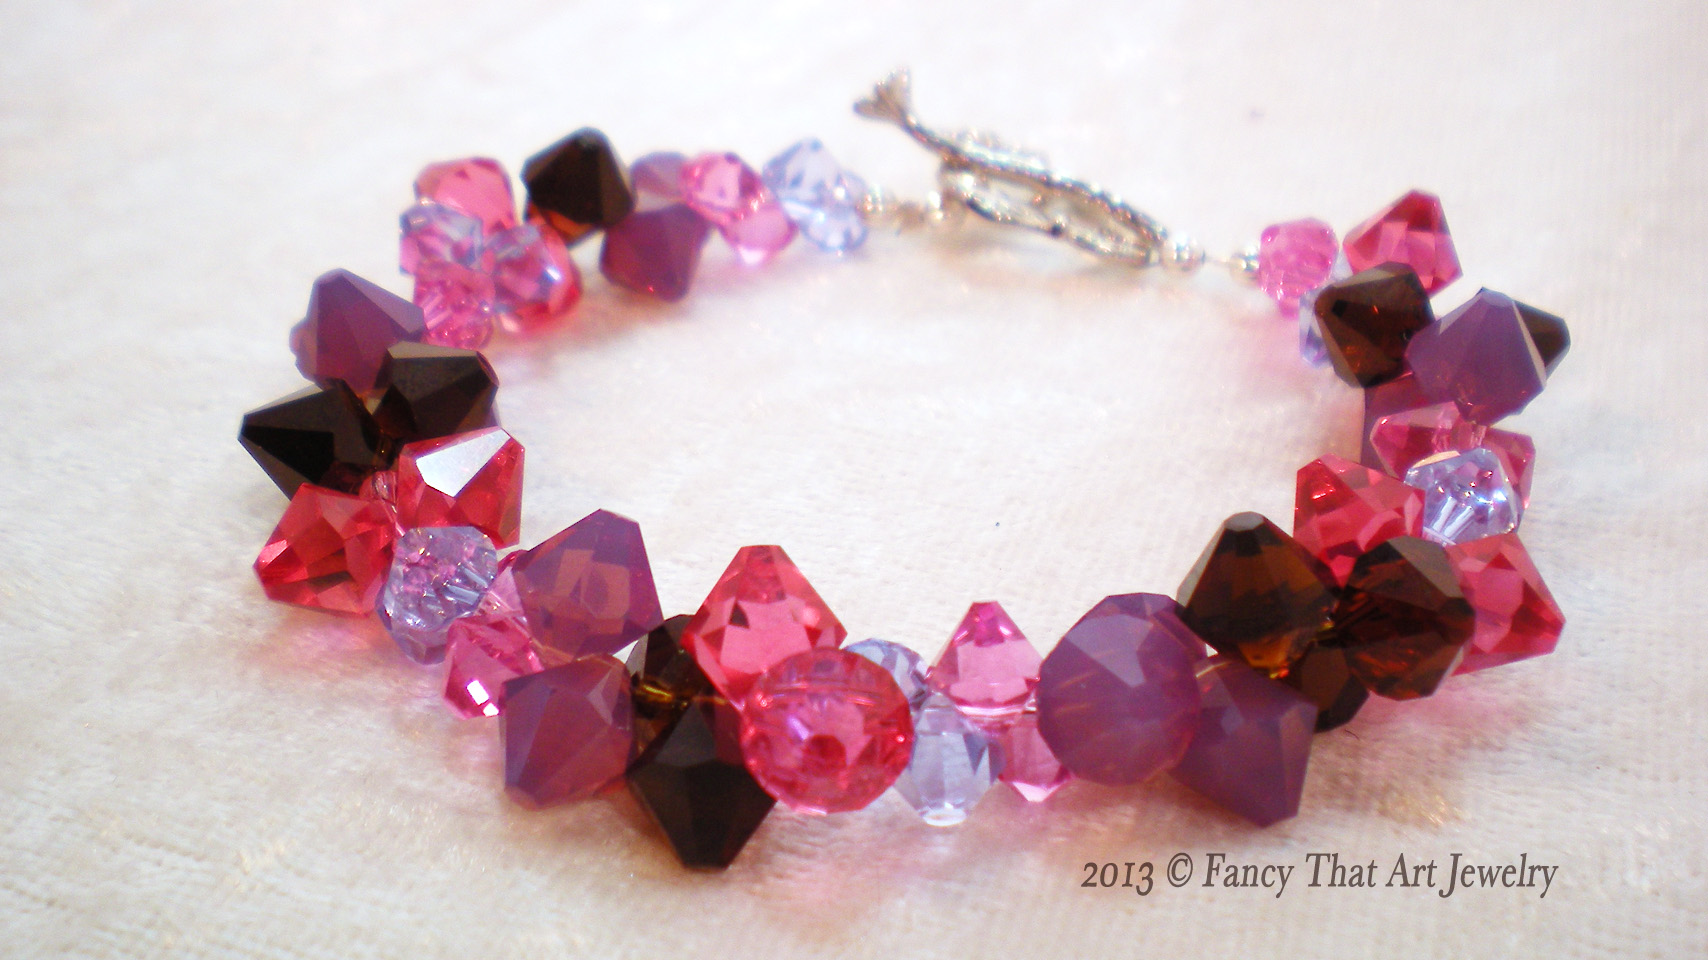
This bracelet was the result of playing around with a variation of crystal beads, namely, Swarovski crystal top-drilled bicone beads.
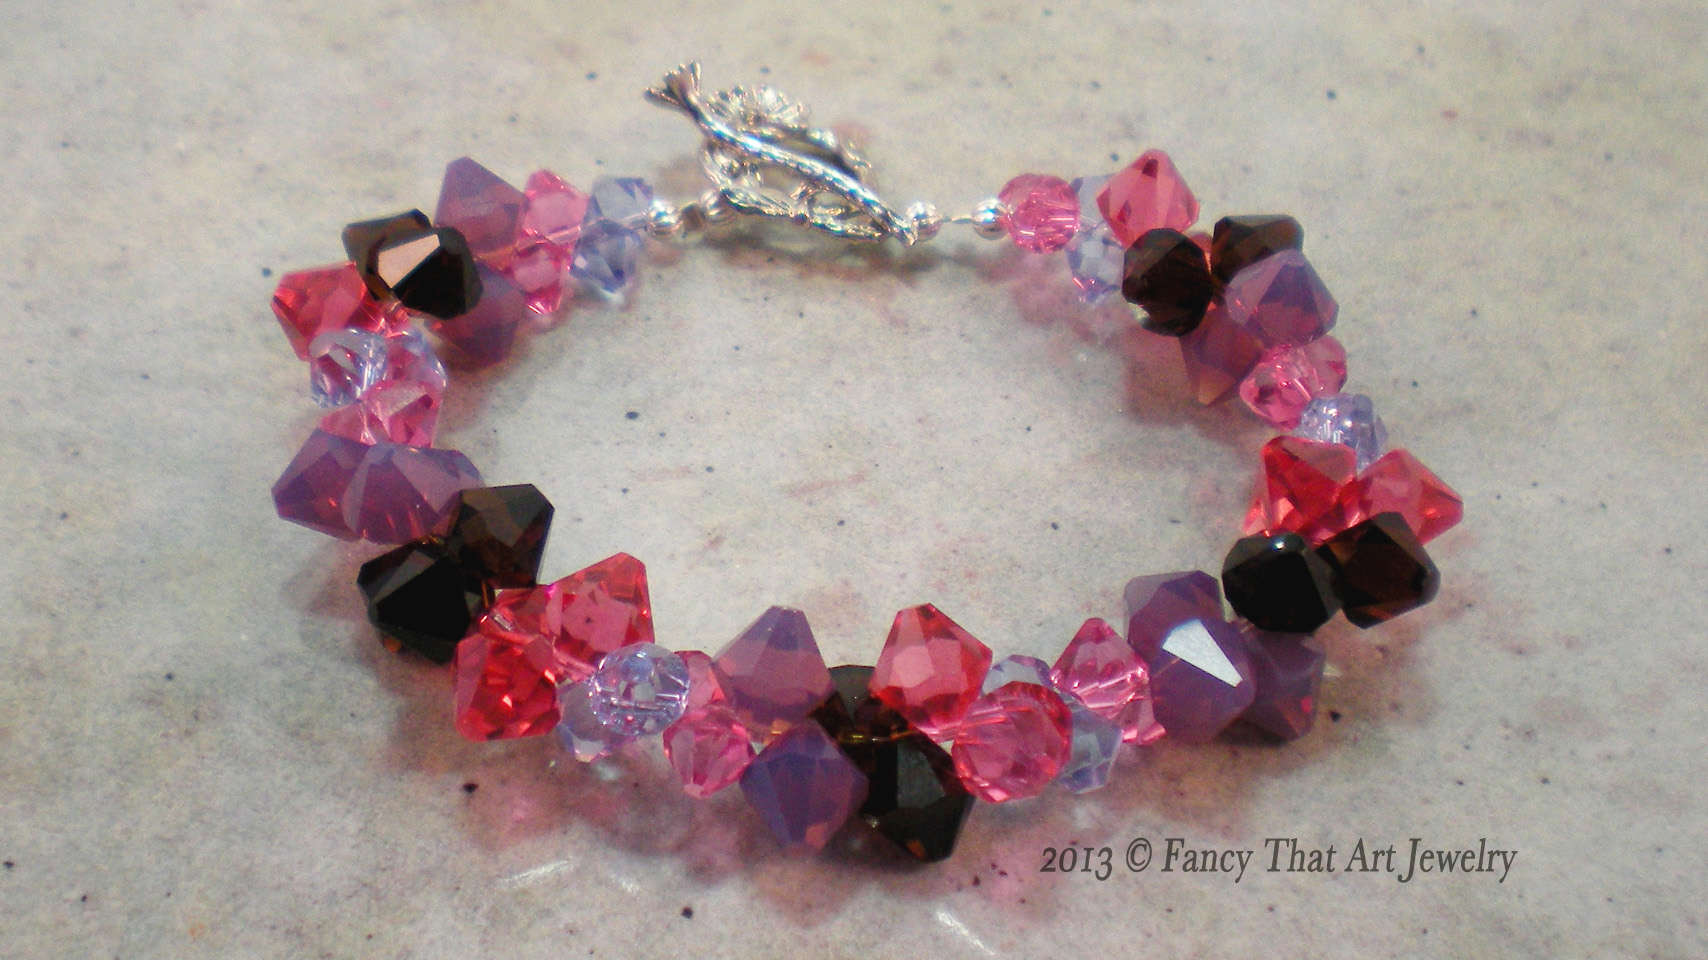
What’s fun about this is that stringing is very simple, the beads do all the work for you and they nest together in an interesting way.
Click on any of the pics for a closer look.

Like I mention in the video, this bracelet has some thickness to it, so you’ll need to make it longer than your usual bracelet length.
If you don’t want to bother assembling all the beads and findings yourself, I’ve put them together in a nice kit for you in my Etsy shop.
The beads are all genuine Swarovski crystal and the finding are all sterling silver/silver plated. And shipping is free to anywhere. 🙂
Happy Creating!
Here’s the video, over at YouTube: Swarovski Crystal Bicone Bracelet Video Tutorial
Swarovski Crystal Bicone Bracelet
Tools & Materials:
- 12 8mm Indian Pink Top-Drilled Swarovski Crystal Bicone Beads
- 12 8mm Mocha Top-Drilled Swarovski Crystal Bicone Beads
- 12 8mm Cyclamen Top-Drilled Swarovski Crystal Bicone Beads
- 12 6mm Rose Top-Drilled Swarovski Crystal Bicone Beads
- 12 6mm Provence Lavender Top-Drilled Swarovski Crystal Bicone Beads
- 12 inches beading wire
- 2 crimps
- 4-10 3mm accent beads
- toggle clasp
- wire cutters
- crimping pliers or chain nose pliers
Instructions:
- Onto beading wire slide a crimp, an accent bead and loop section of toggle clasp.
- Slide beading wire back through accent bead and crimp. Pull wire up tight around toggle clasp, leaving just a bit of slack so toggle moves freely. Use crimping pliers or chain nose pliers to secure crimp.
- Tug firmly on wire to check that crimp is secure. Trim excess wire with wire cutters. Slide on another accent bead.
- Slide onto wire 2 6mm rose beads, 2 6mm lavender beads, 2 8mm indian pink beads, 2 8mm mocha beads and 2 8mm cyclamen beads.
- Next, add 2 6mm rose beads, 2 6mm lavender beads, 3 8mm indian pink beads, 3 8mm mocha beads and 3 8mm cyclamen beads.
- Repeat steps 4 and 5.
- Repeat step 4 once more, then finish by adding 2 6mm rose beads and 2 6mm lavender beads. You should have used all 60 of your beads.
- If your bracelet needs to be longer than 7 to 7 1/4 inches, add additional accent beads at this point.
- Finish by adding an accent bead, a crimp, another accent bead and toggle bar of clasp. Slide wire back through accent bead and crimp.
- Pull wire up tight around toggle bar, leaving just a bit of slack so toggle moves freely. Use crimping pliers or chain nose pliers to secure crimp. Tug firmly on wire to check that crimp is secure. Trim excess wire with wire cutters.

Ooh, what pretty colors! It looks almost futuristic. I bet one of icy pastels would look awesome at Christmas.
Icy pastels sound nice for any time of year.
I’ve thought of so many different possible color combos, it’s dizzying. Deep purples, rusts & golds for fall; summery greens & blues; turquoise, brown & cream, greens & golds; lavender, pink & green; icy blues, whites & clear crystals; that mocha brown with golds… oooooo, I could keep going but I’ll stop. 🙂
Why stop?? The deep purple, rust & gold combo sounds especially intriguing, but then it might need earrings to go with it. 😀
Yes, I may have to try that combo for the fall. AND design some earrings to go with.