


I was poking around at Costco the other day and saw this fantastic ruffled pillow. It made me think of something you’d find at Pier One or Pottery Barn.
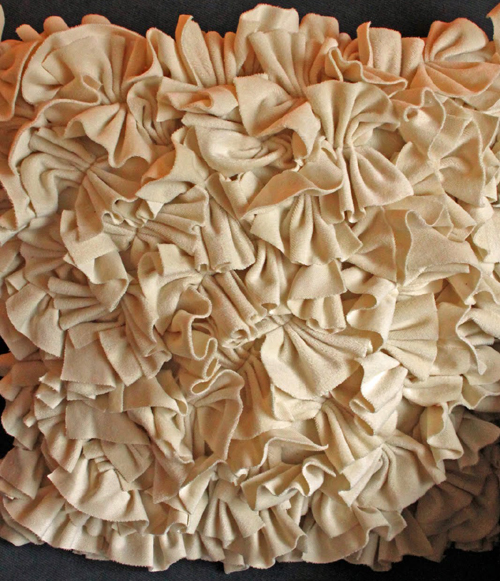
After a moment studying it, I said, “Hmmm, I could make that.” And so I have, it took just a couple of hours.
The Costco version was made out of a velour, I made mine out of polar fleece. Whatever you use, you’ll want to choose a fabric that doesn’t ravel or fray.
This pillow doesn’t have any zippers or closures, but uses my favorite pillow technique of making overlapping flaps for the back. Super quick and easy!
You will need:
- 18″ pillow form
- 1 3/8 yards 58″-60″ wide (or 2 yards 40″ wide) non-fraying fabric such as fleece
- rotary cutter and ruler (helpful, but you can just use scissors)
- sewing machine and matching thread
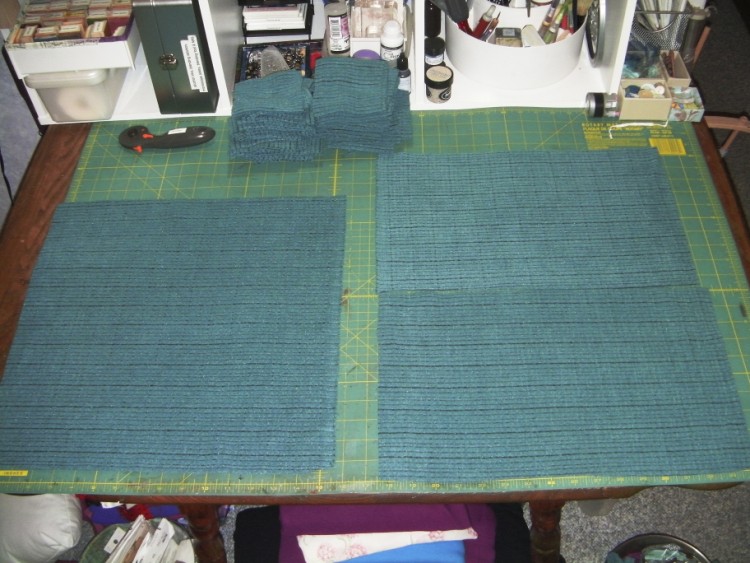
Step 1, Pillow Front and Back:
For your pillow front, cut a 16.5″ square. For the back, cut 2 pieces 16.5″ x 10.5″.
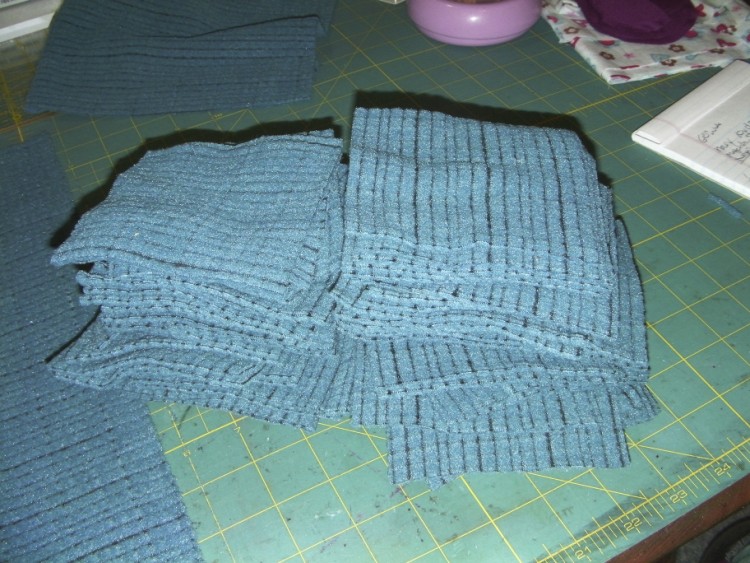
Step 2, Cut Squares for Ruffles:
Cut the remaining fabric into 80-100 4″ squares. This is where a rotary cutter and ruler come in handy.
Btw, I was using a piece of fleece that I had on hand and only had enough fabric to make 65 squares. I wouldn’t have minded my pillow being more full, but I’m still pleased with it, so if you have to, just go with what you’ve got. 🙂
Step 3, Sew the Ruffles To the Pillow Front:
Pick up a 4″ square and gather the center in your fingers.
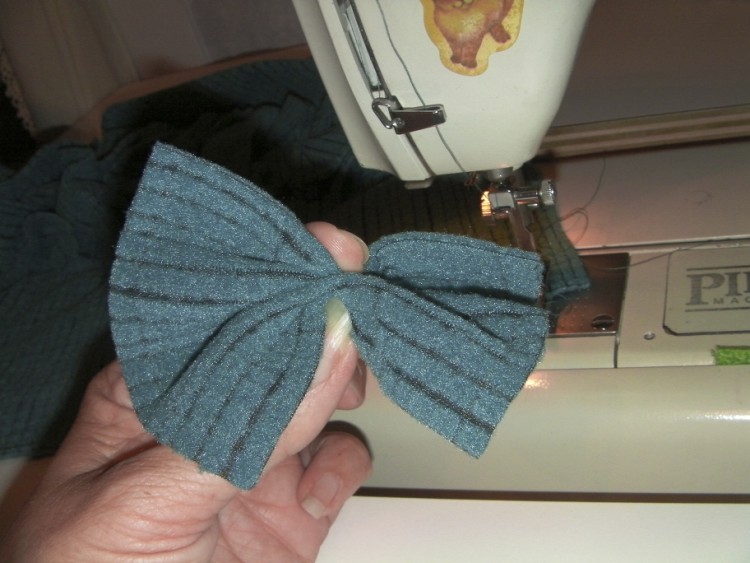
Stitch this ruffle through the gathered center at the exact middle of your pillow front. Backstitch to secure.
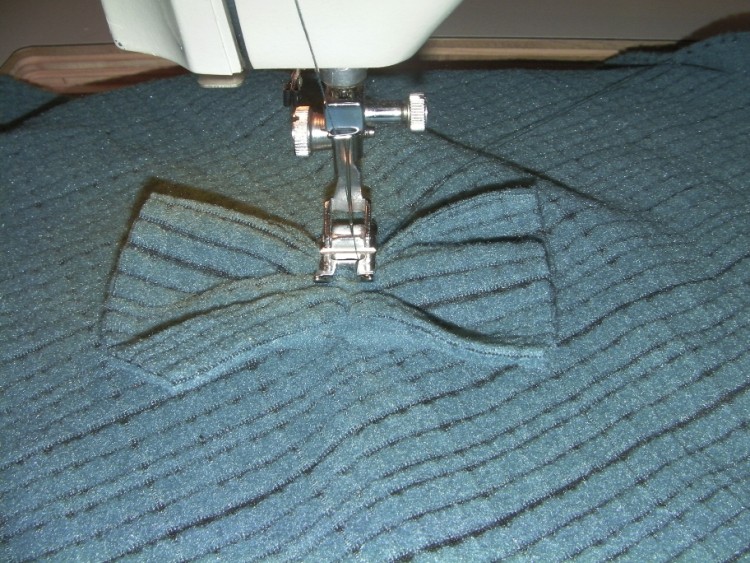
Continue to stitch ruffles in a row down the center of your pillow front. I had rows of 8 ruffles, if you have 100 squares you can make rows of 10. Just space them by eye, it doesn’t have to be exact.
Don’t stop to trim the thread tails between the ruffles until you are all done with each row. This will save a lot of time and thread.
Here’s the first row:
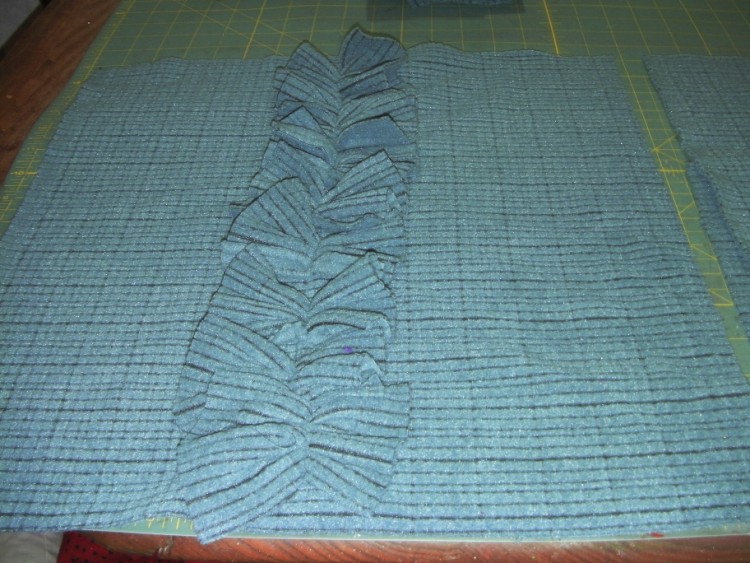
Now go ahead and stitch a second row, with the ruffles facing in the opposite direction (Turned 90°.) You’ll want this second row to be “crowding” the first row so that the cut edges of the ruffles are facing up, rather than lying flat.
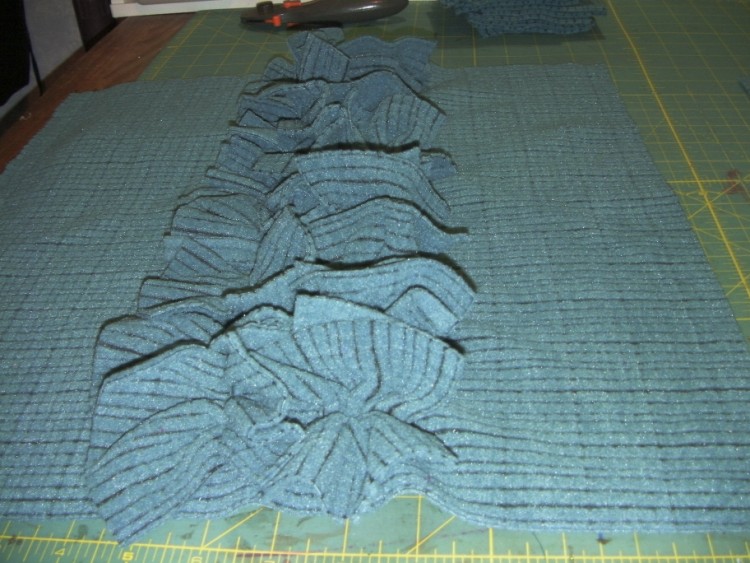
Now continue sewing down rows of ruffles, alternating directions. Leave about 1″ clear all around the edge of your pillow front so we can sew it to the back later.
Here are all the rows stitched:
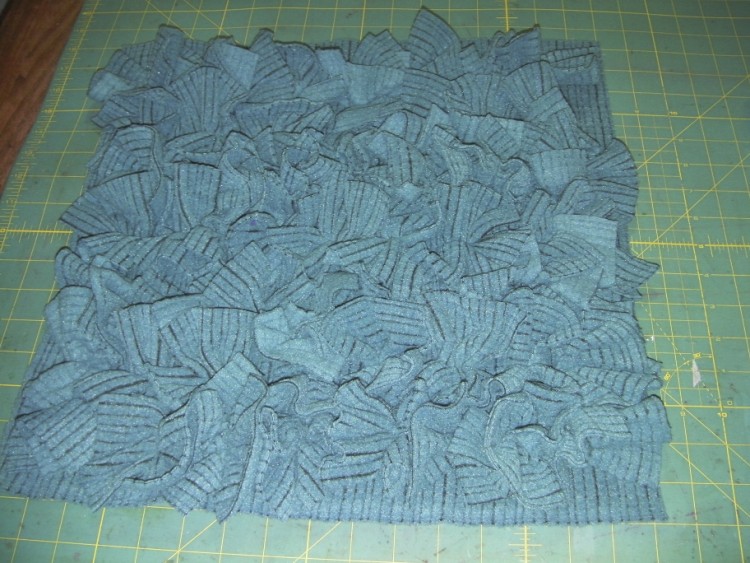
Step 4, Sew On the Pillow Back:
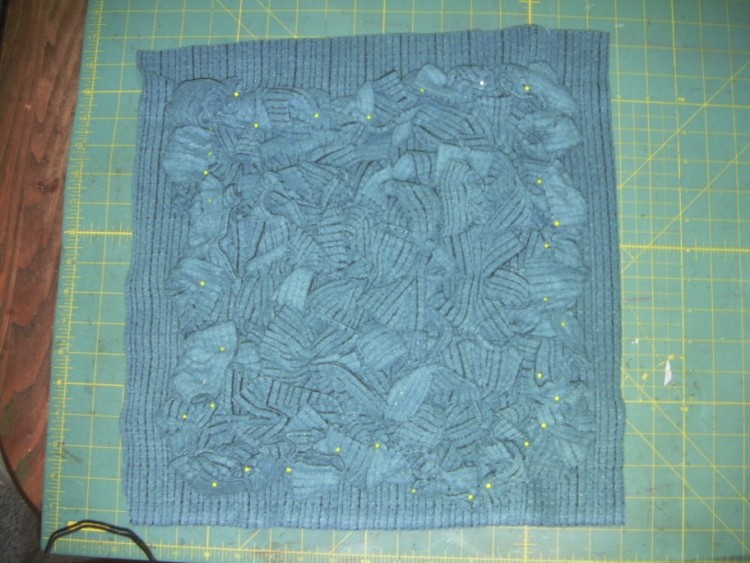
First you’ll need to take some time to pin all the ruffles out of the way of the seam allowance.
Now you can pin on one of your 16.5″ x 10.5″ pillow back pieces.
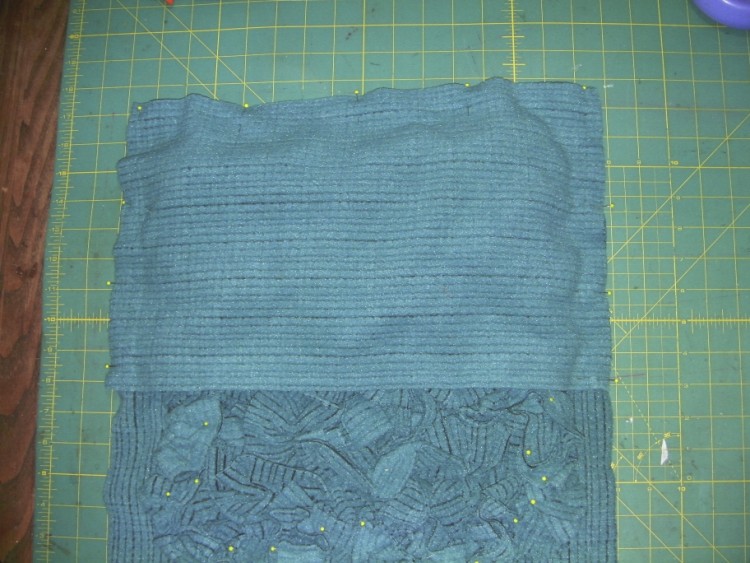
Now pin the other 16.5″ x 10.5″ to the other side (there will be a 4″ overlap in the center) and stitch with a 1/2″ seam allowance around all four sides.
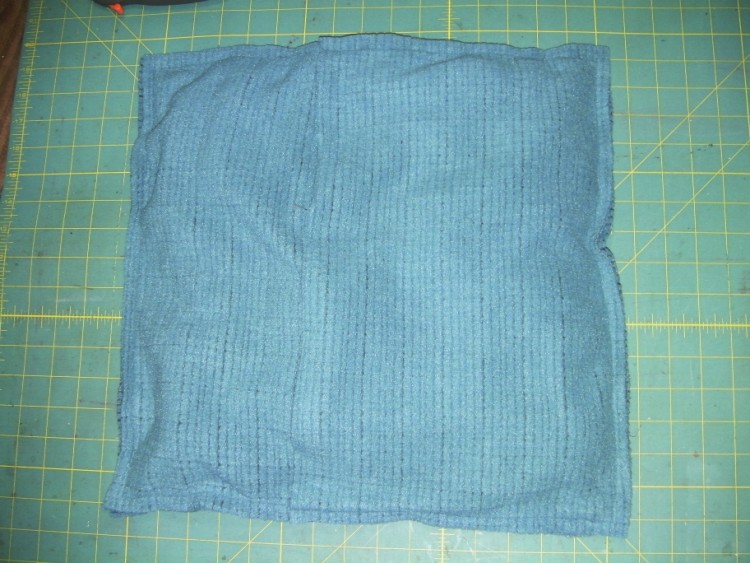
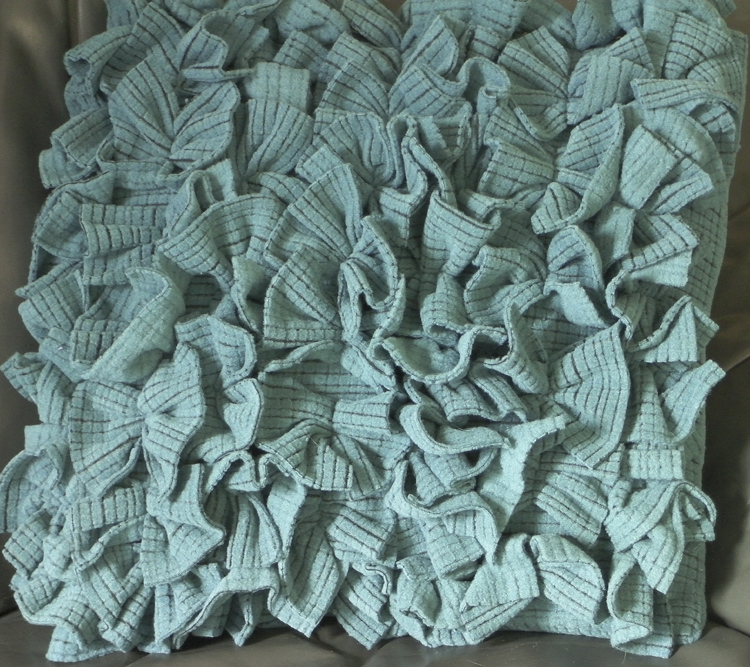
Turn right side out, insert your pillow form and voila, you are done!

Isn’t that fun? It’s very squishy and comfy to use, too.
Next I think I’ll use several bits of leftover pink and purple fleece for a wonderfully “girly” pillow for my granddaughter.
More ideas for this pillow:
- Use a variety of brightly colored fabrics for a baby or child’s pillow
- Use several shades of the same color for a rich appearance
- Cut the ruffles with pinking shears or a pinking rotary blade
Here’s to a fun and creative weekend!

Oh, I love it! So will the granddaughters. All my pillows seem to end up in their possession anyway.