


*****Updated 5/10/12********
I’ve made two more of these sketchbooks since the original post.
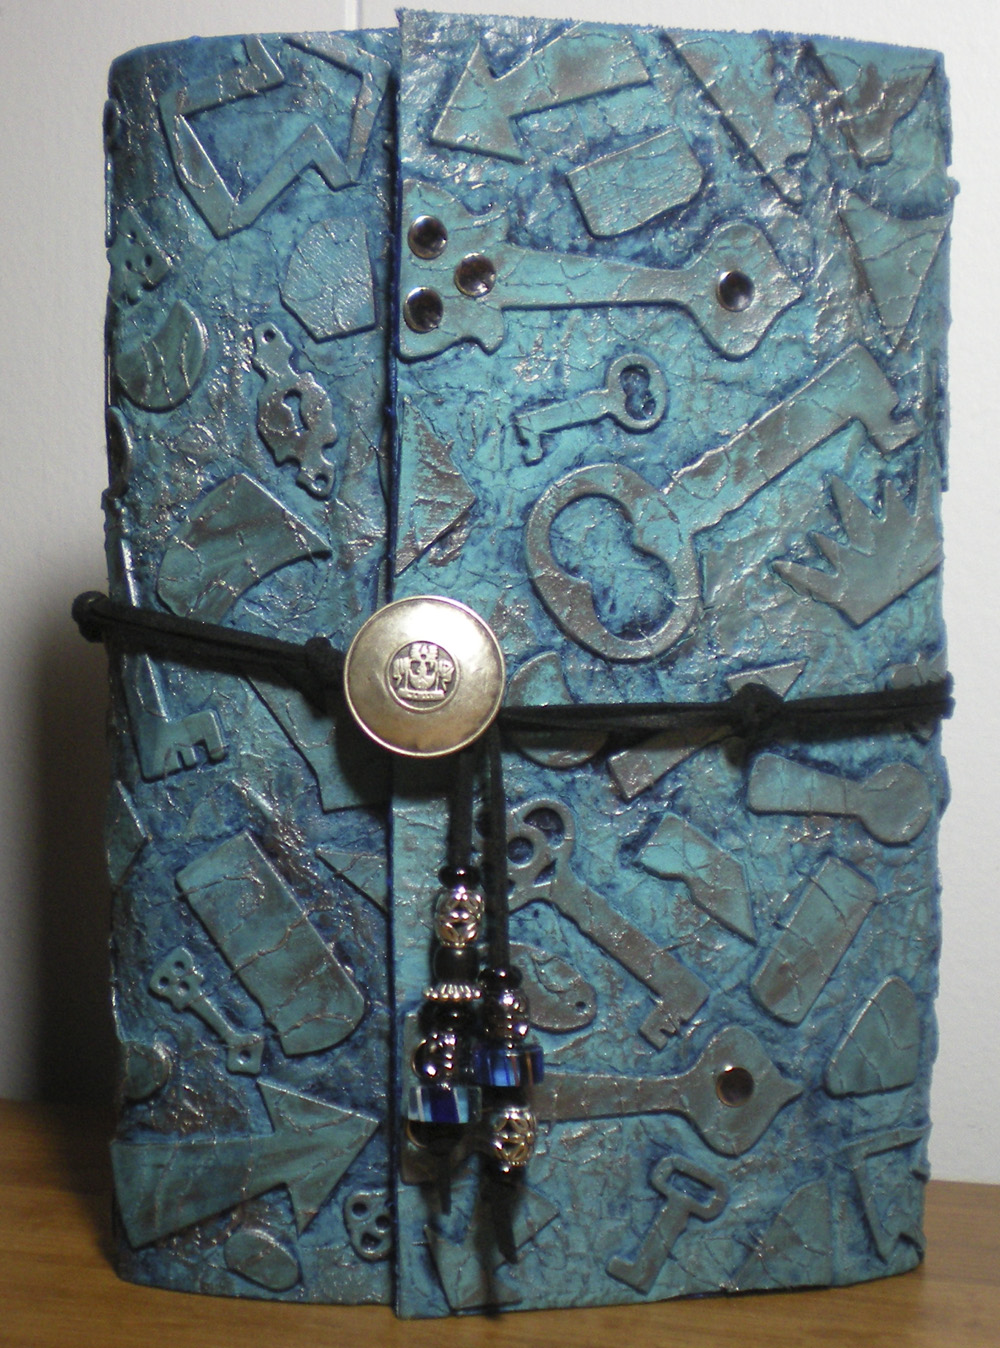
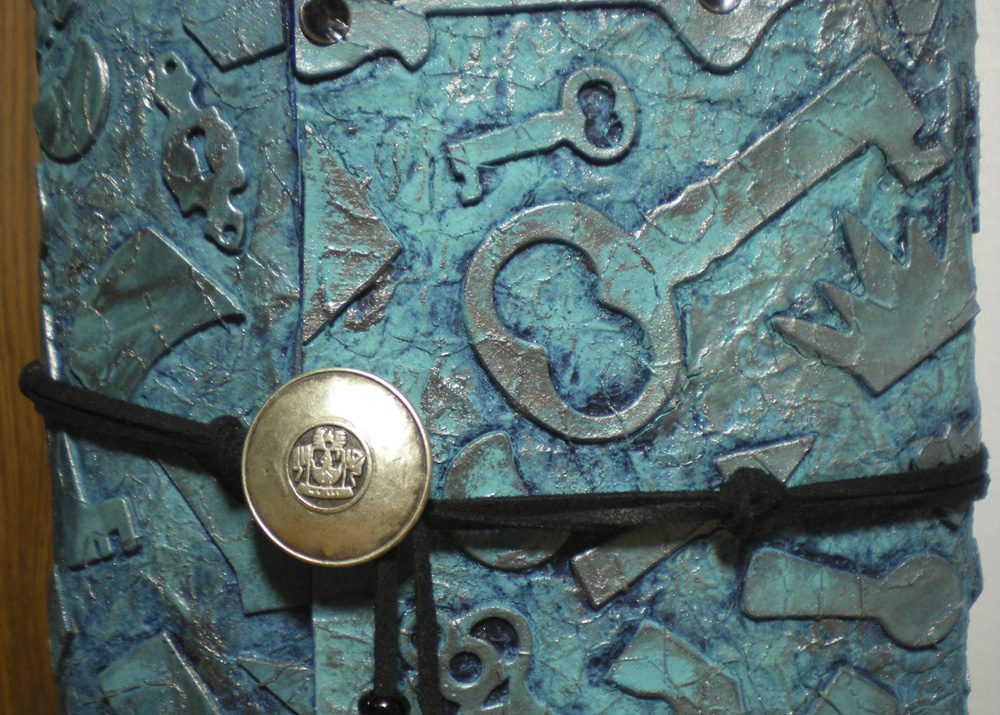
This blue one was for my husband’s birthday. He’s recently gotten back into his artwork and I’m trying to encourage him to sketch out/write down his ideas.
After making his according to my own directions from a year ago, I was reminded that I hadn’t been thrilled with some of the proportions in the original.
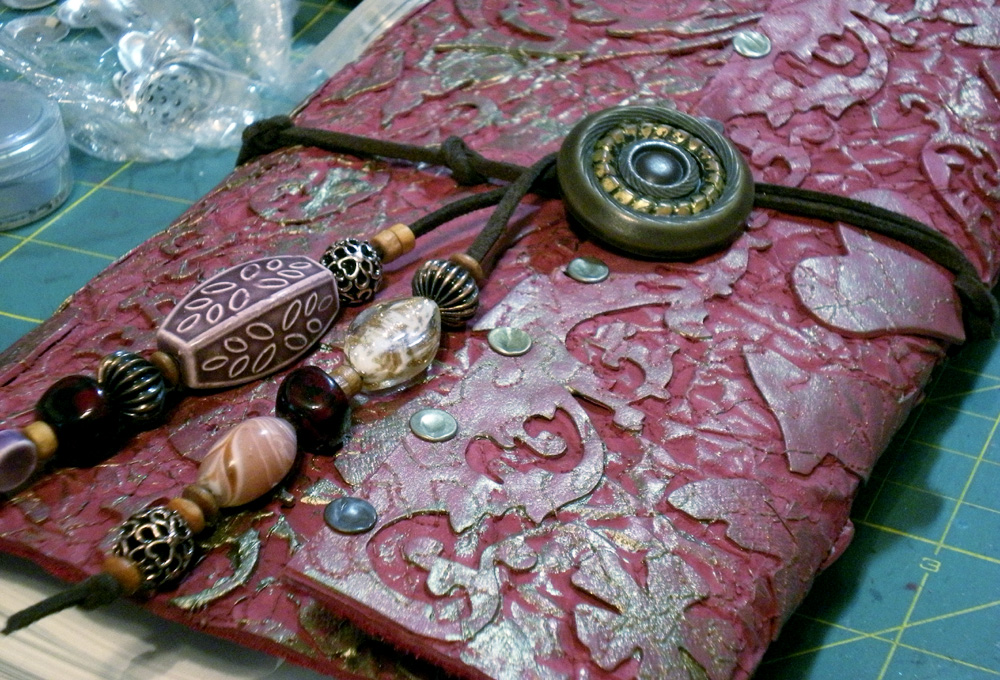
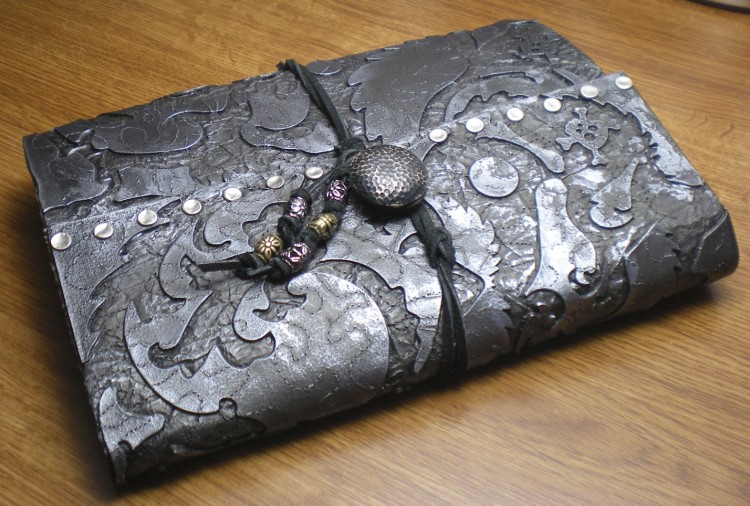
You can see in this one, which is for me, that I’ve shortened the length of the right flap. I also shortened the length of the left cover, as it seemed to stick out too much.
I’m really looking forward to using this, rather than having bits of paper all over the place. 🙂

I often get ideas and inspiration from magazines and catalogs, so I made a space for a glue stick as well as pencils. That far left “pencil” is actually an eraser, too cool.
The dimensions have been updated in the below directions. Hope you give this project a try!
************* Original Post – Feb 19, 2011 ***************************
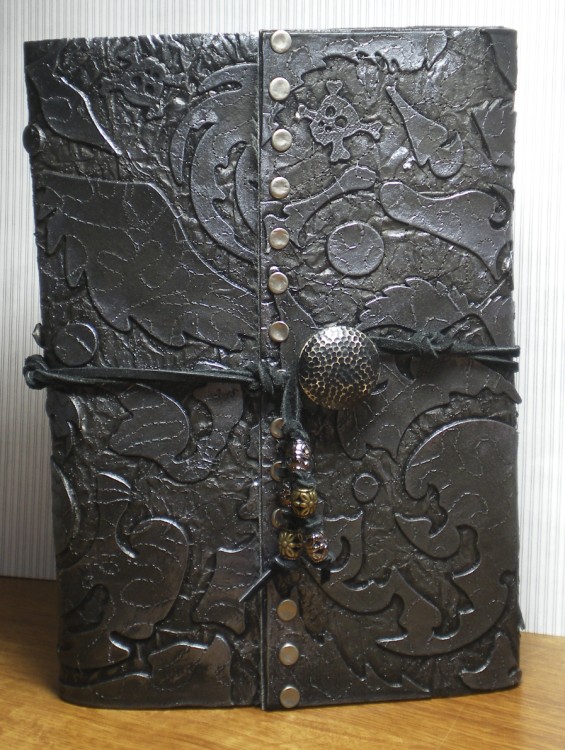
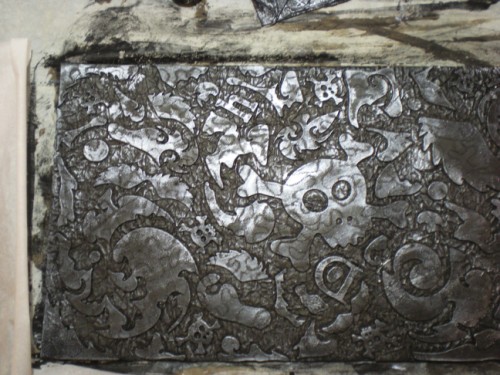
My son’s 21st birthday is coming up, and I wanted to make him something kind of cool and interesting and special. He likes to draw, so when I saw Sue Bleiweiss‘ faux leather journal in the December 2010 issue of Cloth, Paper Scissors, I knew I had a great place to start. (Many thanks to Sue and CPS for the inspiration and their kind permission to give my take on the project. If you would like to learn Sue’s original technique, make sure to refer to the original article.)
Would you believe this is made out of a paper bag?
Although the project looks complicated, each of the steps is quite simple. Make sure to first read through all the instructions to familiarize yourself with the process.
Materials:
- paper grocery bag
- heavyweight interfacing like Pellon Peltex, 9″x15″
- fusible web, like Wonder Under
, three 9″x15″ pieces
- Parchment Paper
- iron or press
- acrylic paint in 2 shades of your choice, one darker than the other
- grungeboard shapes (I used shapes and negatives from this set: Tim Holtz Idea-ology Plain Elements set)
- sewing machine
- soft rag
- Perfect Pearls in color of your choice (this is a set I LOVE to use: Perfect Pearls Aged Patina Set)
- lining fabric, 9″x15″
- 3″ piece 1.5″ wide elastic
- metal snaps or brads, such as these: Aluminum Snaps (optional)
- small metal hammer or Texture Hammer
- one 9″x12″ pad of sketchbook paper, such as this: Canson Universal Sketch Pad, 9″ x 12″
(or approximately 45 8.5″x11″ papers for the inside of your book)
- awl (straight, not tapered)
- tapestry needle
- waxed linen twine, 60″
- large decorative shank style button
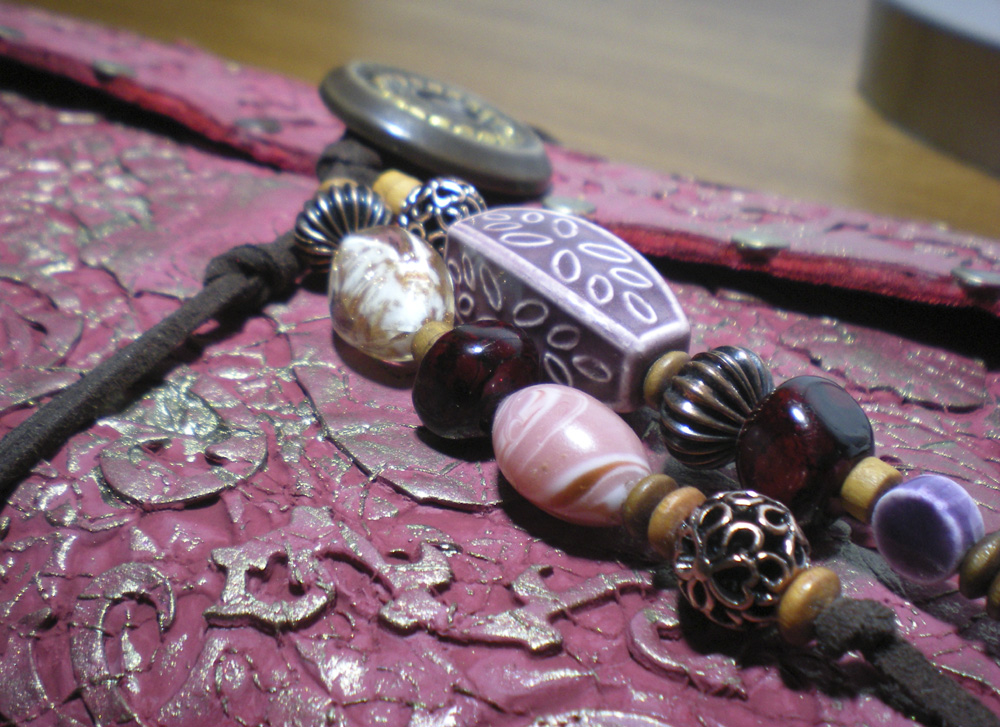
- leather cord, 60″
- decorative beads for ends of cord
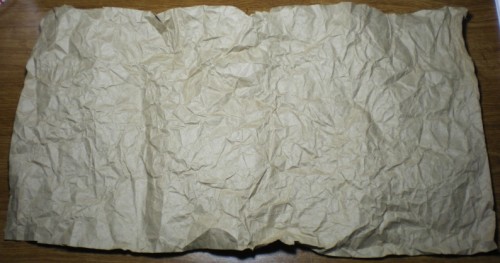
1. Cut open the paper bag along the glue seam, discarding the bottom section. You should have a large, flat piece of brown paper. Trim this to roughly 10″x18″.
2. Crumple up the bag, uncrumple and re-crumple several times. This will soften the bag and give you a nice, even allover texture.
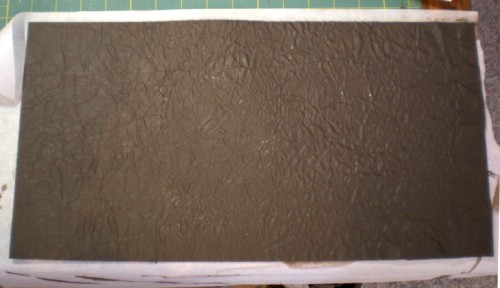
3. Using plenty of steam and pressure, use one piece of fusible web to fuse the paper bag to the heavyweight interfacing. Trim the paper to the same size as the interfacing. This will be your sketchbook cover.
4. Paint the paper bag with acrylic paint. Use any color you like for your faux leather. (I used Folk Art 426, Dark Gray.) Keep in mind that we’ll be going over this later with a slightly darker shade.
5. Using parchment paper as a press cloth, fuse one of the pieces of fusible web to the painted side of your cover.
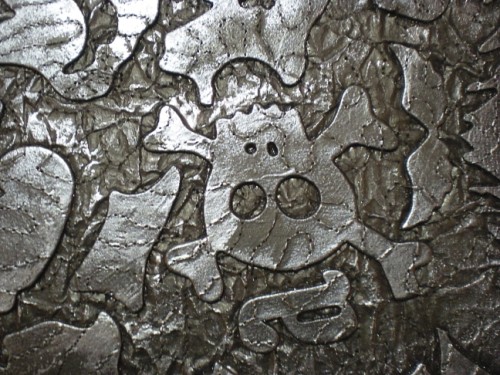
6. Arrange grungeboard pieces over the entire surface. I used some shapes from the Elements set and filled in with the pieces left over from other shapes. I especially liked the negatives from the flourishes. Fit all these together like a puzzle, filling the whole surface loosely.
7. When you’re happy with the arrangement, use the parchment paper press cloth along with plenty of steam and pressure to fuse the grungeboard to your painted surface.
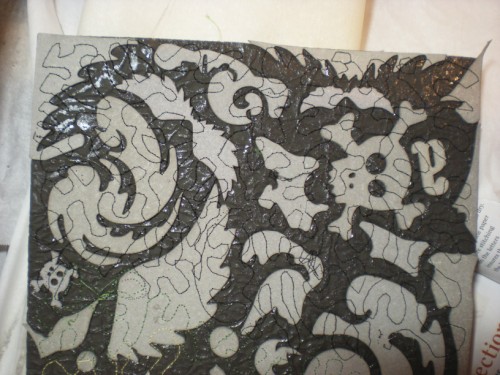
8. Use a sewing machine to stitch the Grungeboard to the cover. You can do either free motion stitching or simply stitch straight lines over the entire surface. I used a size 80 needle and regular polyester sewing thread. The key is to go slowly. I did have to stop and re-thread the needle several times because the thread had shredded. (Probably because I was trying to go too fast. ) Just be patient, you’ll get through it. 🙂
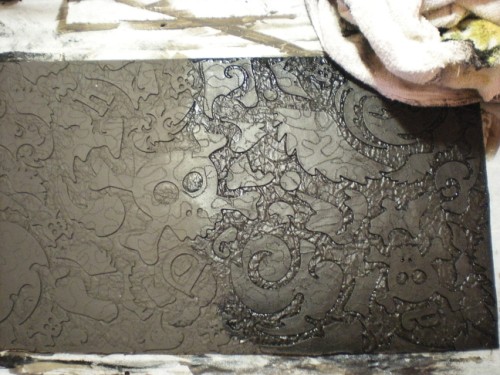
9. Paint this entire surface with same acrylic paint you started with. Allow to dry completely (like overnight) before going on to the next step.
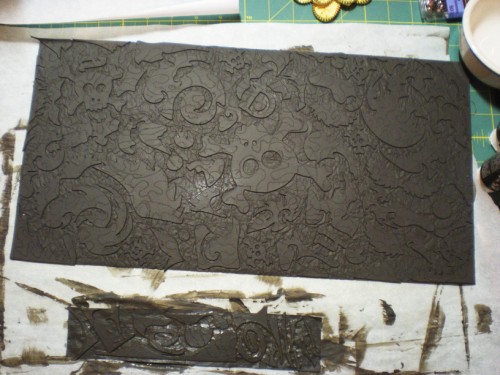
**Hint** You might notice the extra piece of faux leather in the photo. This was a scrap of paper bag that I treated in the exact same way as my main piece. This was used to test out colors and techniques, to make sure I was happy with the results before applying them to my sketchbook cover. If you’re going to try out different color combinations , I strongly recommend you do this.
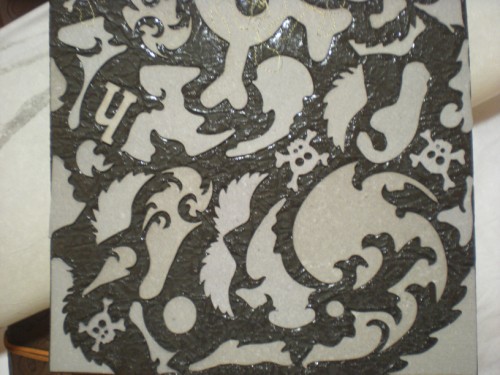
10. Thin a darker shade of paint with a little water and brush this over the entire surface of your cover. ( I used Folk Art Acrylic Paint – Licorice.) Use a soft rag to wipe off the paint from the surface, leaving it in the edges and deeper areas. If you find the paint has dried too much to wipe off, spritz it with a little water and then wipe. (This is why we needed to allow the first coat of paint to dry completely, otherwise we’d be wiping it off, too.)
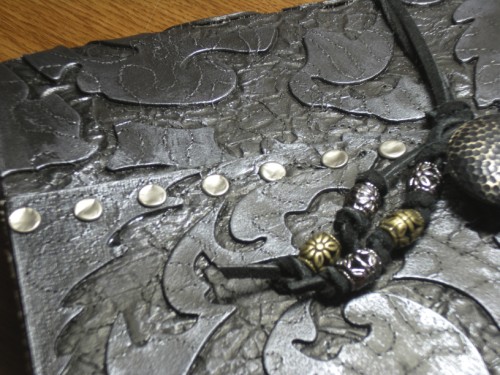
11. Now we’ll add the look of metal. Take about 1/2 teaspoon of Perfect Pearls (I used Perfect Pearls – Pewter) and mix in a couple drops of water to make a thick paste. You don’t want it to be too thin for this technique, it needs to be fairly thick to work. (If you’re happy with your cover as it is, this step is optional, but I was going for a goth/grunge/industrial look and wanted the metallic in there.)
12. Next, dab your index finger into the paste and begin the rub lightly on the edges of the grungeboard pieces. You’re not trying to cover the entire surface, but just highlight the edges. Once most of the paste on your finger is used, you can rub lightly on the background as well. Repeat until the entire cover is highlighted with metallic. (It’s a good idea to experiment on your test piece first so you get the results you want.)
13. Fuse the third piece of fusible web to the wrong side of your lining fabric.
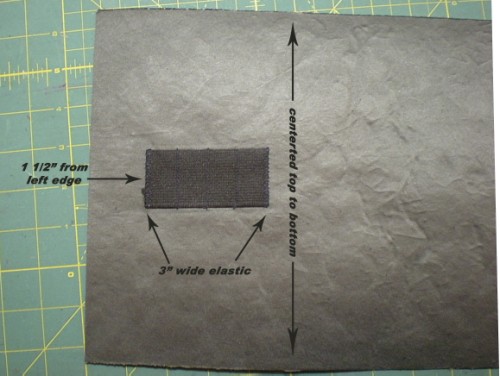
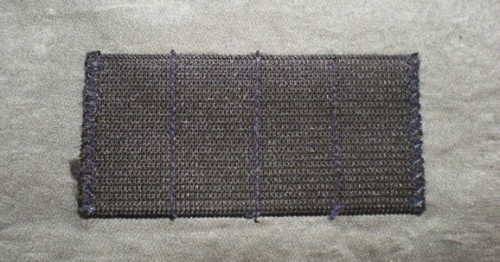
14. To make a pen/pencil holder in your lining, stitch the 3″ piece of elastic 1.5″ in from one short edge of the lining, centered top to bottom. (I zigzag stitched the two raw edges, and then straight stitched to divide it into four sections.)
15. If you want to apply metal brads or snaps, now is the time to do it (before you apply the lining.) Use a hole punch or a tool such as the Crop-A-Dile Eyelet and Snap Punch to punch holes where you want your snaps or brads to go. Insert and open prongs of brads or use your tool of choice to set the snaps (the Crop-A-Dile works for setting snaps and eyelets, too.) To give them an aged look hammer gently with a small metal hammer or the Texture Hammer
.
16. Fuse the lining fabric to the wrong side (unpainted side) of your sketchbook cover. (Make sure to use the parchment paper as a press cloth.)
Now your cover is done!
That’s enough for one day, next time I’ll show you how to add pages to your book. (Click here to go directly to Part 2, Adding the Pages or Part 3, Finishing Touches.)

im REALLY impressed! i think im gonna try to do this project.
Hi Katie,
It truly is an awesome project. I wish I could say I’d come up with it, but I just added my own twist.
Have fun, and I’d love to see photos when you’re done.
Sandy
When are you going to make one to put on sale?
I hadn’t thought about selling them, as the original idea wasn’t mine. I’d certainly be willing to do special orders, though. 🙂
“WOW” “AMAZING” & “HOLY COW” clearly do not describe your incredible “touch” in this project. Now you make me HAVE to try this for a Halloween idea.
Thanks!
Rick
Thanks, Rick, I’m glad you like the project. 🙂