


If polymer clay slabs have ever felt intimidating or overly complicated, you may find this project to be a refreshing change.
In this video, I’m sharing a simple, flexible slab-building method using tools and materials you likely already have on hand. It’s an easy starting point that you can truly make your own.
We begin with one of the most important parts of any project: choosing a color palette. Then, I’ll walk you through a practical way to test and refine your color mixes without wasting clay, plus how to think about contrast and proportions so your finished piece really works visually.
From there, we move into shape, scale, and composition. Even a loose plan can make a big difference, especially when deciding what to cut from your slab.
Next, we get into texture.
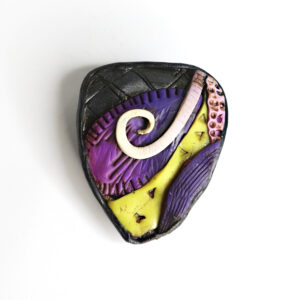
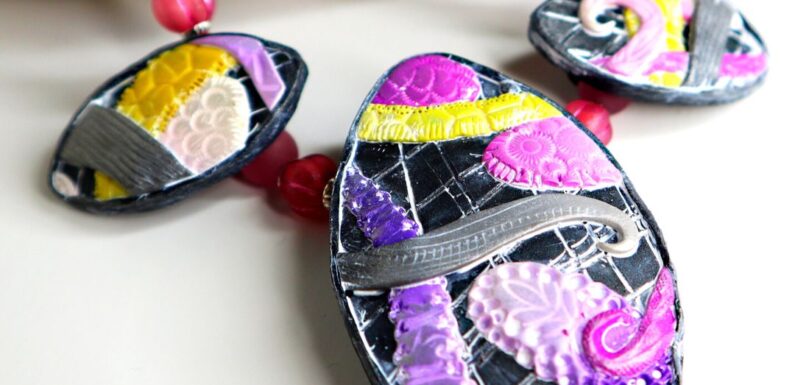
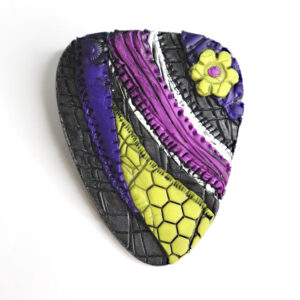
I’ll show you how to build beautiful, layered surface designs using simple tools, many of them from around your home. From stamps to handmade tools to unexpected objects, this is where your slab really starts to come to life.
Finally, we bring it all together and look at how to cut your slab in a way that makes the most of your design.
This is a relaxed, exploratory approach that’s perfect for experimenting, building confidence, and discovering your own style.

👉 Watch the full video to see the process step by step and get inspired to create your own slab designs.
If you’d like a simple way to keep track of the process, here’s a quick checklist you can follow as you work:
Freeform Polymer Clay Slab Checklist
1. Choose your colors
- Select a color palette
- Mix small test batches
- Plan proportions for balance (70/20/10)
- Create blends if desired
2. Plan and cut your shapes
- Consider the size and scale of your final pieces
- Choose organic or geometric shapes
- Cut out larger base shapes
- Add smaller cut-out motifs if desired
3. Build in texture
- Combine different types, such as organic and geometric
- Vary the scale for visual interest
4. Assemble your slab
- Roll out and texture a background layer
- Add your cut shapes, strips, lines, dots, curls, and other elements
- Texture as you go so you can still reach underlying areas
- Use templates or cutters to find your favorite sections to cut out
5. Finish your pieces
- Bake according to clay instructions
- Antique if desired
- Finish as desired
This is a flexible, play-and-see-what-happens kind of process, so don’t feel like you have to follow it exactly.
Prefer a printable version? Download it here.
Tools & Materials:
- Polymer clay in colors of your choice
- Color Inspiration board
- Pasta machine or acrylic roller
- Craft knife
- Clay blade
- Cutters, such as
- ◦ Sculpey Mini Geometric set
- ◦ Fat Daddio Footballs
- ◦ Fat Daddio Teardrops
- ◦ Lucy Clay Shape Plate #1 (The link leads to the only place online I can find these, perhaps they aren’t making them anymore?)
- Texturing tool ideas:
- ◦ Rubber stamps
- ◦ Leather stamping set
- ◦ Homemade tool with dowel and string
- ◦ Knitting needles
- ◦ Needle tool
- ◦ Mini screwdriver set
- ◦ Computer repair kit
- For antiquing
- ◦ Golden High Flow Acrylics
- ◦ See my video, 10 Second Antiquing for details
Happy creating!
Sandy
