


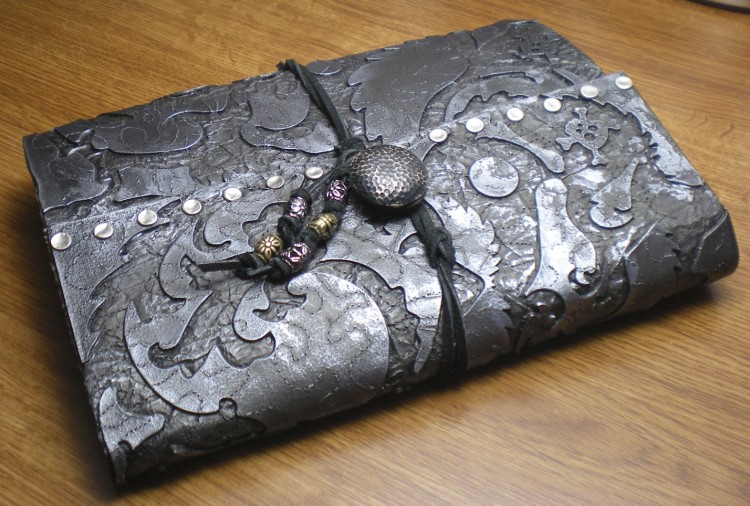
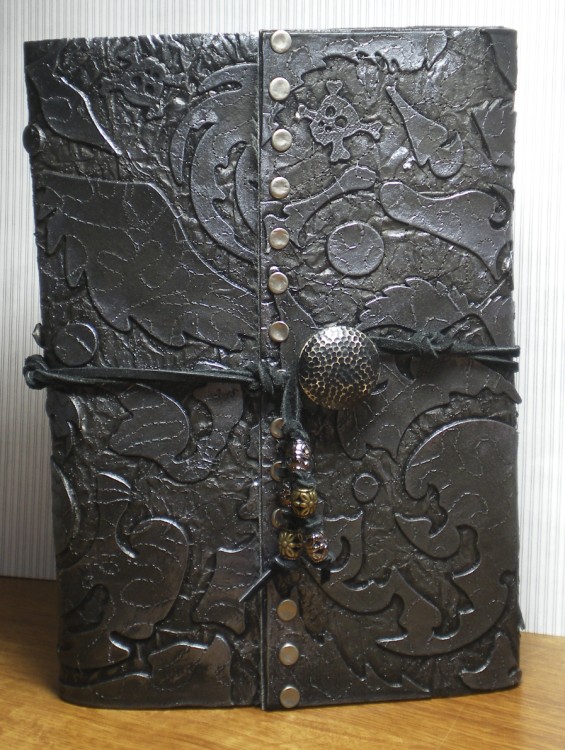
We’re contining on with our Faux Leather Sketchbook project. Last time we made the cover. You can check out Part 1, Making the Cover, or go to Part 3, Finishing Touches to finish up.
Now it’s time to make the pages that go inside the sketchbook. I started by purchasing a 9″x12″ pad of sketchbook paper and used a paper trimmer to cut 45 of the pages down to 8.5″x11″. This will give 90 total pages in the sketchbook. (If you have thicker or thinner papers, you may want to increase or decrease the amount accordingly.)
1. Fold all of your 8.5″x11″ papers in half to 8.5″x5.5″. Divide these into 3 equal stacks of 15 papers each. (Each of these is called a signature.)
2. Take one of these pages and make marks in the fold at 1.5″, 3″, 5.5″ and 7″ from the top. This is your guide for hole punching.
3. Place this guide in the center of one of your paper stacks, aligning top & bottom edges, and use a straight awl (NOT a tapered awl) to poke a hole at each mark, all the way through all the papers. Repeat for the other two stacks.
4. Use this guide to make 3 rows of holes in the sketchbook cover. The first row should be 5.5″ from the left edge, the second 5.75″ from the left edge and the third 6″ from the left edge.
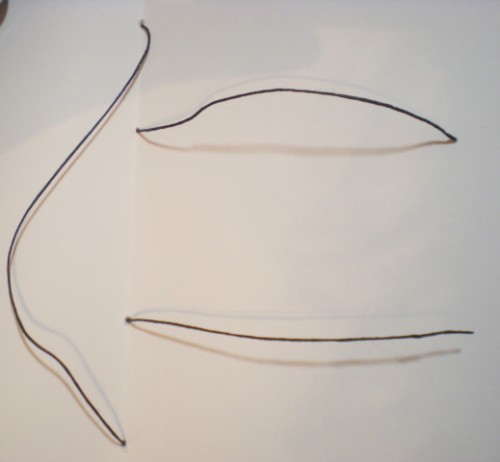
5. Cut the waxed twine into three 20″ pieces.
6. Thread a tapestry needle with one piece of twine and sew through the second hole from the top of one of your paper stacks, starting from inside the fold. Continue to sew through the second hole from the top of the journal, from the lining side to the outside. Leave a 4″-6″ tail inside the paper stack.
7. Sew back into the journal through the top hole of the cover and through the top hole of the paper stack.

8. Sew back out the paper stack and sketchbook going through the bottom hole.
9. Sew back into the sketchbook cover and papers through the second hole from the bottom.
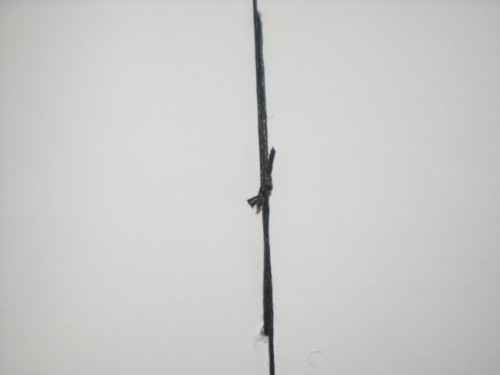
10. Pull the twine tight and tie the two ends together. Trims the tails closely. (If you used something other than waxed twine, you may want to put a dab of clear nail polish or seam sealant on the knot to secure.)

11. Repeat steps 6-10 to add the other two paper stacks to your sketchbook.

12. To mold your cover to your pages, run a hot iron over the outside of the sketchbook (using parchment paper as a press cloth) and then fold the cover to fit neatly around the pages. (I found it helpful to use oven mitts so I could get a firm grip while the cover was still quite warm.)
I’ll bet that was a LOT easier than you thought it would be!
Next time we’ll add some way-cool finishing touches to our sketchbook.

That’s fabulous! Now I know why you have such a messy desk. :0
Thanks! I hope he likes it. He’s out with his friends now (three guesses what the new 21 yo is doing) and hasn’t opened his presents yet.
I have such a messy desk because, (a) I need a bigger one and, (b) I’ve always got way too many things going at one time. But that’s okay, I wouldn’t know what to do with myself if I didn’t have a couple dozen different projects to chose from!