


Now, for something completely different!
Most of you know I’ve been working my way through Tim Holtz’s 12 Tags of Christmas techniques from last year. (Btw, did you see his announcement? I am so excited! This seems like a much, much better way.)
Anyhow, I’m up to Day 10, you may have seen me in the midst of working it here.
(Click on any of the pics for a larger image.)
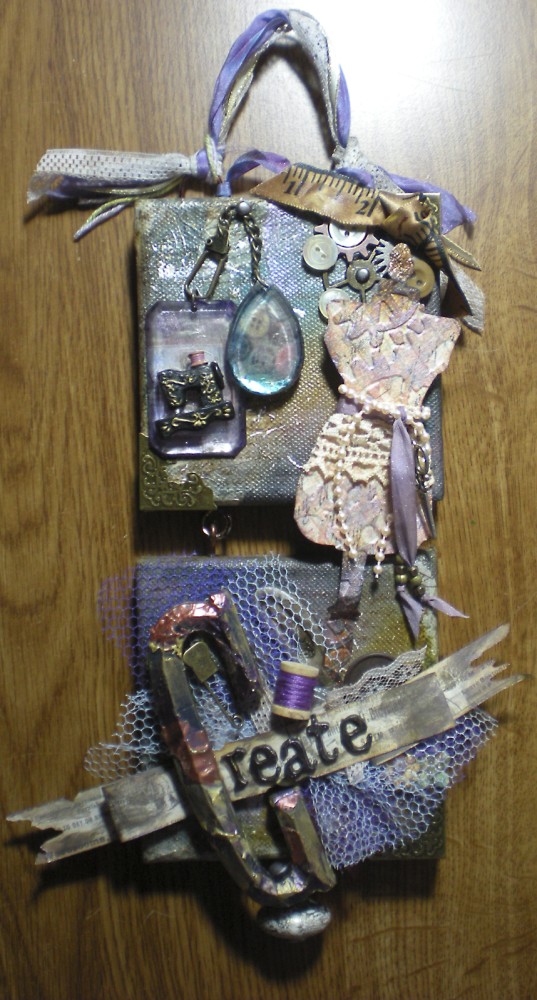
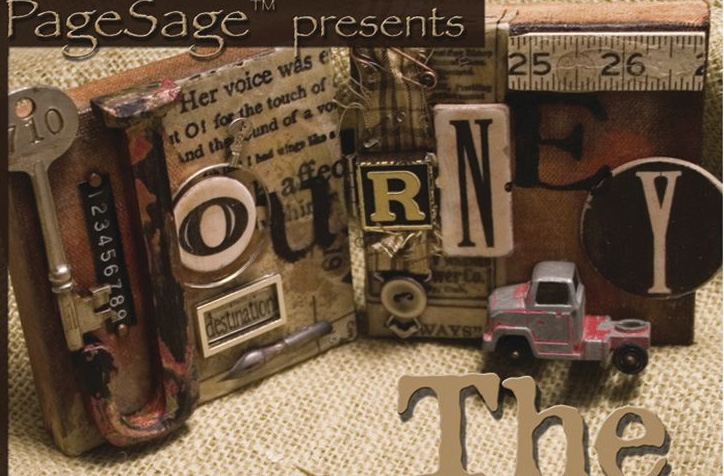
These little 4 inch canvases have been hanging around for a long time. My first thought was to make a standing display, like the “Journey” piece Tim made in The Journey Continues. You can see it here, on the cover of the DVD.
But then I decided I wanted to use the dress form from the Sizzix Alterations Sewing Room Die, and so it had to go vertically, rather than horizontally. A hanging piece would be better, anyhow, since I’m limited on horizontal space.
I loosely followed the directions on the DVD for coloring the canvases, but used Matte Multi Medium instead of beeswax. Lots of distress ink, some paint splattering and bits of pattern tissue are layered on there.
The final layer on the canvases, which isn’t very obvious in the photos, was to stamp on them with the script stamp from Tim’s Urban Grunge stamp set with Coffee Archival Ink. I had at first tried to stamp with a wood block stamp, but it wouldn’t reach the center of the canvas which dips in slightly. The unmounted stamp worked perfectly. It stuck to my fingers just enough for me to position it and get a good impression.
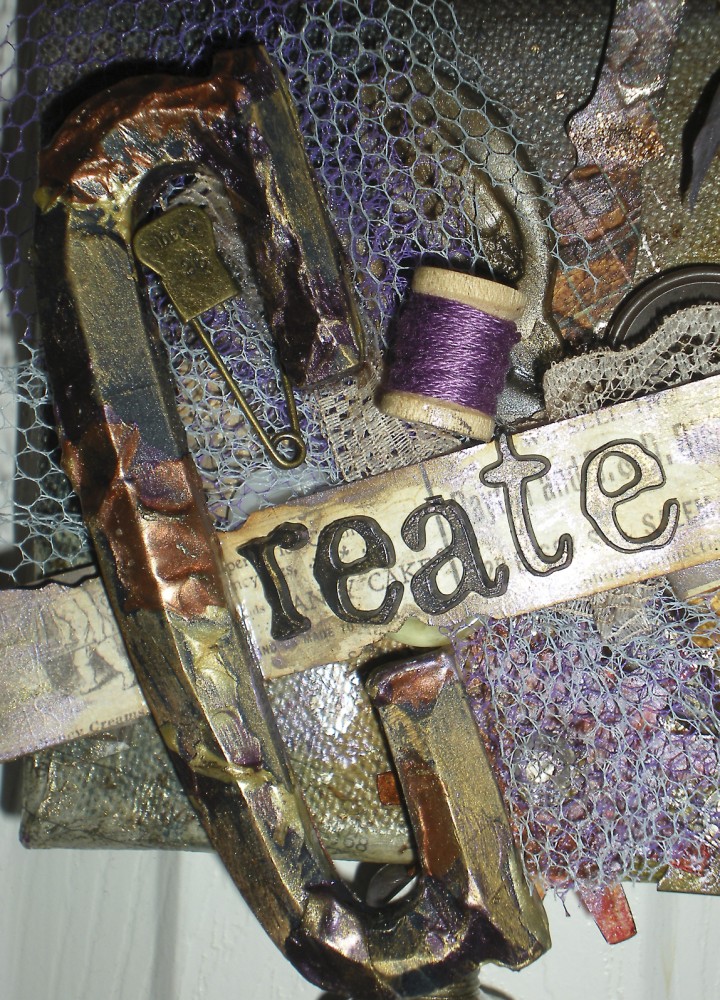
He has a way cool technique on the DVD for painting the large wooden letters.
It involves base coating the letter with black paint, putting on blobs of petroleum jelly, then adding a thick layer of paint over everything. Once the paint is dry, you can rub off the areas that are over the petroleum jelly, leaving a peeled, weathered paint look.

I followed the Day 10 directions for decorating Facets with papers from the Crowded Attic Paper Stash, then decided they needed a little more color and dabbed on Eggplant and Stream alcohol inks. The facets are dangling from a Swivel Clasp
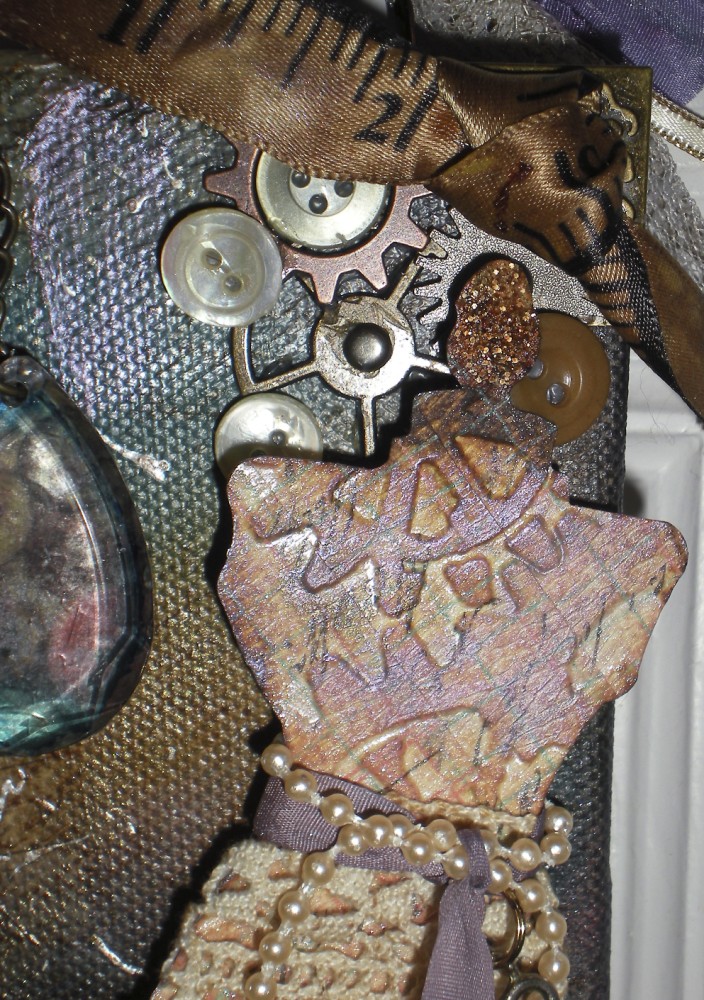
The dress form was cut with the Sewing Room Die, embossed with the Steampunk embossing folder and colored with all manner of distress inks and Perfect Pearls. Behind it are some buttons and a few Sprocket Gears.
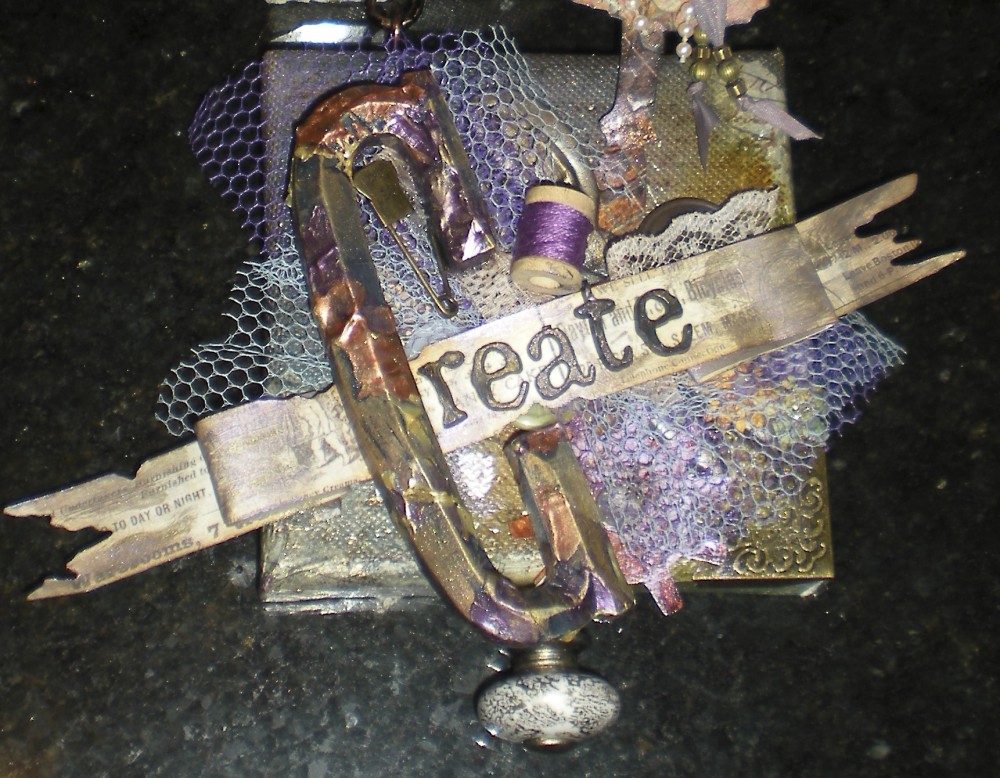
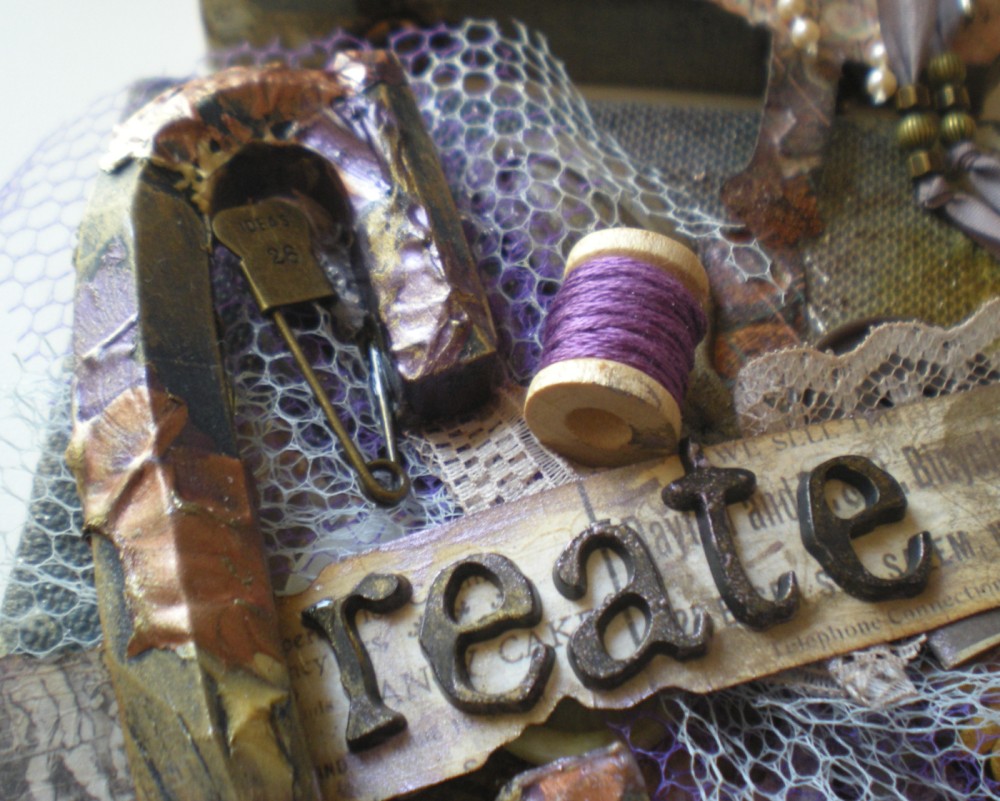
Some other items I used were the Tattered Banners die, Alpha Parts: Newsprint, Metallic Rub-Ons, a Trinket Pin and one of Tim’s Curio Knobs. The curio knob was painted with a little Perfect Pearls in Heirloom Gold mixed with a tiny bit of water. This did a very cool crackle effect over the smooth surface.
All the little sewing related thingies were just bits and bobs that were hanging out in my sewing room. Fun stuff!
I’m going to go hang up my new creation on the wall right behind my sewing machine.
Hope you have a happy and creative weekend!

I love the mix of random bits into a coherent whole–the measuring tape, the pearls, the spool and the buttons in the gears. The netting is a great touch! Love it.
Ahhh, the netting was an idea I got from Tim. He always throws in things I wouldn’t have thought of.
wow, look at all those gorgeous elements… this is stunning!! Thanks for joining in with the Sunday sTamper x
Wow, What fabulous work and gorgeous colours. I love all the elements you have used in your project. Hugs Rita xxx
This turned out AMAZING! I am in total awe as I could never pull something like this off. You have quite the eye.