


Ok, so today’s the ninth and I just last night finished the project for the fourth. Gosh, the days go by quickly.
Anyhow, I made a scrapbook page using some of the techniques Tim used in his day 4 tag.
Here’s the left side of my completed layout. (You can click on any of the photos to see a larger version.)
(Note all the 80’s hair. Yup, this is Thanksgiving 1988.)
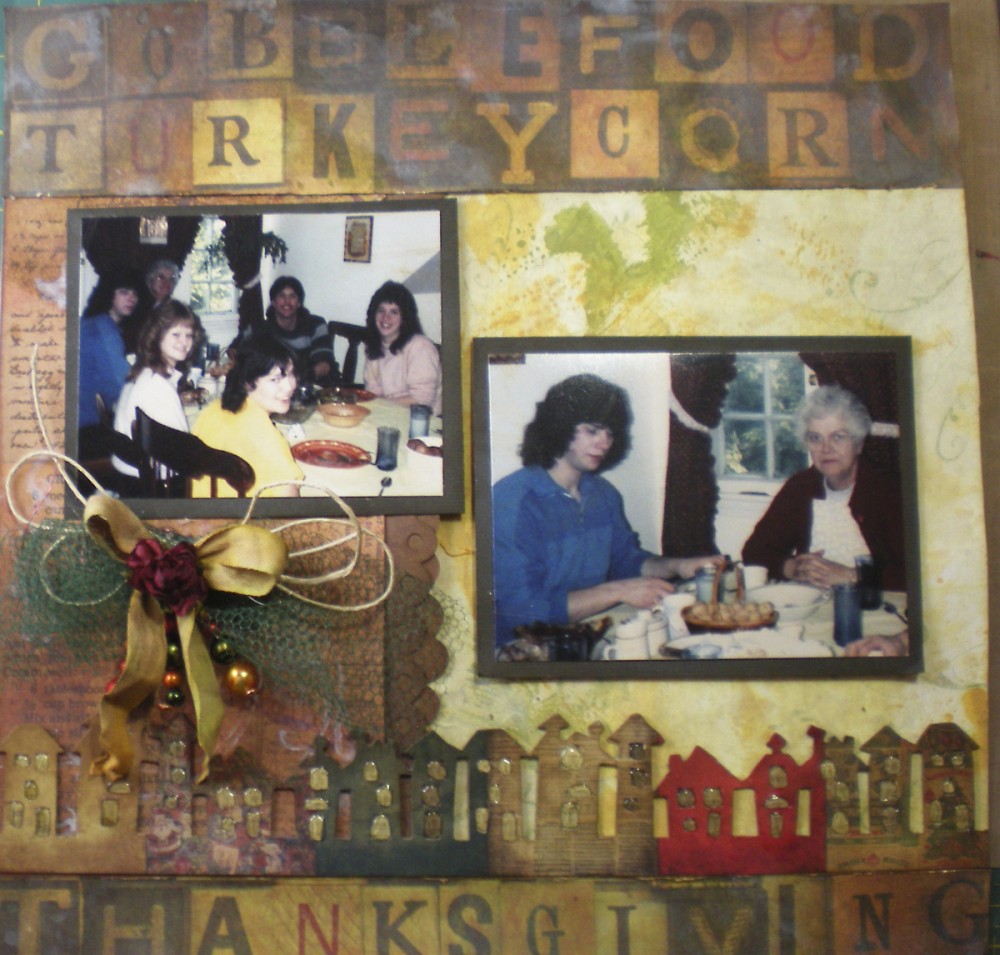
That’s me in the yellow shirt. Yeck, I should NOT wear yellow, lol.
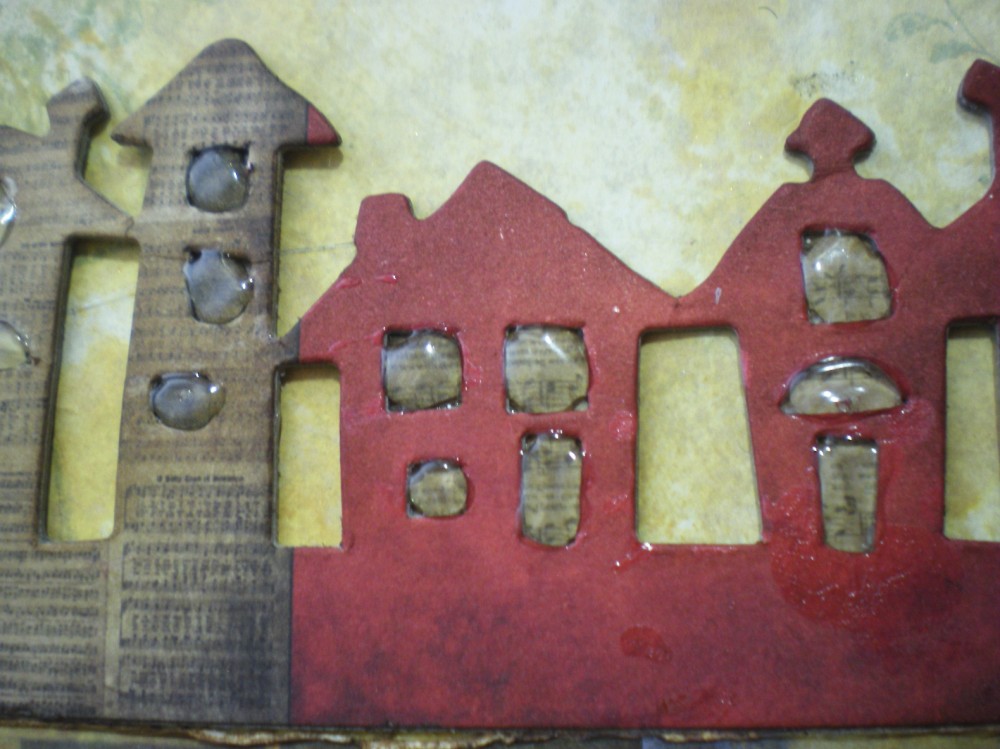
I really liked how Tim filled in a cutout with Glossy Accents, giving a look of resin, so I decided to make a border with the Townscape On The Edge Die and do the same on the windows. To make all the houses different without cutting individual papers, I used a section from the Seasonal Paper Stash Paper Pad that has 2″ squares of each patterned paper. Each of the windows was backed with music note paper and filled in with Glossy Accents. Since the houses are deliberately wonky looking, I didn’t worry that the windows weren’t perfectly filled in. Aren’t they cute?
All of the papers on this layout are from Tim’s Seasonal Paper Stash Paper Pad. The Thanksgiving phrases made a title for the page unnecessary. Awesome!
I treated all the papers by swirling some Picket Fence Distress Stain and other Distress stains onto a Non Stick Craft Sheet. (Some of the colors I used: Wild Honey Distress Stain, Peeled Paint Distress Stain
, Fired Brick Distress Stain
, Vintage Photo Distress Stain
, Antique Linen Distress Stain. I used different combinations on the different papers.) You then mist your paper with water and swirl it through the colors on the craft sheet. Be sure to check out Tim’s day 4 post for step by step photos and directions.
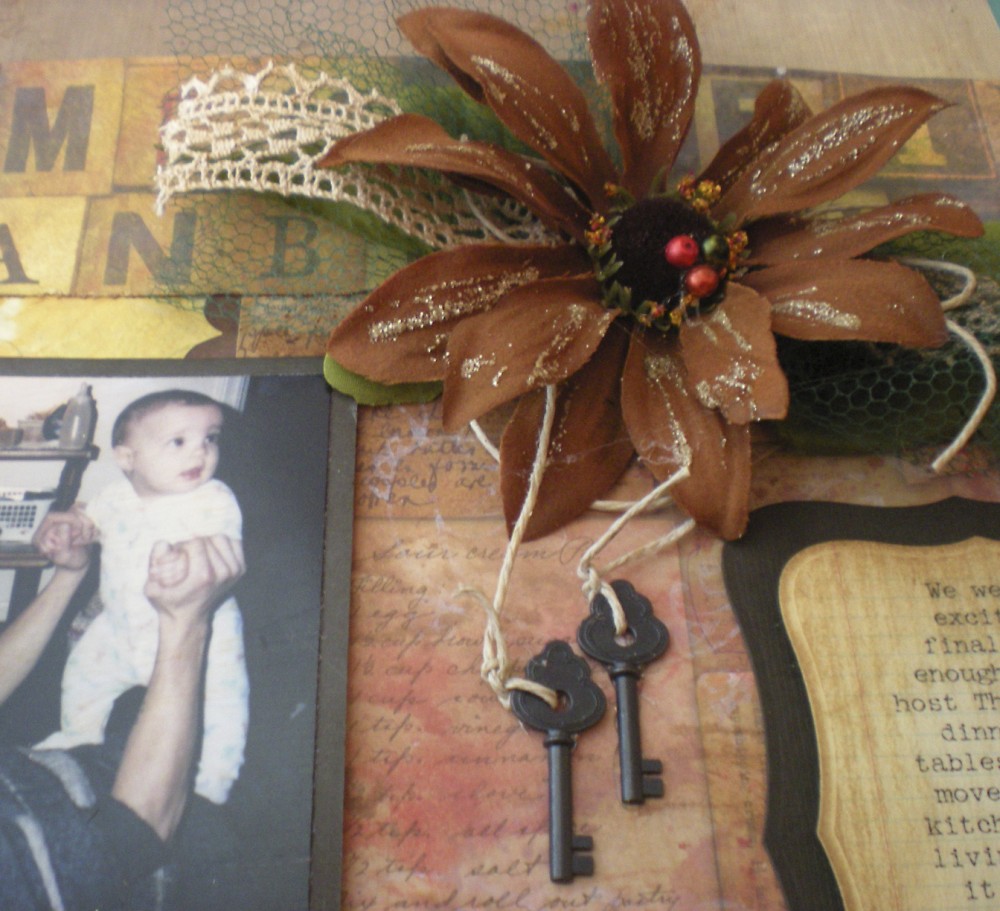
And here’s the right side.
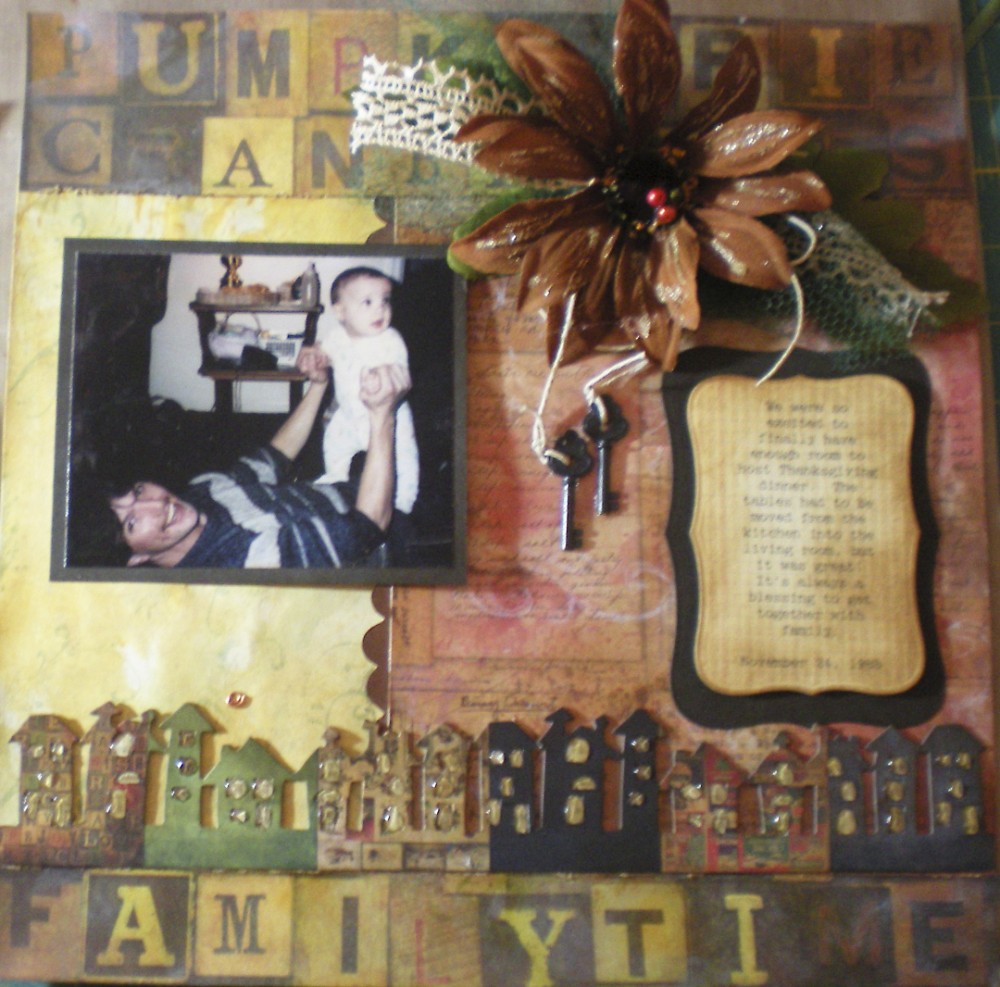
One thing that’s great about using Tim’s techniques as inspiration is that he keeps going with the details. Where I might have stopped with the papers, house border, photos and journaling, Tim inspired me to use the tulle, color some lace and twill tape with Vintage Photo Distress Ink, color pearls with alcohol inks and add the flower, hemp twine and the little keys.
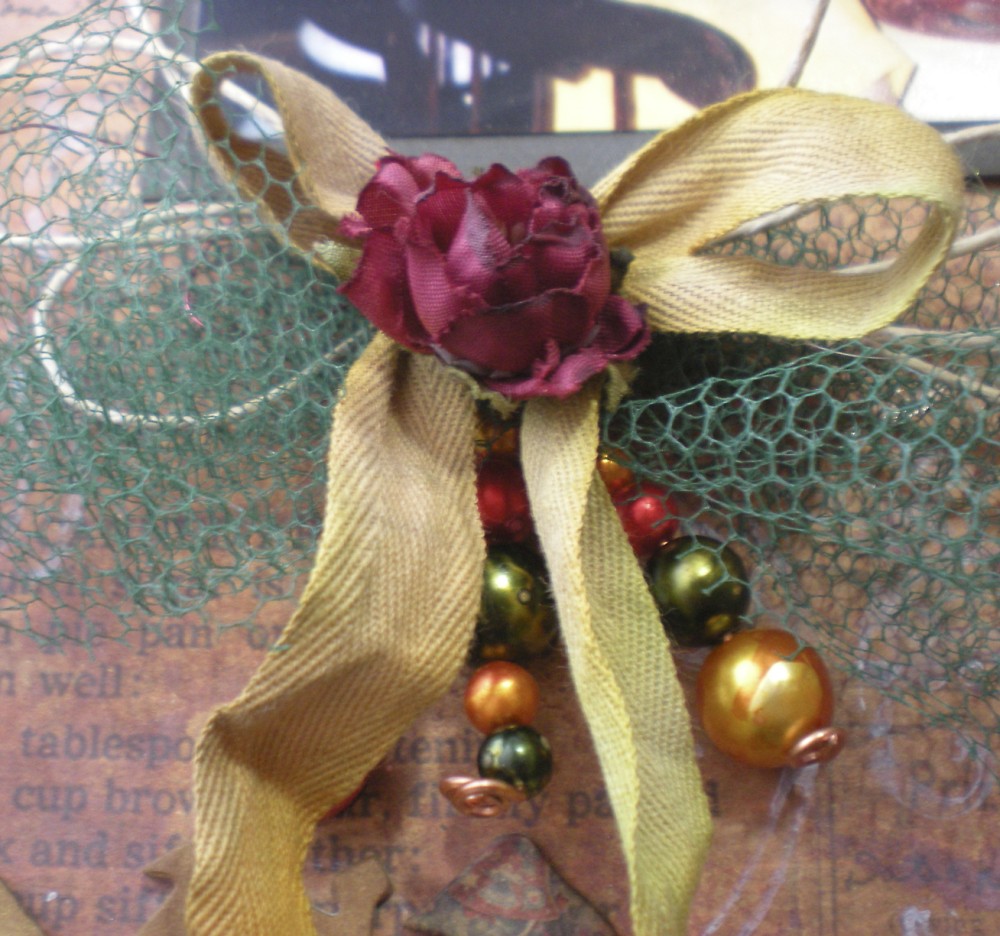
All the details definitely add a lot to the layout.
I just realized I forgot to take photos of the completed crackly blue snowflakes, which technique Tim used on his snowman here. They came out fantastic, btw. Details to follow tomorrow.
Hope you all will have time to be creative this weekend!

What an awesome project! I haven’t looked at Tim’s tags every day so need to hop over and have a look and catch up. I love how you’ve done the little houses with glossy accents in the windows! That’s so cool! thanks also for the info about colouring the papers with distress stains on your craft mat. Must try this! I’ve got a project in hand where this would be ideal. I’m going to save this page and come back to it later! Thanks for sharing.