I did some major organizing in my craft room this week. While I was at it I finally took care of a project I’ve been wanting to do for some time: organize my knitting needles and crochet hooks in rolls.
You can make these rolls for just about any kind of tool you’ve got. I’ll show you how I figured out the dimensions so you can make your own.
You will need two pieces of fabric, one for the lining and one for the main fabric. You also need a yard of ribbon for ties.
(Click on any of the photos to enlarge. Click on the square with an arrow to make them even bigger.)
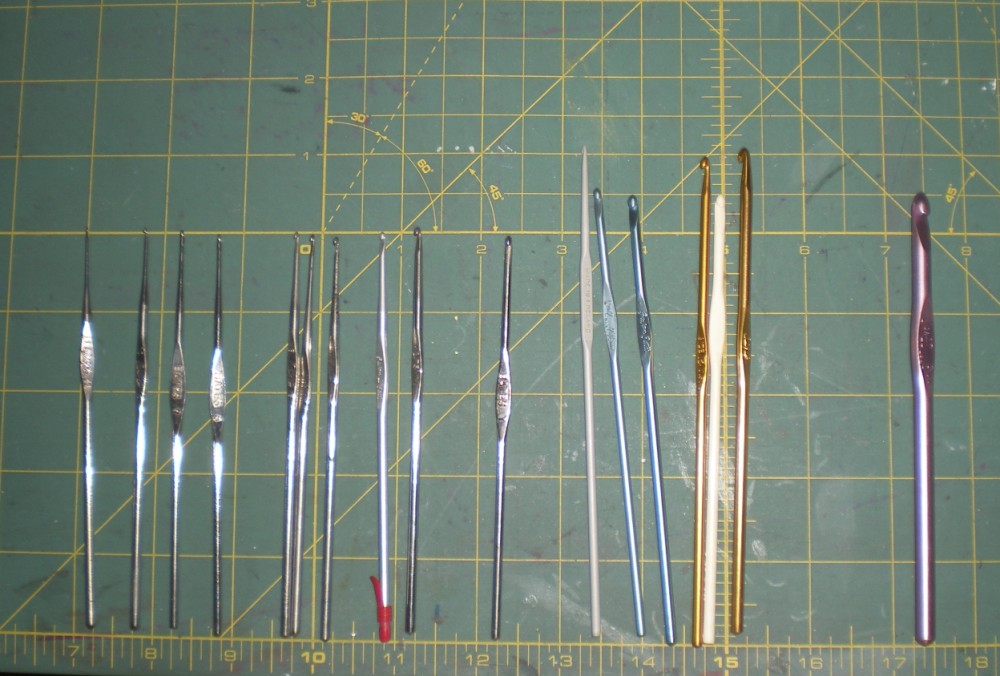
First, you need to lay out your tools and take some measurements. Here are my crochet hooks:
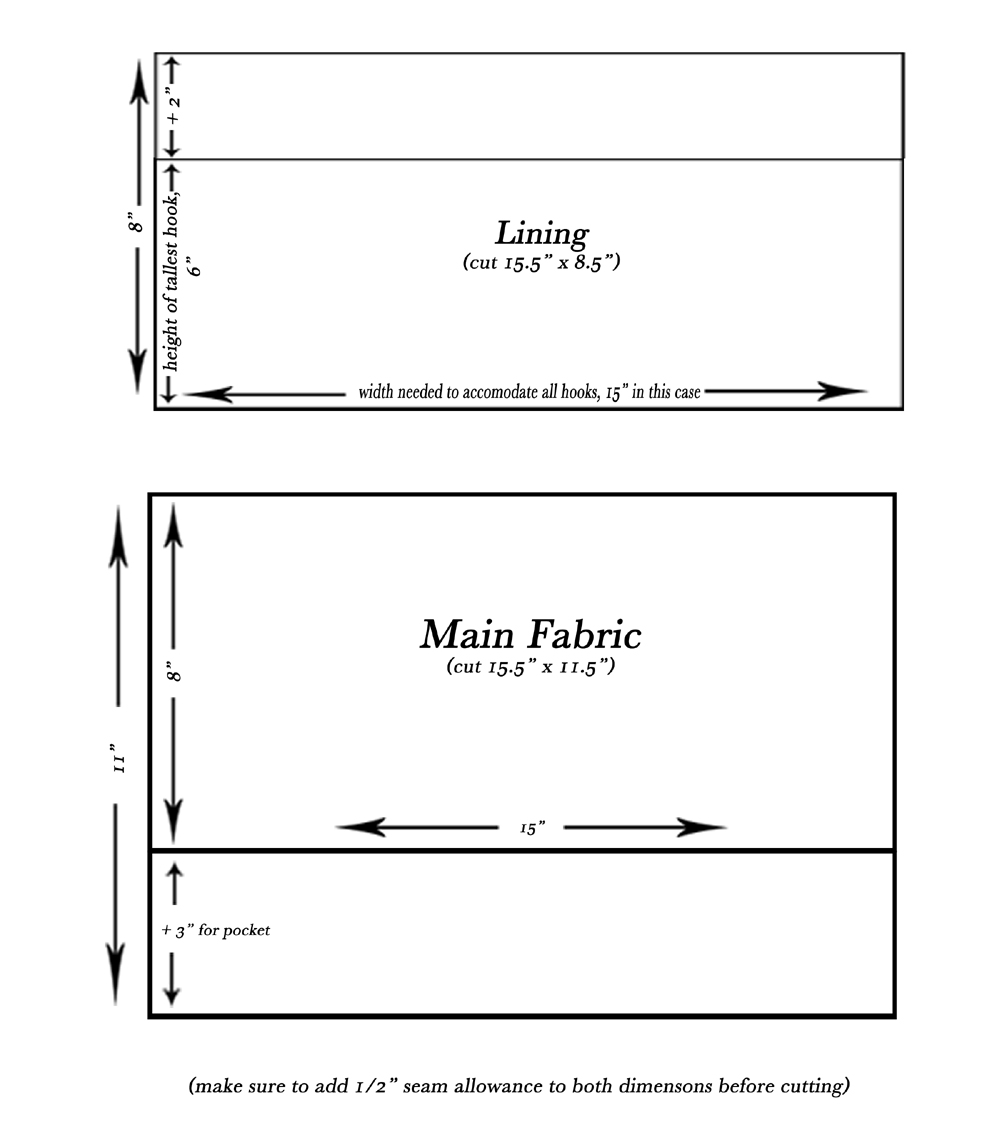
The tallest hook is 6” and if I allow ½” for each hook, plus some extra room, I’ll need my roll to be about 15” wide. I’m also going to add 2” at the top to allow for a flap that will fold down and prevent my hooks from falling out while it’s rolled up.
Therefore the lining piece will need to finish at 15”x 8”, so add ½” for seam allowances and cut a piece of fabric at 15.5” x 8.5”.
The main fabric piece will include the pocket for all the hooks to slip into; 3” seems to be just about right for this pocket. So I’ll cut a piece of fabric the same width of my lining (15.5”,) but 3” deeper (8.5” + 3”= 11.5”.)
Hopefully this diagram will clear up the math:
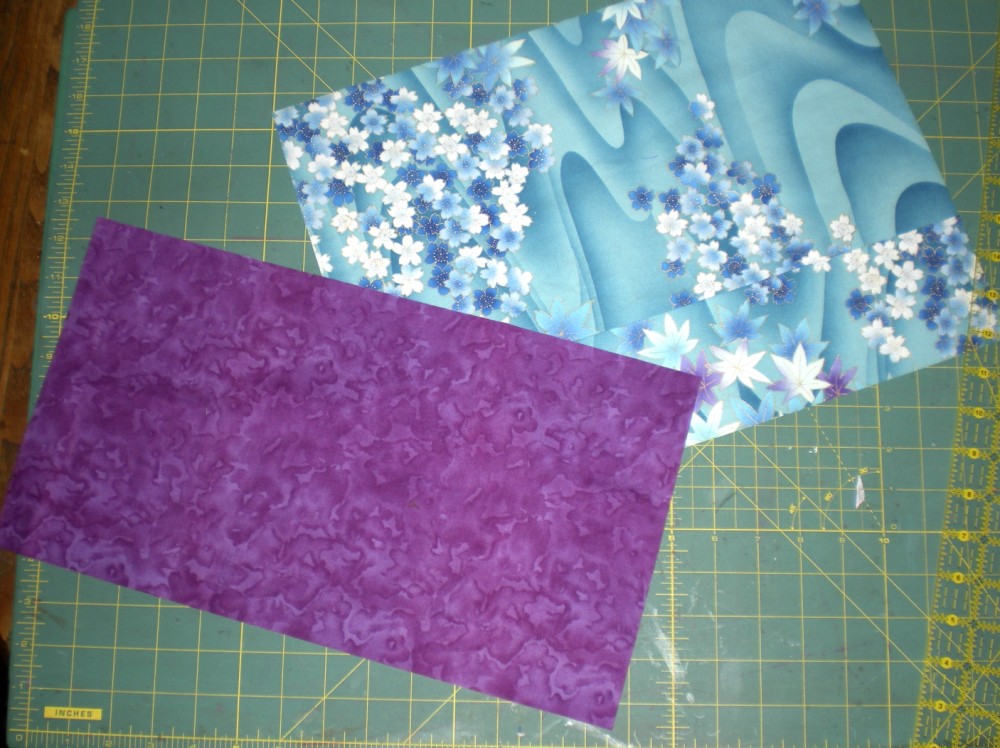
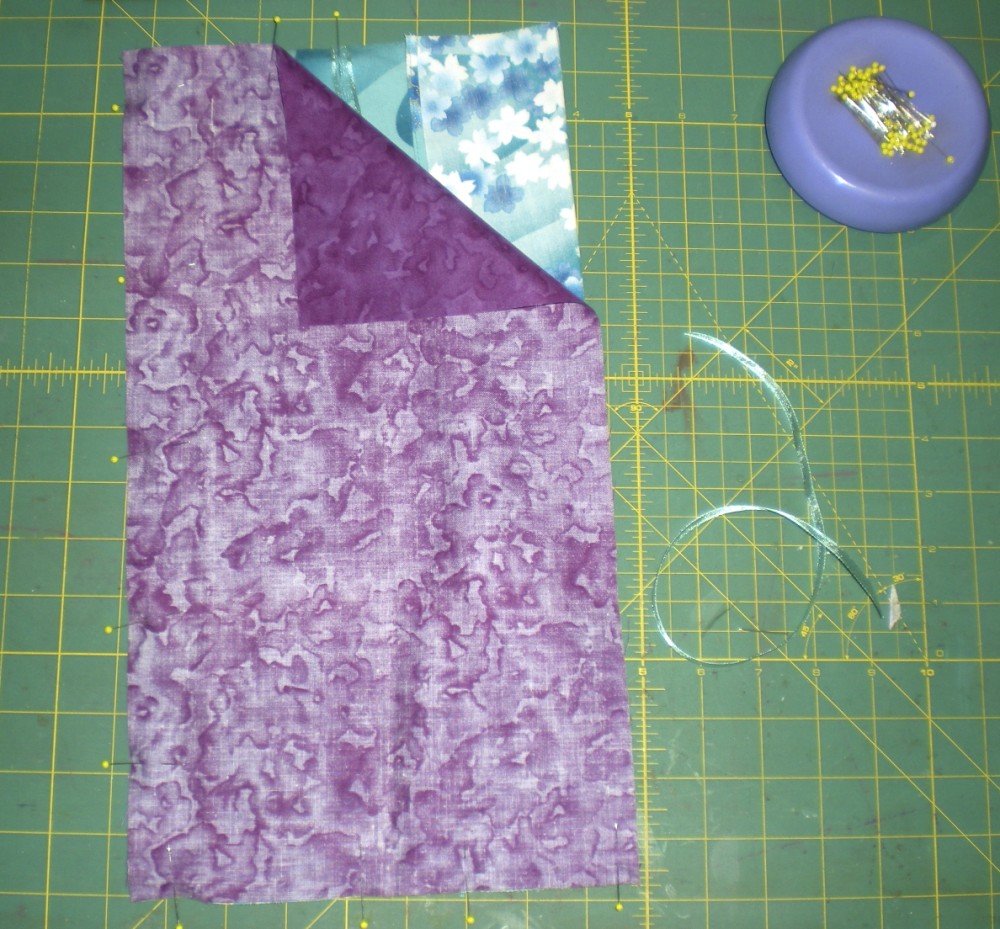
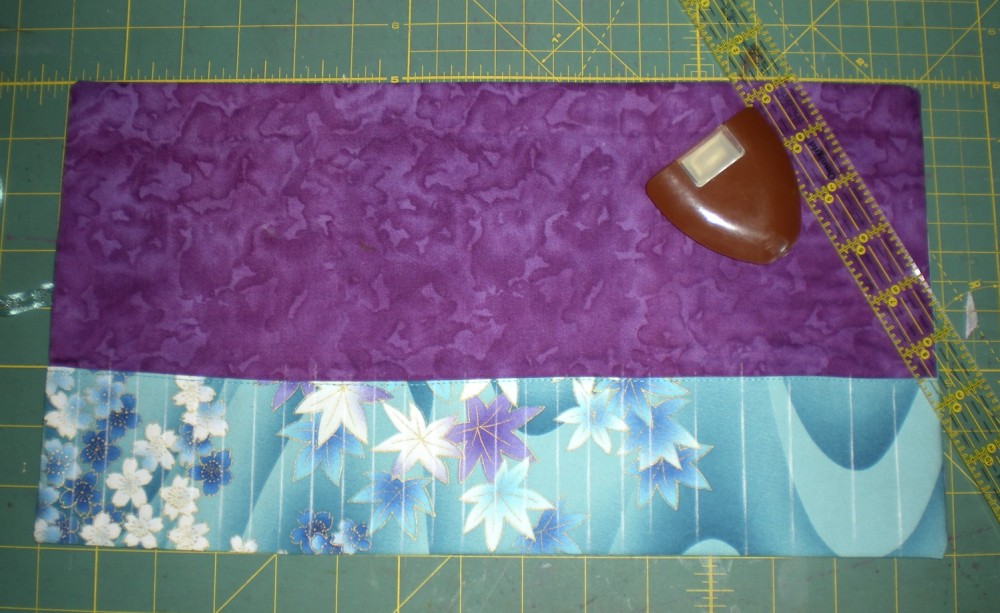
Here are my two pieces all cut. (Please ignore the fact that the blue fabric is pieced together. I wanted to use it but didn’t have a large enough scrap.)
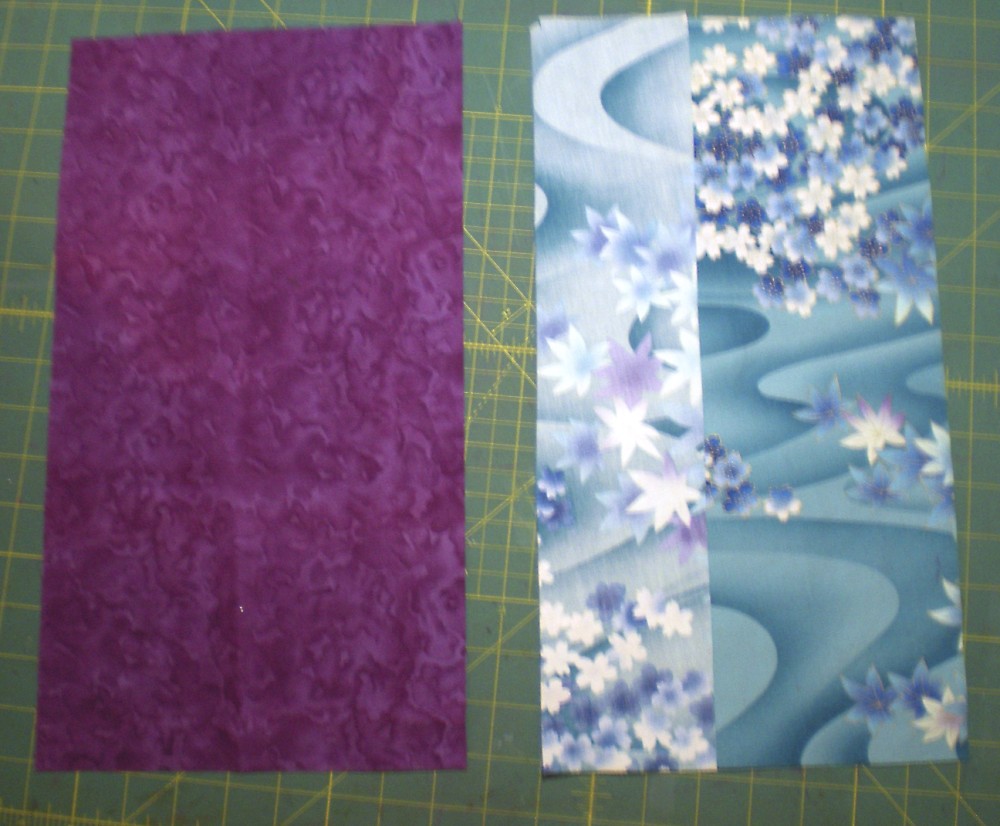
You’ll notice that if you fold up the 3” pocket on your main fabric piece, it should be the exact same size as the lining piece. (Blurry, I know. Sorry!)
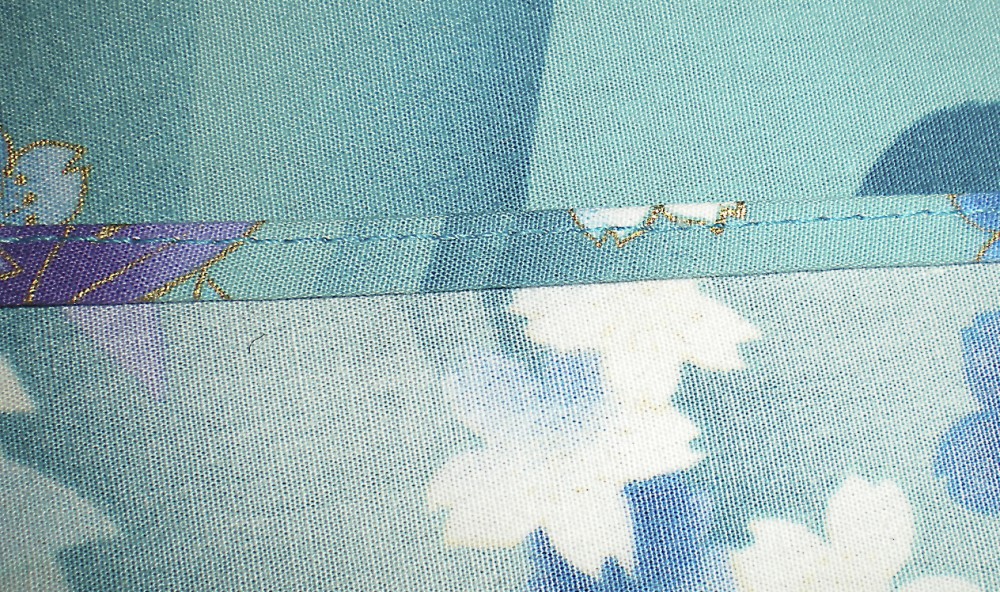
Narrow hem one long edge of your main fabric piece. This will be the top edge of your pocket.
Fold up the pocket on your main fabric so right sides are together. Layer your lining on top of this, right sides together. Center an 18” piece of ribbon between the lining and main fabric on one of the short sides.
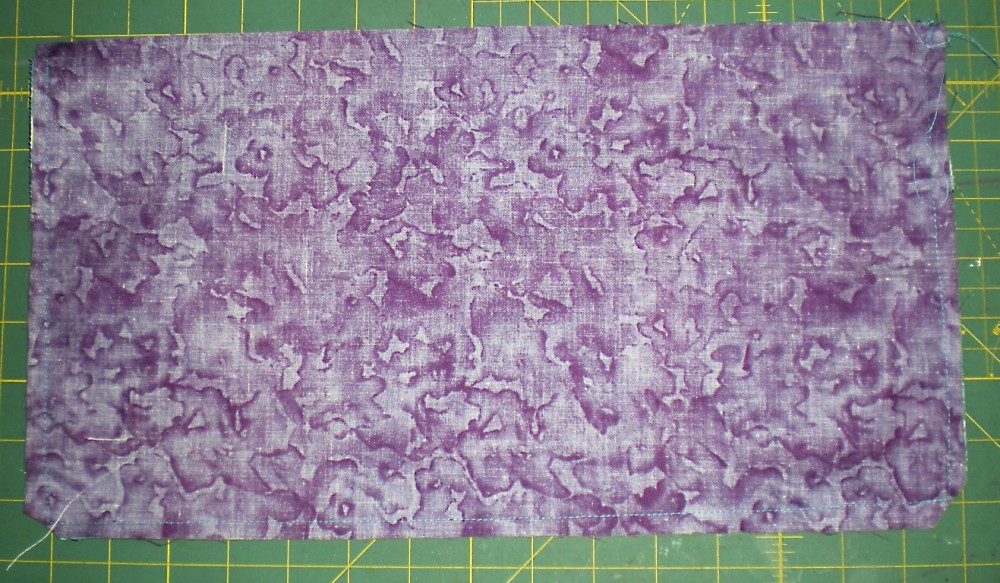
Stitch with a ¼” seam around three sides: the two short sides and the one long side without the fold.
Here it is with corners clipped and stitched around only three sides, not stitched on the side with the fold.
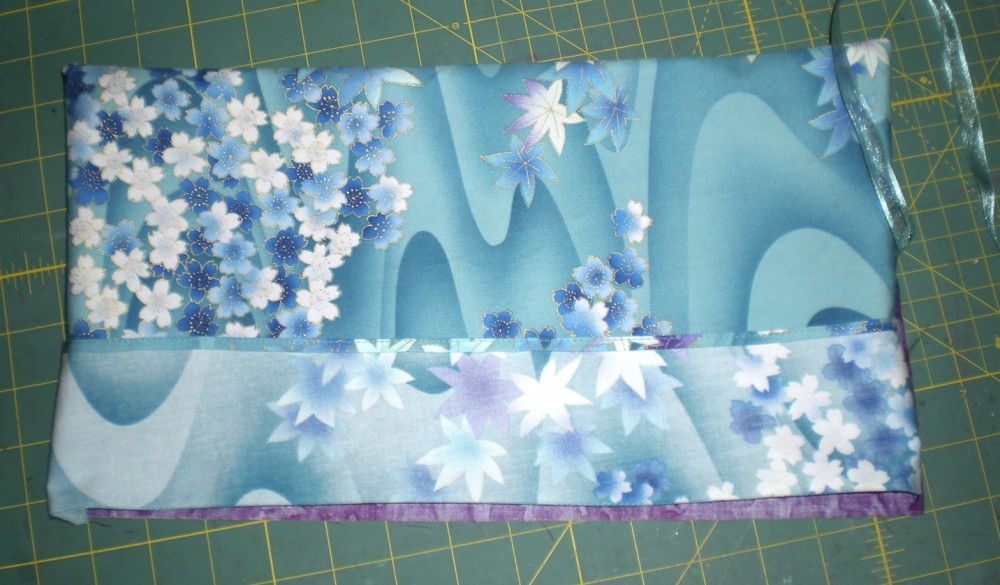
Turn right side out.
Now flip the pocket right side out. It will automatically be on the side with the lining. Press.
Now use a ruler and marking pencil to mark off the slots in your pocket. Stitch on these lines, making sure to backstitch securely, especially at the top of each pocket.
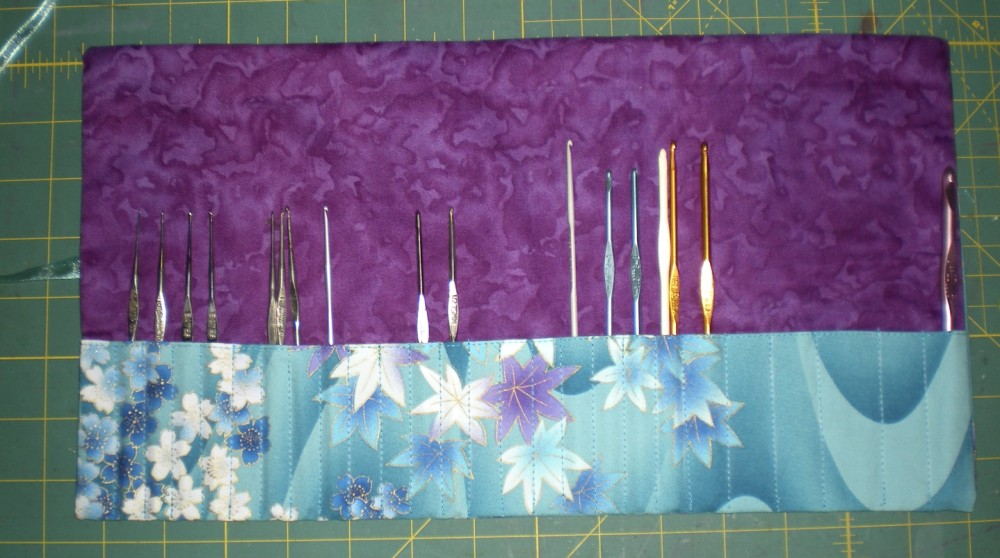
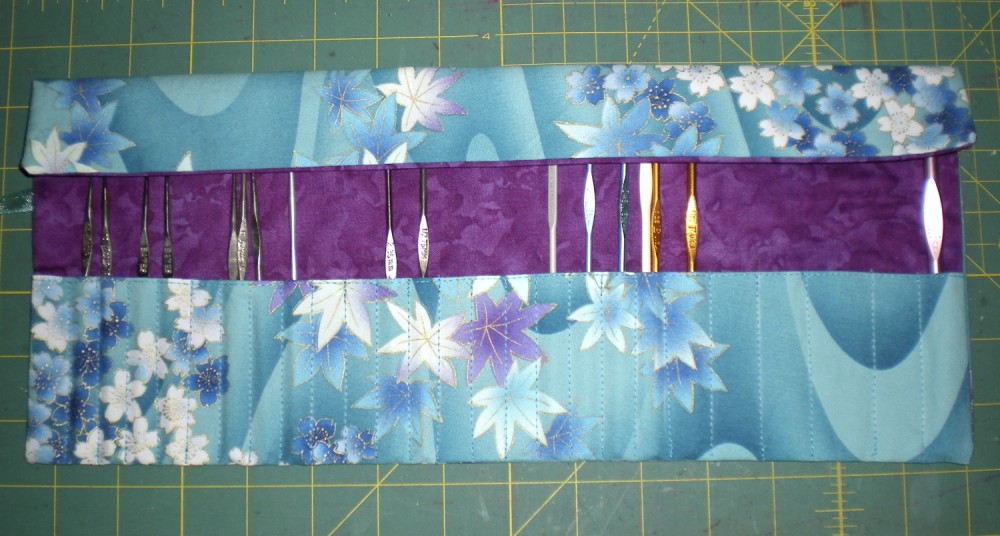
Go ahead and put in your hooks…
…and fold down the 2” protective flap.
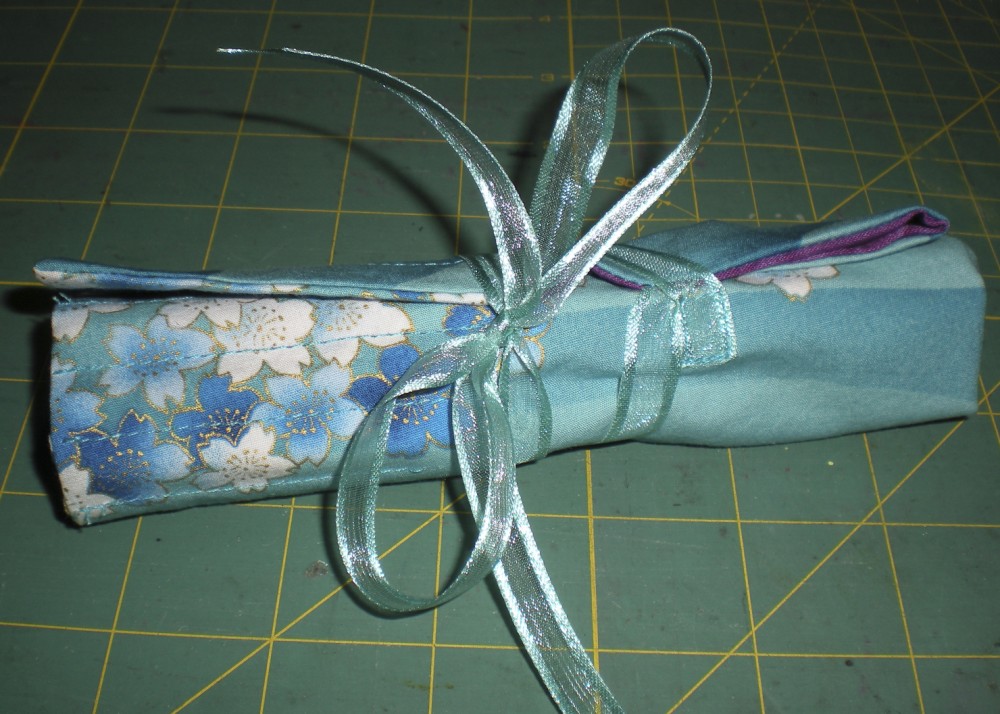
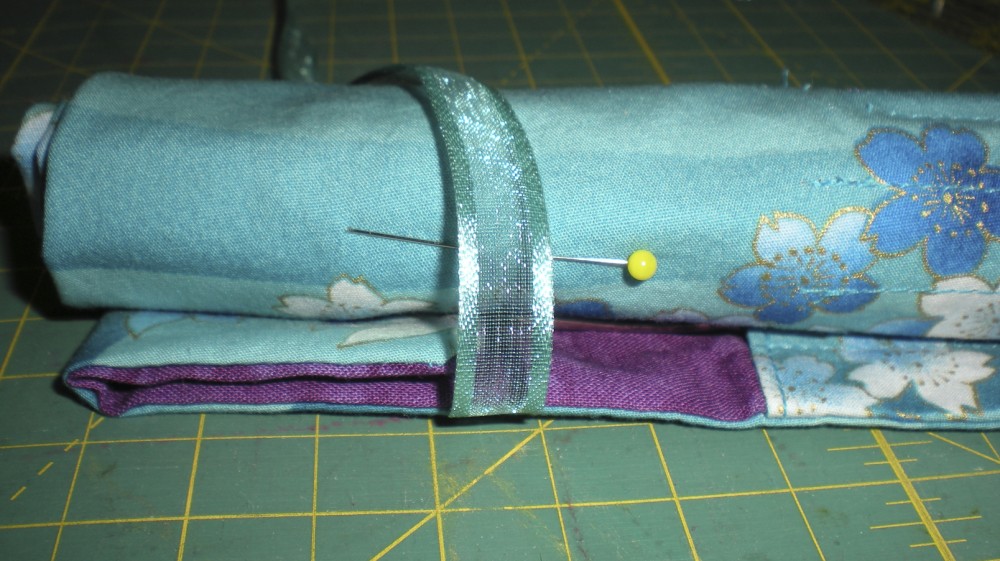
Starting at the end without the ribbon, roll it up.
On the outside of the roll use a pin to mark where the other piece of ribbon should go.
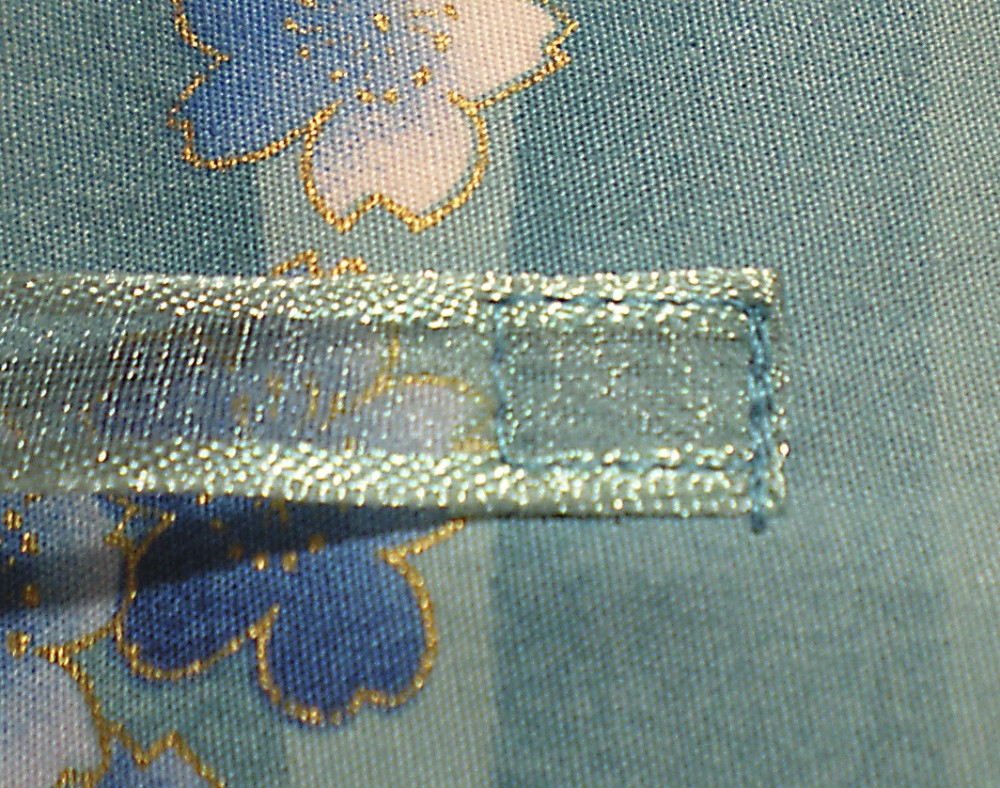
Sew another 18” piece of ribbon at the mark. I like to fold under the end of the ribbon and stitch in a nice, neat square.
Now your roll is ready to tie up!
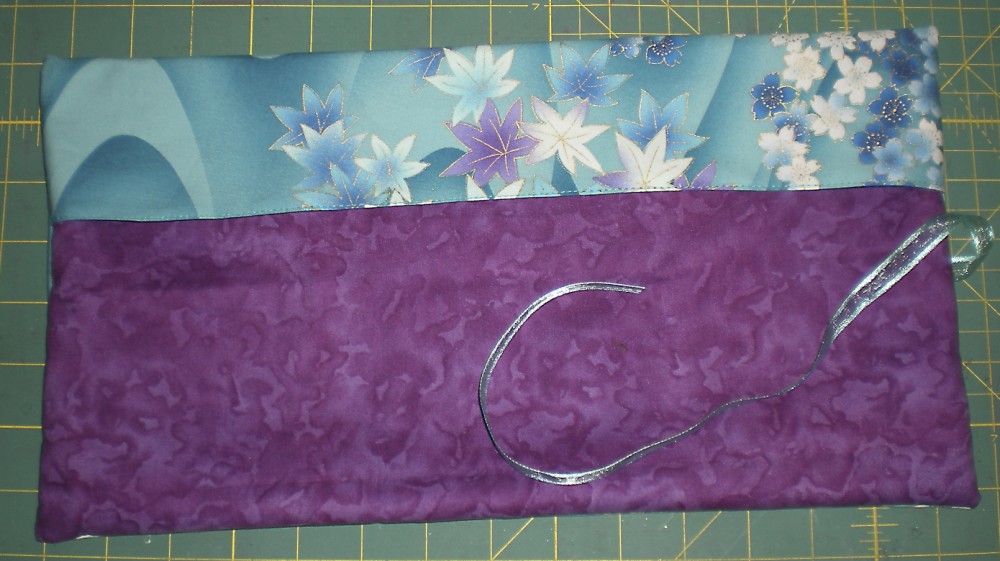
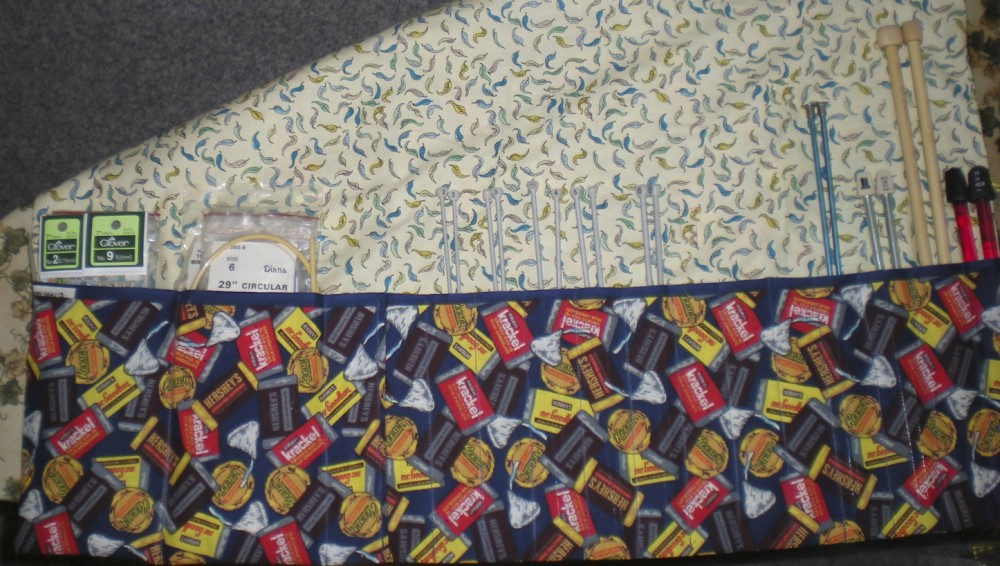
Here’s one I made for my knitting needles. Don’t you just love that fabric? In its former life it was a trick-or-treating bag for my kids. 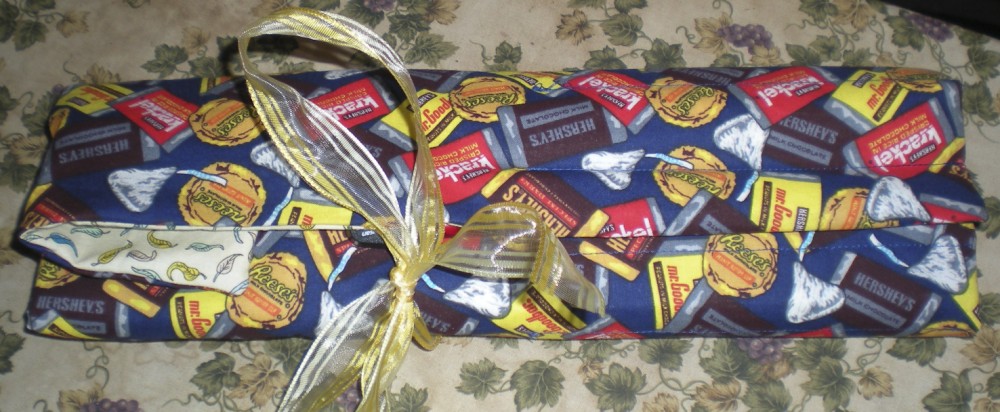
Measurements for the knitting needle roll:
- Lining – 28”x 18”
- Main fabric – 28” x 26”
- Pocket – 7” deep
- Protective flap – 4”
Notice that I left some of the pocket slots wide enough to accommodate circular needles.
Happy sewing, creating and organizing!





Well, I don’t have any knitting needles or crochet hooks, but I will buy some if I can find fabrics for an organizer roll as pretty as that blue and purple.
Isn’t it gorgeous? I could just eat it up.
That piece of fabric is a leftover from a skirt. My very favorite skirt. In fact, I have a friend who tells me every time I wear it that it’s her favorite skirt too, lol.
Someday I’ll tell ya’ll how I copied an Ann Taylor skirt out in my car using only sheets of 8.5″x11″ paper. This favorite skirt is the result.