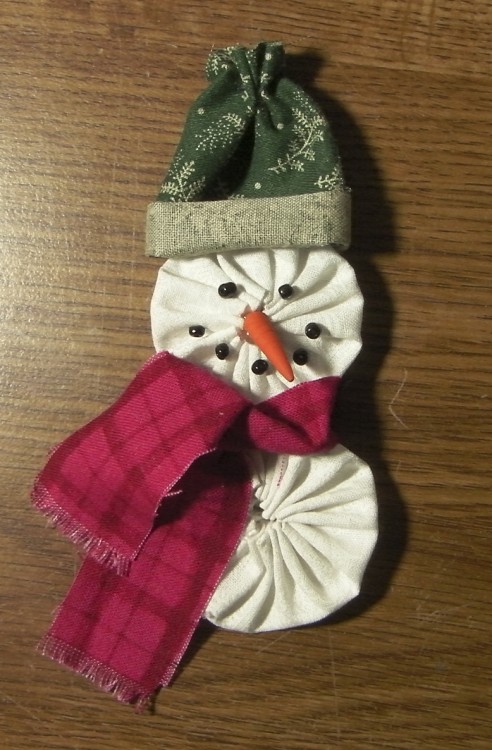
My quilting group decided to do Christmas in July for this month’s meeting. We’ve made many, many quilts for missionaries and charity, but sometimes we just stop and do a little fun project for ourselves. On Saturday we’ll be making these:
Since I was prepping what we’d need, I thought I’d share the steps with you. Here is where you can find a pdf with the snowman ornament patterns.
You’ll need:
- scraps of white fabric for the snowmen (If I figured correctly, you’ll get about 10 snowmen from a single fat quarter.)
- scraps of fabric for the hat (2.5″ x 4″) and scarf (1″ x 9″)
- hand sewing needle and thread
- small amount of orange oven bake clay (Fimo, Sculpey) for nose
- small black beads or black oven bake clay for eyes and mouth
- hot glue
- tacky glue
- toothpick
- tweezers
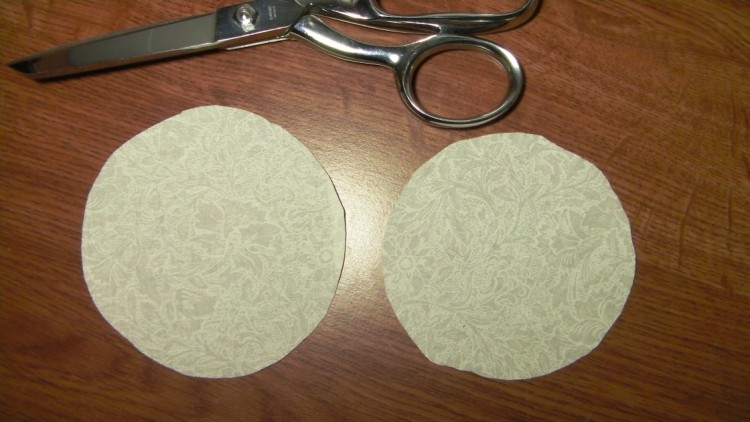
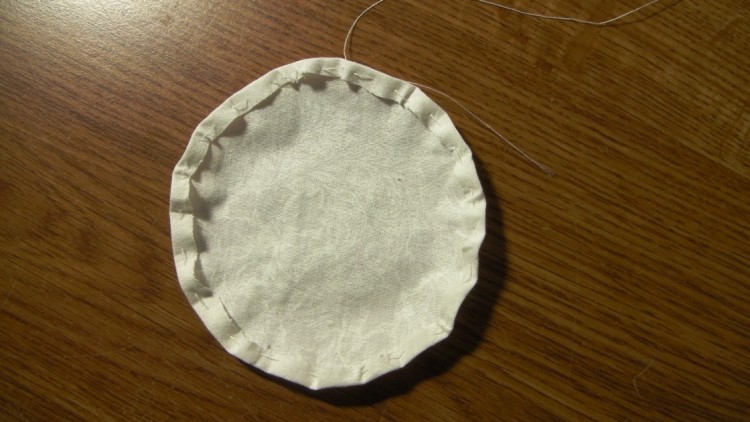
From the white fabric cut one 4″ circle and one 3.5″ circle.
Thread a needle with white thread. Turning under a 1/8″ inch seam allowance as you go, make large running stitches close to folded edge.
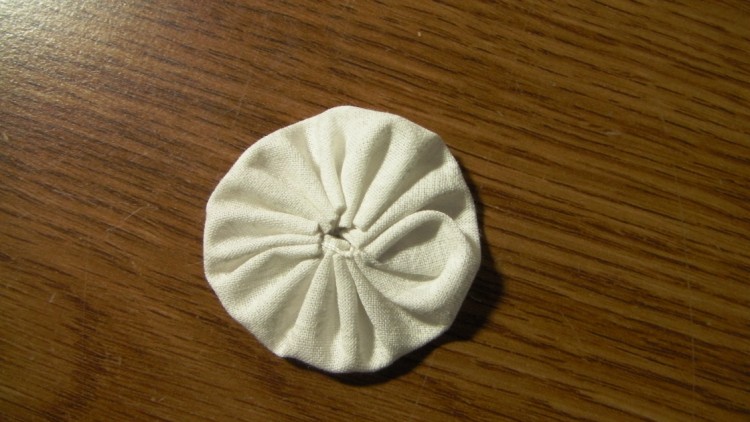
When you get back to where you started pull up gathers and flatten yo-yo so hole is in the center. Tie off thread ends in a square knot and cut off excess thread.
Hint: When tying your knot use a surgeon’s square knot, which simply means to make the first wrap (right over left) twice, then pull tight. This holds everything in place while you make the second wrap (left over right.)
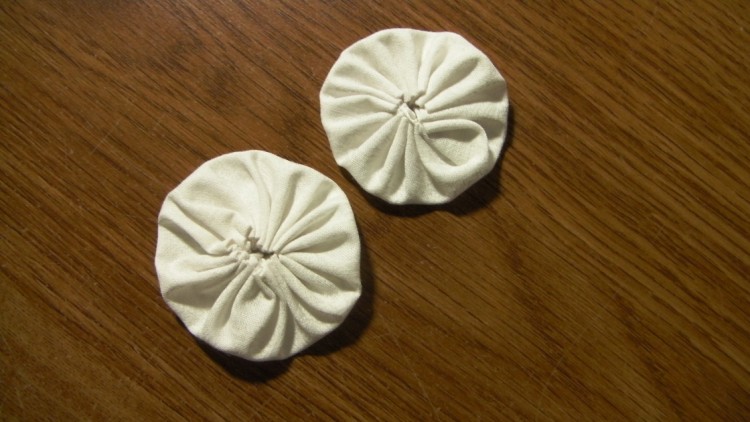
Repeat to make second yo-yo.
Make hat:
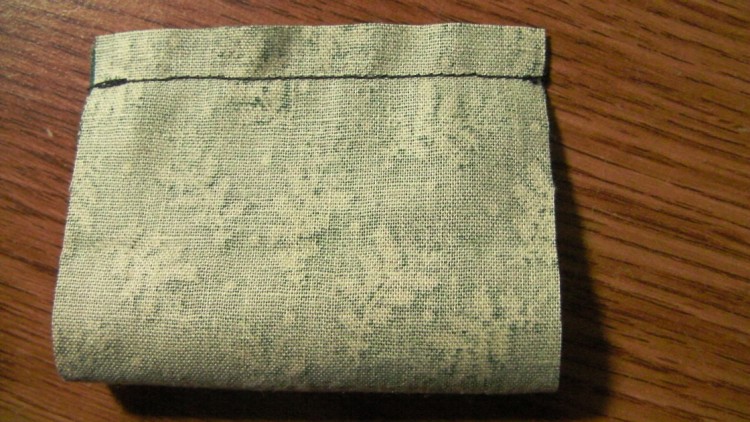
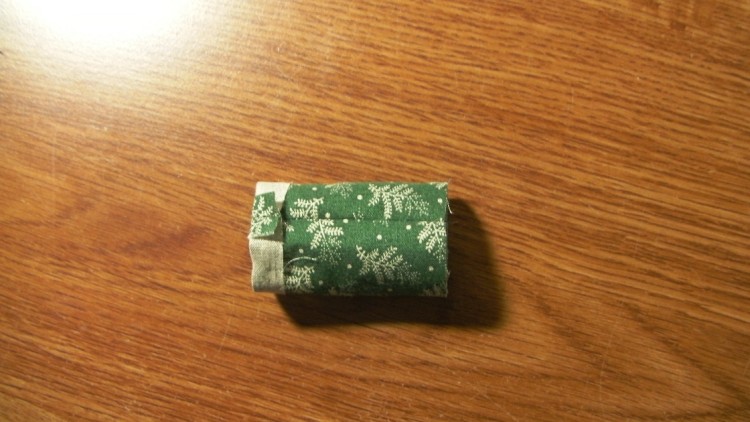
Fold 4″ x 2.5″ rectangle in half, meeting shorter edges. Sew a 1/4″ seam along these edges, backstitching at beginning and end.
Finger press seam open and turn this tube right side out.
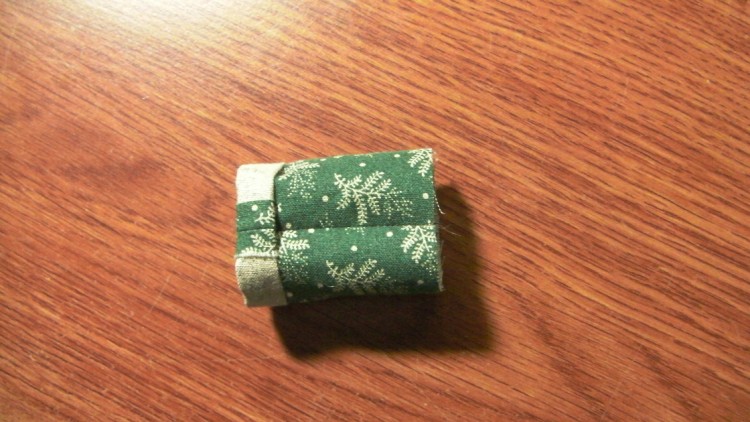
Turn one raw edge up 1/4″.
And turn up again 1/4″ to make hat brim.
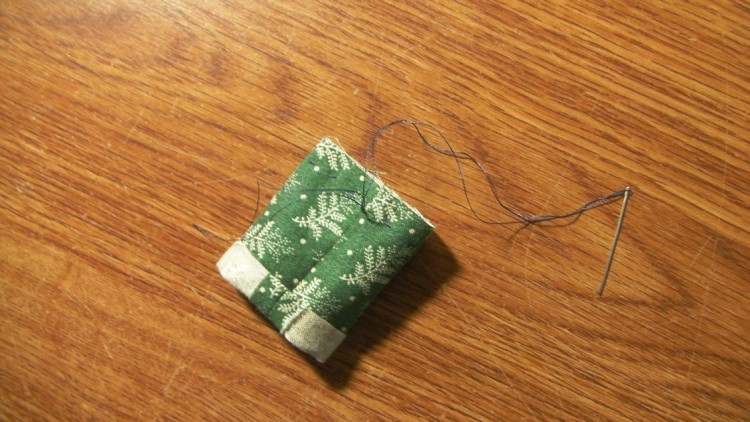
Thread a needle with thread to match the hat fabric and gather remaining raw edge 1/4″ from edge.
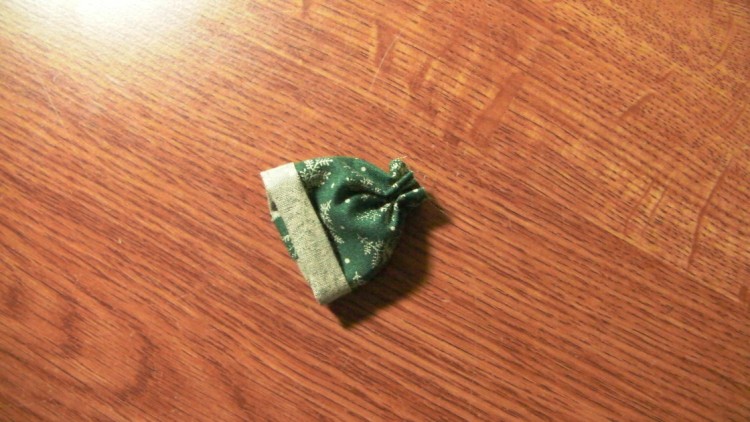
Pull gathers tight and tie off.
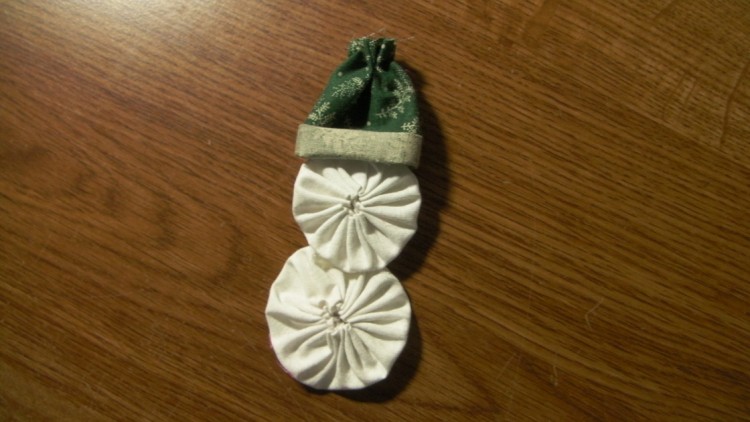
Hot glue hat to small yo-yo and glue small yo-yo over large yo-yo.
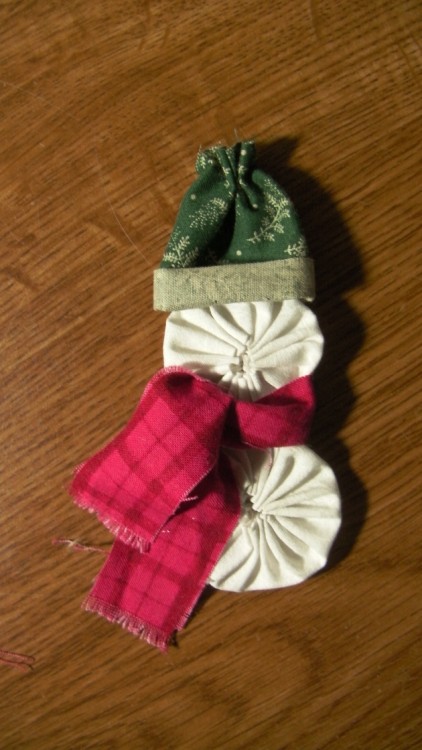
Tie scarf around snowman’s neck, using a pin to fringe the ends. Hot glue down the ends, if desired.
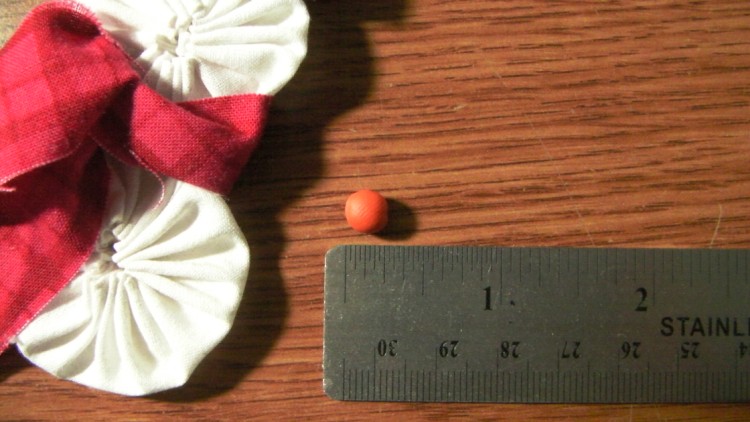
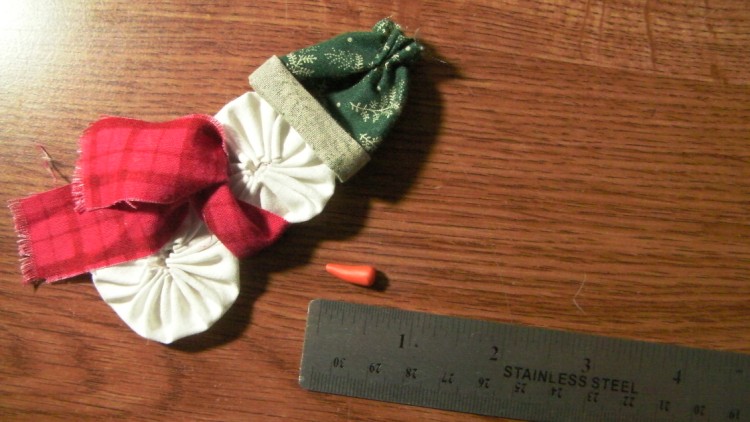
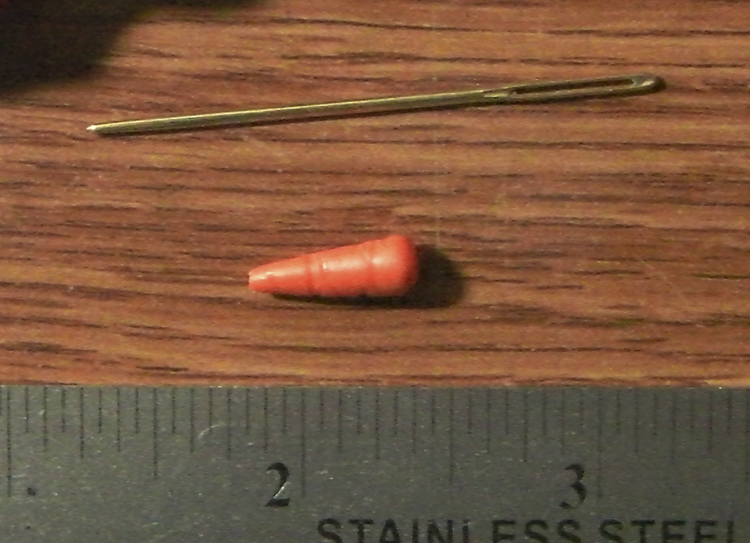
To make the carrot nose pinch off a piece of oven bake clay about the size of a small pea. Roll it into a 1/4″ ball.
Using one finger, roll it on your work surface, applying more pressure to one side than the other. This will shape it into a cone.
Use the side of a needle to mark your “carrot” to make it more realistic.
Bake according to manufacturer’s directions. (Ten minutes at 250° F worked fine for me.) By the way, when using oven bake clay, never use utensils that you will be using with food. Parchment paper here protects the baking sheet and keeps the clay from becoming shiny.
I made a bunch, figuring it’s easier to make more than I need now, rather than have to turn on the oven later to make just one. 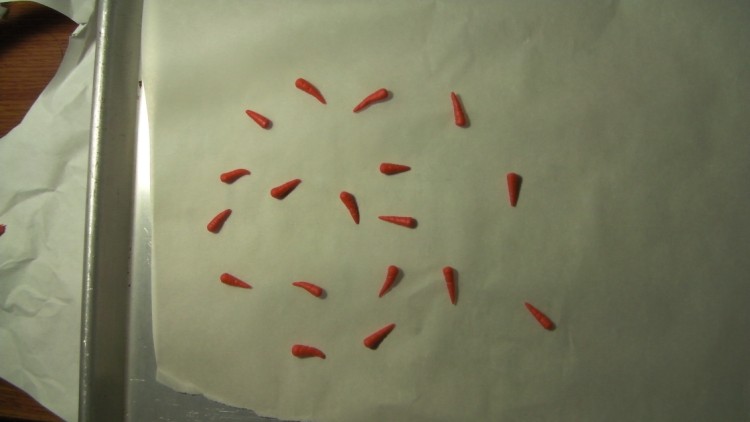
While the baking sheet with all these itty bitty carrots was cooling on the counter my huband saw them and thought they were something I’d picked from the garden. Bwahahaha!
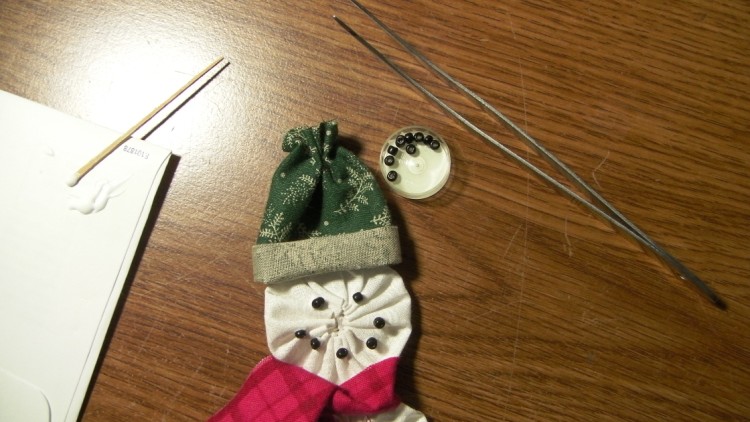
For the eyes and mouth you can use small black beads (mine are 3mm) or make small black balls out of oven bake clay. You can also make french knots with embroidery floss, or just draw on the face with a marker.
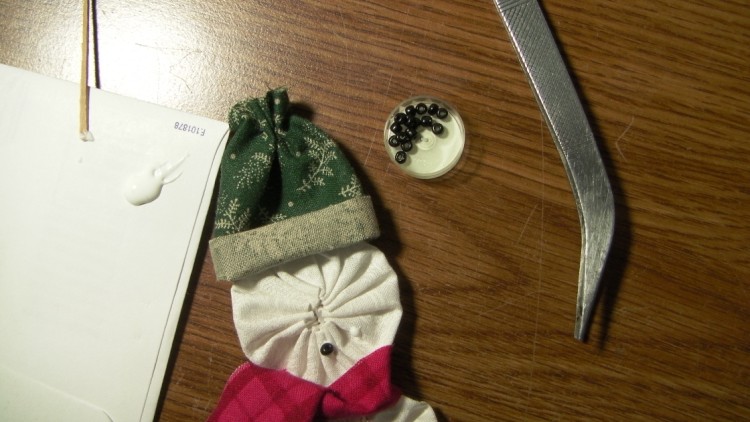
If gluing on the eyes and mouth, I suggest you apply tiny dots of tacky glue with a toothpick, then use tweezers to place your beads exactly where you want them.
Use tacky glue to attach the nose.
Warning: If you use hot glue to attach the nose, then decide you don’t like the gob of hot glue that oozed out and try to pick if off, you WILL break the nose. Just sayin’.
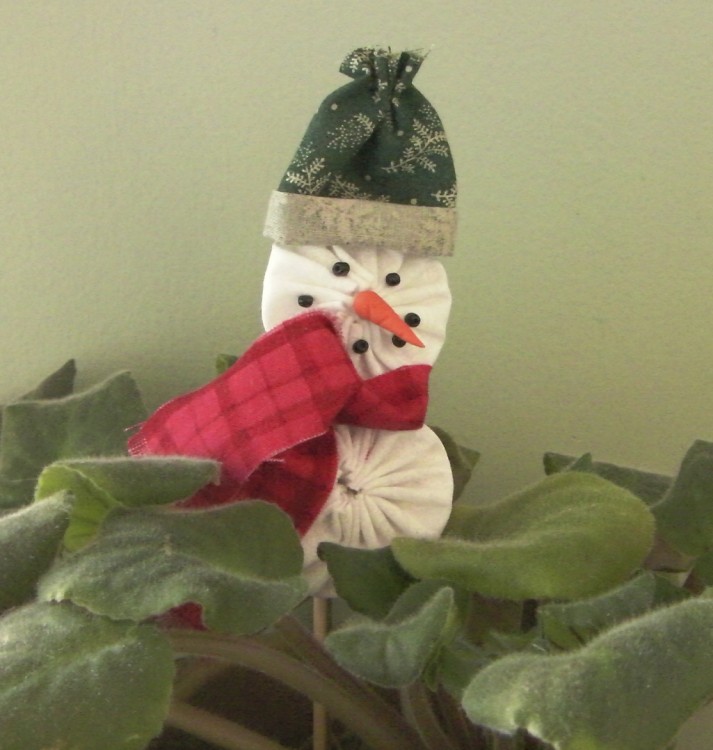
Isn’t he cute?
Now you can add some twine or ribbon to make an ornament, glue on a bamboo stick or some wire to make a plant poke, add him to a card… whatever you want.
Just make sure to have fun!
Happy Christmas in July. 🙂




Awww, that’s so cute! I love snowmen. That’s what I need to be working on to get out of these 100-degree days, mentally.
He is adorable. Thanks for sharing. Will be making him before the year is out.
Thanks for sharing the tutorial for making the snowman. He is so cute. I need to make some to go on the tree this christmas. Once again Thanks for sharing. Vickie
Love yo-yos and this is a cute project!
I can’t wait to make these! He is so cute! Thanks for sharing your idea of such a cute craft and so inexpensive! Julie
Thanks for the pattern and directions he is so cute. Looking forward to making these with my granddaughters.
They are a fun little project. Enjoy!
You’re welcome. Happy creating!
I thought the snowman was cute. I have made some pins using different sizes of rounds… What if you used the other side of the yo-yo to add the eyes and mouth.?. and you could also glue or sew on some black beads for the buttons if you used the other side of the Yo-Yo.. Cheryl Robitaille .June 24,2021
Those are all great ideas, Cheryl! Yes, some folks use the smooth side of the yo-yo to add details. It’s all personal taste. 🙂
Happy creating!
These are just too cute. This will make a great gift for the people in my department. I’m thinking pins for the ladies and ornaments for the men.
Thank you so much for sharing this wonderful tutorial.
Could I use elmers glue instead of tacky glue?
That should work just fine, Patsy. It may take a little longer to dry.
These are really cute. If a circle of lightweight cardboard was inserted inside the yo-yos, it would help them hold their shape. These are really fun to make and put on packages. Thanks for sharing.
That’s not a bad idea, Luann, although they don’t really need stiffening up as all the gathers help them keep their shape.