This is the final installment of our faux leather sketchbook project. Go here to see Part 1, Making the Cover or Part 2, Adding the Pages.
The finishing touches are what bring this from way-cool, to uber-cool, in my opinion. 🙂
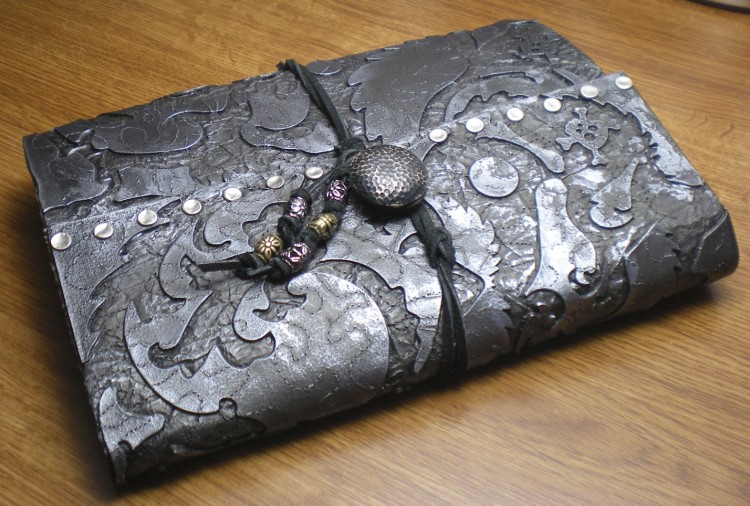
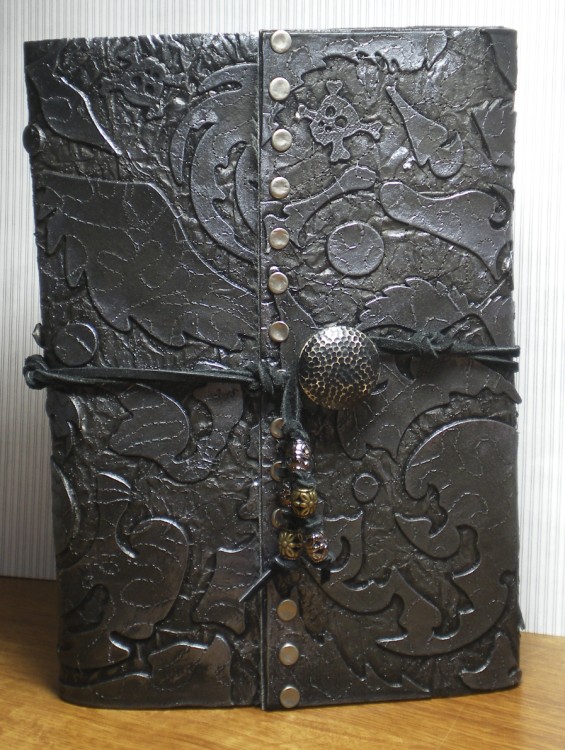
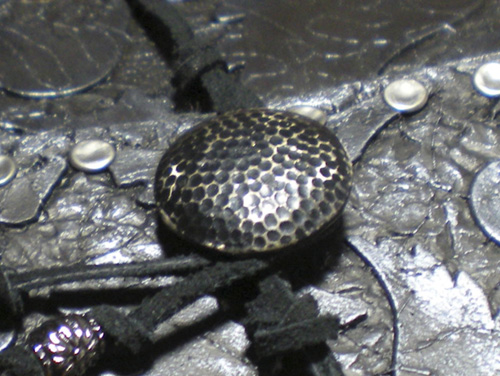
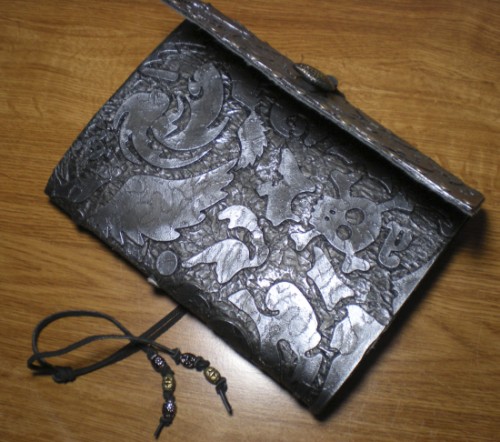
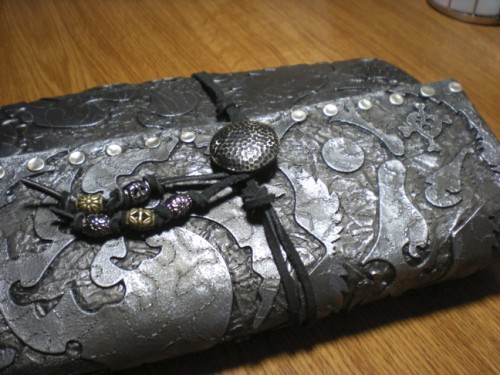
1. Select a nice big shank button that suits the feel of your sketchbook. (I found this one in my grandmother’s button collection. I think my son will like having something of his great grandma’s. It was painted with black enamels and then hit with a sanding block once dry.)
2. Use an awl to poke two holes in the right flap of the sketchbook, centered top to bottom. Use waxed twine to sew on your button through these holes. If you have a metal or ceramic button, make sure to sand any sharp edges that might cut the twine.
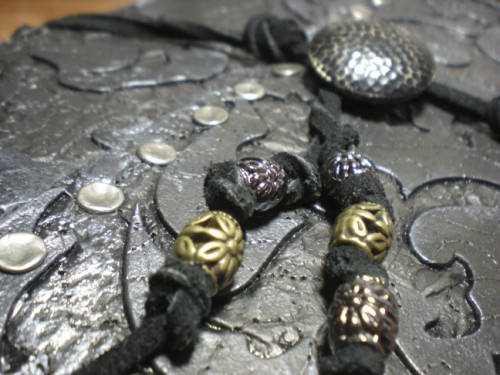
3. Fold the 60″ of leather cord in half, looping the fold over the button. Tie a knot just at the edge of the button. Tie two or three more knots along the length of the cord for decoration. Bring cord around sketchbook and wrap around button to close cover. Add beads and knots to ends of cord and trim ends.
I really hope some of you will try this project. Although it looks quite complicated, each step is easy. I can’t wait to make one for ME, think I’ll do it in burgundies/reds with gold accents. 🙂



Can’t believe I “happened” onto this post! I was hopping onto new blogs listed on WOYWW and stopped in my tracks when I saw this faux leather journal!!! I cut this out of a magazine and carried a list of items needed to my local Joanne Fabrics and got so frustrated I gave up. I have never sewn and most on this list is greek to me. You may have inspired me to put it back on my list 😉 Thanks.
Hi Linda,
I’m so glad you found this inspiring and helpful! Those two things are my main goals for this blog. Please let me know how your project comes out!