


Earlier this week I showed you how to make Origami Folded Purses. Today’s tutorial is for how to add beaded handles. Of course, you could add these handles to just about any bag; think of it as jewelry for your purse!
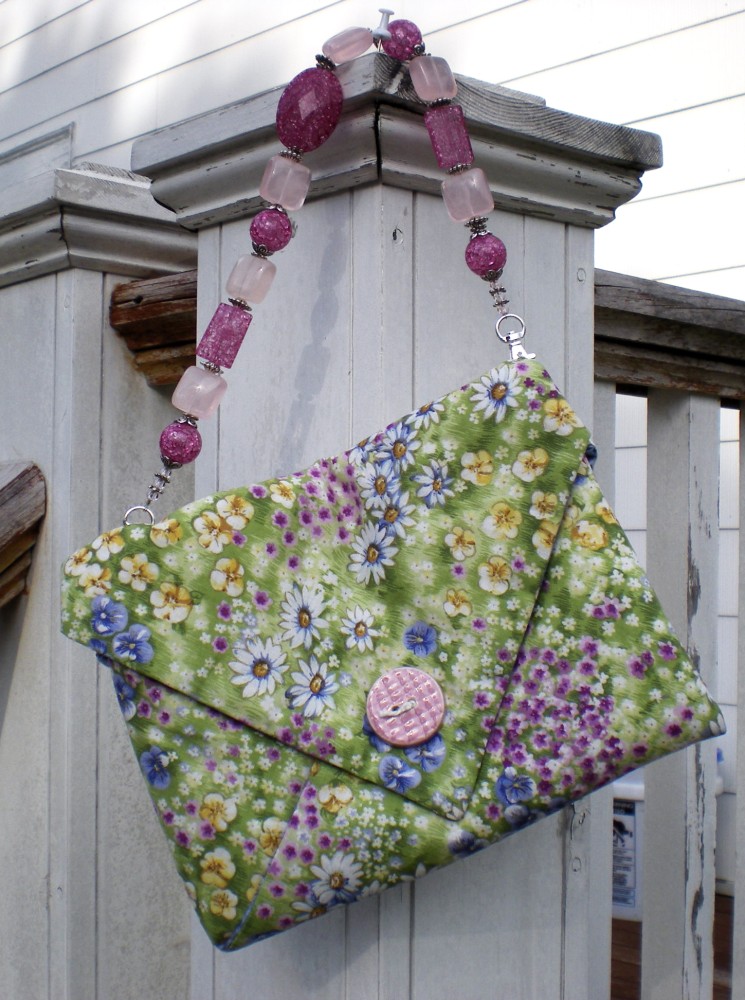
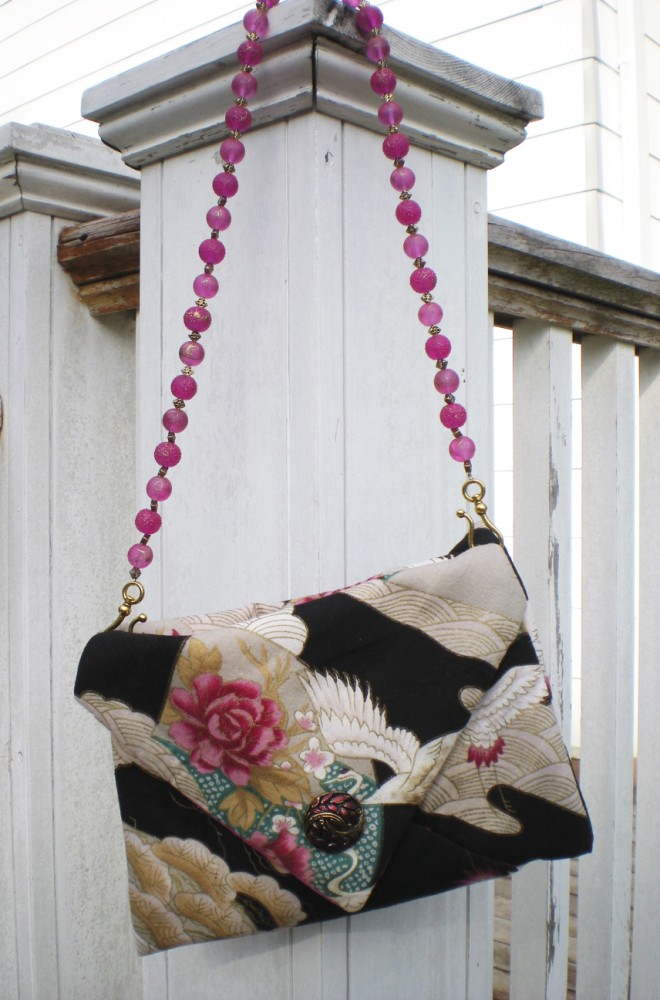
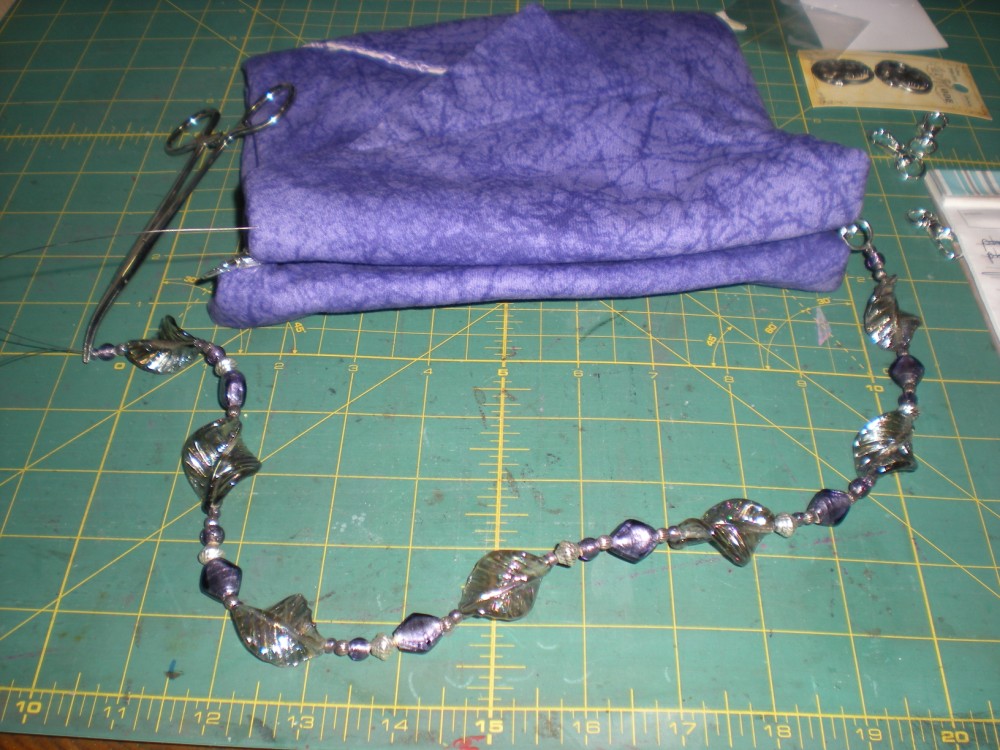
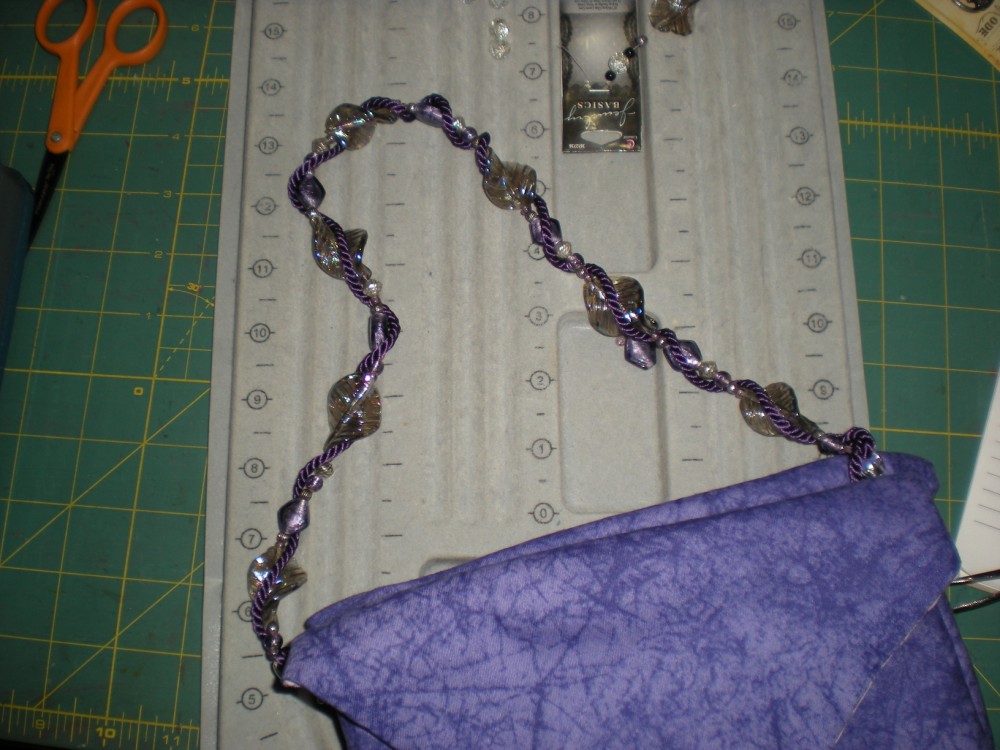
Here are three bags that I’ve completed. You’ll notice that the black bag with oriental fabric has gotten a makeover with new buttons and a fancy new handle. I’m loving it.
(Btw, you can click on any of the photos to enlarge, click on the square with an arrow to make them even bigger.)
What you will need to make these handles:
- A purse to put them on (duh!)
- Metal grommets (I used the Dritz large grommet kit. It comes with the tool you will need to set them.)
- Two clasps to go through the eyelets. (On the floral and purple bags I used badge clips, they look like large lobster claw clasps with a swivel loop. On the black oriental bag I used metal clasps by Blue Moon Beads.)
- Bead stringing wire (I used Beadalon nylon coated stainless steel in size 5.)
- Two crimp tubes (Look at the packaging and choose the size that corresponds with your wire.)
- Beads of your choice (Shopping for these is the fun part!)
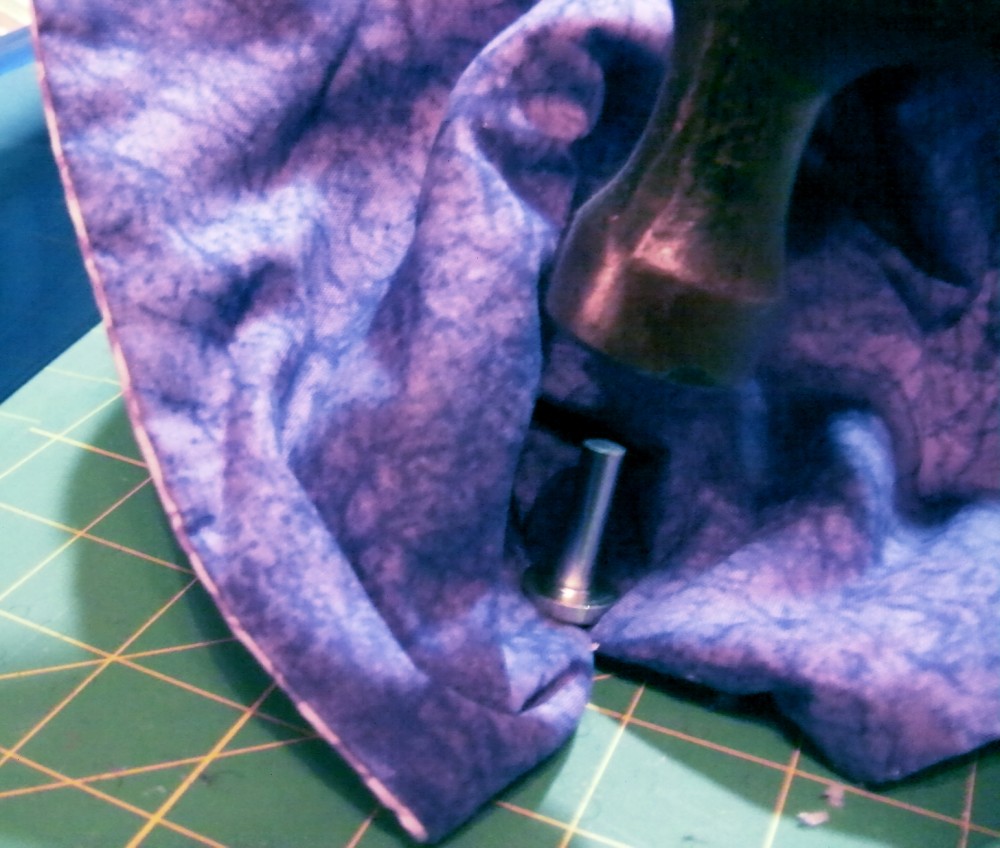
The first thing to do is make small holes in the side seams of the purse for the eyelets to go through. This is why we used a very small stitch length when we made the purse. Here I am using a Cropodile to punch holes, but you just carefully make a 1/4″ hole with scissors. Always err on the side of making it too small!
Make these holes about 1/2″ down from the top of the seams. 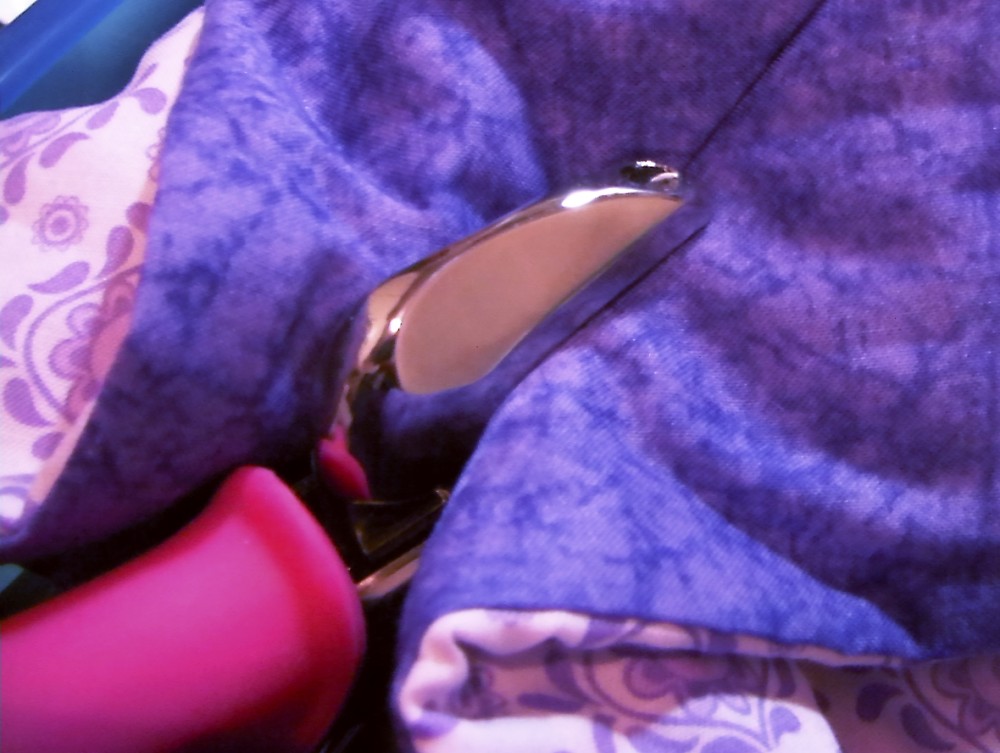
Here are what the grommets look like. Above them is the tool used to set them with a hammer. Make sure when you get your package that it includes the tool and isn’t a refill kit.
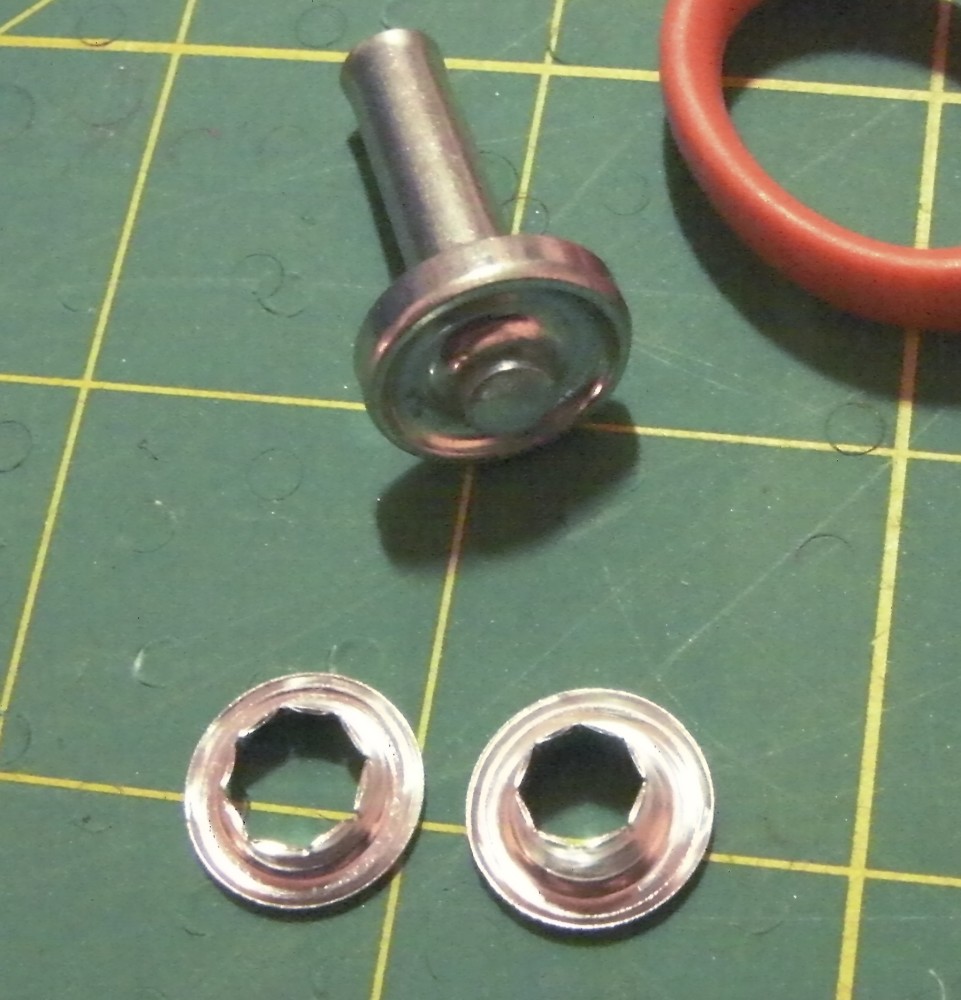
Notice that one side of the grommet has a larger opening and shorter prongs. The other one has a smaller opening and taller prongs. This taller one goes on the outside of your purse.
The first thing you need to do is insert the shorter grommet (with the larger hole) into one of the holes you just cut in your purse, from the inside of the purse. If the hole is too small, carefully cut off tiny bits of fabric and batting until the prongs are just visible inside the hole. Now you can insert the taller grommet piece into the shorter one from the outside of the purse.
All you have to do to finish your eyelet now is give it a few whacks with a hammer. Place your bag with the outside grommet down on a firm surface. Fit the setting tool to the inside part of the grommet and give it several whacks with the hammer. You don’t have to pound with all your might, you could distort the grommet. Just hammer firmly until the prongs of the taller grommet round over.
If you feel unsure about the process, try a practice grommet on a scrap of fabric. It really is very simple.
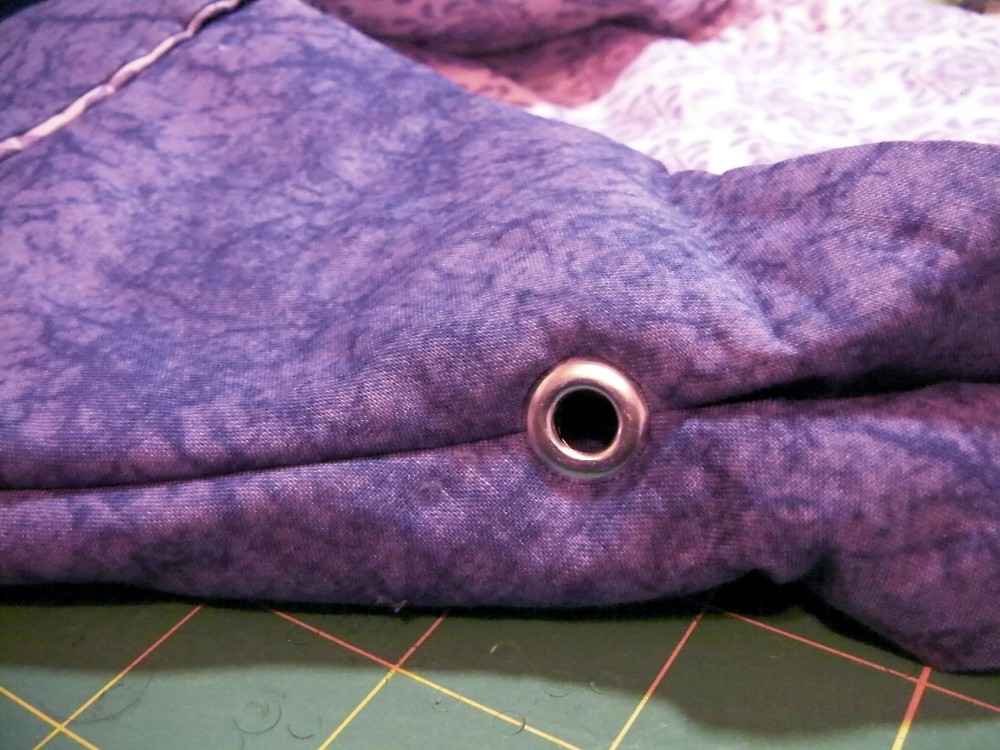
Here’s a finished grommet. Now repeat for the other side of the purse.
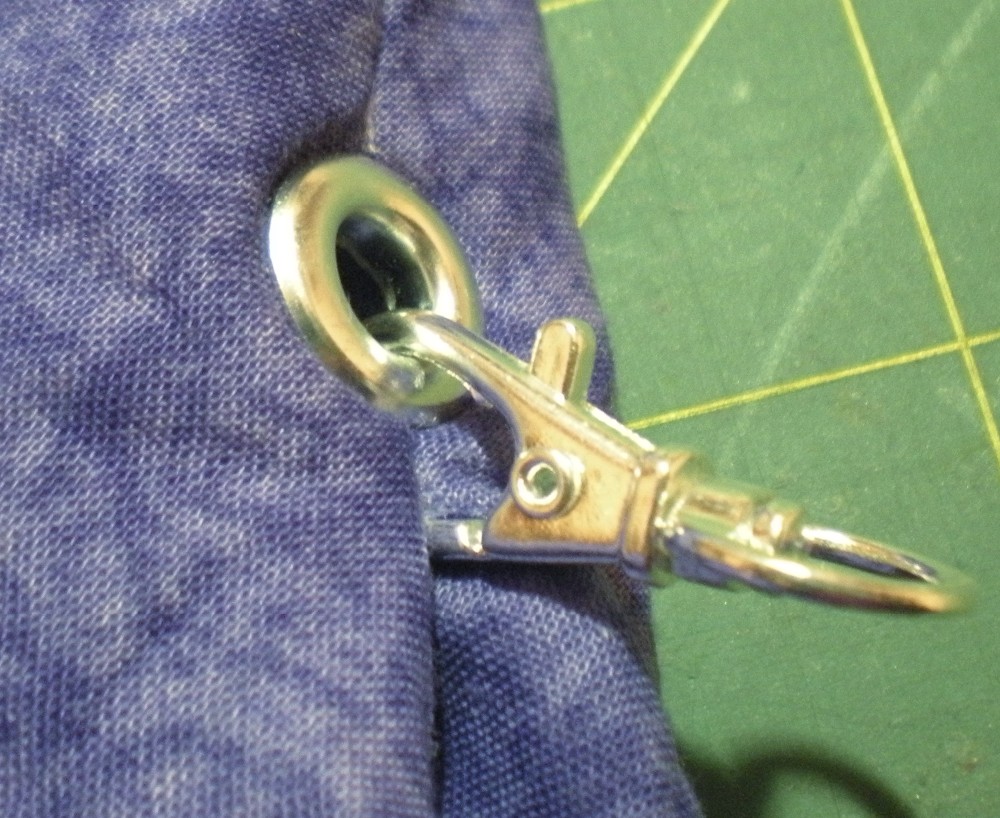
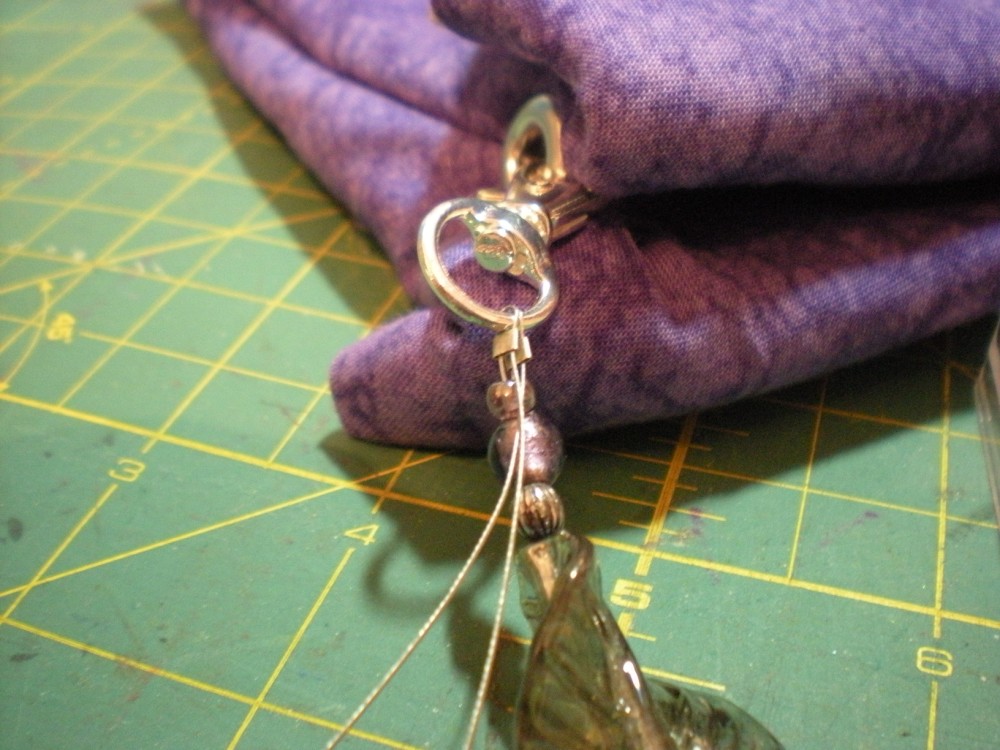
Now you can attach your clasps to the grommets.
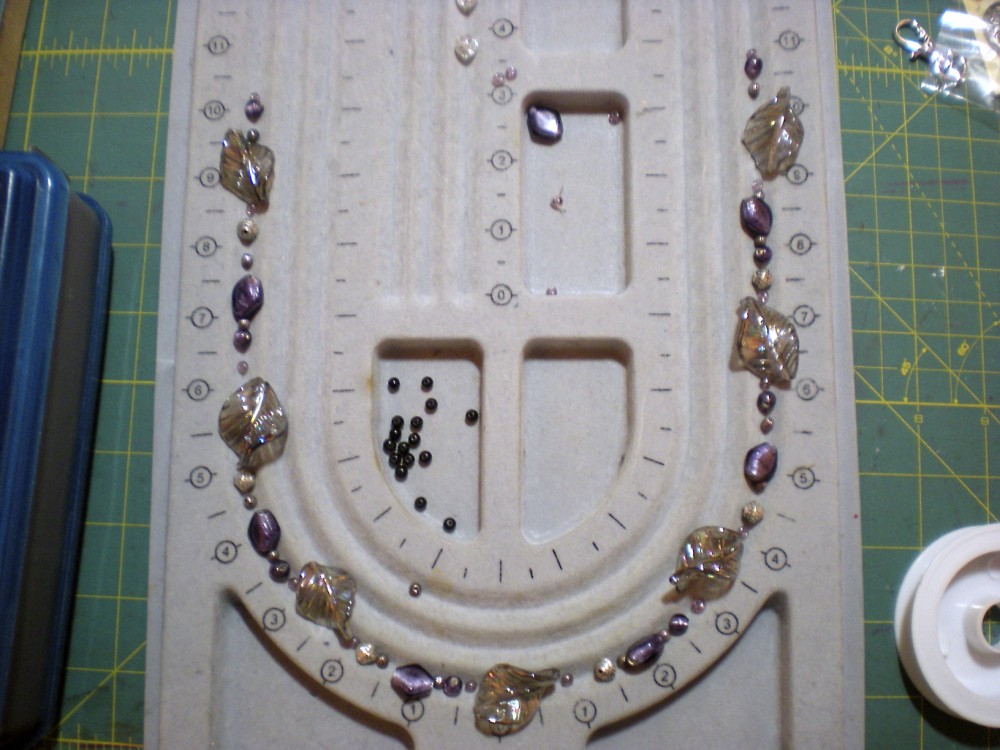
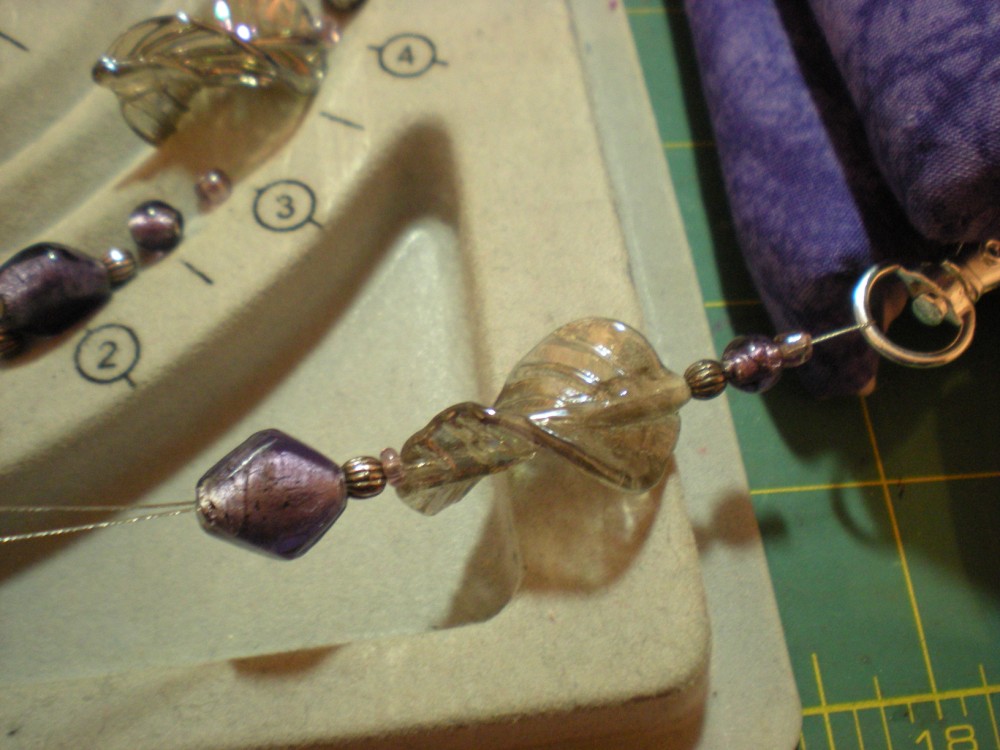
Now it’s time to arrange your beads in the order you like. My theory for the length of these purse handles is: the chunkier the beads, the shorter the handle should be, the smaller the beads, the longer the handles can be. You do whatever floats your particular boat, but it is a good idea to have them all arranged in advance so you have an idea of the length and design.
These bead design boards are tremendously helpful, but feel free to just line a shoebox or similar lid with a towel. That will work, too.
Once you have your beads all arranged to your liking and have the length you want, go ahead and cut a piece of bead stringing wire twice that length plus 12″ for insurance. It’s always better to have to cut off some excess. It stinks to run short. Trust me, I know.
Now run this wire through one of the clasps and meet the ends together.
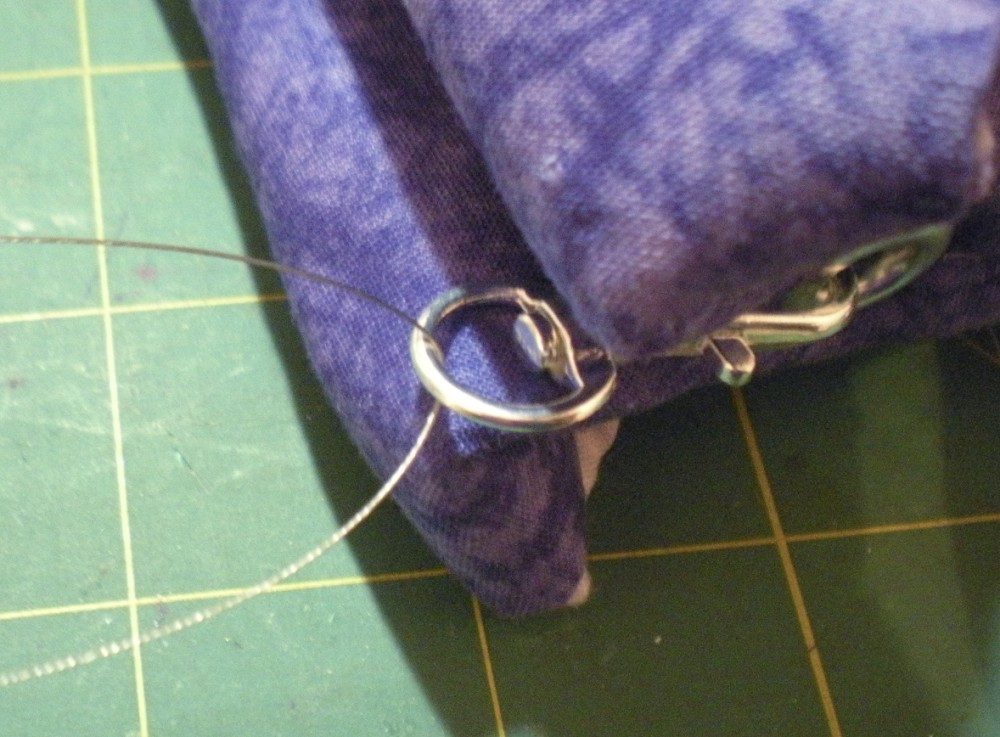
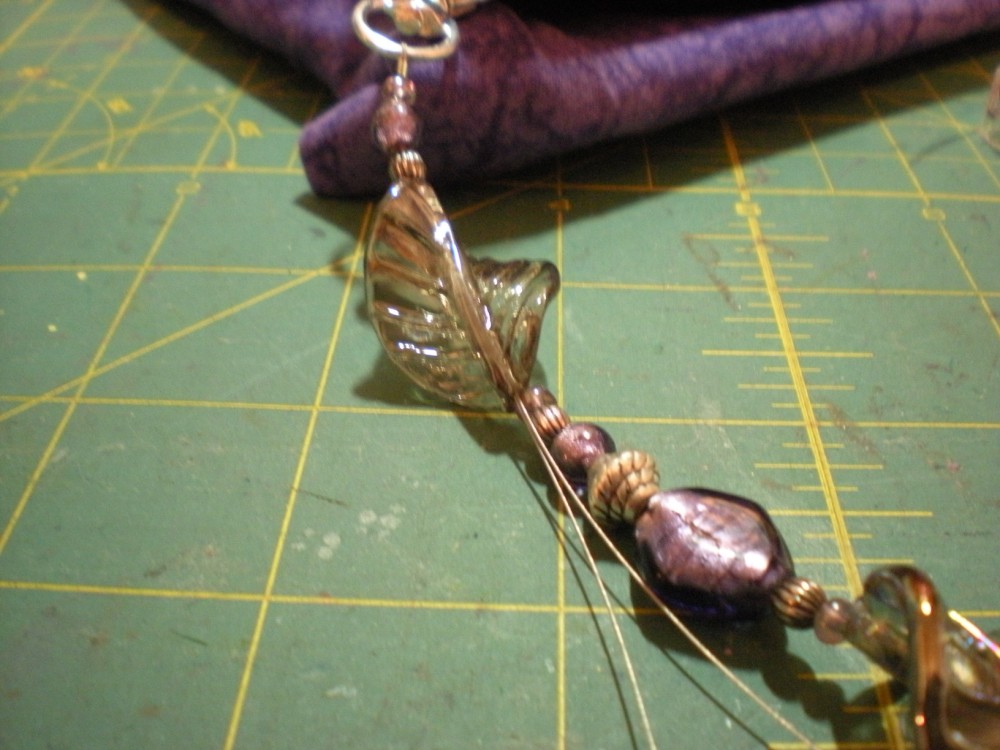
You will be treating the two wires as one and stringing your beads onto both.
I don’t know about you, but I’m a klutz. I don’t know how many times I’ve been stringing away, fumbled with something and had the entire string of beads dump on the floor. That’s why hemostats are my best friend. You can use them to clamp onto the wires and keep your work safe. I usually move them after every 4 inches or so.
Don’t have hemostats?
Make friends with someone in the medical field quick!
There’s always an abundance for free because they dispose of them frequently.
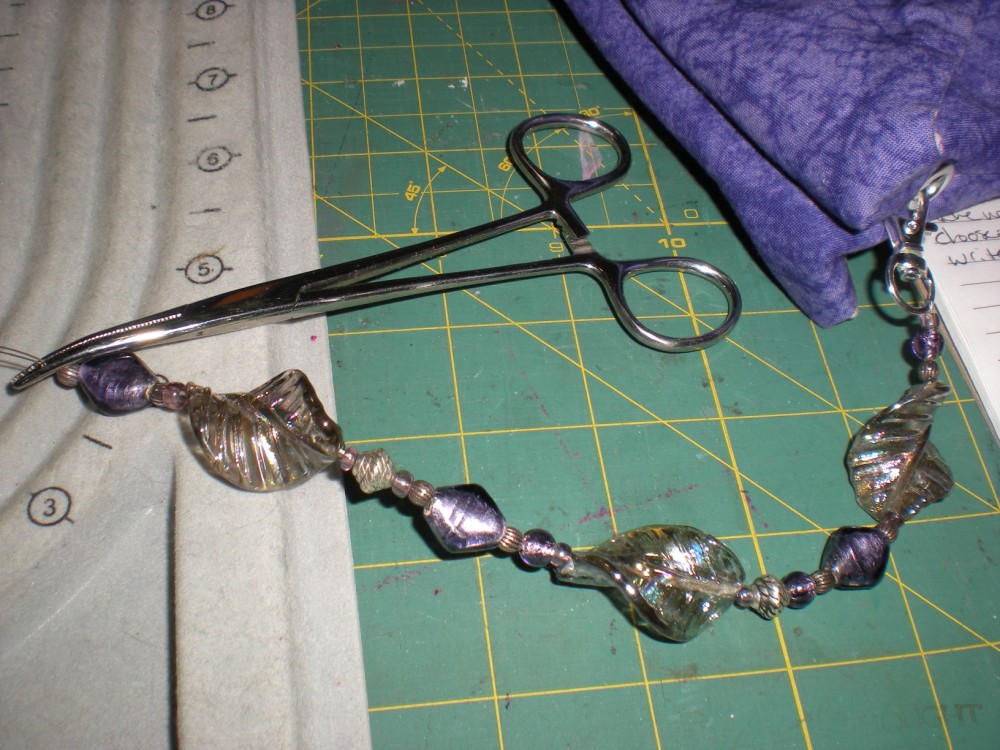
Continue stringing merrily along until you reach the end of your design and the handle is the length you want.
Now it’s time to attach the wire ends to the other clasp. We will do the using crimp tubes.
String one crimp tube onto each wire.
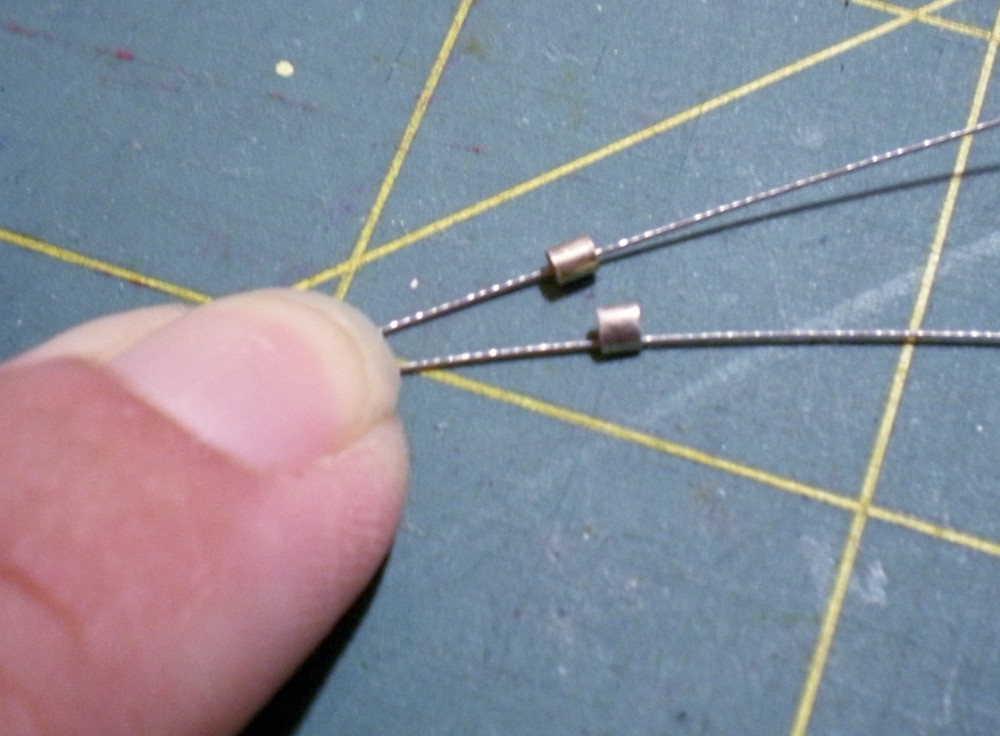
I prefer to use crimp tubes rather than crimp beads because you can easily flatten the tubes with pliers. You need a special crimping tool for crimp beads and sometimes they come out wonky. (Perhaps it’s my lack of skill, but why not go with what’s easier? )
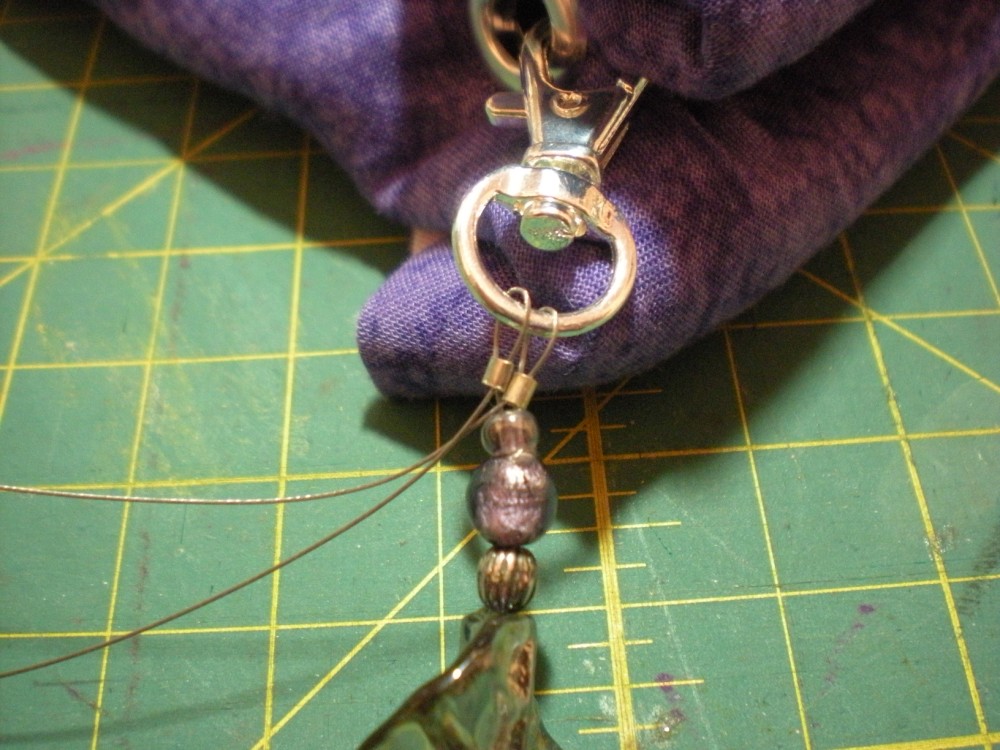
Anyhow, now you need to thread the wire ends through the other purse clasp…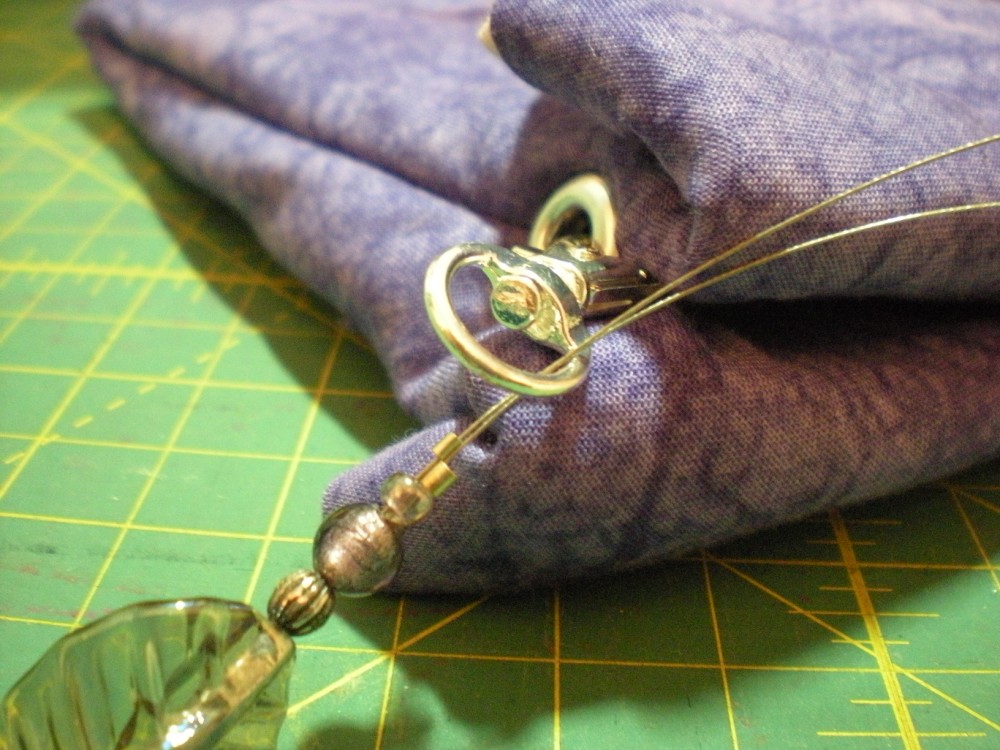
…and then back through the crimp tubes. Pull on the wire ends until the tubes and the bead strand are snug against the clasp. Don’t make this overly tight or your bead strand will be stiff. An 1/8″ of slack in the wire is fine.
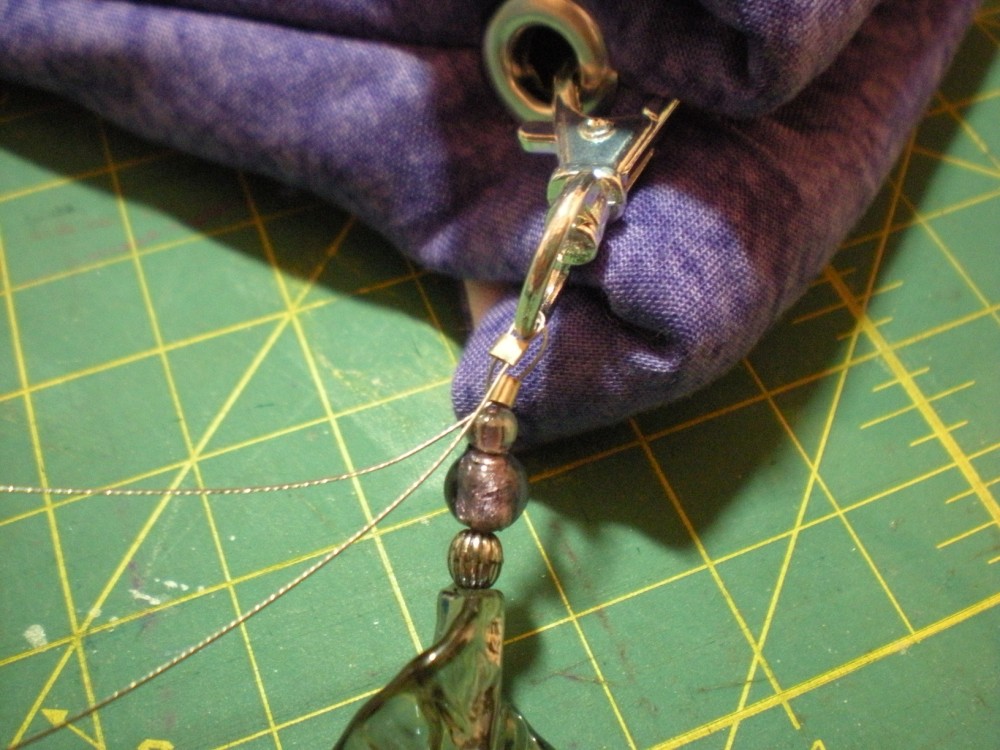
Now it’s time to use a pair of needle nose pliers to flatten the tubes.
Here’s something important to notice. Can you see in the above picture how the wires cross over themselves inside the tubes? We don’t want them to be crossed when we flatten the tubes, we want the wires to be parallel to each other. This can be done by grabbing the wire end and pulling it off to one side right before you flatten the tube.
Use your pliers to grasp one of the tubes and squish it flat. Give the pliers an extra squeeze to make sure it’s nice and tight.
Notice how the wires are parallel, not crossed inside the tube. If they cross they can easily slip over each other, making your tube too loose and your purse handle might let go.
Now tug on the bead strand. It should not give at all. If it does, pull off the flattened tube and try again.
Go ahead and flatten the second crimp tube.
Now there’s just one last step before your handle is done.
Go ahead and fish these wires back up through the bead strand as far as you can. The farther you can do it, the more secure your handle will be should the crimps ever let go. (Notice, though, that I designed this with TWO crimps, for extra insurance.)
Use wire cutters to trim off the wire ends close to the last beads they came out of.
Your beaded handle is done! Isn’t is beautiful?
Next time I’ll share with you some finishing details, including adding twisted cord to your handle, altering the colors of your hardware to match and some fun things to do with the buttons.
Happy creating!

Oh, those are beautiful. I especially like the clasps on the oriental bag. Another page bookmarked!