Many of you have shared that sometimes you buy cool new art supplies, but then are afraid to use them.
If you have EF Color enamel powders sitting on a shelf, no worries!
I finally opened mine (it ONLY took a year and a half) and am going to show you all of my experiments and exploration so far.
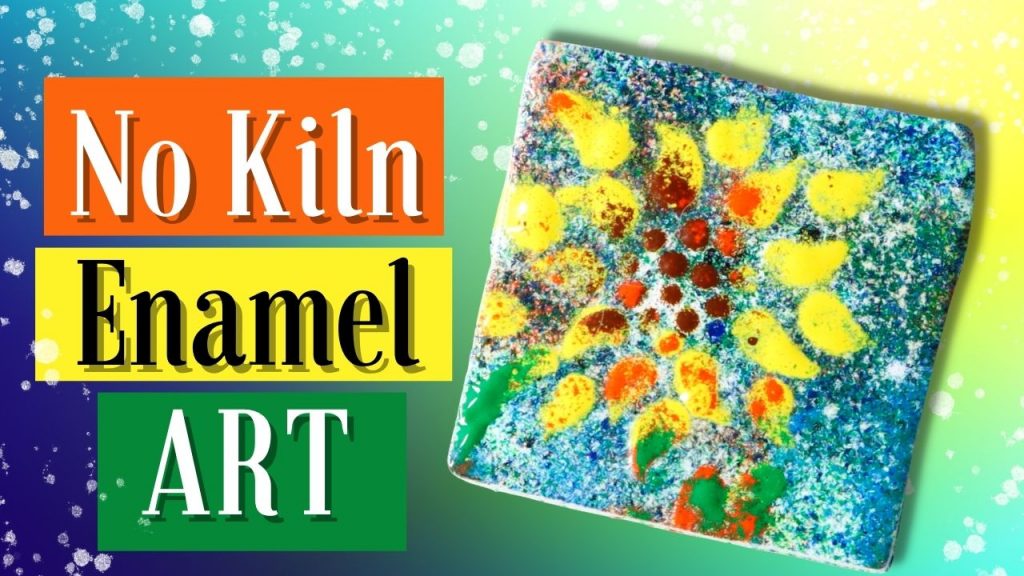
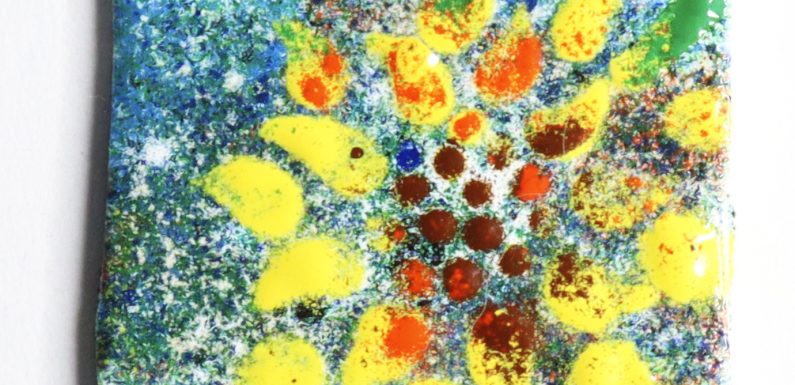
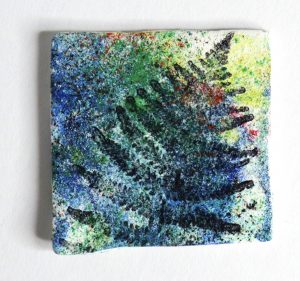
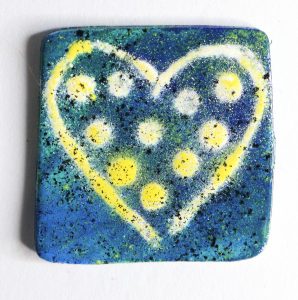
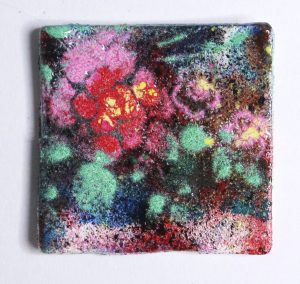
These powders are super easy to use, just sprinkle them on! After a brief time melting at 300 F. they have the appearance of glass enamel and are quite durable.
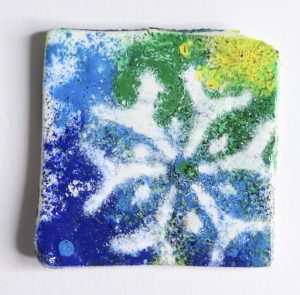
I’m primarily using them on polymer clay, but you can use them on anything that will safely go into a 300 F. oven.
By the way, during my research I learned the name is pronounced by saying the first two letters, “EEE EFF,” but I promptly forgot this while recording. I’ll try to remember in future!
Watch the video to learn:
- How to use EFColors with stencils and silk screens
- Tips for experimenting with these powders
- Best practices for baking
- Adding designs on top of designs
- Textures that can be added before and after melting
- Ideas for inclusions to add
- How to use EFColors on dimensional surfaces
Keep an eye out for part two on this topic, where I experiment with translucent, glitter and texture powders, plus maybe attempt little landscapes.
Tools & Materials
- EFColor Enamel Powders
- Polymer clay
- Pasta machine or acrylic roller
- Clay blade
- Craft knife
- Popsicle stick
- Ceramic tiles
- Nonstick craft mat
- Stencils, such as Fairy Lattice by CreateAlong
- Silkscreens, such as Sandy’s Henna Tangle
- Bead sorting trays
- Rubber stamps
- Clear embossing ink, such as VersaMark
- Permanent ink pad, such as Staz-On
- Glass microbeads
- Glass cabochons
- Glass or crystal rhinestones
- Heat safe glitter
Watch the Create Gorgeous Art Effects Easily with EF Color Powders video on YouTube
