I’ve always been fascinated by miniatures, studying their intricate details and imagining what it would be like to live in that world.
Creating those mini habitations is fun, too, but all that detail can be time-consuming and fiddly to sculpt.
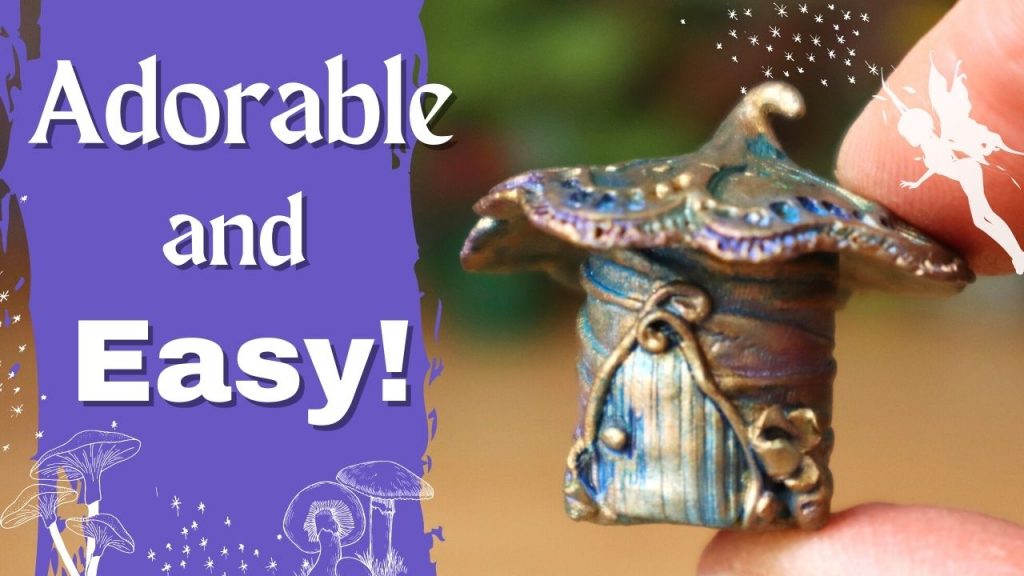
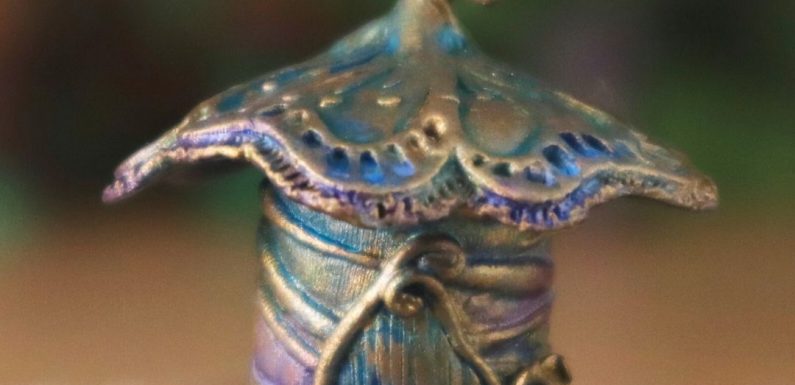
Which is why I came up with this project. In today’s video I show a cool trick and clever use of supplies to make these teeny, tiny fairy houses, complete with lots of sweet detail.
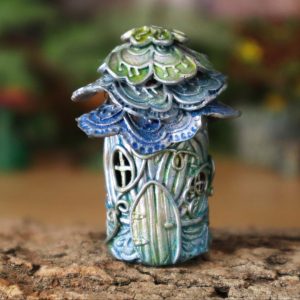
With the right tools, it’s easier than you might think!
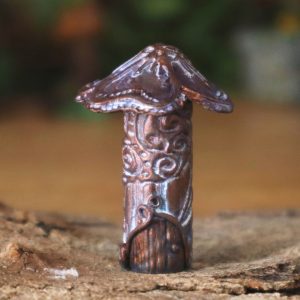
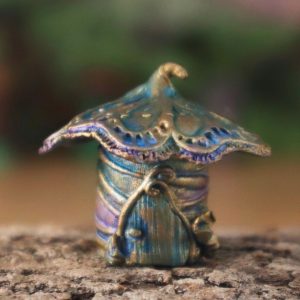
I used Swellegant metal paints and dye oxides for easy and quick colorants. Alcohol inks and acrylic paints would also work well.
Tools and Materials:
- Polymer clay, scrap or metallic shades
- Straight sided round object for form, such as 1/4″ – 1″ wooden dowels and plastic caps
- Scrap paper strips
- Scrapbooking adhesive
- Texture sheet, Sandy’s Spiral
- Deli sheets
- Craft knife
- Clay blade
- 1/8”, 1/4” and 1/2” ball tools
- Needle tool
- Sculpting tool, such as silicone shapers or gum stimulator
- Texture plates, Sandy’s Flowers small or Sandy’s Flowers large (Unfortunately, these texture plates, have been discontinued by CreateAlong. They might be released in future as rubber stamps. If that happens I will share links and info in my email newsletter. Sign up at https://bit.ly/sandysignup
- Armor All
- Kemper cutters, 3/16” set
- Kemper cutters, 3/8” oval
- Small round cutters
- Acrylic block
- Acrylic roller
- Liquid clay
- Magnifying light, optional, but great for tiny details
- Swellegant metal paint
- Swellegant Dye Oxides-Caribbean Blue, Violet, Chartreuse, Milky White
- Silicone craft mat
Enjoy the video and happy creating!
Watch the ADORABLE Mini Fairy Houses video on YouTube.
