


If you watched last week’s video, you may be wondering how I turned that clay goo into fine silver.
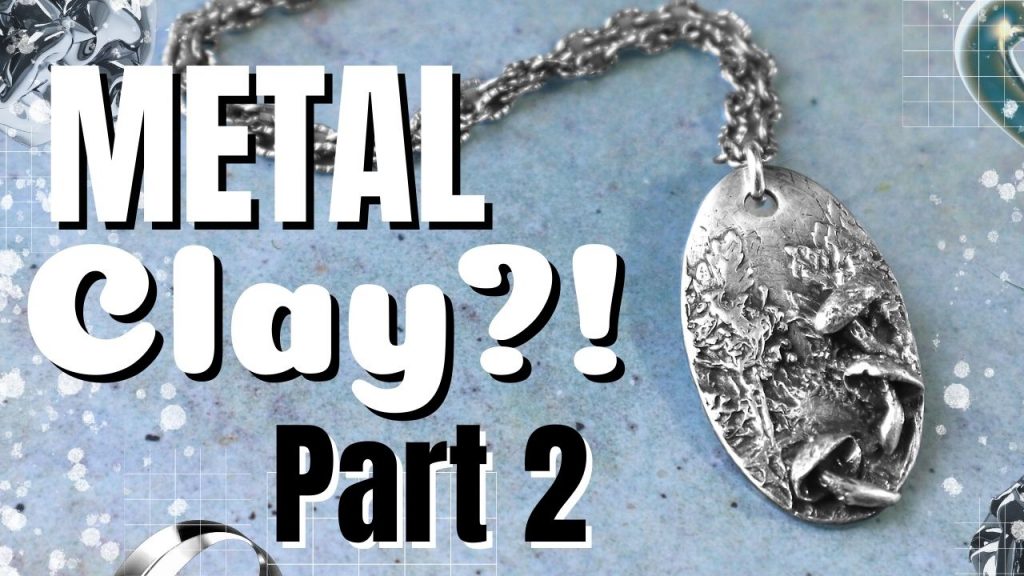
Check out how I finished my first ever silver clay jewelry. You get a surprising number of pieces from a 15 gram package of Precious Metal clay!
In this 2-part demo:
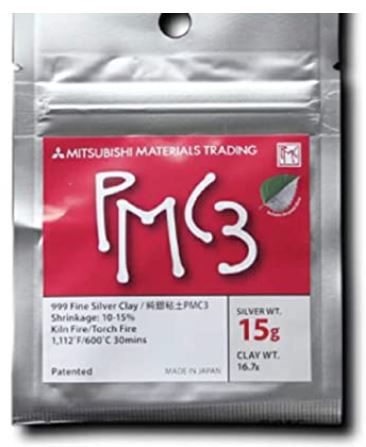
- Opening my first ever package of PMC3
- Working with metal clay vs. polymer clay
- Techniques for keeping it from drying out
- Tips for planning your first projects
- Rolling, cutting, sculpting and sanding techniques
- How to combine other materials like jump rings and cubic zirconias
- Watch me torch fire a piece (and completely melt another!)
- Polishing and finishing tips
Watch Part 1-You Don’t Need a Smith’s Skills to Make Fine SILVER Jewelry on YouTube.
Tools and Materials
Precious metal clay
- PMC3 comes in 5, 15, 25 and 50 gram packages
- I started with 15 grams ($40 in early January 2021) which was enough to make ten small pieces:
- 2 practice strips
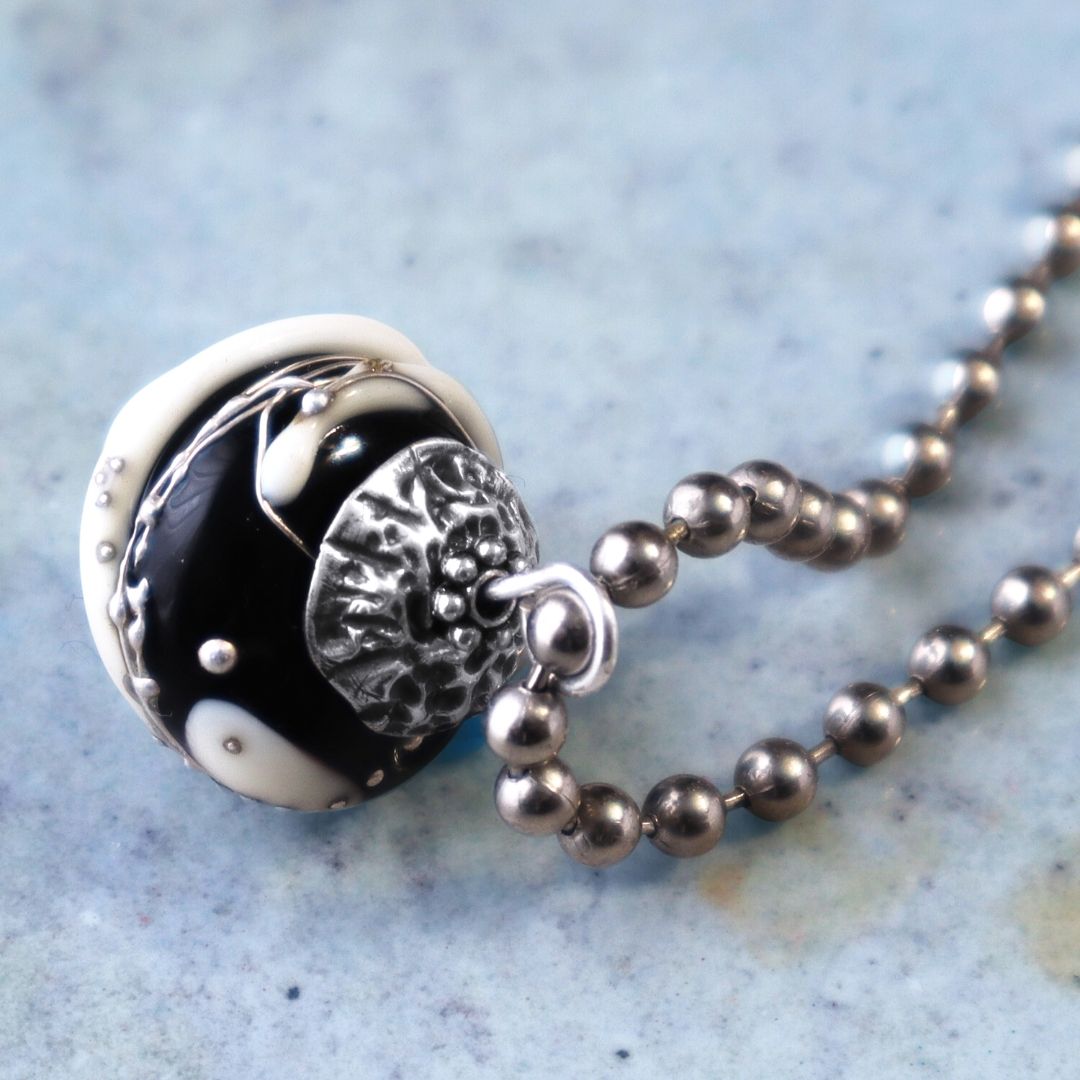
- a pair of bead caps
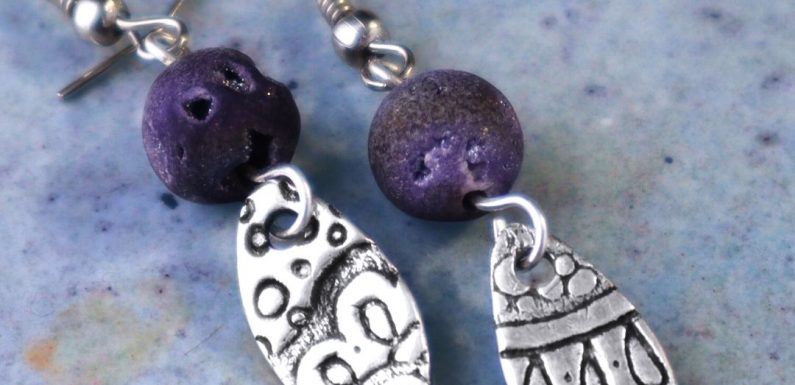
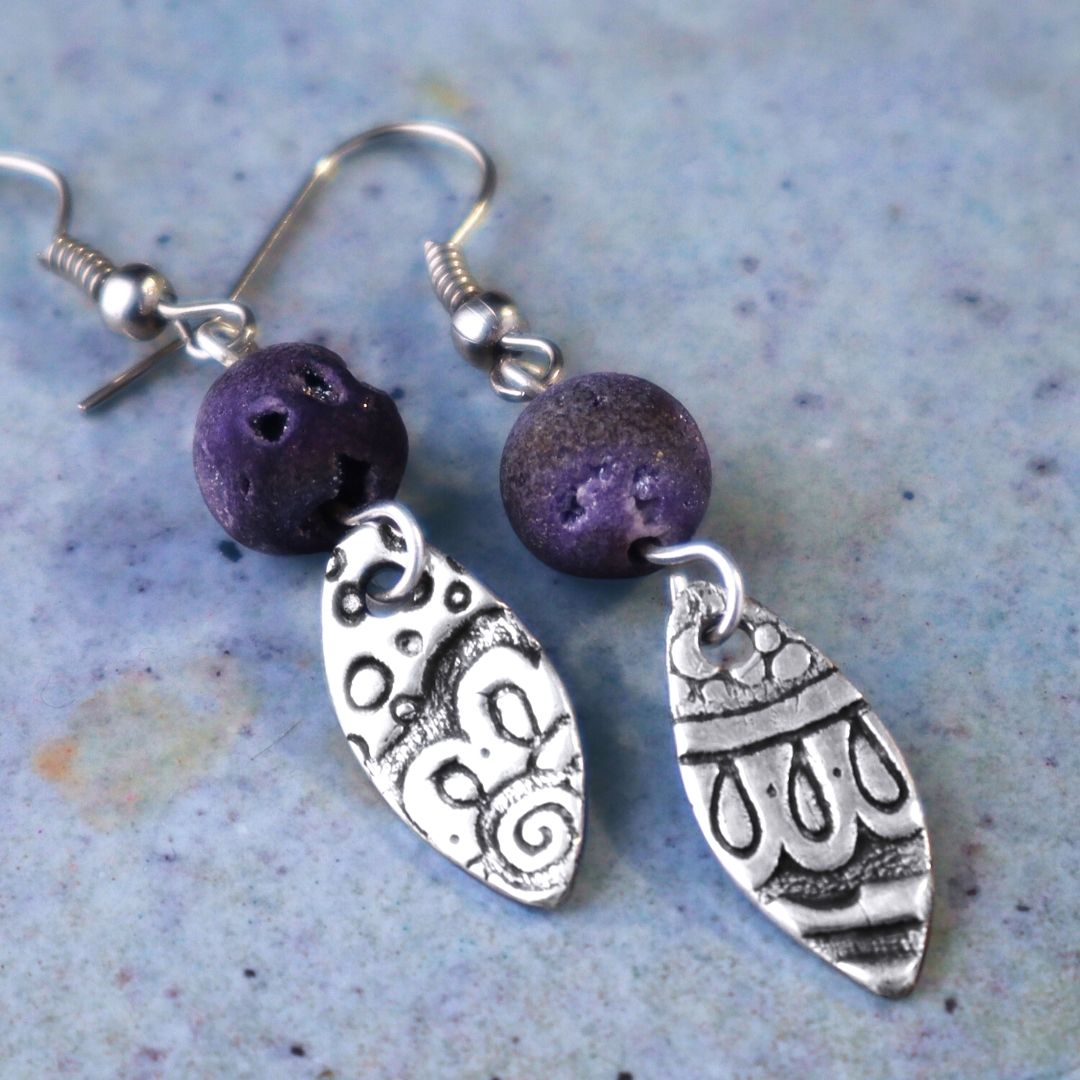
- 2 earring dangles
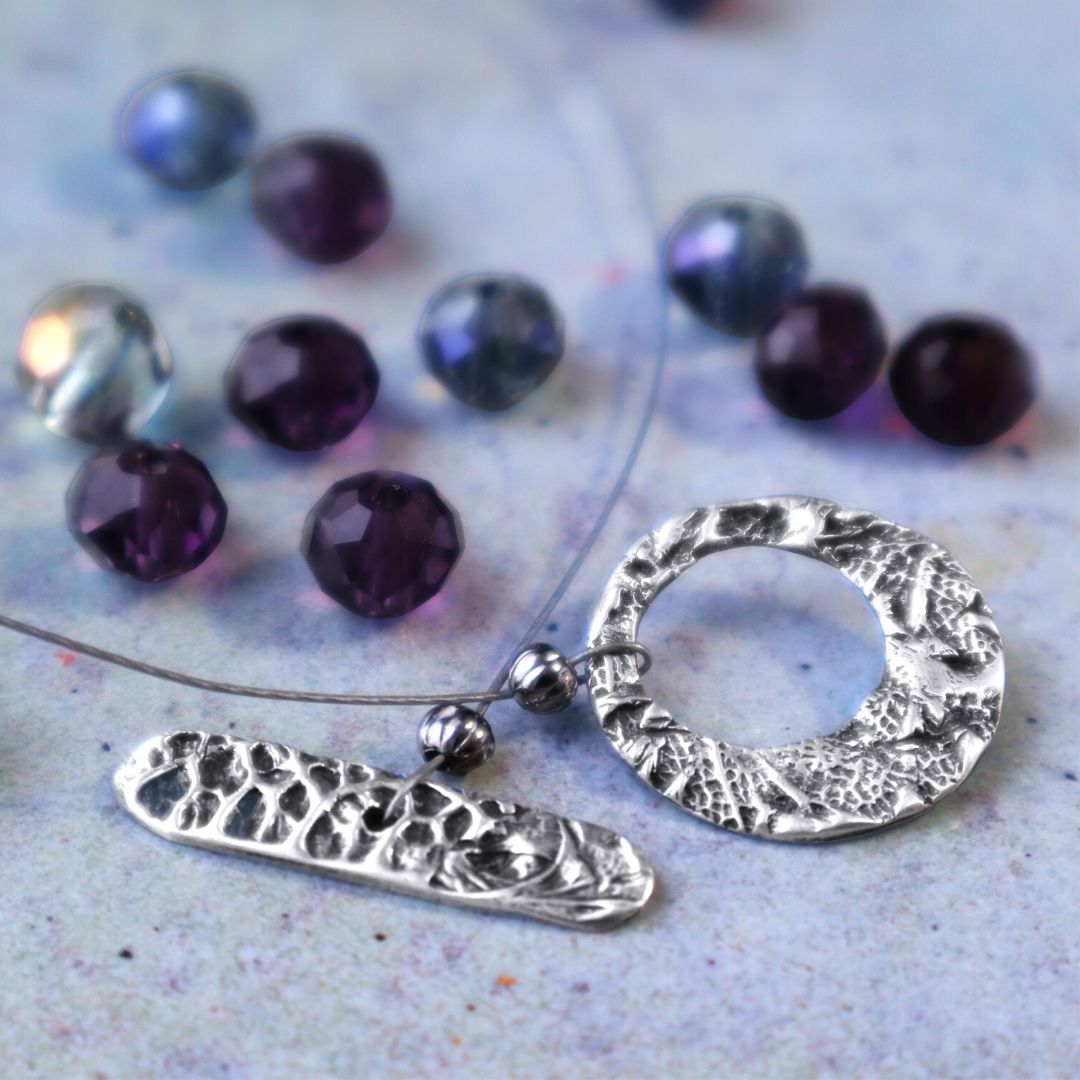
- a toggle ring and bar
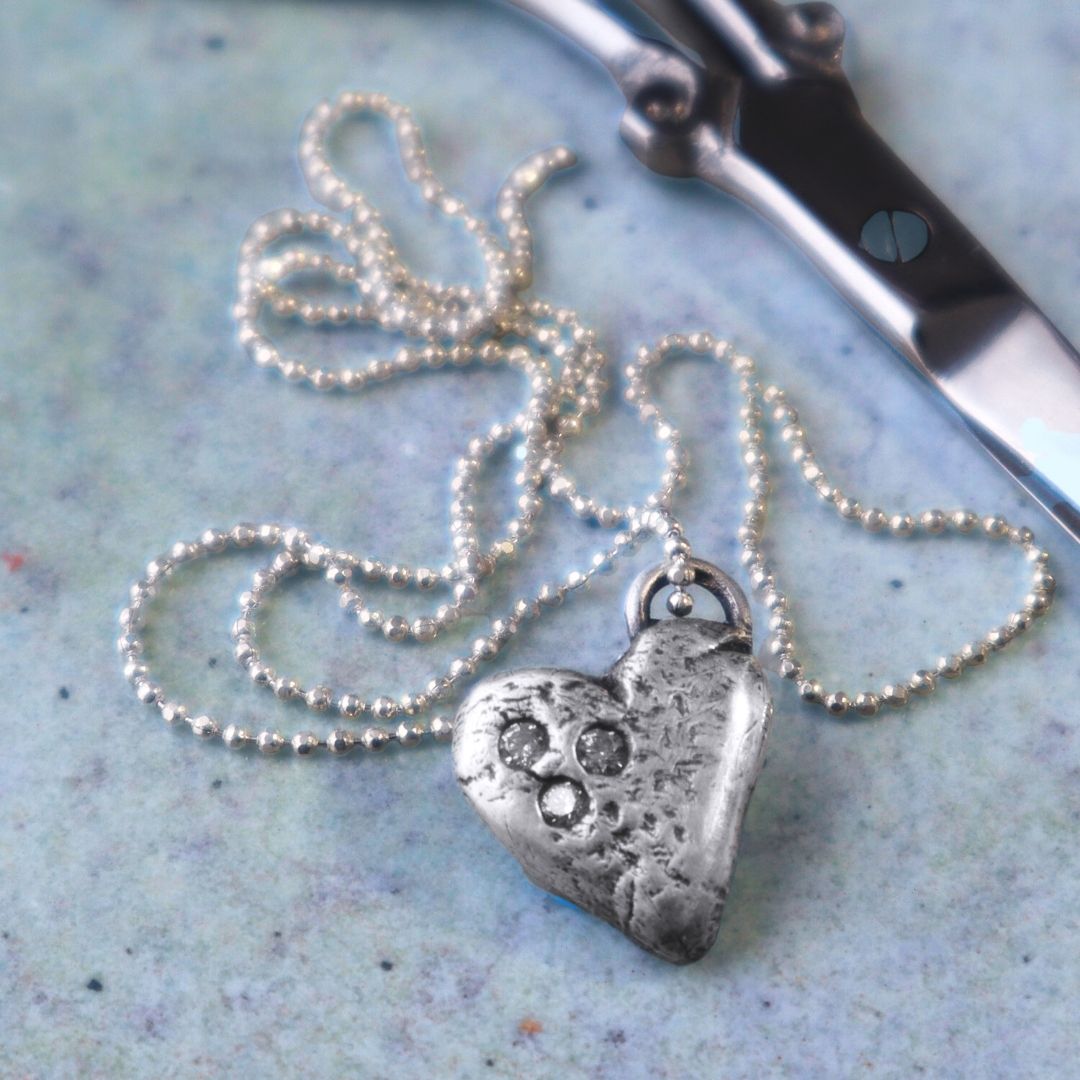
- a heart charm with cubic zirconias
- a pendant with sculpted mushrooms
- A 5 gram package is $19 right now, and will let you juuust dip your toes in
- The price goes up and down with the market price of silver, so you may want to keep an eye on it and pick some up when the price is low (Go to RioGrande.com to see the daily prices of gold, silver and platinum)
- If you buy a different type of precious metal clay be absolutely certain that it is able to be torch fired! (Unless you already have a kiln in which you can fire it)
A smooth work surface, this can be:
- A plastic mat
- A laminate countertop
- Teflon sheets – I cut a Teflon sheet into small pieces so I can easily move each project around
If you want to get really fancy, how about adding some bling?
- 2mm cubic zirconias
- 2mm pink tourmaline faceted stones
- If you choose other stones to add to your precious metal clay, be certain it specifies they are kiln safe
Watch A Beginner Tries Precious Metal Clay-Part 2 on YouTube.
Common polymer clay supplies:
If you are a polymer clayer, you will already have many of these items on hand.
- Polymer clay to practice
- Acrylic roller or small rolling pin
- Clay blade
- Craft knife
- Needle tool
- Clay sculpting tools
- Cutters, I used:
- Sculpey Mini Geometric set
- Kemper 3/16” set
- Bootlace ferrule set, perfect for cutting tiny holes (check Etsy.com for “tiny round cutters”)
- Oval & round templates (I got mine at Fire Mountain Gems, but you can find similar in the art department at Hobby Lobby)
- Nature cutter set (Michael’s)
- Ball tools
- Texture sheets (the texture I used on the earrings is one I designed called Sandy’s Tangle)
- Silicone molds (many of mine were made with plants from the yard and silicone molding putty)
- Ruler
Household items:
You may have many of these things around your house already.
If not, they can all be found at either a craft store or the Dollar Store.
- Olive oil, for keeping clay from sticking to hands and tools
- Small spray bottle of water, for keeping clay hydrated
- If you are going to be keeping your clay for any length of time, add 1/2 teaspoon white vinegar per cup of water to prevent mold developing in your clay
- Small paint palette with wells for holding olive oil, water, slip and paste
- Small airtight storage containers
- Small terra-cotta pot (soak in water)
- Saucer or plate to put terra-cotta pot on (cannot be unglazed terra-cotta)
- Or, you can simply wrap your clay in plastic wrap, (But the terra-cotta “humidifier” seems a bit more convenient to me)
- Bit of sponge
- Deck of playing cards
- Sheet of plain paper, for catching sanding dust
- Small paintbrushes
- Emery boards
- Four in one nail buffing block

Things I got that are useful, but not absolutely necessary
For firing your clay and finishing into a fine silver piece of jewelry:
- Small butane torch
- Butane fuel for torch
- Heat safe surface, such as an old cookie sheet, found at thrift store
- Firing surface such as charcoal block or ceramic fire brick
- Bowl of water for quenching
- Cross lock tweezers
- Safety glasses
- Brass brush
- 3M polishing papers
- Agate burnisher (There are also stainless steel burnishers, and some folks simply use the back of a stainless steel teaspoon.)
- Pro polish pads
Things I didn’t have that I wish I had:
- A mug warmer, for more quickly drying pieces (gonna look in thrift stores)
- A kiln! (Saving my pennies to get one someday.)
Books, classes, etc. for further exploration and inspiration:
I looked at a LOT of resources in getting ready for this project, these were my favorites.
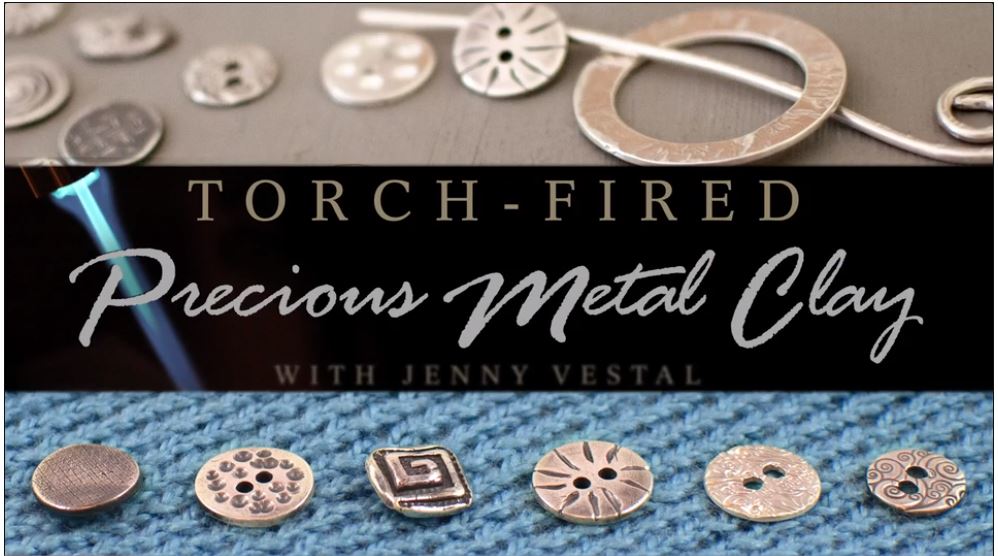
- Torch Fired Precious Metal Clay – A video course on Craftsy that is FULL of helpful info, well worth the price
- Silver Metal Clay: Adding Stones & Dimension – Another, slightly more advanced course on Craftsy
- I Love Silver website – lots of metal clay videos, many of them free
- The Art of Metal Clay by Sherri Haab (anything by Sherri is great!)
- Magical Metal Clay Jewelry by Sue Heaser
- Silver Clay Workshop by Melanie Blaikie
- Metal Clay In A Day by Tammy Garner
- My Metal Clay board on Pinterest, which I frequently add to
Please note that this info is based on my research and observations as a BRAND NEW user of metal clay.
I am in no way an expert!
If you plan to explore this amazing material for yourself, please be sure to do your own reading and study before beginning.

I just read your blog post and I must say, it was truly inspiring! I love how you covered everything from opening the package to polishing and finishing the piece. Thank you for sharing your journey and knowledge with us!
Hi Alica,
Thanks for letting me know you found the series helpful and inspiring! That’s my goal with every video I make. 🙂
Happy creating,
Sandy