


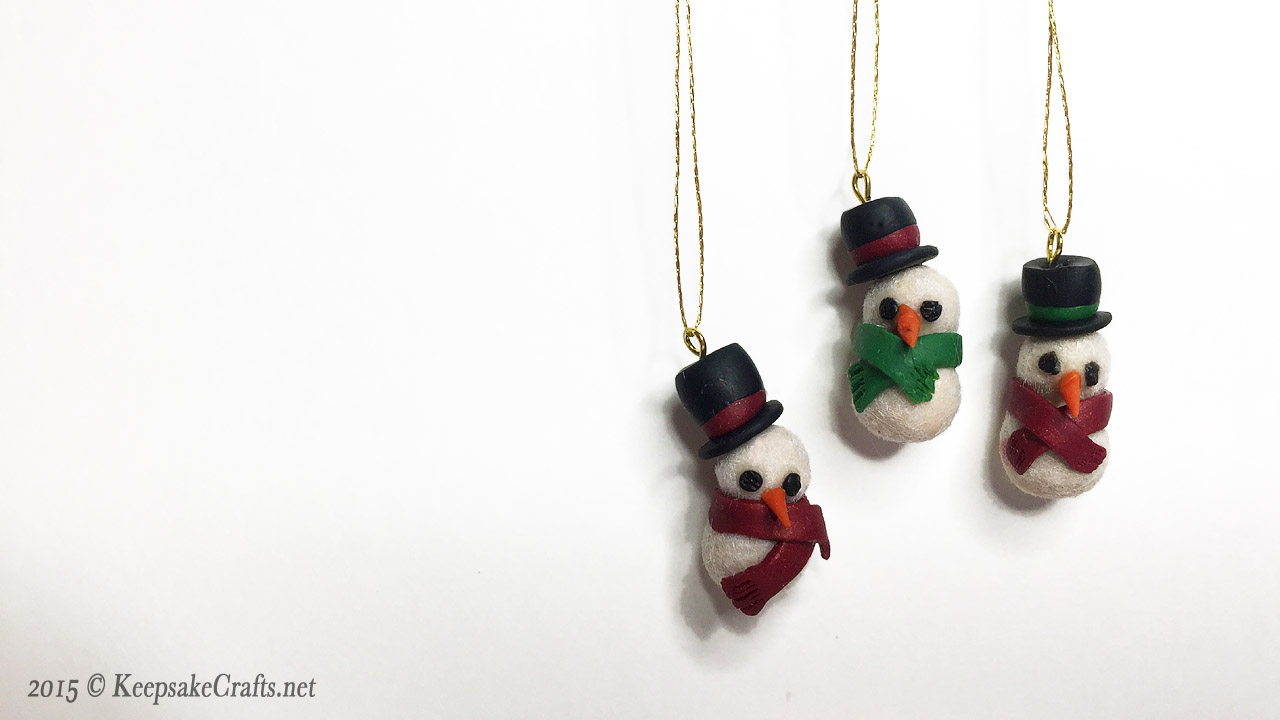
Welcome to week three of our Christmas Charms series. I hope you are enjoying getting to know these polymer clay techniques. This week we’re making a cute little snowman.
In the video I show you how to make life easier by building your charm in sections and prebaking the pieces. I also show a neat trick for making the hat band easily, rather than fiddling with tiny strips of clay. (I tried that, not fun!)
Each week I’ve been trying to show you different ways to add interest and texture to your projects. Feel free to switch them up: you could apply the flocking to a mitten, or add the knitted texture to the Christmas stocking. Of course, you can flock just about anything. 😀
If you’re thinking about doing more flocking, this might be a fun set, Martha Stewart Crafts Glitter Flocking Powder, 12-Pack. There are also small packages such as Nail Art Velvet Flocking Powder
on Amazon for nail art. (Are people flocking their nails these days? Apparently so.)
If you can’t find flocking, you could add Perfect Pearls or even try embossing powders. (If you decide to add Perfect Pearls, you don’t need to add the TLS first, btw. Mica powders stick just fine to unbaked clay and then stay on after baking. )
Experiment and see what works. 🙂
Enjoy the video and happy creating!
You can watch the Flocked Snowman-Christmas Charms Week 3-Polymer Clay Video Tutorial over at YouTube.
Here are links to the previous videos in the series:
- Christmas Stockings-Christmas Charms Week 1-Polymer Clay Video Tutorial
- Knitted Mittens-Christmas Charms Week 2-Polymer Clay Video Tutorial

How cute! Okay, you’ve convinced me that I don’t need to feel guilty about Christmas music before Thanksgiving. 😀
Well, that’s good, but what did you think about the project and the techniques?