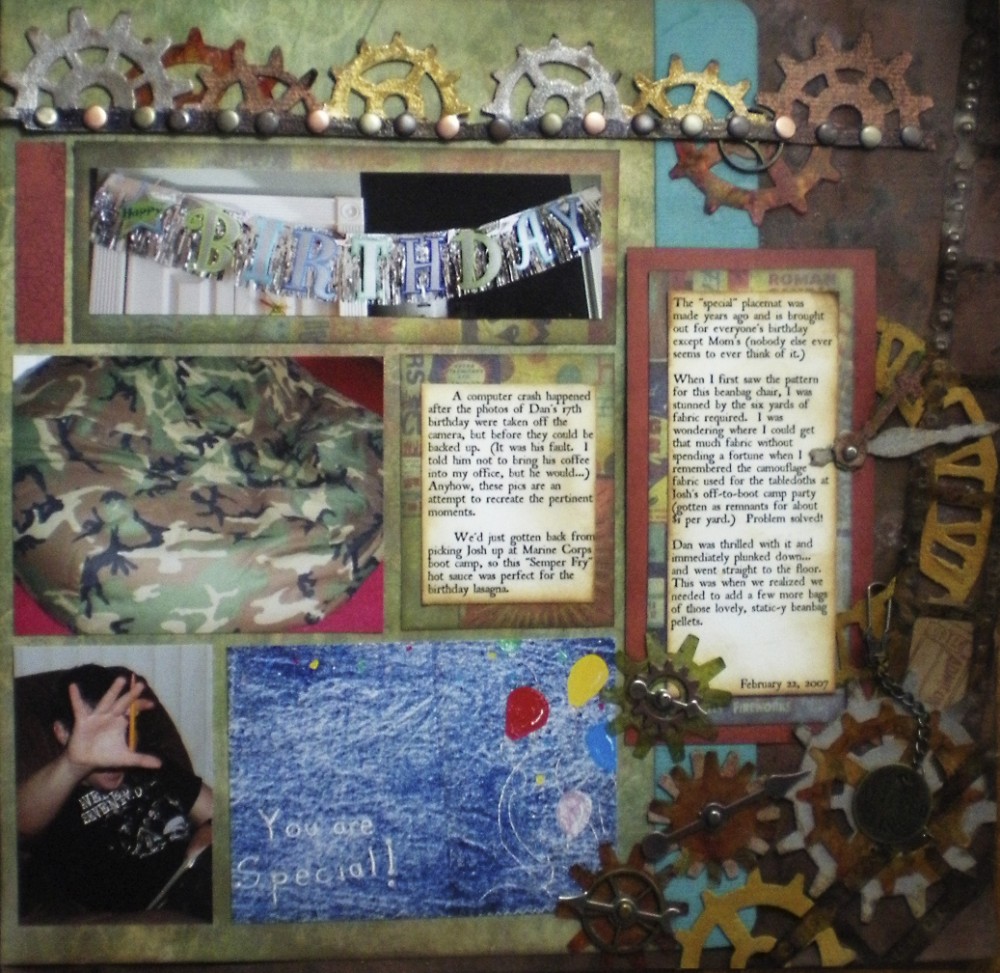
Ok, I’m not sure if this page is cool, or if it just looks like a steampunk convention exploded on it.
(As always, you can click on any of the photos to see a larger version. Sometimes you can click on the little square with an arrow and zoom in even closer.)
Perhaps I was having a wee bit too much fun with all those gadgets and gears?
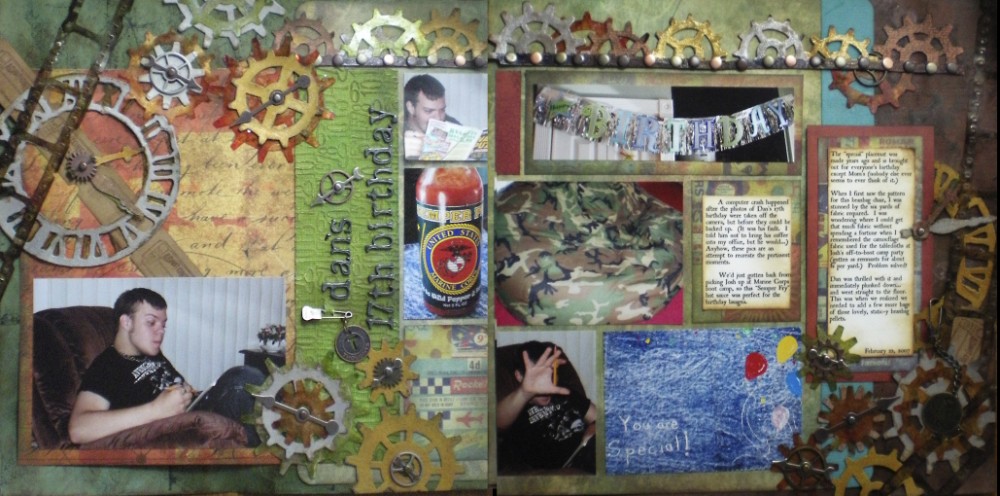
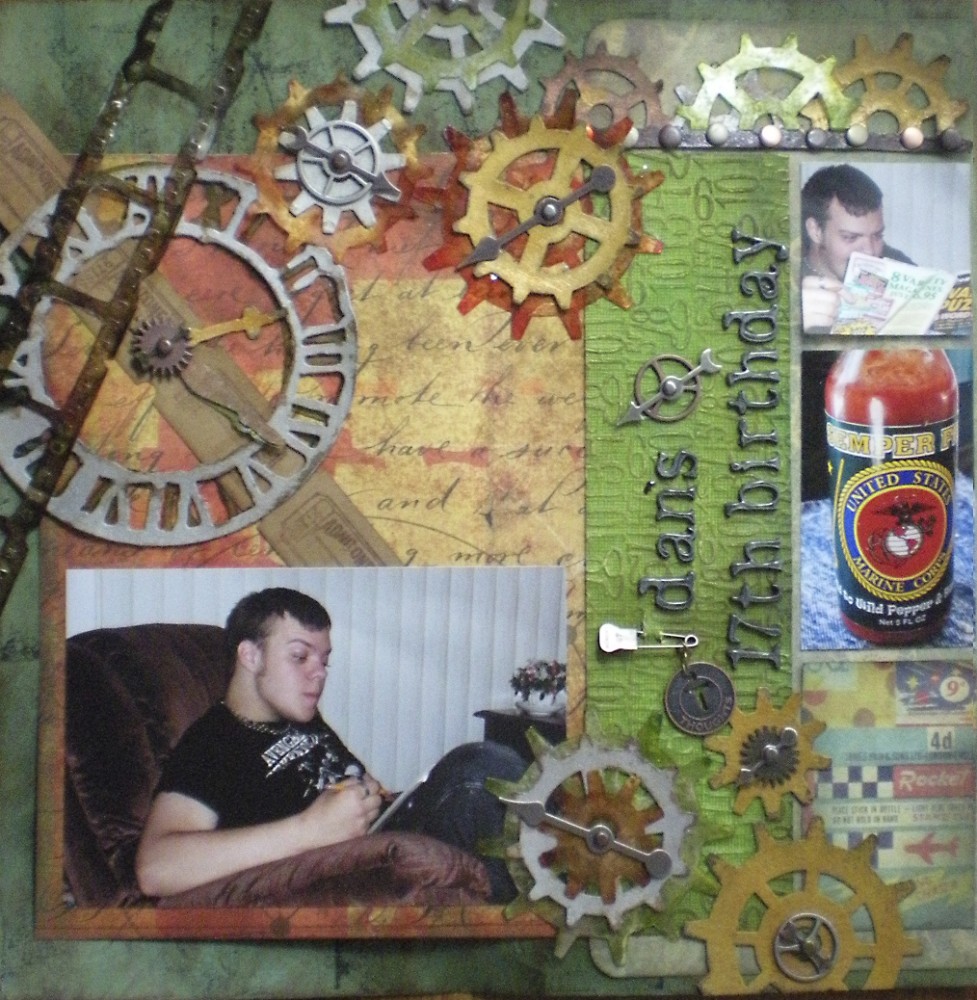
Anyhow, when I saw Tim’s Day 8 steampunk tag, I knew it would be just perfect for the photos of my son’s 17th birthday.
For the title I used Tim Holtz Idea-ology Alpha Parts: Newsprint. I rubbed on a bit of pewter from the Metallic Rub-On Kit #2
and then coated them with Glossy Accents. (I wish my store had had these, Tim Holtz Idea-ology Alpha Parts: Ransom
, I think they’re much cooler.)
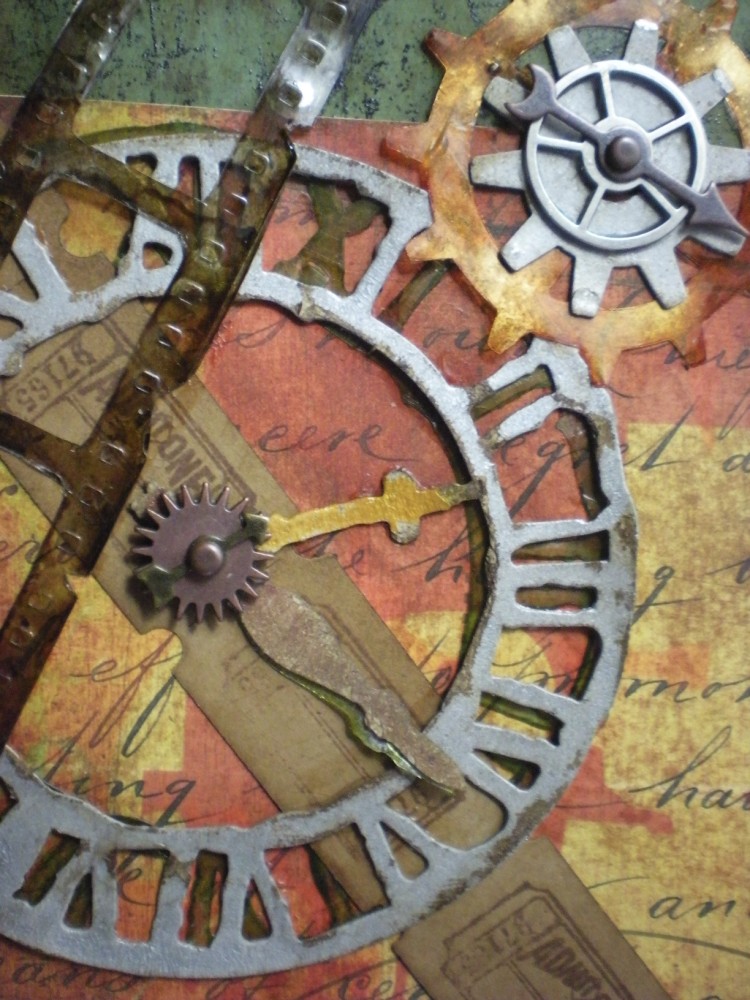
This clock is set at 2:22, because that’s his date of birth. The other clock hands are at 1:12, that’s the time of day he was born.
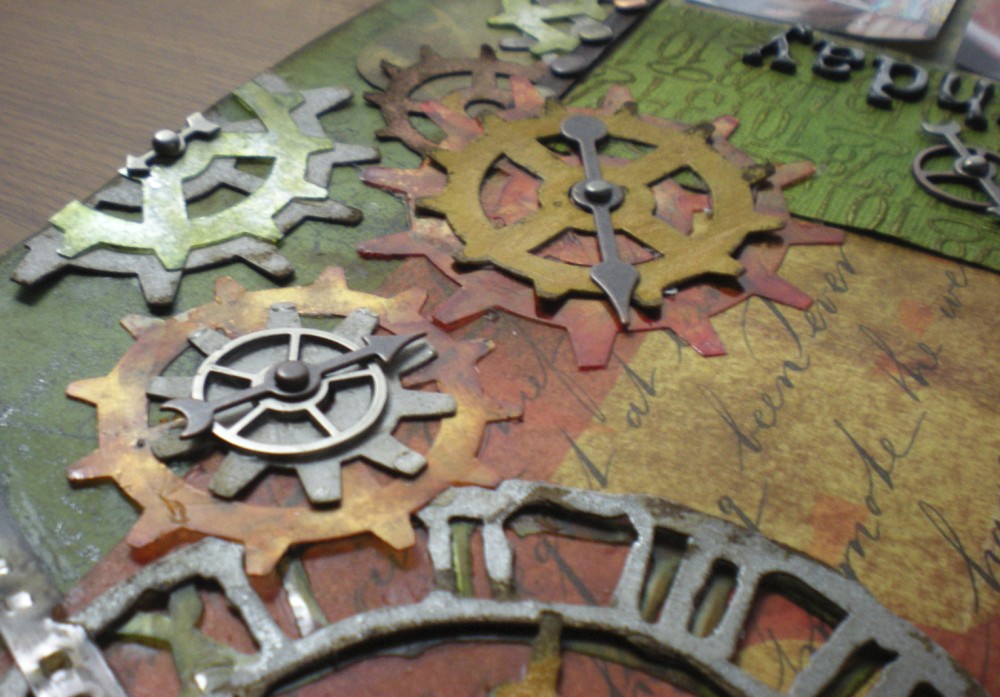
For the gears I used the Gadget Gears Die, Steampunk On The Edge Die
and the Weathered Clock Bigz Die
.
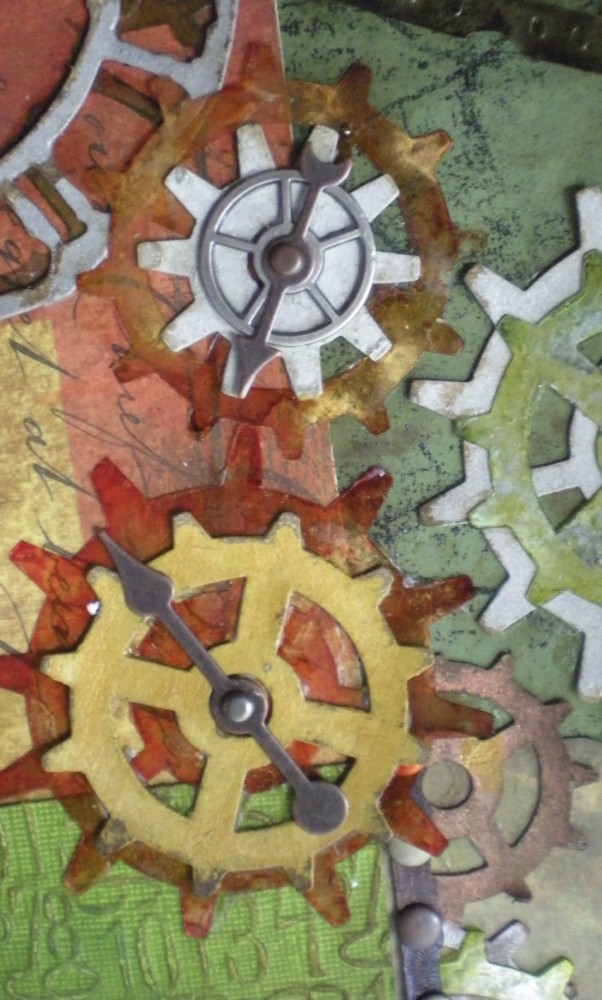
Some of the gears were cut out of Grungeboard and were painted with Brushed Pewter Distress Crackle Paint , Tarnished Brass Distress Crackle Paint![]() , and Deco Art Dazzling Metallics-Worn Penny
, and Deco Art Dazzling Metallics-Worn Penny. (When I put that last paint on my craft sheet, I exclaimed, “It really does look like a penny!”)
Once the paint was dry I sanded the edges, then inked them with Walnut Stain Distress Ink. After applying the ink, wipe off the excess with a damp towel. This leaves the ink only in the cracks and on the sanded edges.
I love the worn, aged look!
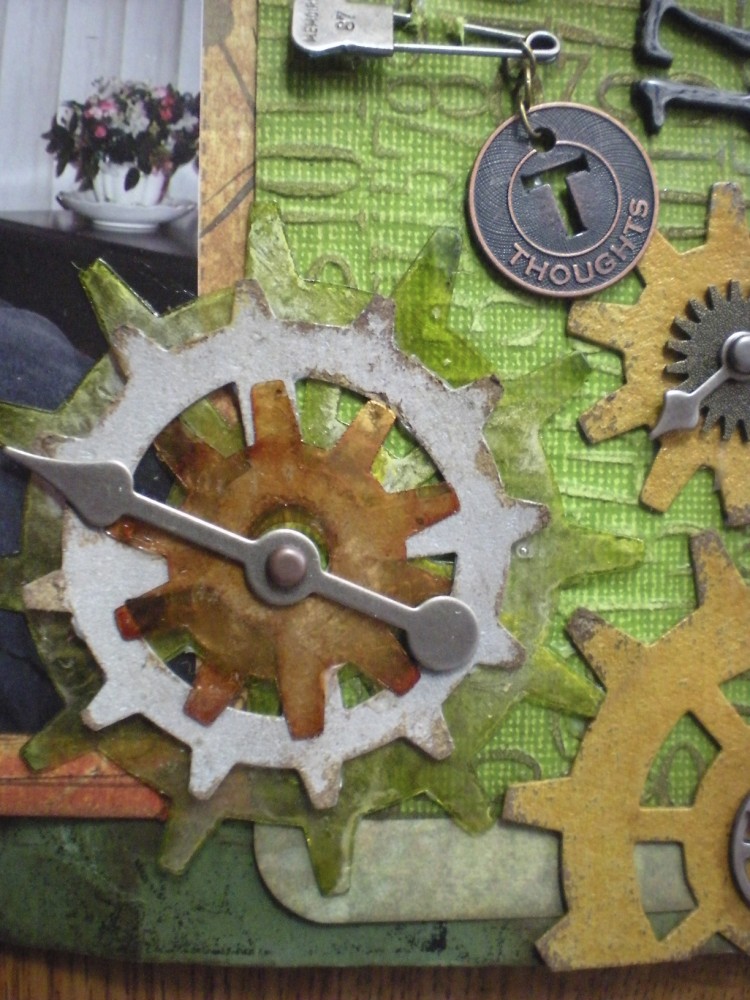
For other embellishments I used Tim Holtz Idea Ology Game Spinners, Tim Holtz Idea-ology Trinket Pins, Sprocket Gears and Advantus Tim Holtz Idea Ology Swivel Clasps.
To add depth I cut other gears out of clear plastic (leftover packaging) and used the Ink Blending Tool (with felt, not foam) to color them with a variety of alcohol inks. I used Butterscotch, Terra Cotta and Ginger with Gold Metallic Mixative, and Pesto and Meadow with Silver Metallic Mixative.
Don’t be afraid to add some Alcohol Blending Solution if your colors are too intense or need to be blended more. And don’t overdo it with the metallic mixatives, a single drop on your felt will go a long, long way.
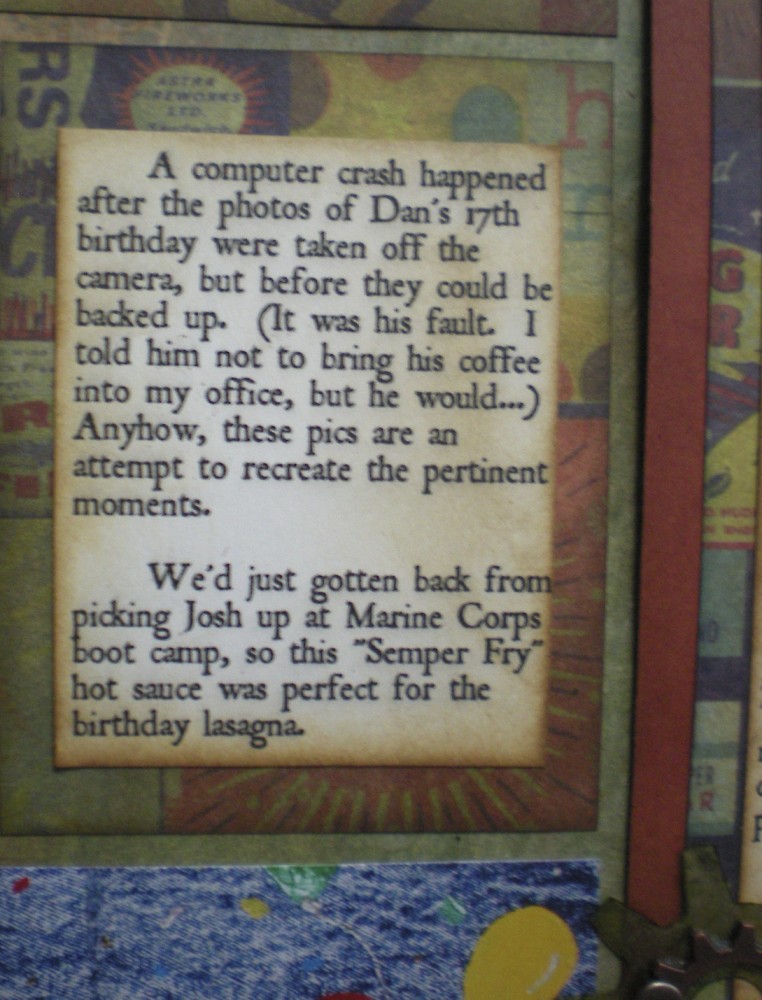
(I’m so glad I can look back on the coffee-on-my-hard-drive incident and smile. I was insanely angry at the time. )
The bits of fireworks paper are from Tim’s Seasonal Paper Stash Paper Pad are a tribute to Dan’s pyromania. My husband and I firmly believe it’s only by God’s mercy that Daniel never managed to burn down the house.
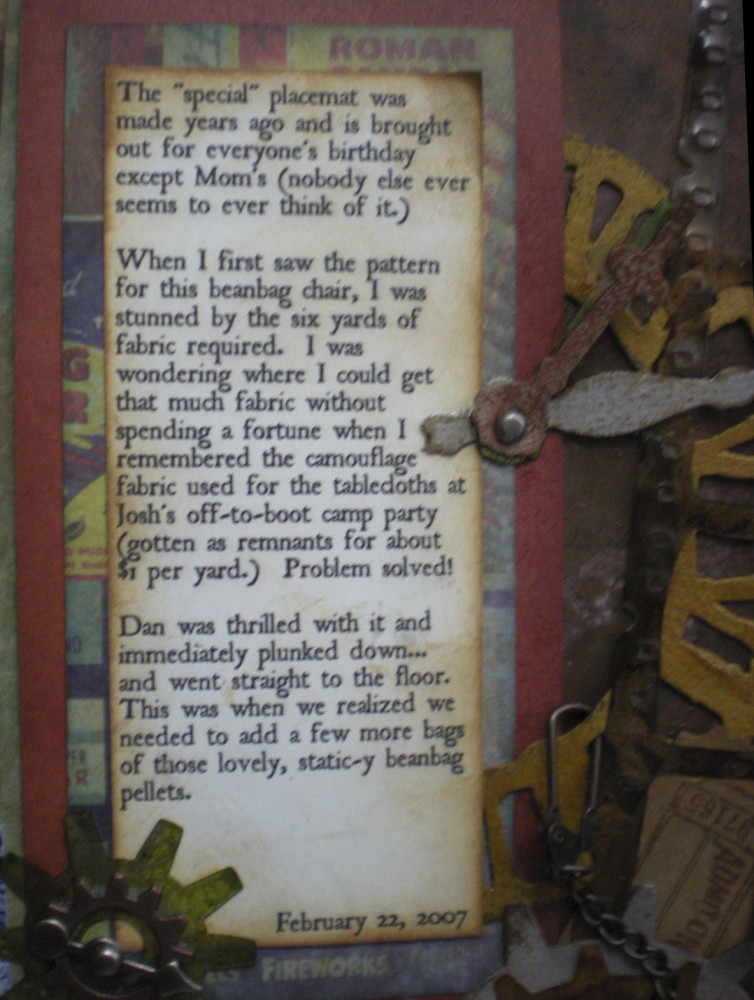
I’m pretty sure I found the bean bag chair directions online, but I can’t find them right now. If I do, I’ll be sure to share them with you. It’s a great project for a guy!
Although I cut the Filmstrip Frames Decorative Strip Die out of plastic, I don’t recommend it. The sizzlits dies aren’t meant to cut through very thick materials. Since my packaging was only partially cut, I had to go back over each frame with a craft knife to cut out the windows. This was then inked with Espresso and Ginger alcohol inks. I like the look but it was rather a pain.
In the next post, I’ll show you how I approach a scrapbook layout and a fun way to distress the background papers.
In the meantime, Happy Creating and GO PATS! 🙂




That is wonderful! No, it’s not overdone at all. But I’m in the middle of a severe clock fixation right now.
Ha! Love the photo with the hand up: “Put down the camera, Mom.”
Yes, that’s Dan being his usual no-so-cooperative self.
So, what’s up with the clock fixation?
I’m going to make one. A working wooden wall clock. Other than that, I just like the gears ‘n’ stuff.