


So sorry I haven’t posted for the last couple of days. I was hoping to get a video up, but had several technical, scheduling and procedural difficulties. Soon, very soon!
Anyhow, I thought I’d take this time to show you what I did with a cheap frame I picked up at Ocean State Job Lot for $3. I really liked the embossed design, but it was a plain, flat, boring color.
Here’s the finished product:

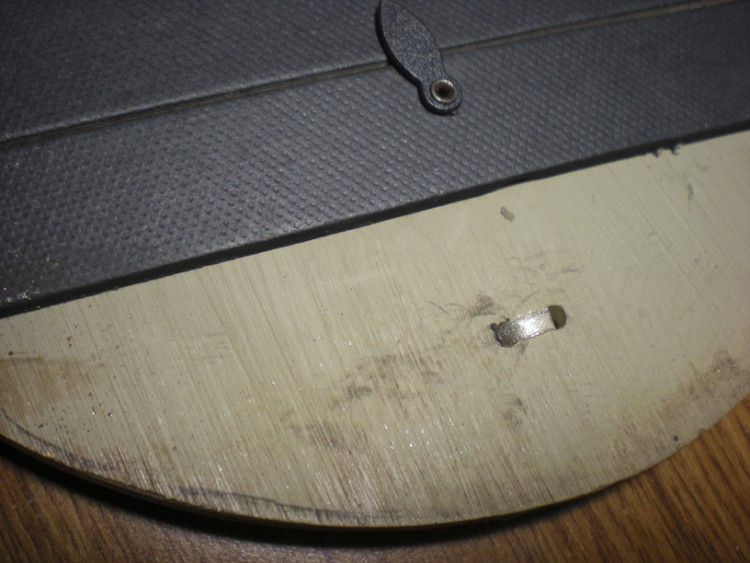
I should have taken a “before” shot, but it was just so dull I had to get to work on it right away. Here’s a pic of the back, to give you an idea of the overall color:
And here’s a close up of the finished frame:
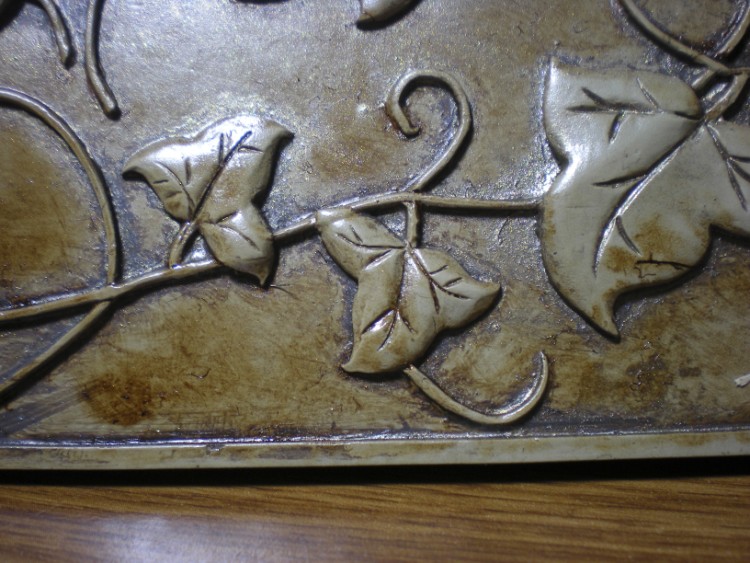
To achieve this look, first I brushed the whole thing with some dark grey acrylic paint, then wiped it off with a rag, leaving the paint in the crevices & crannies.
Next I took Vintage Photo Distress Ink Reinker, mixed it in a Mini Mister with Perfect Pearls Heirloom Gold and spritzed it all over. A little selective wiping, a new ribbon bow to replace the raffia and it was done.
Don’t forget to look for the potential all around you!

That’s beautiful. Did you have to prep the surface so the paint would adhere?
HA! It never even crossed my mind to prep the surface. Would have served me right if all my work just fell off, lol.
Well, it turned out great anyway.
Thank you. Now I’ve got to find a photo for it.