Today’s creative exploration video came about because of a chance thought that came to me at the end of recording my Altered Bezels video.
Sometimes I think that’s the nature of creativity: we explore, try new things, push the boundaries, but it’s only when we push a little bit more, when we think we’re at the end of our ideas- then the really good ideas come.
I say that because at the end of today’s video I had another one of those moments. Just an offhand thought about a way to use the remaining extruded clay rope.
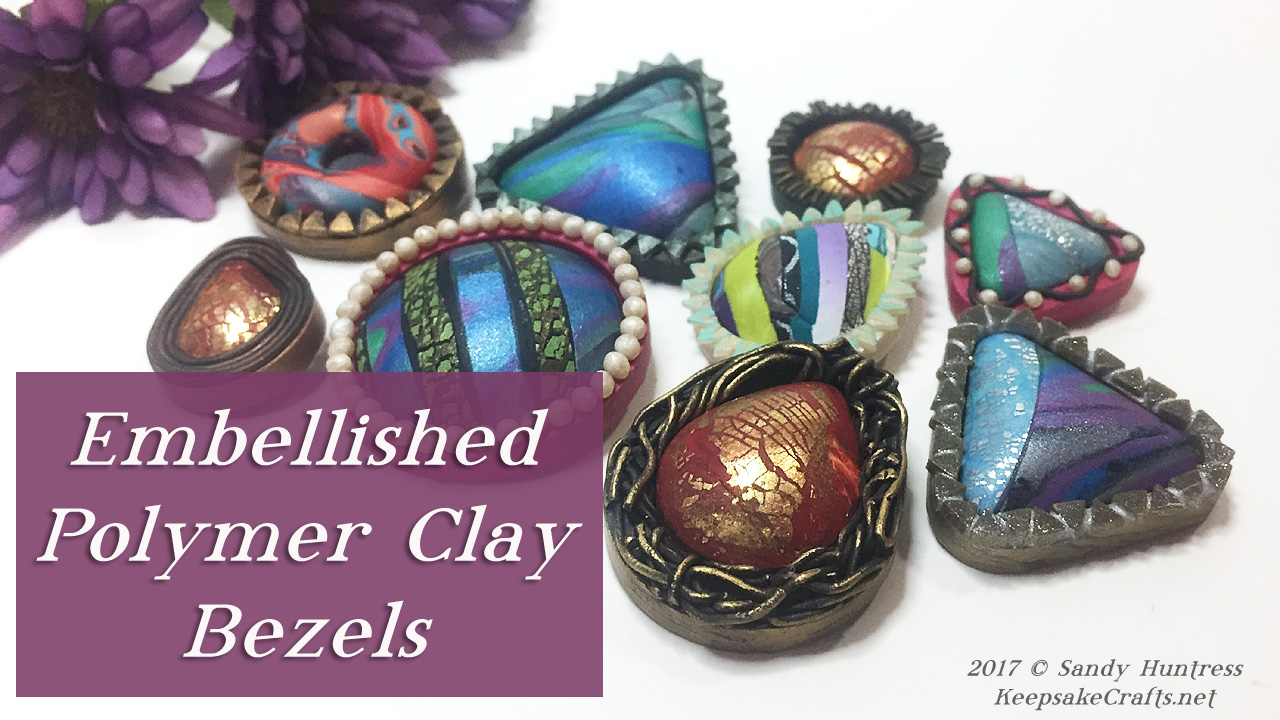
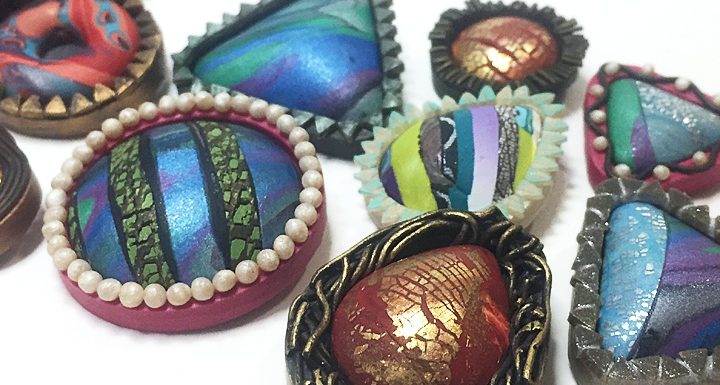
The result of that idea was the black and gold squiggly bezel with the red teardrop cabochon. You can see it in the cover photo. I was really thrilled with how it came out and plan to explore this idea even more. (Who knows what ideas will come at the end of THAT exploration?)
If you’d like to see a tutorial for how to make a bezel like the one with the red teardrop, the good news is that I’ve made one! It’s available for anyone who supports me on Patreon at the $10 level & up.
Btw, did you know that my $5+ patrons get an additional bonus video every month? And $10+ supporters get TWO bonus videos monthly!
It kind of reminds me of the game or exercise where you are told to make 20 observations about a thing. And when you’ve finally gotten those done, thinking you’ve exhausted all the observations you could possibly make, you are told to make 20 more.
Isn’t it the same with creativity? It’s only when we’ve pushed past all the easy and obvious solutions that we start to dig deep and find things that are truly unique, interesting and perhaps even revelatory.
So don’t just use my ideas, (although of course you’re welcome to!) but use this as an exercise for stretching your own creative muscles and making your own unique discoveries.
Tools and Materials:
- Baked cabochons from the Sculpey cabochon mold
- Sculpey bezel mold
- Polymer clay in colors of your choice
- Extruder – I use the Lucy Clay Czextruder, but I also recommend the Walnut Hollow model
- Small Kemper cutter set
- Translucent Liquid Sculpey
- Needle tool or other positioning tool
- Clay blade
- Gilders pastes (for the cover photo I finished all of the bezels with a variety of colors of Gilders paste)
Enjoy the video and happy creating!
Watch the How To Add Creative Embellishments To Molded Polymer Clay Bezels video at YouTube.


