


Last year in the weeks before Christmas I did a five week series of polymer clay Christmas charms making a really cute polymer clay charm bracelet. If you missed it click the link to watch the 2015 Christmas Charms YouTube playlist.
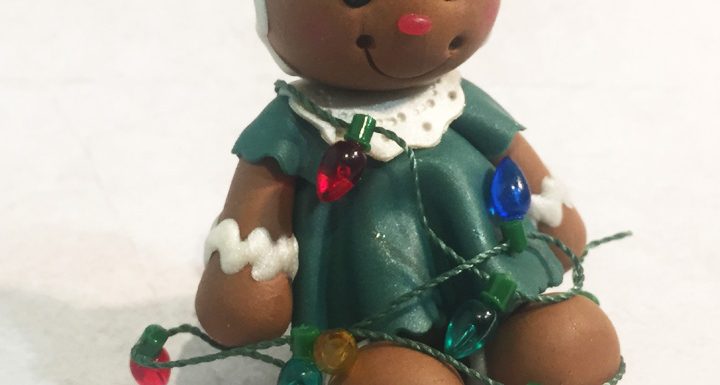
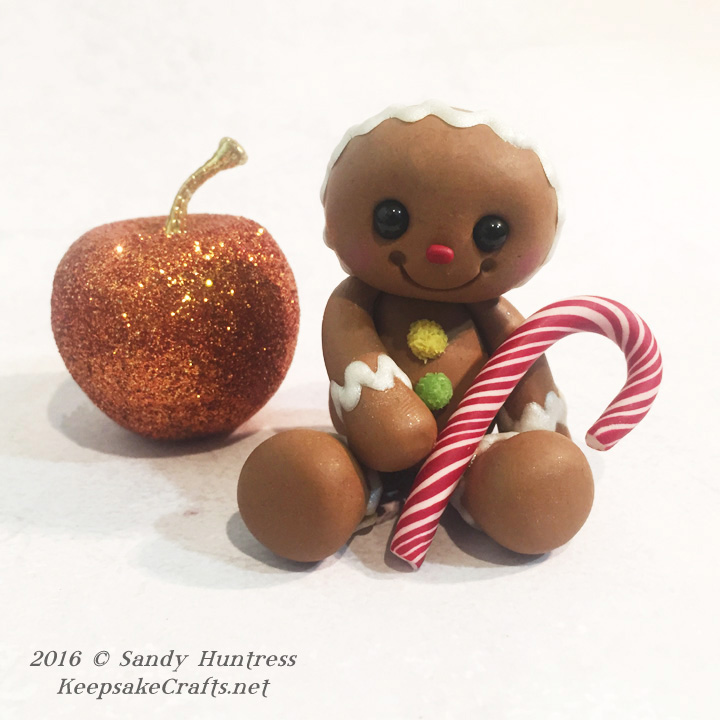
This year I decided instead of making charms I would make ornaments, The first of which is this cute little gingerbread man. These were so much fun to make that I couldn’t stop at just one! I kept thinking of new and different ideas and things to add. I didn’t have time to do all of my ideas which included giving them festive striped scarves, Santa hats or chefs toques. How about a baking pan with cookies on it? Kind of ironic, but still funny and cute.
I got a wonderful note back from Sculpey regarding the problem with the icing cracking. Here’s what they had to say:
I think it is because you are baking the pearl squiggles on the ceramic tile for 15 minutes at 275°F is the issue. I don’t think you are getting full fusion of the liquid Sculpey because of the ceramic tile. We have noticed that when baking items on glass or ceramic, the glass or ceramic takes a long time to heat up versus using other baking surfaces like metal or paper.
The ceramic tile probably takes a good 10 minutes or more to heat up to the 275F, so really the Liquid Sculpey side that is on the ceramic tile is not getting baked properly and is really only baking at 275F for 5 minutes or less at 275F. I think this is causing the breakage. Since you are bending the squiggles to put them on the cute gingerbread figures, if the piece is not fused properly, it will break.
You should try baking the pearl squiggles for longer – 30 minutes at 275Fand see if that helps.
Keep increasing the time by 5 minutes until you get the pieces to not break. Or you might have to bake the squiggles at slightly higher temperature to get full fusion.
I am sure you are doing this – but use or recommend that your viewers use an oven thermometer on the inside of your oven to make sure that the oven is accurate.
That’s such great info! I never thought about having to heat up the tile first, before the clay even starts baking, but it makes sense.

One thing I forgot to mention in the video is how to turn them into hanging ornaments. Once you have baked your ornaments you just want to find the center of balance so that they will hang the way you want and then gently screw in a screw eye, starting the hole first with an awl. Once the screw eye is in, back it out, add a drop of super glue and then screw it back in. Add a ribbon and you have an ornament for your tree.

Tools & Materials:
- Sculpey liquid clay – pearl
- Sculpey Soufflé Latte polymer clay
- Sculpey Premo Raw Sienna polymer clay
- Pardo Art Clay-Transparent
- small amounts of green, red, white and yellow clay
- needle tool (in this pick/probe set)
- clay blade
- 2 4mm round black beads
- ½ x ¾ inch oval cutter (from Oval Cutter set)
- 1/8 inch ball tool – from Sculpey Style & Detail Tool set)
- Poly Bonder glue (the second link down includes the holder I mentioned)
- silicone shaping tools
- embossing heat gun
- Round scalloped cutter set
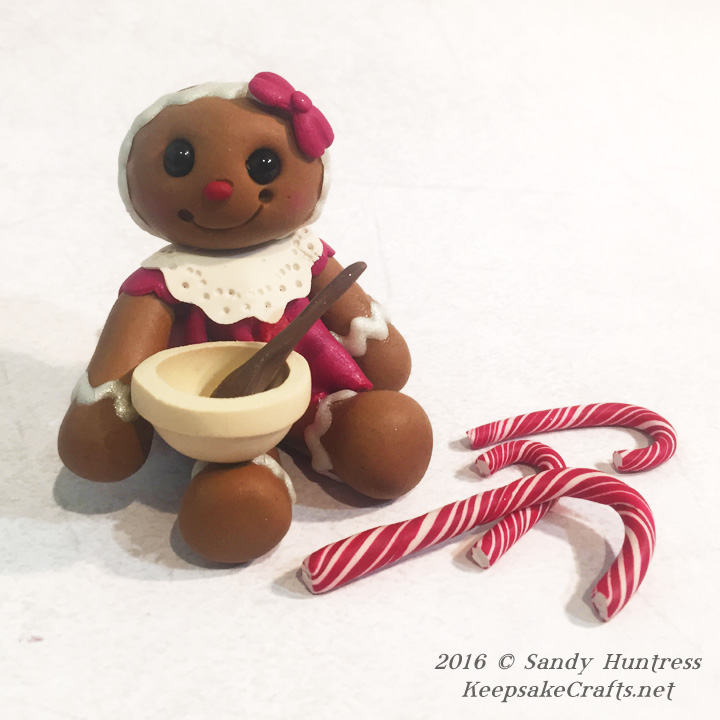
Those of you who are my patrons can click here to find your bonus video showing how to make the gingerbread girl’s dress, collar, sleeves, mixing bowl and spoon.
Enjoy the video and happy creating!
Watch the Gingerbread Cuties-Polymer Clay Christmas Ornaments Series-2016 at YouTube.

Those are SO SWEET! You’re doing some amazing work with clay here.
Why, thank you! I was pretty pleased with how they came out. 🙂
Like usual, Sandy, your little ornements are marvellous with so many cute details 🙂
I’d like to… eat them, they look like real gingerbread ! Ah ah!
Marie
Hi Sandy. I am a multi-crafter. I am researching and I found you! I love your work! You are an excellent teacher. I will let you know how I do after I get started.
God bless you! ❤
May the Lord bless you as well, Heidi. Thanks for the kind words. I’d love to see what you create! Feel free to share photos in my FB group, https://www.facebook.com/groups/KeepsakeCraftsCreate
Happy creating,
Sandy