


I finally finished my scrapbook layout inspired by Tim Holtz’s 12 Tags of Christmas, day 5. I would have posted this sooner, I had just taken the photos, but dh insisted that last night was time to watch some of our Christmas DVDs. As much as part of me wanted to go do other stuff, of course he was right.
In case you’re the least bit interested, we watched the Little Drummer Boy (about the only one we have that’s actually about birth of Jesus, and even that falls short of telling the whole story…), 32.5 seconds of Mr. Magoo’s Christmas Carol
—awful!, and Santa Claus Is Coming To Town
, narrated by Fred Astaire, absolutely adorable. I went to bed composing my list to Santa.
If you were dyin’ of suspense these 24 hours, well, I’m sorry. *****snort*****
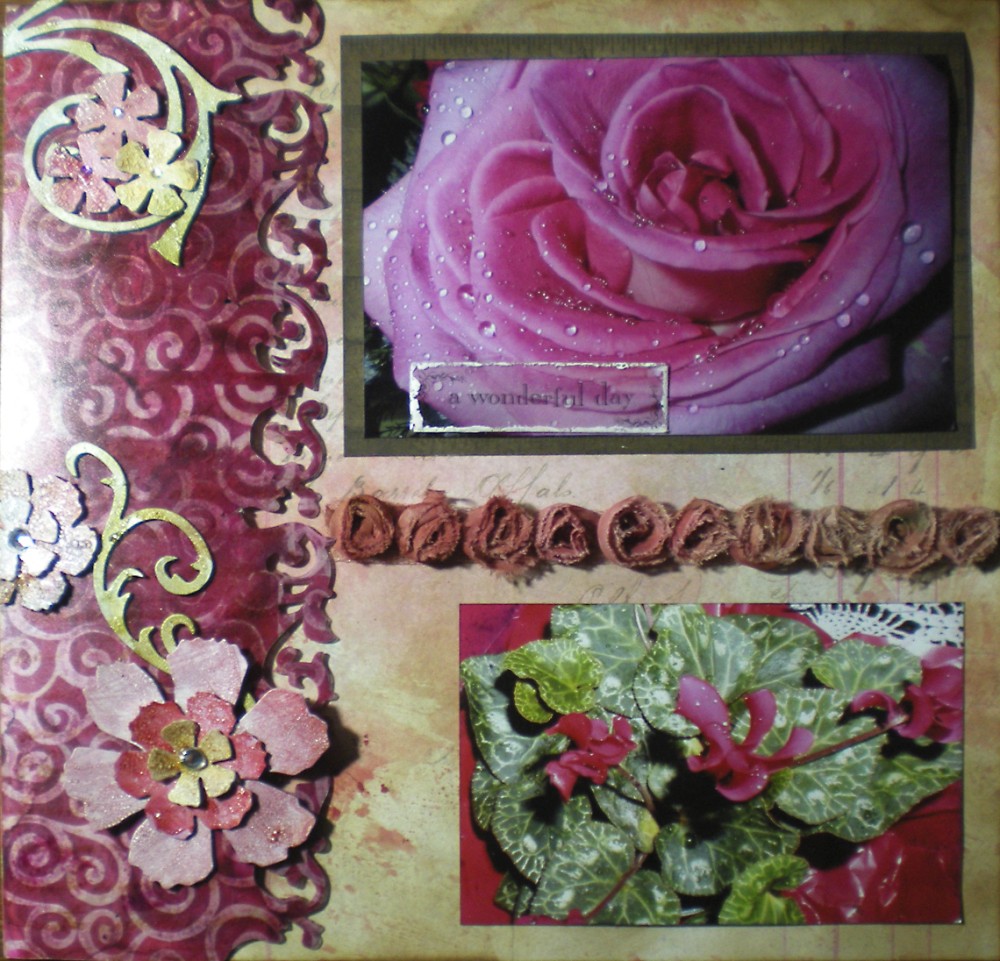
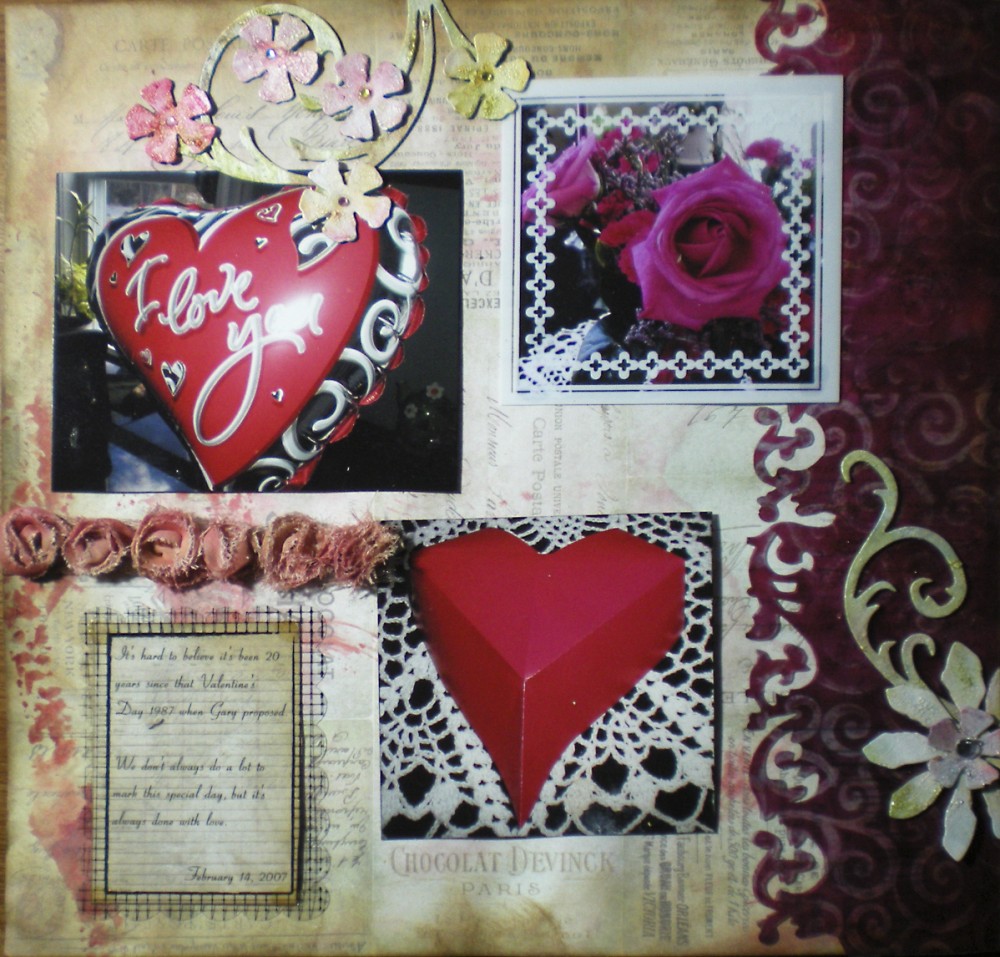
Anyhow. The main technique in the day 5 tag is one Tim has been teaching for ages. It’s still kinda like magic to me, though. You can see it in the two outer borders of the layout.
(As always, just click on the photos to see a larger image. Some of you may get an even bigger pic if you click on the little square with an arrow on it. Go figure.)
It works like this, first you take something transparent such as microscope slides, Tim Holtz Idea-Ology Fragments or Tim Holtz Facets. I used a piece of a clear plastic divider left over from another project. Really, anything nonporous and transparent that you can scrounge up will work. I save clear packaging for this, too.
Next, you color it with alcohol inks in colors of your choice. I used Cranberry, Raisin, Wild Plum, Eggplant, Red Pepper and the Ink Blending Tool.
Then you ink up a stamp with Jet Black Archival Ink. (It’s important here to use a permanent ink. The color doesn’t matter so much.) I used a swirls stamp. Keep in mind that if you use a stamp with alphas or numbers, they will come out reversed.
Stamp over the alcohol inks. Immediately dab at the black ink with a clean rag. You’ll note when the black ink appears to be dried, and now you can start wiping at it.
Amazingly, it will come up, removing the alcohol inks with it!
This leaves the areas you stamped transparent. Most cool.
I cut the edges of these borders with the Scrollwork on the Edge Die.
Before I cut them out I glued a piece of paper to the left one, nothing to the right. Don’t know that you can even tell the difference.
The background papers are from the Crowded Attic Paper Stash. I swiped Spun Sugar Distress Stain, Fired Brick Distress Stain and Picket Fence Distress Stain onto the Non Stick Craft Sheet then misted the papers with water and swirled them through the stains.
They were in danger of being too sickeningly sweet red and pink, so I edged everything with Vintage Photo Distress Ink.
The embellishments are Grunge Paper that has been:
- Painted with Pearl Metallic Paint Dabber
- Die cut with the Tattered Florals Die
and the Elegant Flourishes Die
- Painted (not TOO thickly) with Rock Candy Distress Crackle Paint
- Then gone over with Wild Honey Distress Stain, Peeled Paint Distress Stain, Fired Brick Distress Stain, Spun Sugar Distress Stain and Vintage Photo Distress Stain.
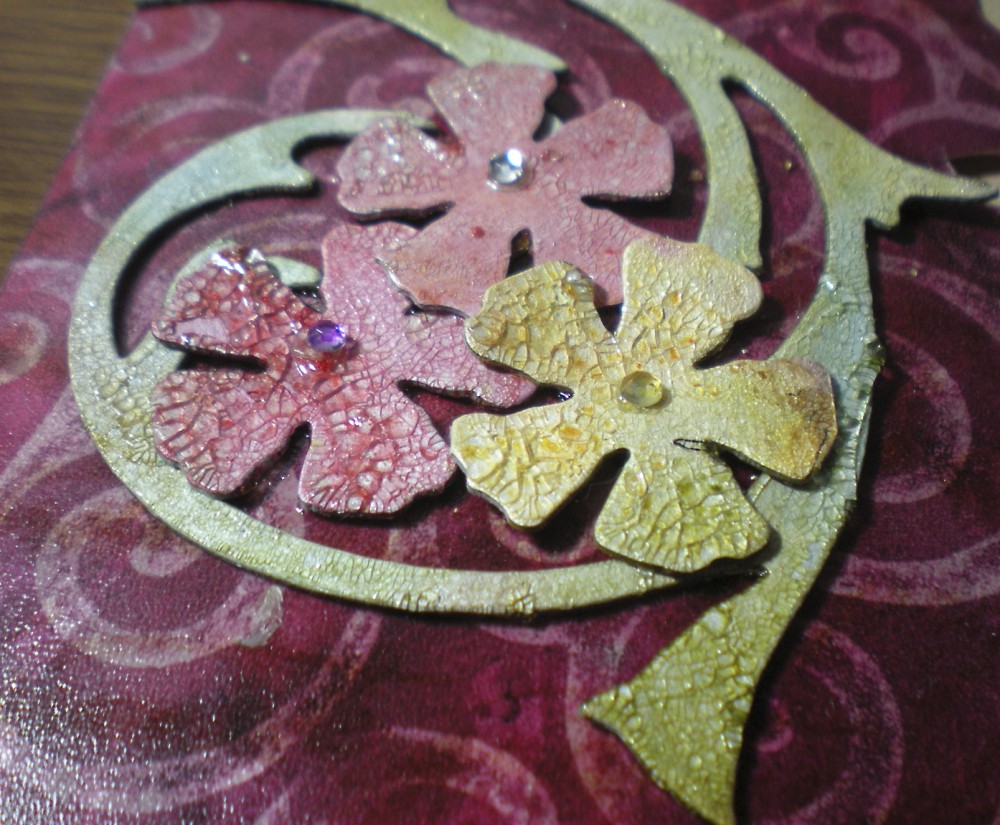
I’m just loving this look. In fact, I bought more Rock Candy Distress Crackle Paint so I’d be sure not to run out.
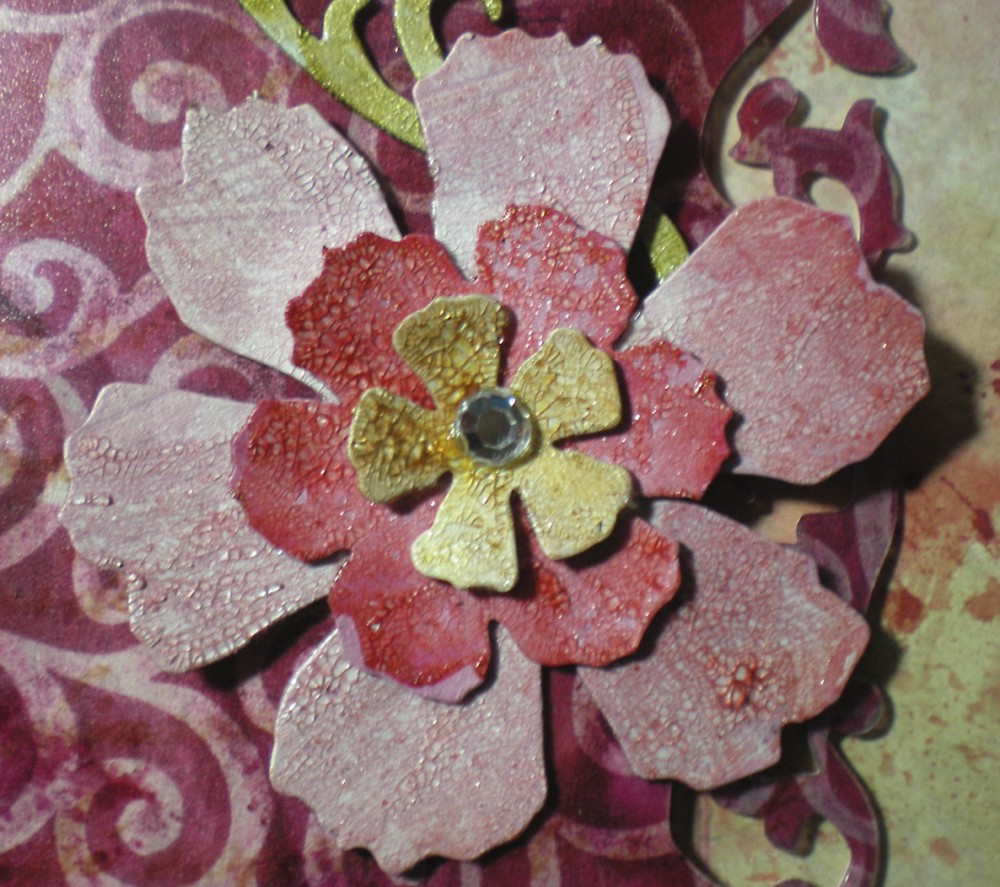
This layout was finished off with gemstones (some colored with alcohol inks,) Tim Holtz Trimmings that were colored with Distress Stains and a few transparency frames I had kicking around.
May you be inspired by everything. Happy Creating!
