


Happy New Year to you all!
I can’t tell you how much I appreciate all of you who have read my blog and told me how much you enjoy it. May we all continue to learn and grow in the new year.
As Christmas gifts for my quilting group I made several of these cute little organizers. Finally, this week I got around to making one for me.
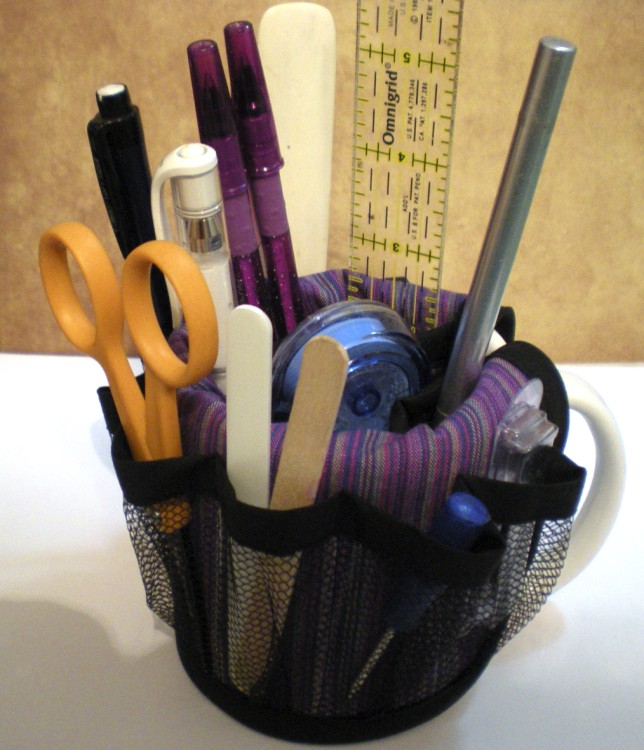
It’s simply a cover with pockets that goes over a mug. I was able to pick up the mugs for 49 cents each at my local Salvation Army.
Although the pattern says you need 1/2 yard, you really only need two 10.5″x11″ pieces of fabric (I managed to squeeze mine out of a fat quarter), plus a 3″ x 19″ piece for the outer pocket. You can get two of these mug covers out of one package of extra wide double fold bias tape.
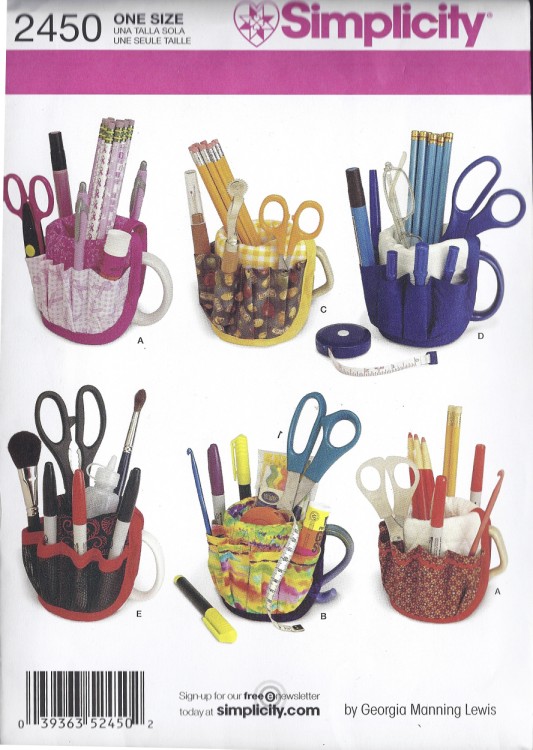
The pattern is Simplicity 2450. Although I thought the pattern was really cute, the directions were somewhat lacking. Here are some tips to help you:
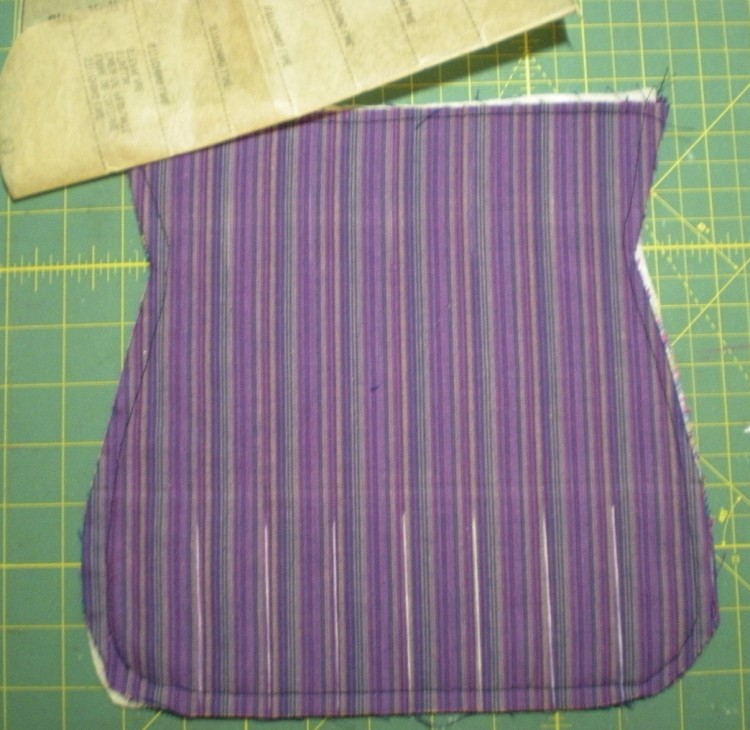
Step 1: Cut out pattern 2 times in main fabric and once in fusible fleece. Fuse fleece to wrong side of one fabric piece, layer other fabric piece over fleece, right side out, and baste around all edges. (The fusing and basting really help to keep things from shifting around.)
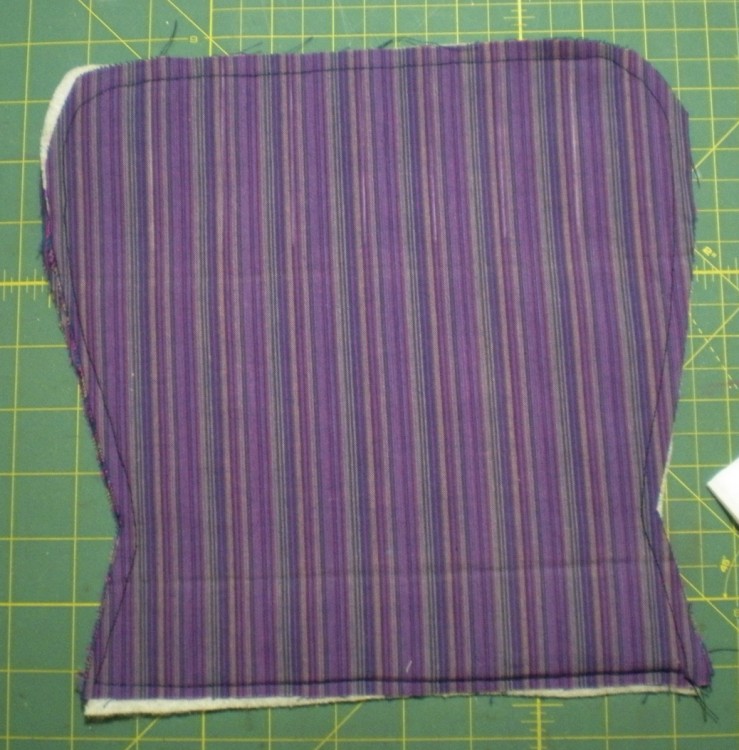
Step 2: There are stitching lines for the pockets on both ends of this unit. One set goes on one side, and one on the other. You’ll see why later.
To mark these I folded back the pattern at the edges of the lines, laid it on the fabric and used a ruler to line up my marks.
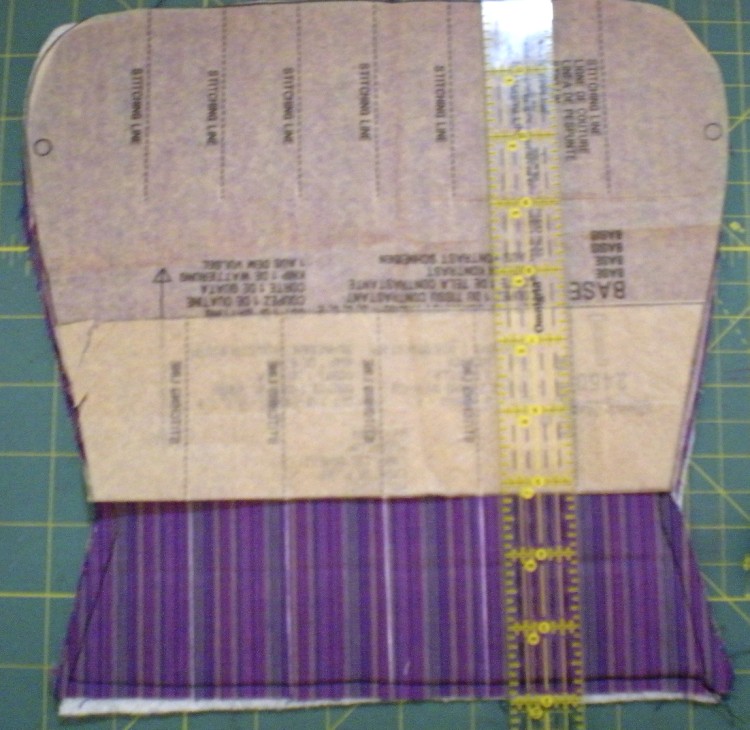
(Sorry about the blurry photo!)
Here they are, all marked:
You’ll also need to mark the stitching lines on your outer pocket piece. The pattern envelop suggests you use plastic mesh or pet screen. The directions inside mention using clear vinyl.
What I ended up using was called “scrubbie mesh.” (I guess folks are making their own scrubbies?) I like the idea of using this because, a) It won’t collect dust in the corners and, b) I can see what’s in there rather than losing things in the bottom of the pockets.
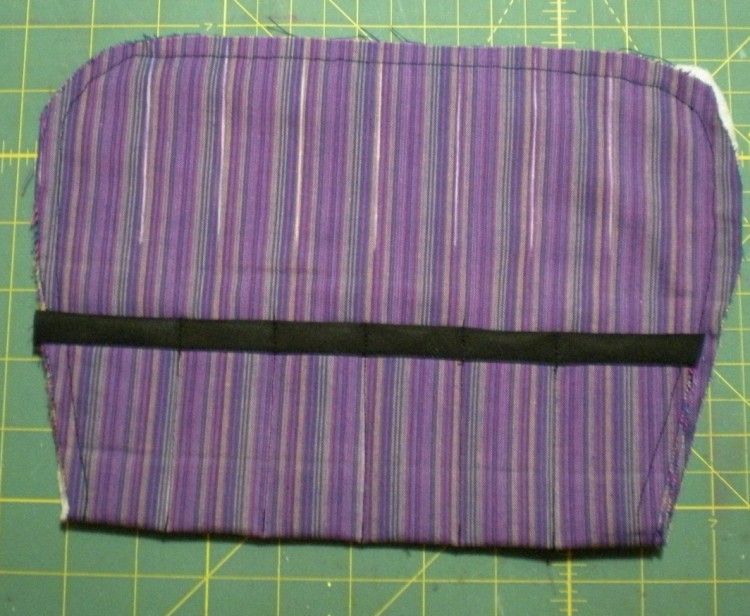
Step 3: Bind the straight edges of both pieces with double fold extra wide bias tape.

Step 4:Fold the inside pocket section up on the fold line. aligning raw edges, and stitch on the marked lines to make your inside pockets. Make sure to backstitch securely at the top edges of the pockets, as these will receive a lot of wear and tear.
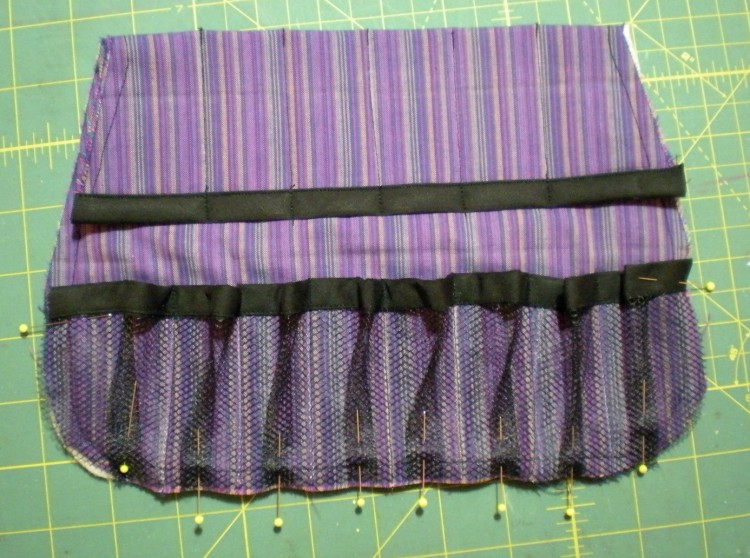
Step 5:Pin the outer pocket section, aligning the marked lines. Stitch on the marked lines, again, making sure to backstitch securely at the top of each pocket.
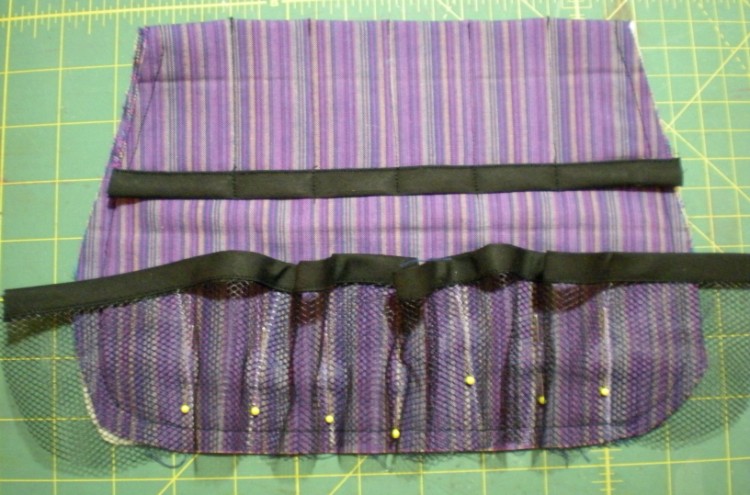
Step 6: Pin a pleat into excess fabric at bottom of each pocket. Pin sides of pocket section, matching raw edges. Baste along entire outer pocket section.
Step 7: Baste velcro pieces on side opposite pockets. Make sure to have one piece with loops up and other with hooks down. (Very important!)

Step 8: Bind remaining raw edges with bias tape, folding under ends at beginning and end. (Don’t worry if the ends don’t come out too neat, they will be hidden inside the mug. )
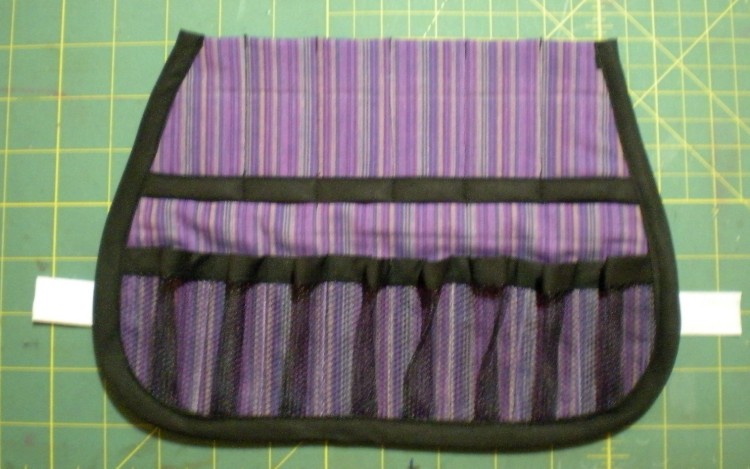
That’s it, all done! Now you just tuck the narrower section inside the mug, attach the velcro pieces under the handle and you’re ready to be more organized.
If you like this project, but think you might want it to be bigger, check out Simplicity 4232. This will make covers for five gallon and five quart buckets.

Here’s to a more organized New Year!

THANK YOU for the inspiration!! I am still trying to organize my craft room completely. I can’t run out & buy what I want/need to organize, but these ideas give me lots of ideas for “beautifying” found objects around my house. Time for my sewing machine to come off the shelf & get put to use! I think I might even have some of the patterns already in my stash. 🙂
Hi Lisa!
Thanks for your kind words. I’m glad you found it helpful. So far, I’m really happy with my little mug organizer.
Btw, I also write an organizing blog, you can check it out at http://www.secretsoforganizedpeople.com. I share more organizing principles rather than specific tips, but you might find it helpful. 😉
Thanks again,
Sandy
Thank you so much for this! I wanted to make some of these but couldn’t make heads or tails of some of those pattern instructions.this is so much easier to understand!! ?
You are welcome, Amanda, glad it was helpful! I made several of these for a quilting group and they all loved them. Mine sits on my table and I use it every day. Happy creating!
Thank you. I bought & was ting to put this fabric together & just couldn’t figure it out. Your tutorial helped a great deal.
I’m so glad it was helpful! I still use my little mug caddy every day. 🙂
Thank you!! I was having the hardest time trying to put this together!! You are awesome!
So glad you found it helpful! Happy creating
Hello, I just purchased this pattern for an organizer swap. Your tips will be helpful !!!
I made a bunch of these one year as gifts for my quilt guild and they absolutely loved them, so I’m sure yours will be a big hit!