Here’s a fun weekend project for you.
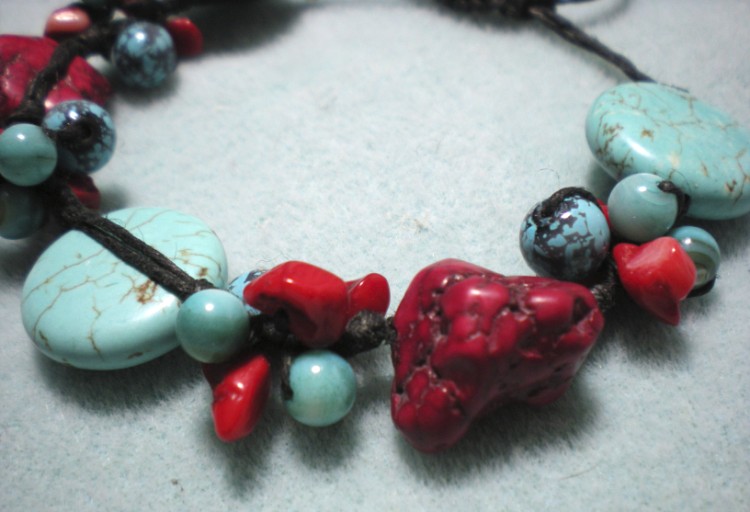
Doncha just love those funky red chunks?
So grab your favorite something to drink, then sit back, relax and watch the how-tos. Then make sure to grab some beads and make a few!
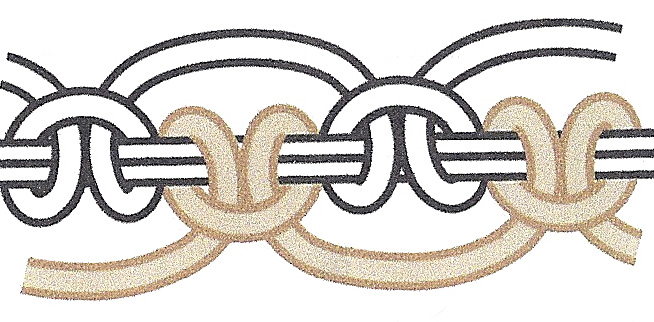
At the beginning of part three I show a diagram which I promised to post on the blog. Here it is:
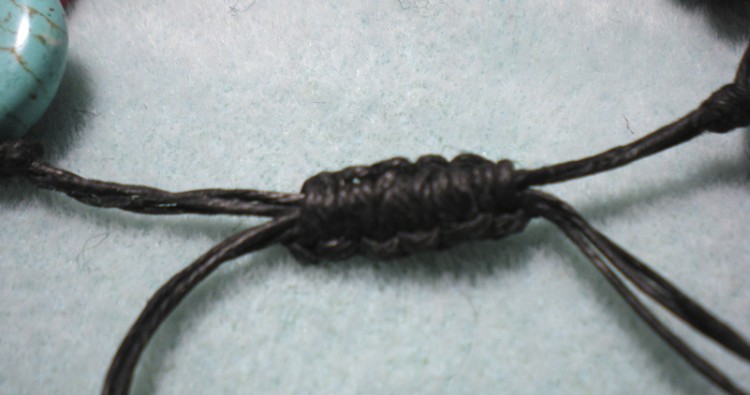
Also, here’s a close up of the slider:
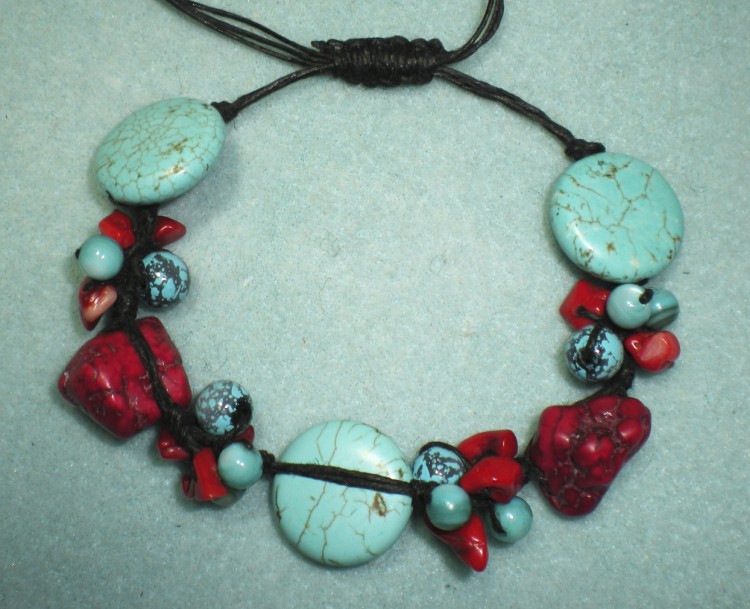
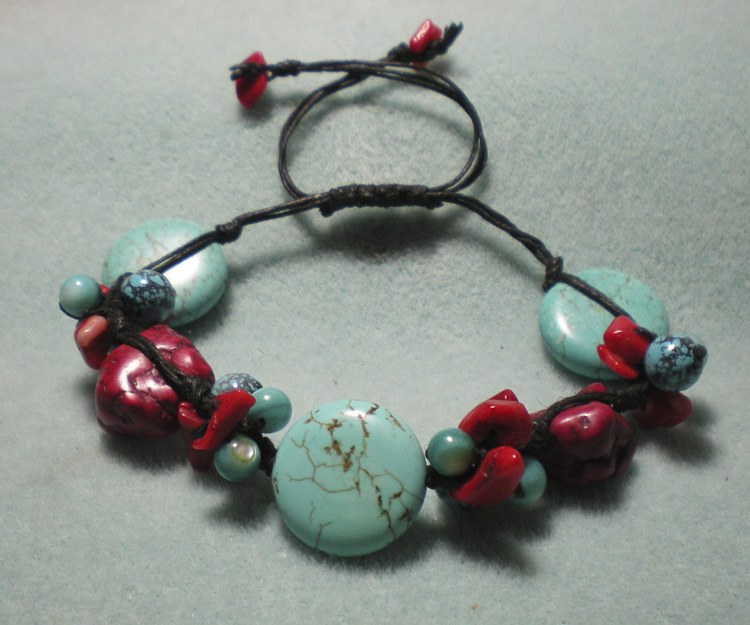
And, finally, our finished bracelet again. Have fun!
If you just gotta have one, but don’t feel like making it yourself, there are a few available in my Etsy shop.




Oh, that’s nice! Did you make it to wear with one of your new outfits?
Thanks, Robin! Actually, this bracelet is for a friend. She saw me wearing a similar piece and asked me to make one for her.
I got a little carried away and made the video, as well as eight more bracelets for my Etsy shop. 🙂 Think I’ll make several matching necklaces while I’m at it . . .
Shame that they were so hard to make. 🙂 Seriously, they do need matching necklaces. More choices, don’t you know.
Ok, ok, I’m on it! Just waiting for an order of more twine.
Thank you for sharing.. I have a lot of Irish Linen Twine and now a project to use it on.. I look forward to another video!!
You are welcome, Emily. Btw, I have nearly 150 other videos at my YouTube channel https://www.youtube.com/user/sandysewin. Happy creating!
When I was viewing your tutorial on this lovely bracelet I was uncertain if you knotted the thread when attaching the small beads or if you tied it just once. I hope I worded my question so that it makes sense.
I really like your tutorials, and have subscribed. I am so happy to have discovered your sites.
Sharon