


I wonder how many times you have felt the way I did when making this dragon?

The was a point in the midst of its creation when I was quite ready to throw it away.
But, then again, if you’ve been creating things for any amount of time, you’ve probably found this to be true of any large project. Some time past the half way point it always gets to be a slog.
The satisfaction comes with pushing through, persevering and solving the problems.


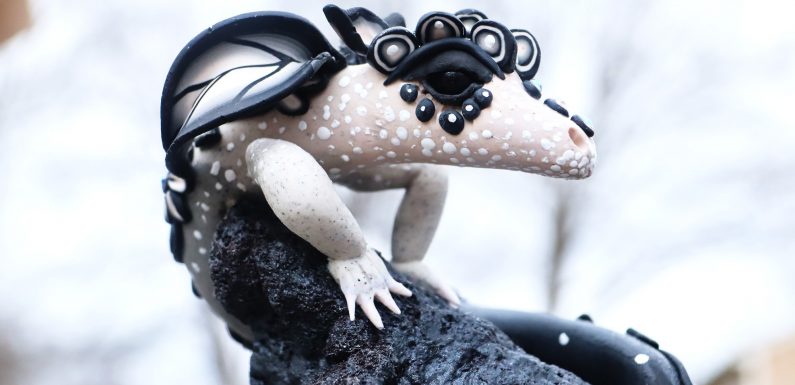
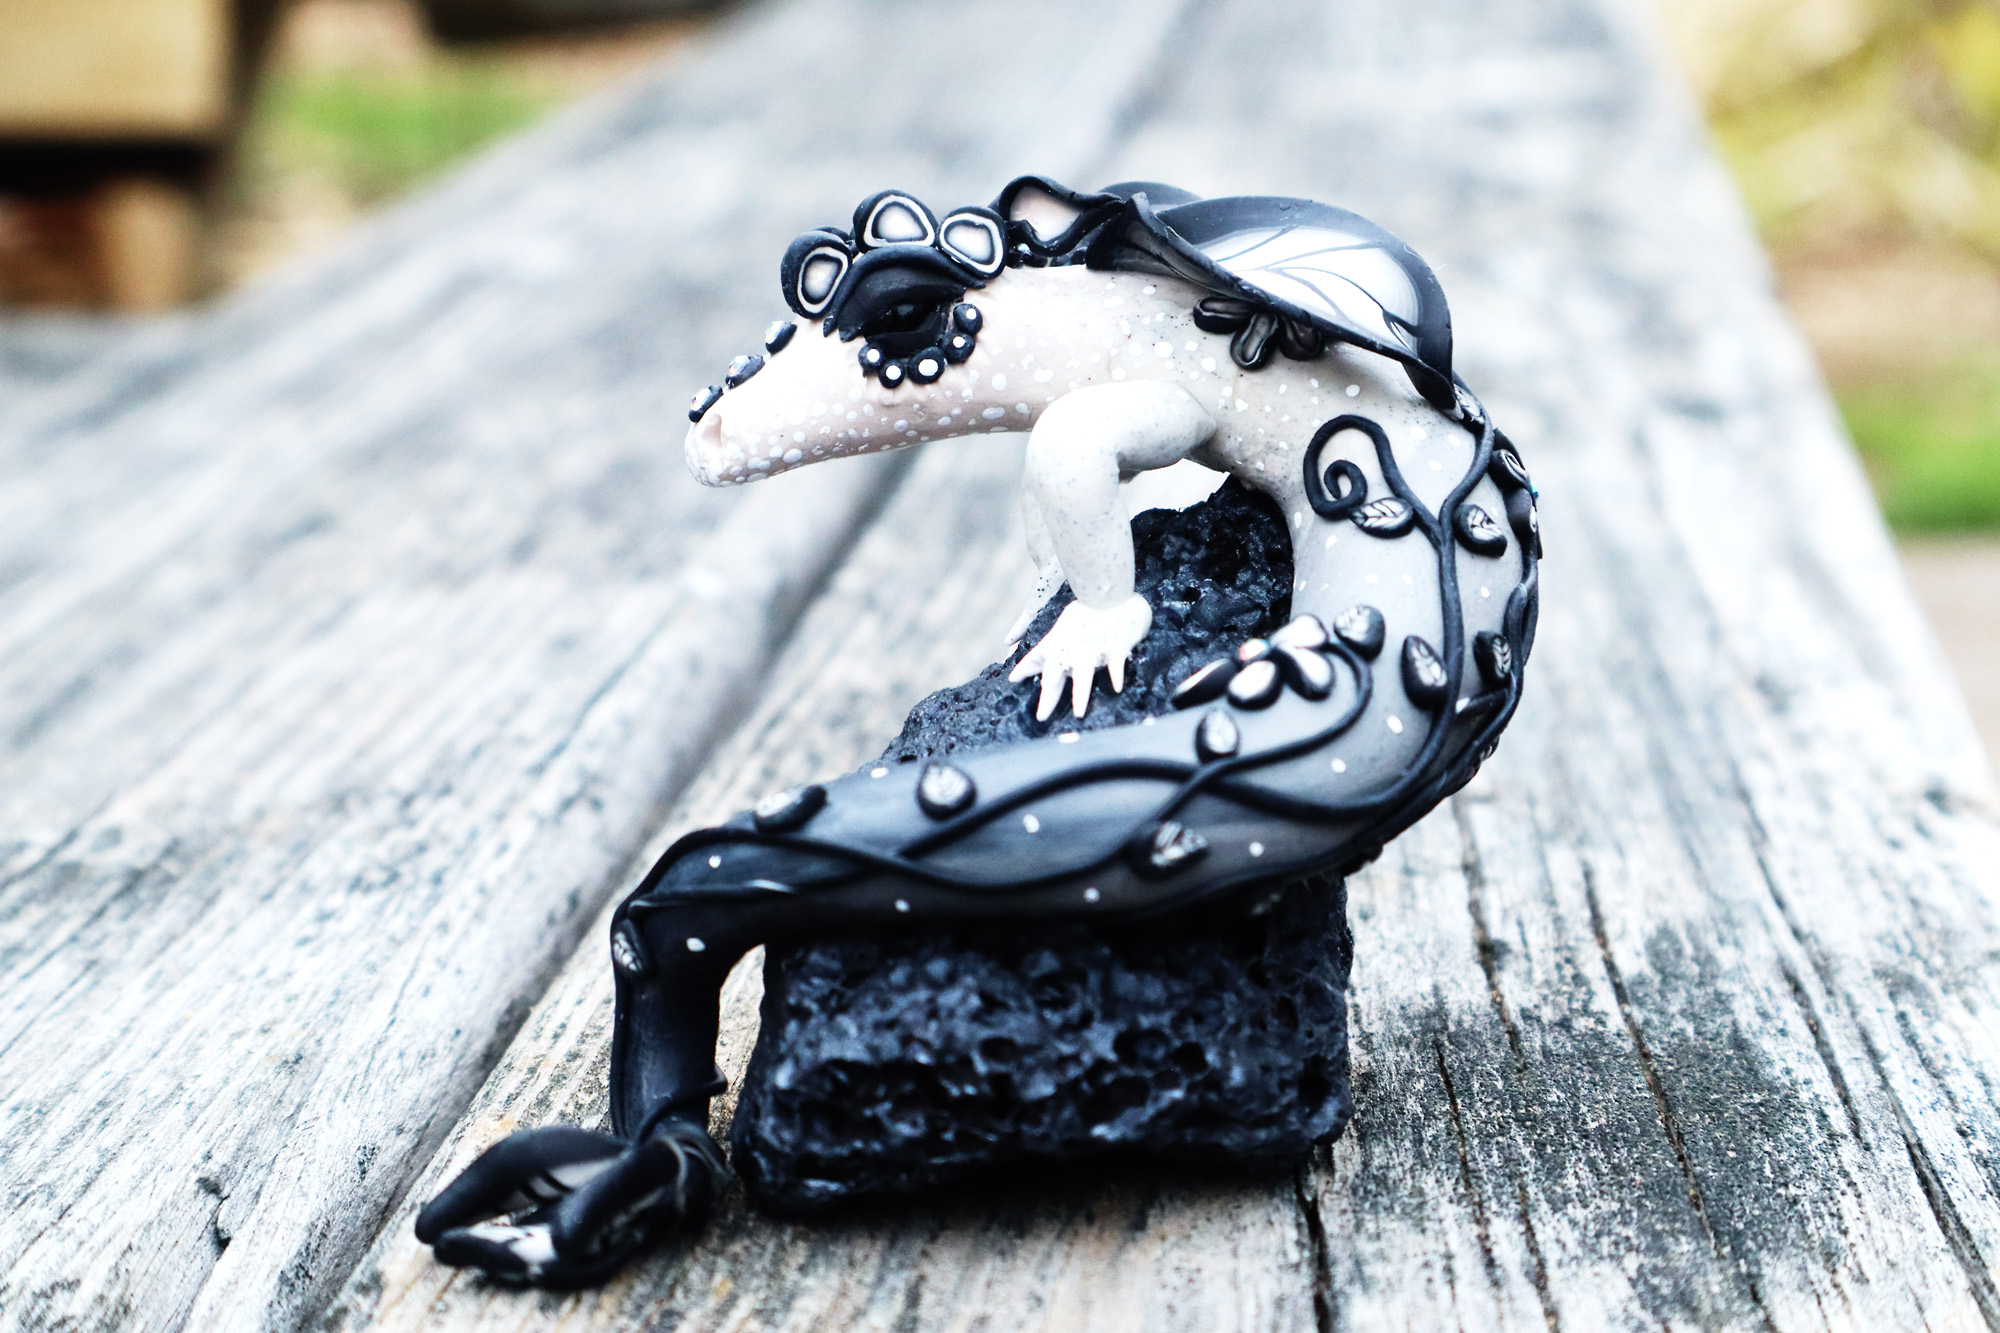
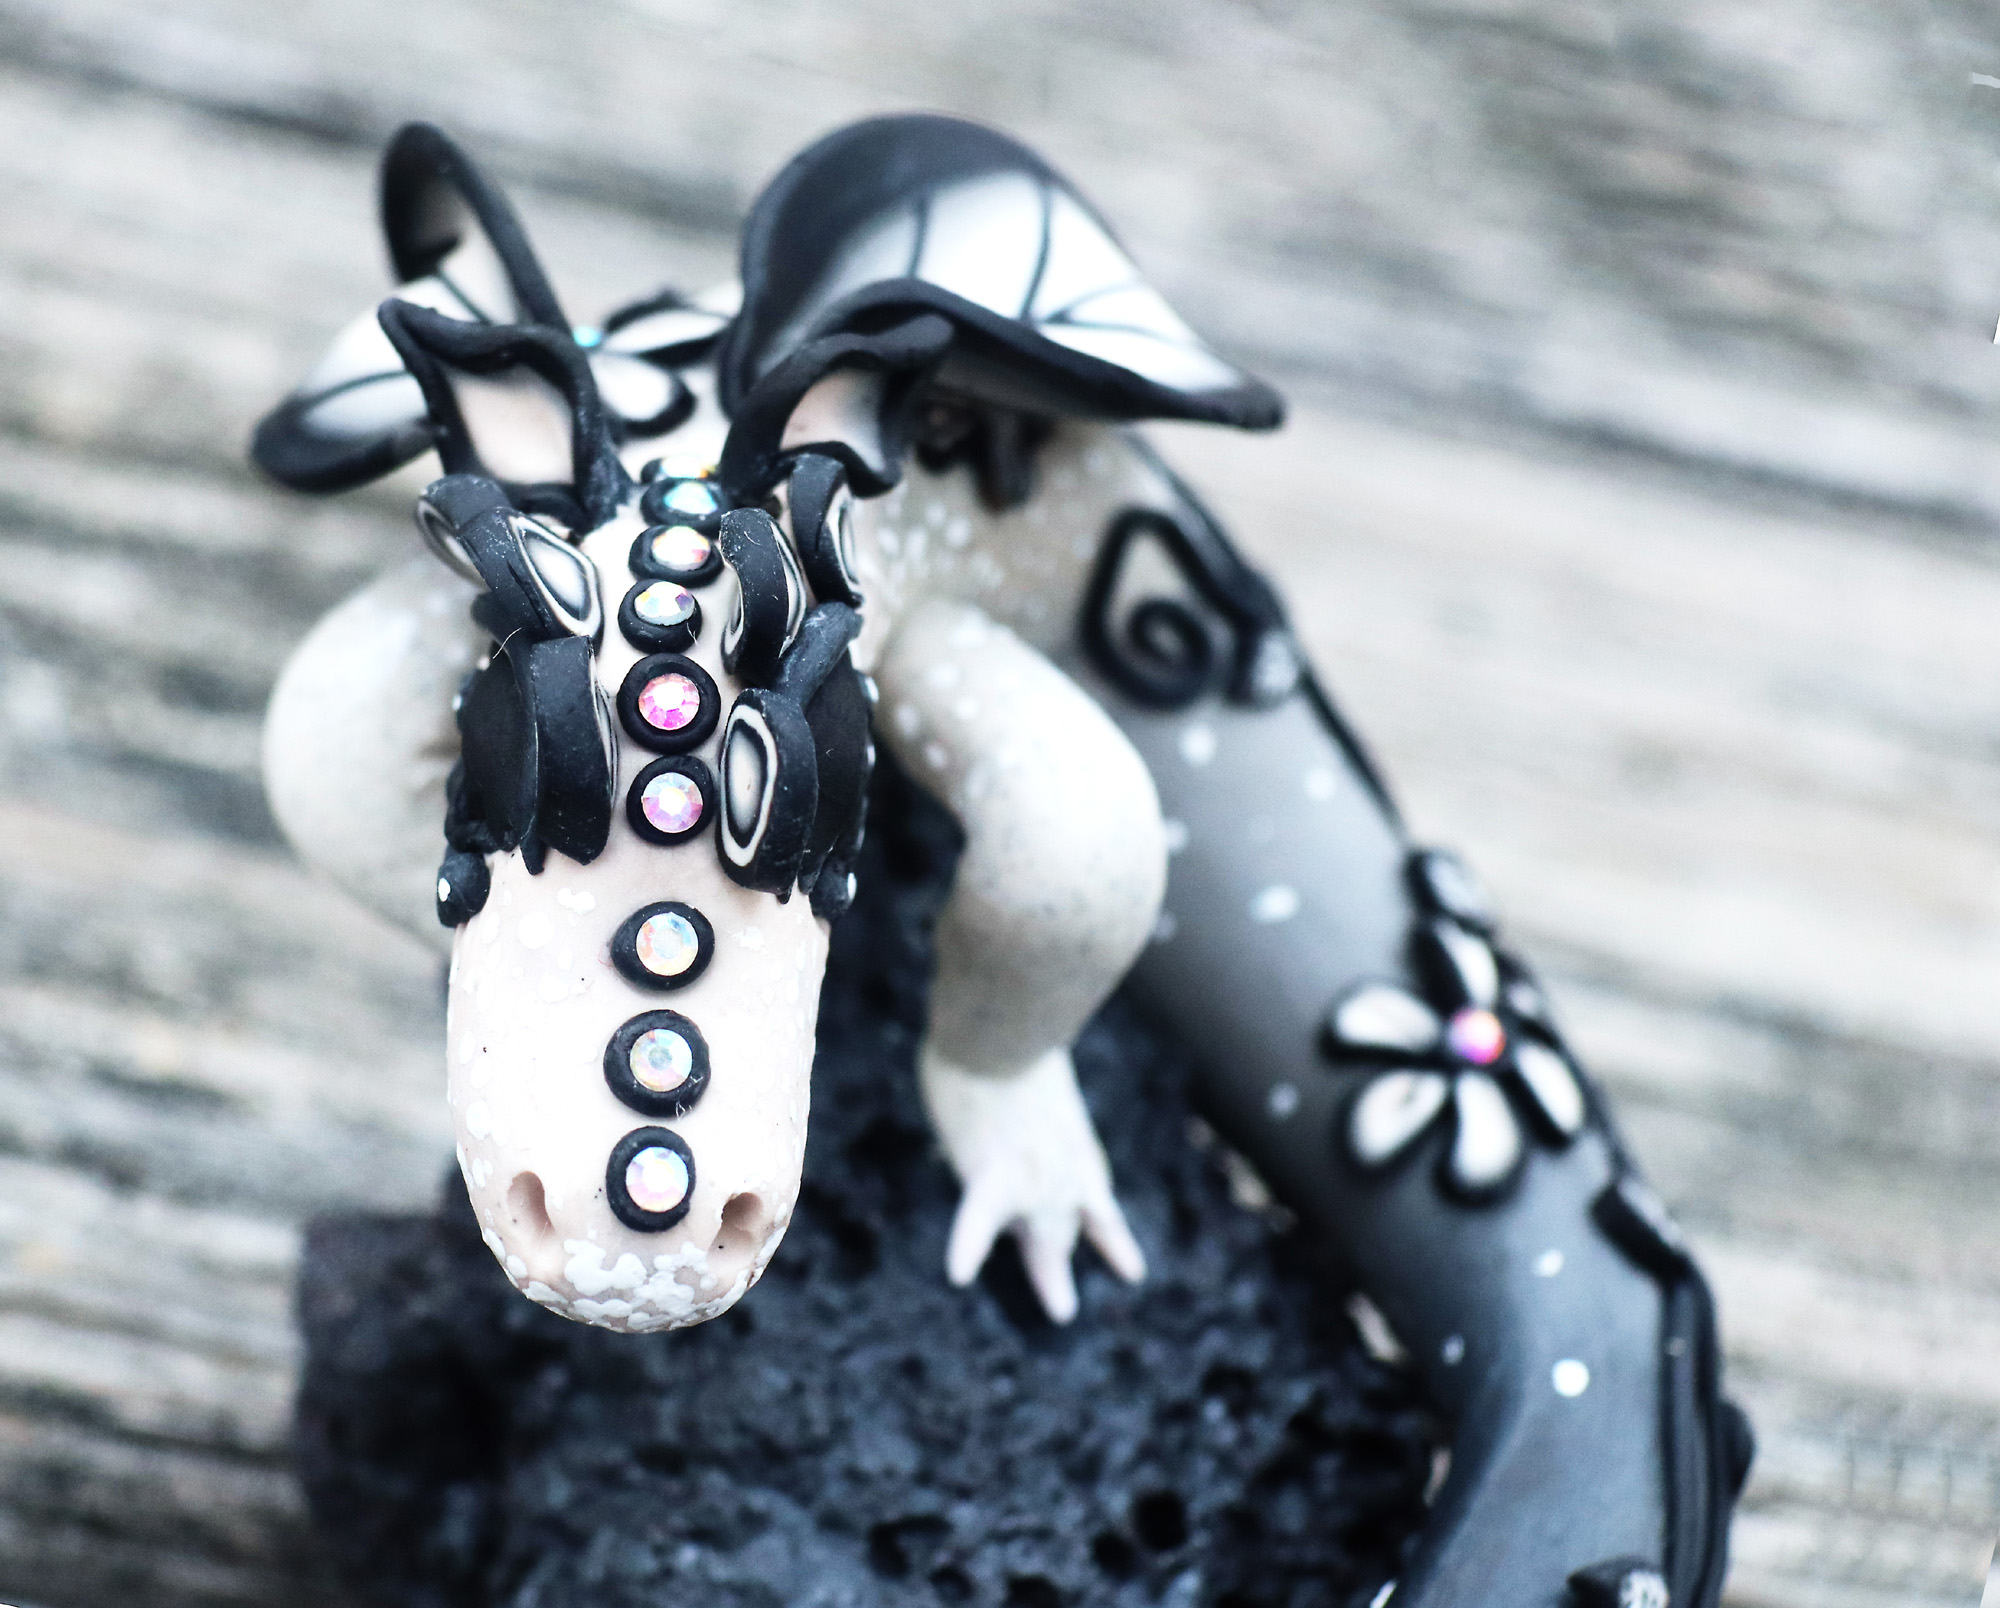
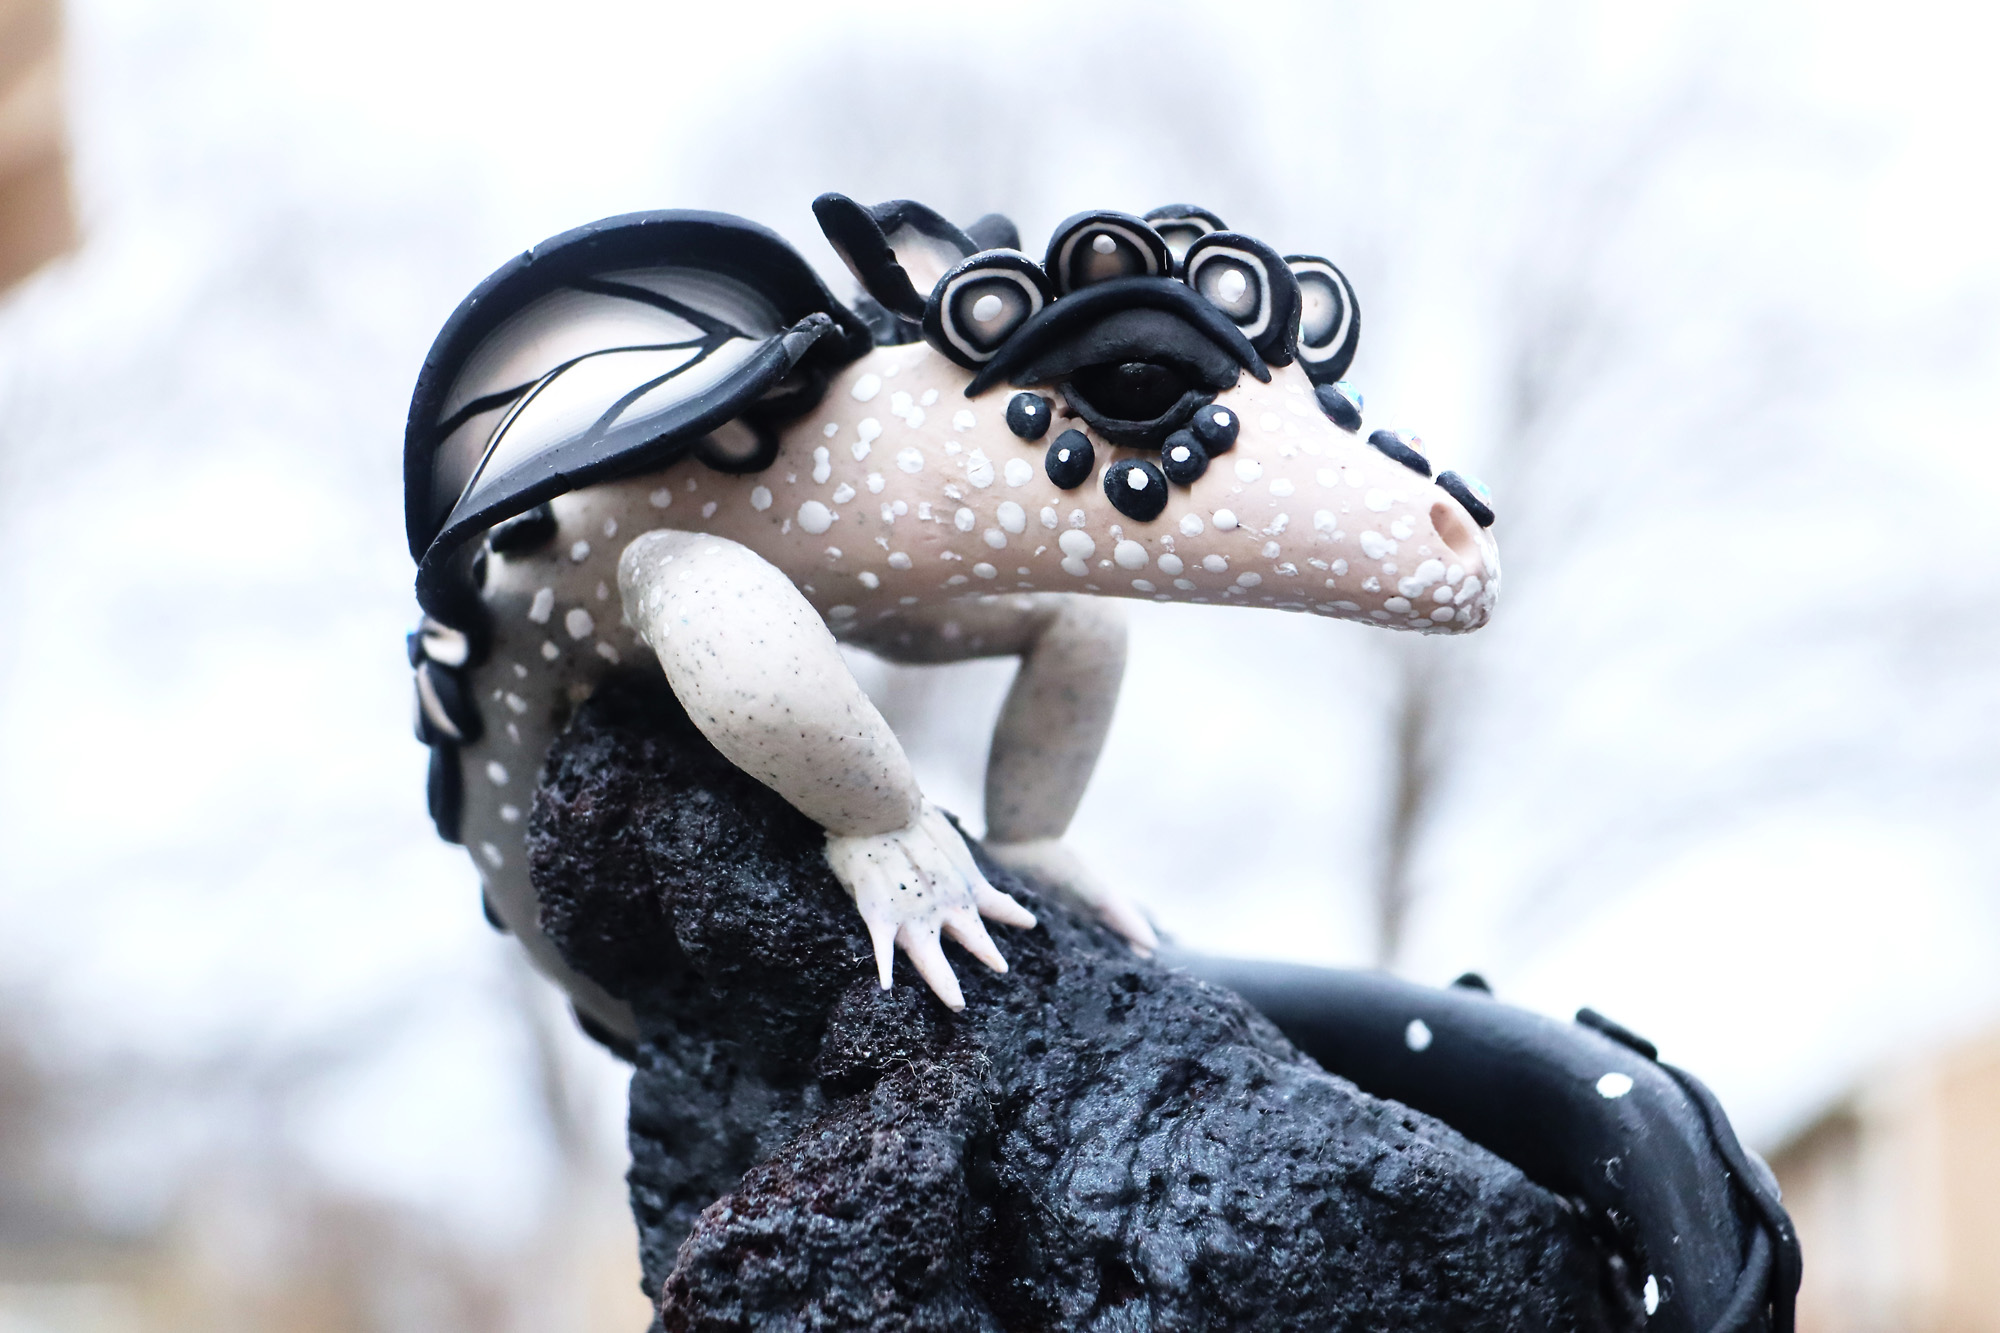
This video is my journey of creating a black and white dragon for my patron, Lila, and her 10-year-old granddaughter, Alex.
Interested is having me make a custom piece for you? Check out the Creative Genius level on my Patreon page.
Tools and Materials:
- Black polymer clay
- White polymer clay
- Black embossing powder
- 6 or 8mm glass beads
- Pasta machine
- Acrylic roller
- Acrylic block
- Clay blade
- Bent needle tool
- Liquid clay
- Craft knife
- Polybonder glue
- 2mm hot fix rhinestones
- Rhinestone pick up tool
- Black acrylic paint
- White acrylic paint
- 1mm dotting tool, used for apply paint dots
- Paint brush for miniatures
- Lava rock
- Pearl-Ex, Silver
Sculpting tools: - Ball tools
- Etch n Pearl
- Silicone shapers
- Christi Friesen tools
- Toothpick
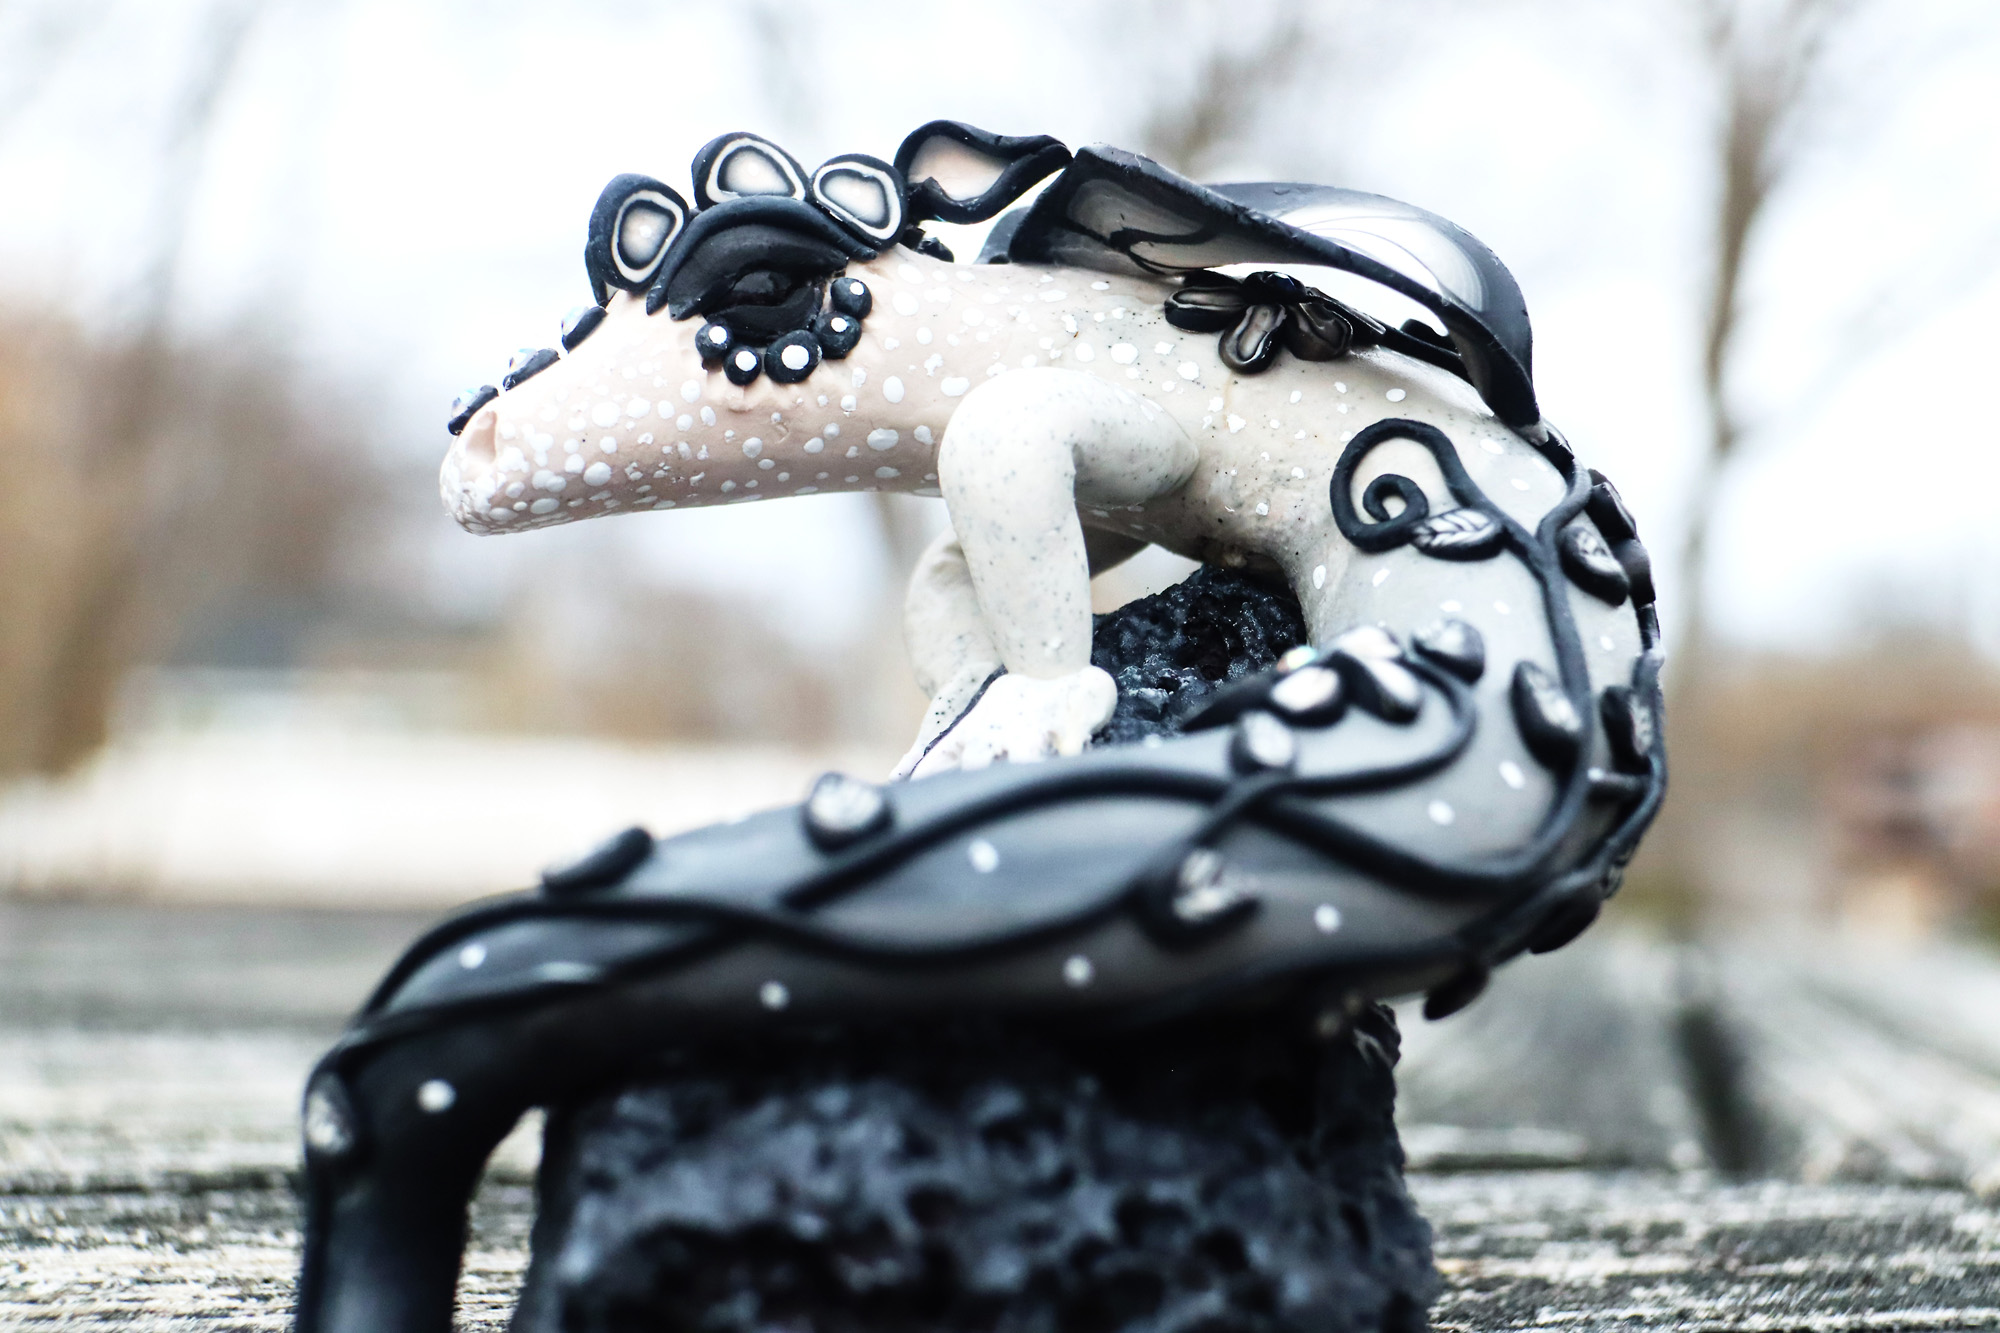
By the way, Alex named her new friend, Spark, after the lava rock it is sitting on. A very creative and clever girl!
Watch The Making of Spark the Magic Dragon video on YouTube.

Dear Sandy,
Alex and I are so pleased with our beautiful dragon. Alex was looking at your artwork and just lit up when she saw your dragons. That is how she decided what she wanted you to make for us. The only thing she said was she wanted a black and white one. That was all we told you and you took off! As always, you didn’t disappoint. We cannot thank you enough!
Hi Lila & Alex,
It was a wonderful creative challenge and I was happy I could do it for you, especially after all your kind encouragement and support.
Hello, I really enjoyed watching your video and now would love to play with some clay. I am wondering how much clay it would take to make a dragon the size of the one you made. I followed your links, but I am not sure how much to buy of the clay.
Also, I am a painter, not a clay making machine like you are. I just love your pieces. So, what I am wondering if it would work to just make it all white and paint it with acrylic paints once it is finished. What do you think about this thought?
I have made a dragon out of dry clay, and placed it on a bottle with the air dry clay, but it was really difficult because it dried so fast. Now I want to try the same clay that you used. It looked like it would be fun to work with.
I love having the girls over and we make or paint something when we get together. I think this would be a great project!
Hi Sasssie,
Thanks for letting me know that you enjoyed the video on making spark the dragon.
It’s been a while since I made it, but I probably used 4 to 6 ounces of clay for that size dragon.
Don’t forget that you can bulk out thicker sculptures with aluminum foil. In fact, you should bulk them out and only have a quarter to a half inch of clay thickness at any point. Making it much thicker risks the clay cracking while it bakes.
Of course you can make your sculpture out of a solid color clay, and then paint it. Many sculptors do that because having a solid color means you can clearly see all the details and composition.
I have a little patience for painting tiny details and prefer to sculpt in my colors as I go. You do whatever you are most comfortable with. 🙂
I don’t know about this being a quick project! But I definitely recommend making your own version and working out some of the details before you have friends over and show them how to make their own.
Hope you have fun with it, I’d love to see your results!
Happy creating,
Sandy
Thanks for the advise!
I will try a few things before I have the girls over. This is the only time I have worked with clay, I put the dragon on a wine bottle. I didn’t really know what I was doing, but it turned out ok. This air dry clay dries so fast and I like the idea of having more time to play with it before it dries. I do want to try that clay that you used. It looks like more fun to not have to rush before it’s unusable.
Thanks again!!
Sasssie
Woops!! hahaha, I forgot to leave the link https://handmadewithtlc.com/images/bottles/dragon1a.JPG
Wow, so colorful! Looks like you had a lot of fun making it. 🙂