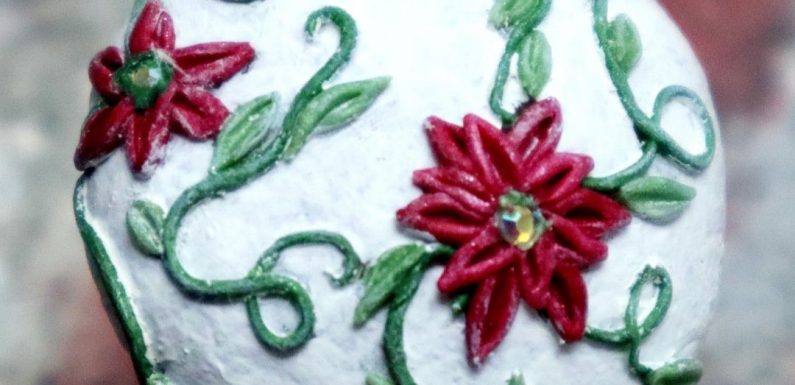
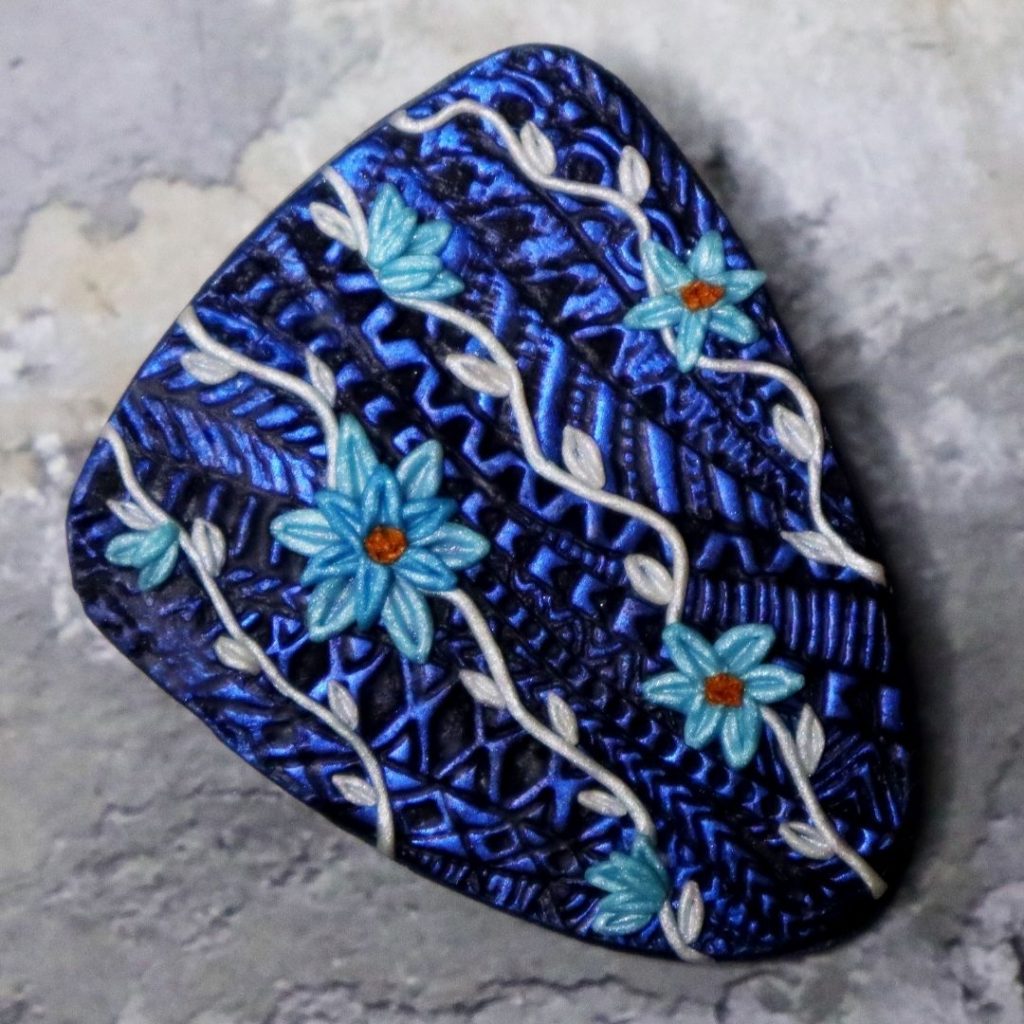
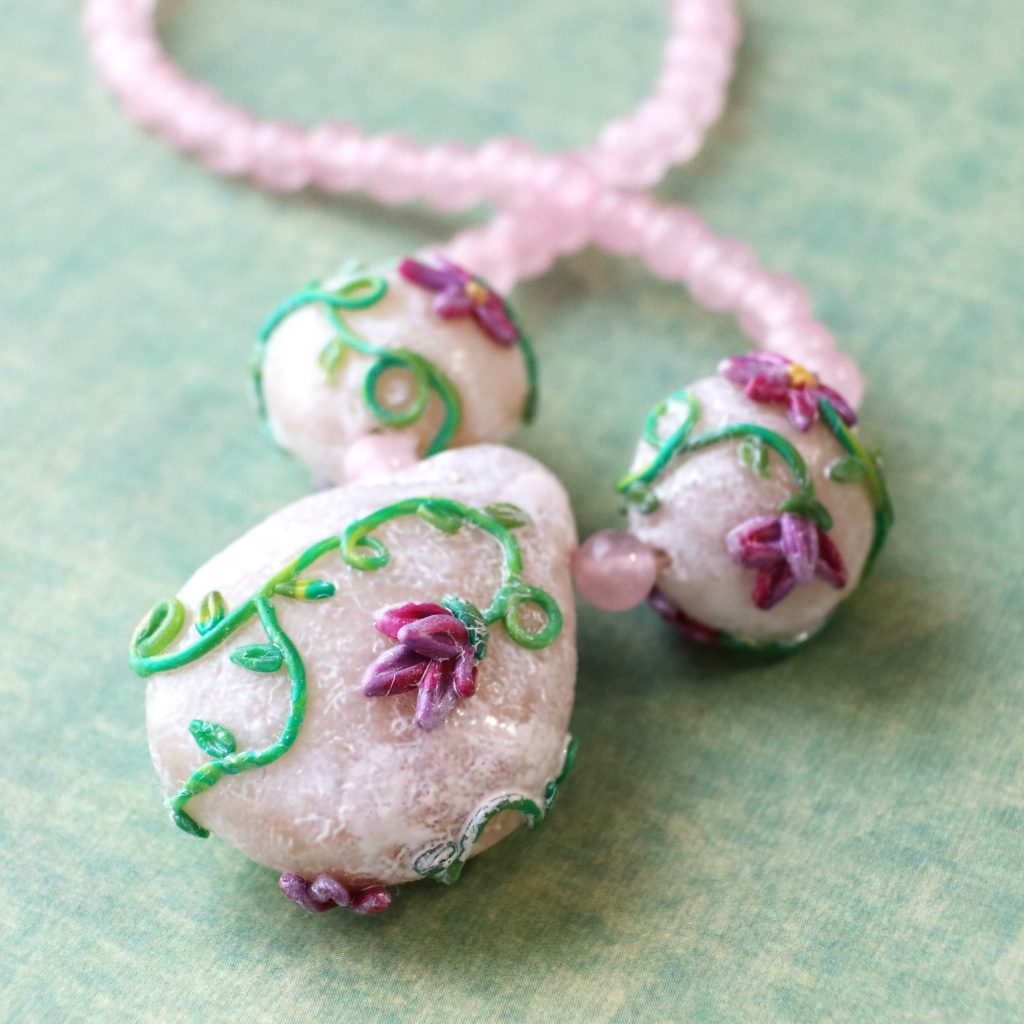
You can use this polymer clay sculpting technique anywhere you like: on pieces that need decorating, glass, ceramic, anything you can cure at 275° F is fair game!
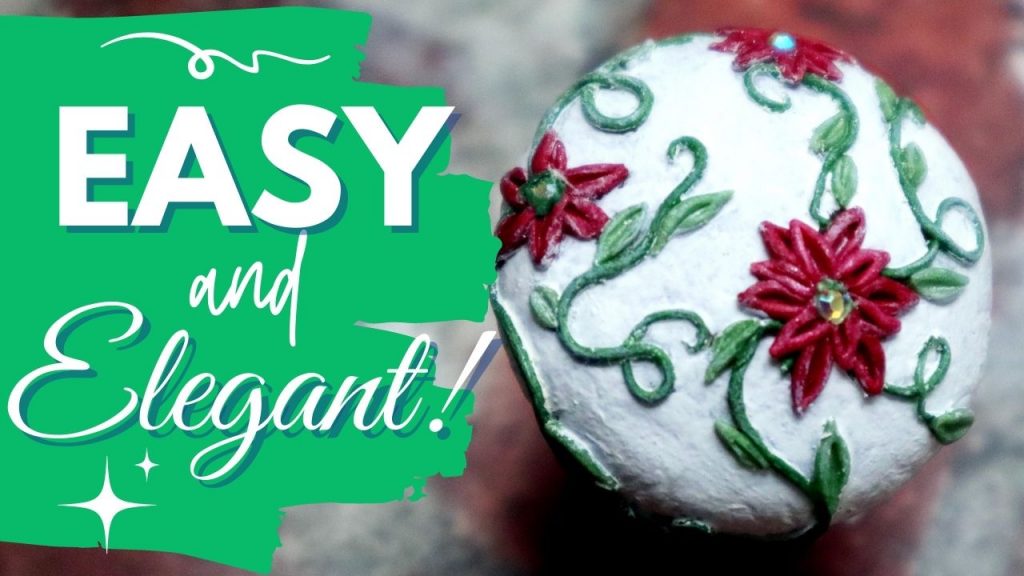
If you’ve ever looked at tiny sculpted details and thought they were too difficult to attempt, you’ll want to watch today’s video to learn how easy it can be! All you need is a little practice and a light touch (which comes with practice.)
Tools and Materials:
- Polymer clay base to build your design on, see Sweet Hollow Beads tutorial for one I used
- Polymer clay in colors of your choice, tiny scraps are all that is needed
- Ceramic tile
- Poster Tac, also known as Blu Tac or Fun Tak
- Acrylic block
- Liquid Clay
- Curved or bent needle tool
- Craft knife
- Silicone sculpting tools
- Hot fix cabochons, and rhinestone pick up tool, optional
Here’s a bonus tip for email newsletter readers:
You might notice that the photo of the bead I made on screen looks somewhat different than it did at the end of the video. That’s because I made that hollow clay base months ago and forgot I’d used Cernit brand clay.
Which cures at a lower temperature than my usual brand, Premo Sculpey.
I put it in the oven with my pretty red flowers and green vines on a white background…
… and it came out with pretty red flowers and green vines on a grayish-brown background.
Ick.
(Insert sad trombone sound here.)
It took 3 layers of white acrylic paint to cover all that brownish-gray.
Then I had to go back and scrape bits of white paint off my pretty red flowers and green vines.
THEN I dry brushed over the whole thing to hide where I hadn’t removed white paint.
:::::sigh:::::
The moral of my story is: Do some testing before investing time into a piece! You won’t regret it.
Enjoy the video and happy creating.
Watch the How to Make Gorgeous Easy Clay Flowers video on YouTube.


You just keep doing new things so beautifully. And I’m so proud to be wearing earrings you made a few years ago!
Awww, thanks! So, you got your ears pierced then? 😀