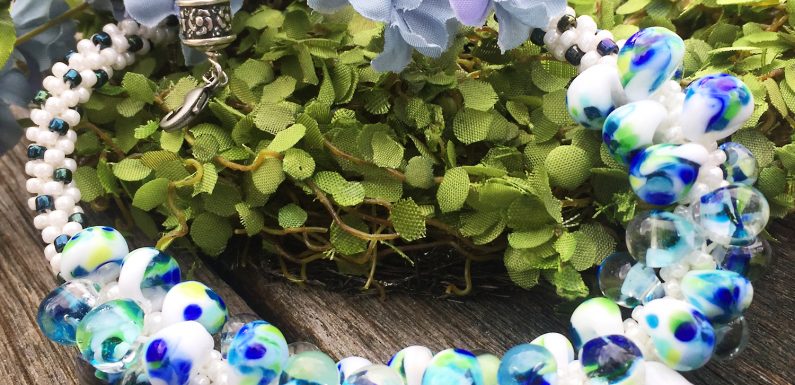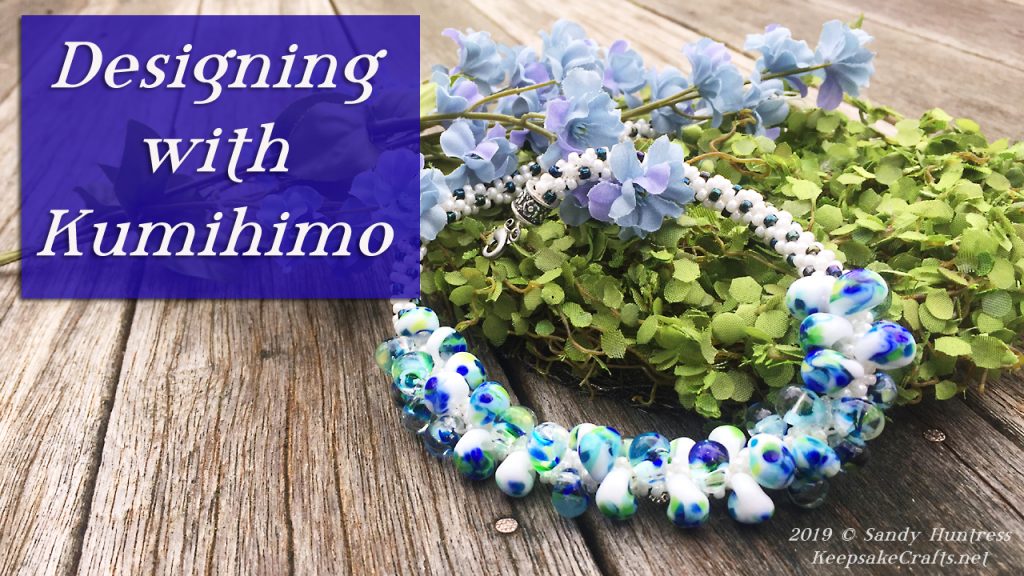
If you’ve ever tried kumihimo braiding, you’ll know that the patterns can feel somewhat unpredictable – unless you thoroughly understand how the process works.
If you want to modify the design, though, you need to get a grasp of how it all comes together.

That was the challenge my patron, Minky, put to me as her reward for six months of support at the Creative Genius level on Patreon.
In this video I’ll show how I figured out the modification she wanted, and also how to get precise sizing in beaded kumihimo braiding.
If you’d like to replicate this design (or modify it yourself) here’s the pattern I used:
Strand #1:
- 21 8/0 Iris Blue seed beads
- One teardrop bead
- One 8/0 Iris Blue seed bead, three teardrop beads, seven times
- 22 8/0 Iris Blue seed beads
Strand #5:
- 21 8/0 Iris Blue seed beads
- Three teardrop beads, one 8/0 Iris Blue seed bead, seven times
- One teardrop bead
- 22 8/0 Iris Blue seed beads
Strands #2, 3, 4, 6, 7 & 8: 72 8/0 Ivory Pearl seed beads
Would you like me to design a piece just for you? I’ll use your specifications: colors, shapes, style, etc., make a video showing how it was done, then send it for you to keep! Learn more at Patreon.com/sandysewin
Not only did I work on this design for Minky, she will, of course, get the necklace, receive a custom PDF with all the information needed to recreate it, plus she’ll be able to download her video.
I’d love to work with you on your special project!
Tools and Materials:
- Kumihimo disc
- 8 bobbins
- S-lon cord
- 8/0 seed beads, Ivory Pearl and Iris blue
- Teardrop beads/exotic
- Big eye beading needle
- Two B&B Benbassat 6mm Antique silver plated Pewter raised flower end caps
- E6000 glue
- Two eye pins
- Lobster clasp, jump rings and extender chain
- Kumihimo weight
- Chain nose pliers
- Wire cutters
- Round nose pliers
- Heavy duty pliers, for crushing extra beads
Watch the Designing with Kumihimo – Minky’s Necklace – Jewelry Tutorial video at YouTube.


