It’s amazing to me how quickly we outgrow organizing systems.
Of course, this only happens if we don’t stop accumulating new supplies!
(But what would be the fun in that?)

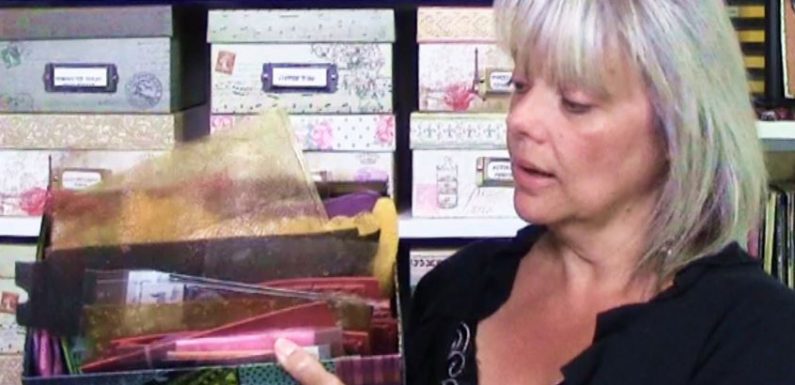
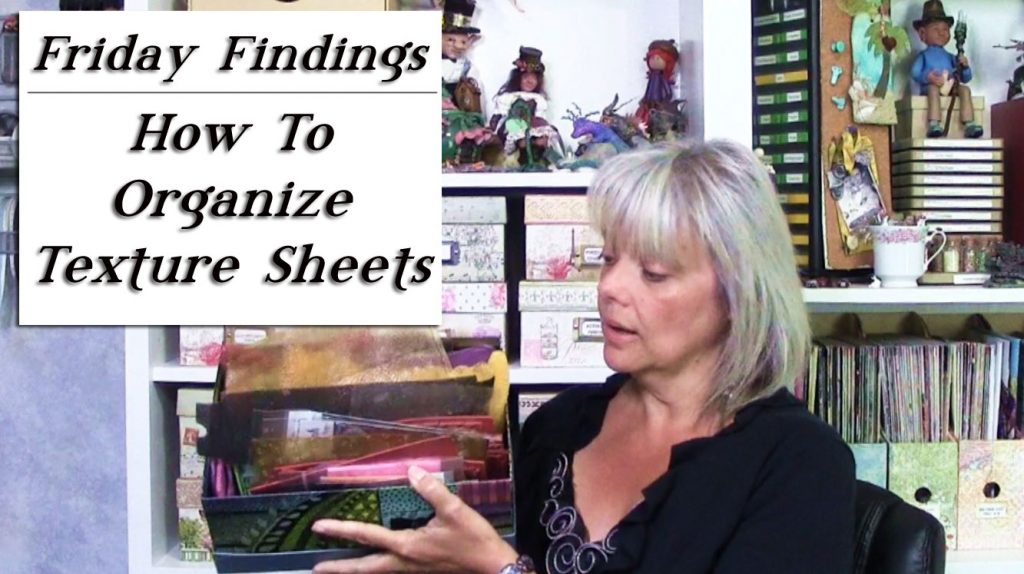
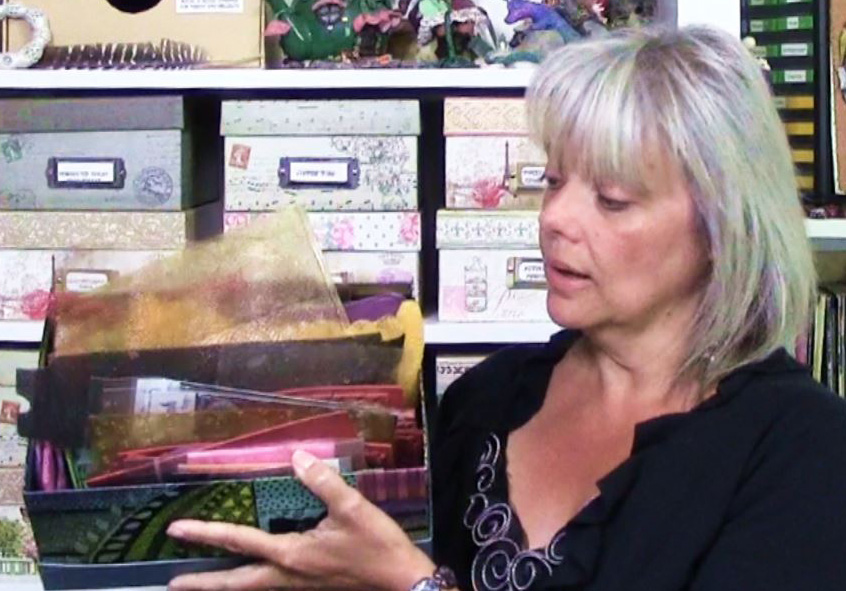
My box of polymer clay texturing sheets was overflowing, and seriously in need of an intervention!
Watch the video to learn how I made custom pockets for organizing each and every one. (Well, almost every one.)

If you like some of the custom texture sheets I have, here are videos showing how I made them:
- Spice Up Your Polymer Clay Textures
- DIY Texture Sheets With a Clay Extruder
- DIY Texture Sheets, Impressions and Mold of Anything with Silicone Molding Putty
- DIY Steampunk Texture Sheet
- Creating Textures With Household Items and Nature
- Reusable Low-Temp Melt Plastic for Polymer Clay & Resin
Here are supplies similar to the ones I used to get my textures neat and tidy:
- Page protectors (I don’t recommend the super-light “economy” weight ones as I don’t think they’ll hold up over time. I was very pleased with the ones I got from Staples.)
- Seam ripper
- Sewing machine & thread
- Printer paper
- 2-inch 3-ring binder
- 3-inch 3-ring binder
Enjoy the video and happy creating!
Watch the How To Organize Texture Sheets (and Other Supplies!) in a Binder-Friday Findings video at YouTube.


Oh, that’s perfect for flattish items. I’m most impressed with the storage behind you, the figures, and your magic wand!