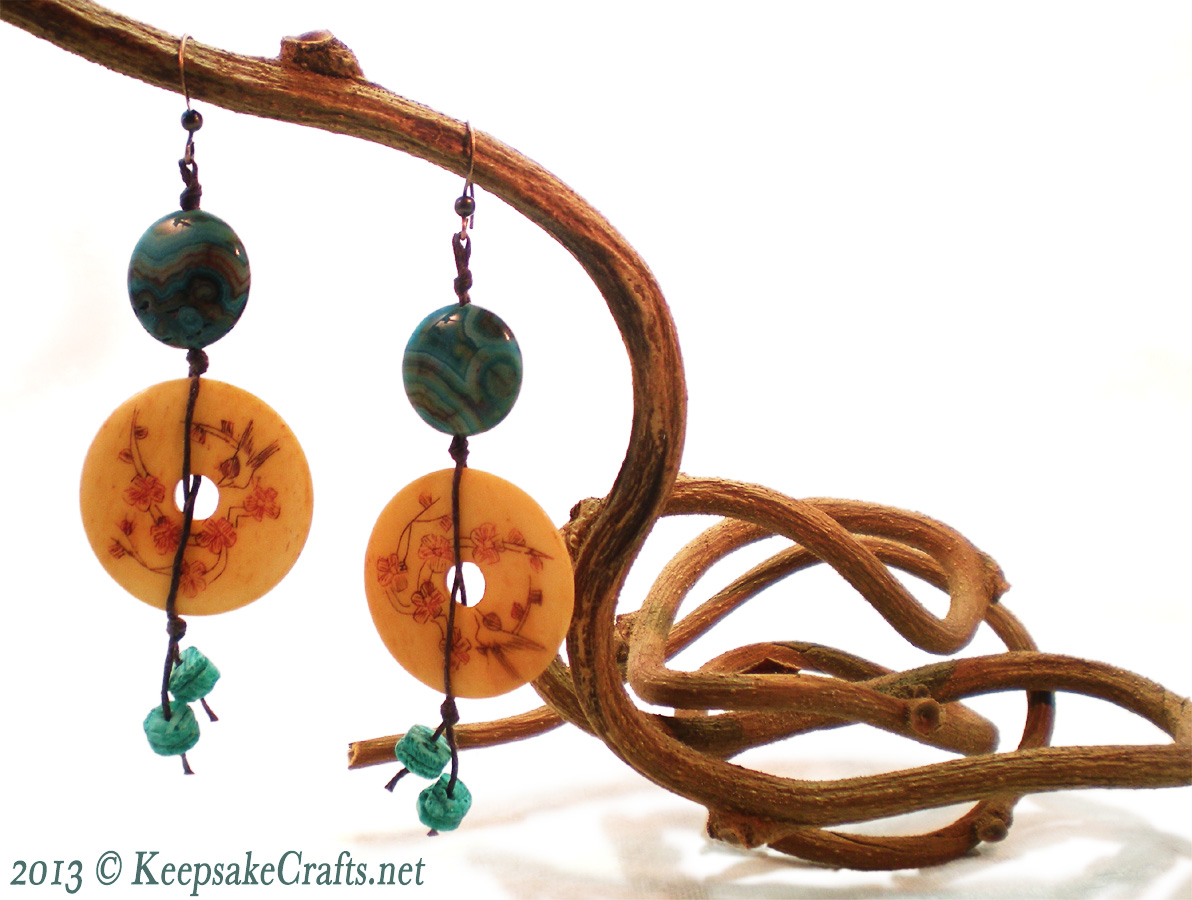
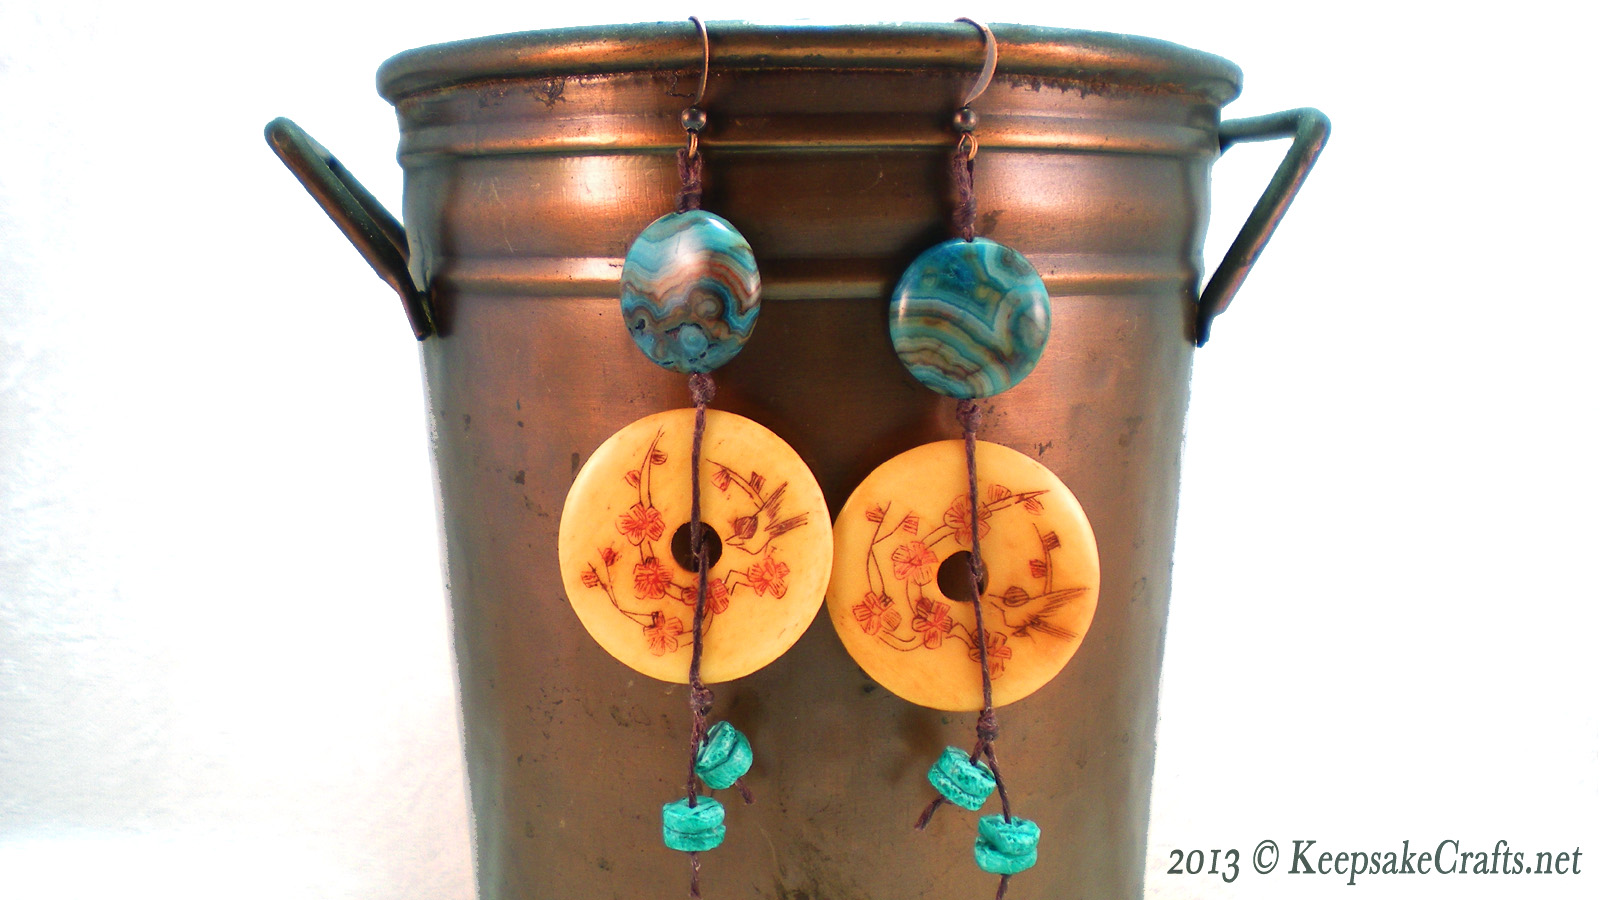
I have a rather different kind of project for you today. It’s a jewelry video tutorial, as it often is, but these earrings have no wire work involved.
Instead, they are held together with waxed linen twine.
A dear friend frequents estate sales and often brings me boxes of jewelry supplies. (Isn’t she sweet? Thanks, Joann!) These wonderful stone lentil beads and painted bone doughnuts were treasures from the last box.
I thought the rustic look of the twine worked perfectly with those beads without detracting from their beauty. Much jewelry is all about the wire work, but these are definitely about those gorgeous beads.
If you’re looking for a quick gift to make, you could put together a pair of these in less than 15 minutes!
Watch Simple Bead & Twine Earrings video over at YouTube.
Materials:
- 2 – 3/4-inch diameter stone lentil beads
- 2 – 1 1/4-inch diameter doughnut shaped beads
- 8 – 1/4-inch disc beads
- 2 pair ear wires
- 2 – 15-inch pieces waxed linen twine
- scissors
- awl
- chain nose pliers
Directions:
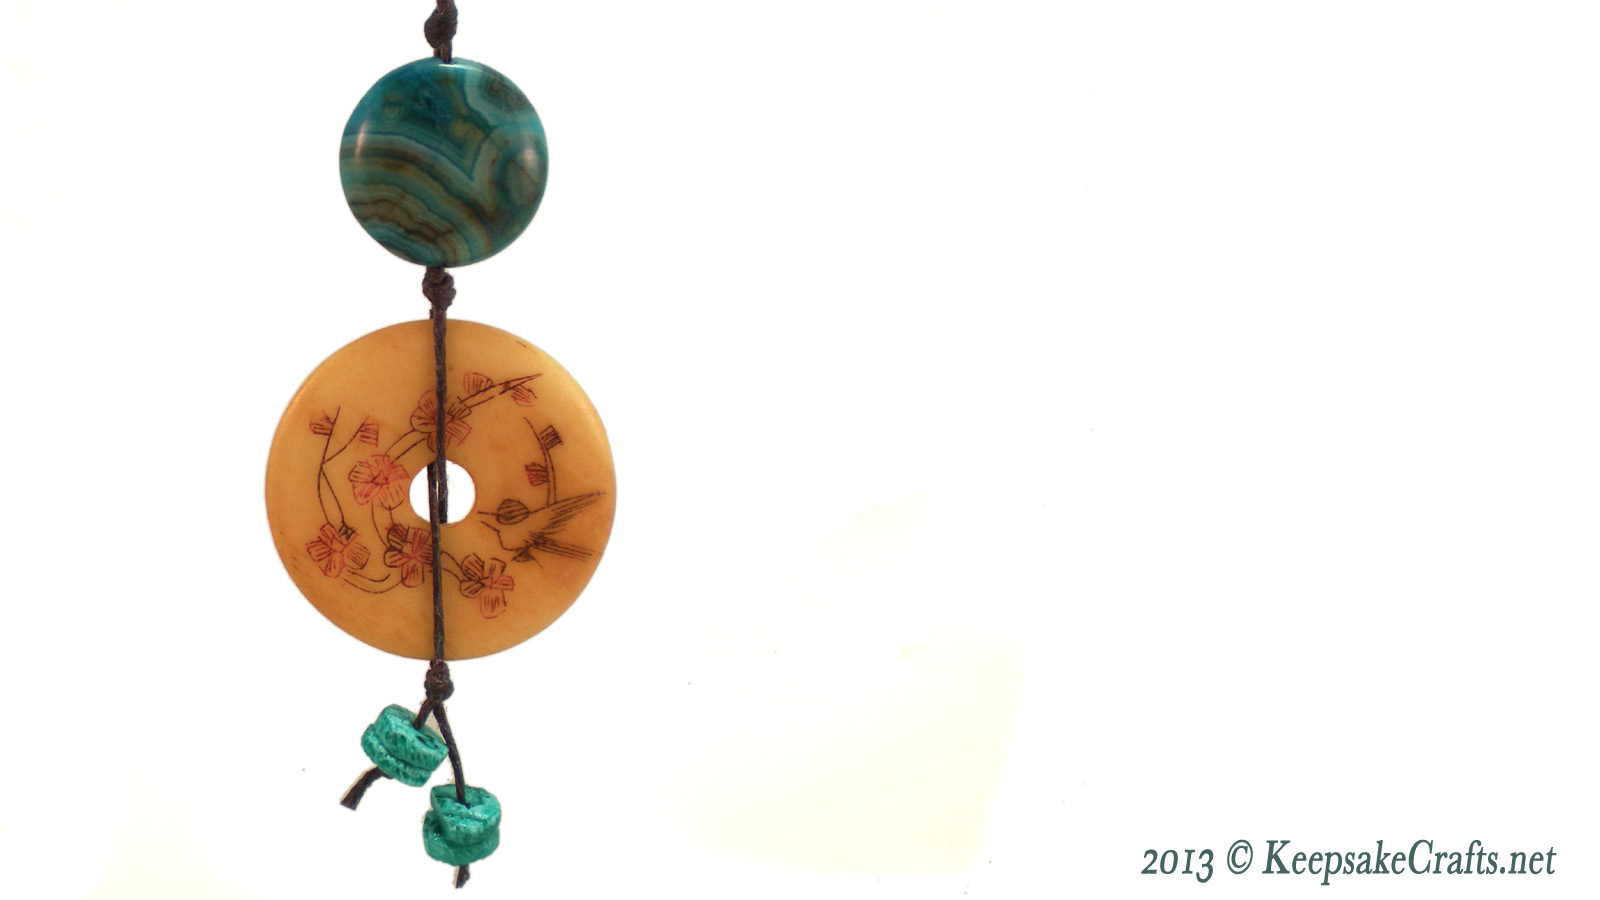
- Fold a piece of waxed linen twine in half. Make a knot in the twine 1/8-inch from the fold, using awl to help position knot.
- Slide stone lentil bead onto one piece of twine. Bring both pieces of twine together below bead and make a knot right where twine exits bead.
- Slide one piece of twine through center hole of doughnut bead from the front and slide the other piece of twine through from the back. Bring both pieces of twine together below doughnut and make a knot. Don’t pull the twine too tightly or earrings won’t hang nicely.
- Slide two disc beads onto one piece of twine. Leave about 1/8-inch loose twine above beads and tie a knot below beads.
- Slide two disc beads onto remaining piece of twine. Leave about 1/2-inch loose twine above beads and tie a knot below bead.
- Trim both pieces of twine about 1/4-inch from bottom of knots.
- Use chain nose pliers to open loop in ear wire and insert twine loop made in step one. Close ear wire loop.
- Repeat steps 1-7 to make second earring. Remember to use the awl to help place each knot exactly where you want it.
Happy creating!
P.S. To my regular readers: I’ve cleared my schedule this week in order to make time for some deep organizing. Fun stuff like sorting through my file cabinet, clearing out all the old magazines and getting into the backs of certain closets. Sadly, this will probably not leave much time for blogging, but you can be sure I’ll try to get in some creative time.
I’ll see ya’ll next year. 🙂


Oh, those are so striking! They make me want to get my ears repierced. Alas, the video is private. 🙁
Ooops, sorry! The video is public now.
Saw it! Sandy, you’re a genius.
Well, I don’t know about genius. I’ll settle for kinda creative. 🙂
Happy New Year!