Happy Halloween all! I’ve got a HUGE bowl of candy on my kitchen table, wish I could share it with you. 🙂
Instead, here’s some eye candy for your enjoyment. Plus a video.
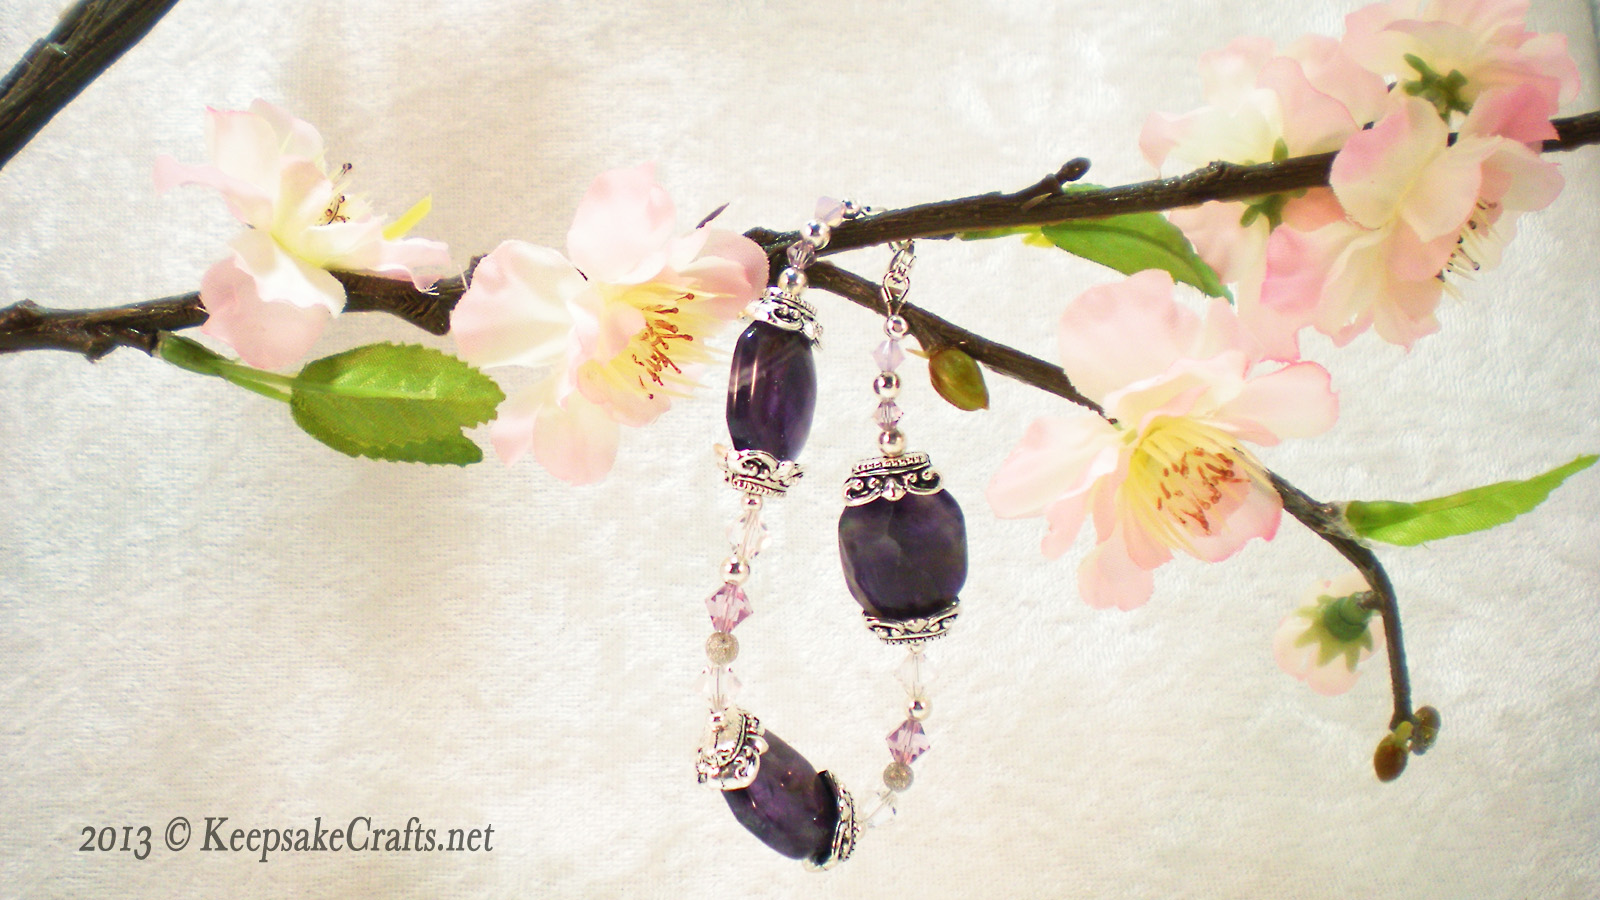
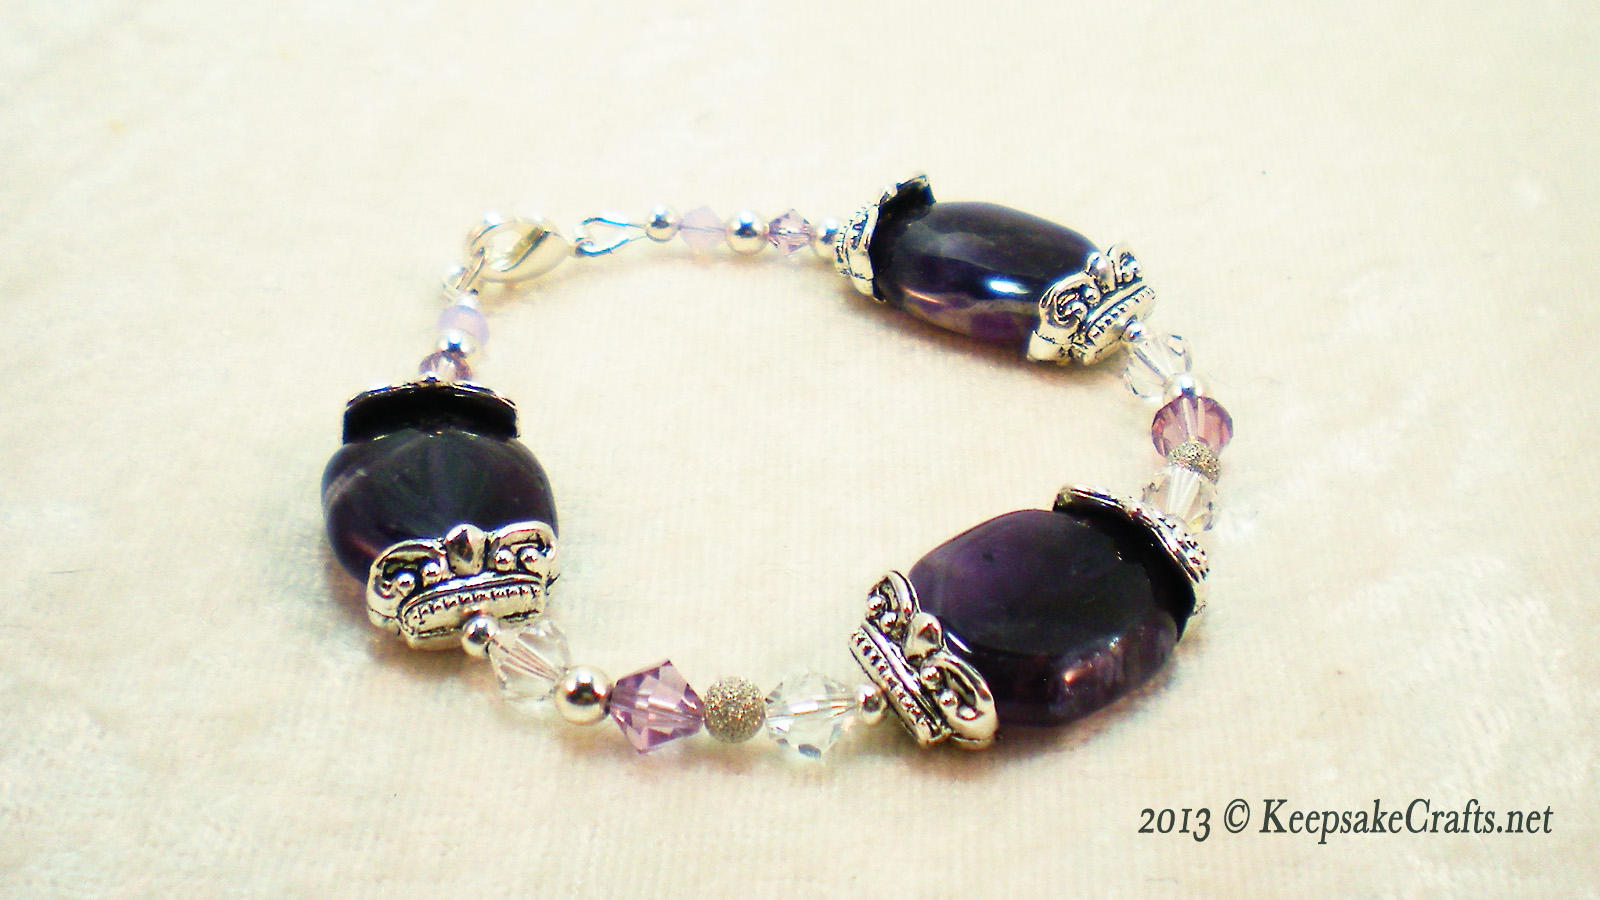
These natural amethyst gemstones and the bead caps came in a mystery bag from Fire Mountain Gems several months ago. I just had to add a few crystals and spacers, plus the finishing findings for a nice bracelet.
(BTW, if you like rooting around in a pile of beads for buried treasure, you might enjoy the Boss’ Bead Bag Bead Mix from FMG. I paid $7 for mine and had a blast digging & sorting. Nope, they’re not paying me to tell you this, I just think it’s great fun.)
As I mention in the video, in a design like this most of the work is about arranging your beads in a way you like and getting the correct length. Putting it together is just a matter of stringing on the beads and finishing the ends.
The fun thing about making your own jewelry is that you can use special items like crystals and gemstones, but pay far less than you would retail.
Watch Purple Crystal & Gemstone Bracelet Video Tutorial at YouTube.
Happy Creating!
Materials:
- 15 inches bead stringing wire
- 3 15mm x 20mm natural amethyst gemstone beads
- 6 bead caps for gemstone beads
- 6 6mm Swarovski crystal bicone beads (I used 4 in crystal clear and 2 in violet)
- 4 4mm Swarovski crystal bicone beads (2 in violet and 2 in violet opal)
- 8 4mm round silver spacer beads (2 of mine are in a star dust finish, the rest are silver plated)
- 4 2mm round silver spacer beads
- lobster clasp
- jump ring
- 2 crimp beads
- 2 crimp covers
- 2 wire protectors
- 2 pair chain nose pliers
- crimping pliers
- wire cutters
- Bead Stoppers
Instructions:
1. Attach a bead stopper to one end of bead stringing wire. On other end string beads in the following order:
a. 4mm violet opal bicone – 4mm round silver spacer – 4 mm violet bicone – 4mm round silver spacer
b. bead cap facing away from bead just strung – 15mm x 20 mm natural amethyst bead – bead cap facing toward bead just strung
c. 2 mm round silver spacer – 6mm crystal clear bicone – 4mm round silver spacer – 6mm violet bicone – 4mm round silver spacer – 6mm crystal clear bicone – 2mm round silver spacer
Repeat b and c, then repeat b once more.
d. 4mm round silver spacer – 4mm violet bicone – 4mm round silver spacer – 4mm violet opal bicone
This will give you 6.5 inches of strung beads and a 7.5 inch finished bracelet.
2. Onto one end of wire slide a crimp bead. Slide wire into one end of wire protector and out the other end. Slide lobster clasp onto wire protector.
3. Slide end of wire back through crimp bead and flatten crimp using crimping pliers and/or chain nose pliers. If your crimp cover is small, fold flattened crimp in half. (See video for details on crimping and folding.)
4. Holding crimp cover with chain nose pliers, slide cover over flattened crimp and squeeze gently to close cover.
5. Use chain nose pliers to gently squeeze ends of wire protector together. It should now be a teardrop shape rather than a horseshoe shape.
6. Repeat steps 2-5 on other end of wire, substituting a jump ring for the lobster clasp. When finishing this second end, make sure to allow for a little slack in the wire (1/8 inch is fine) to allow the bracelet to bend and drape gracefully.
Wear and enjoy!


Very pretty. Purple is such a great fall color! And I do admire your skill with those tiny pieces.
Signed, All Thumbs 😉
Haha, I’m just glad I can still SEE them at all. Gonna have to get me one of those big magnifying glasses for my desktop.
Signed, Squinty 😀