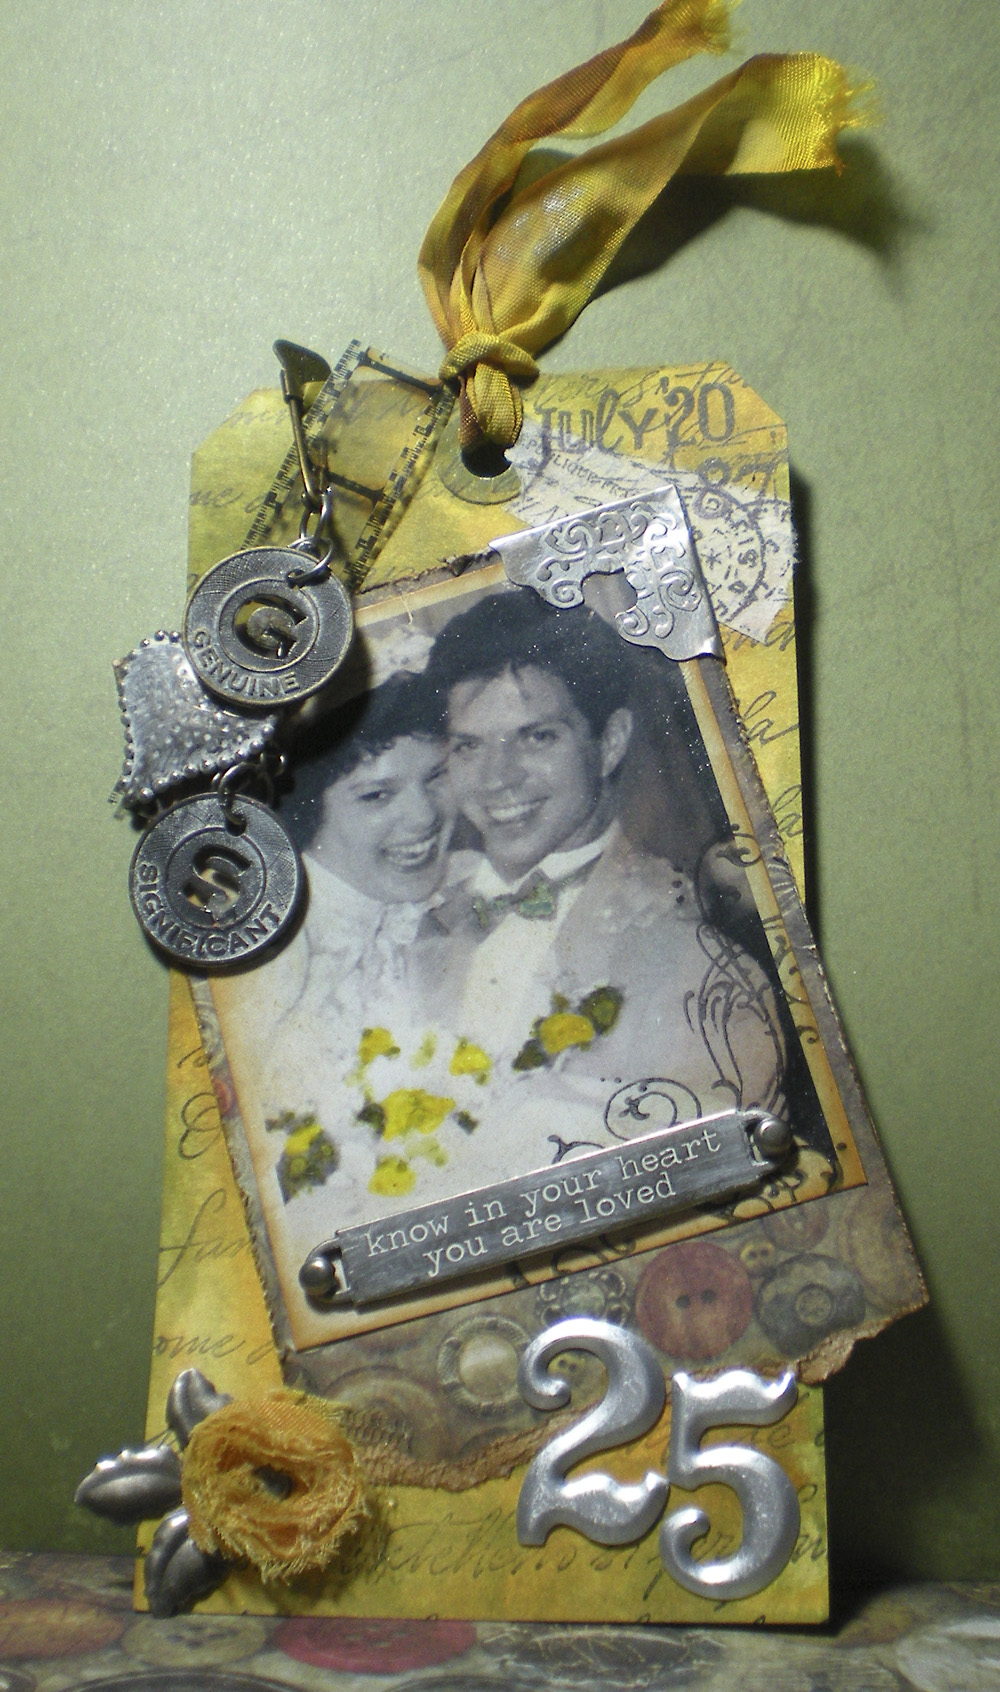
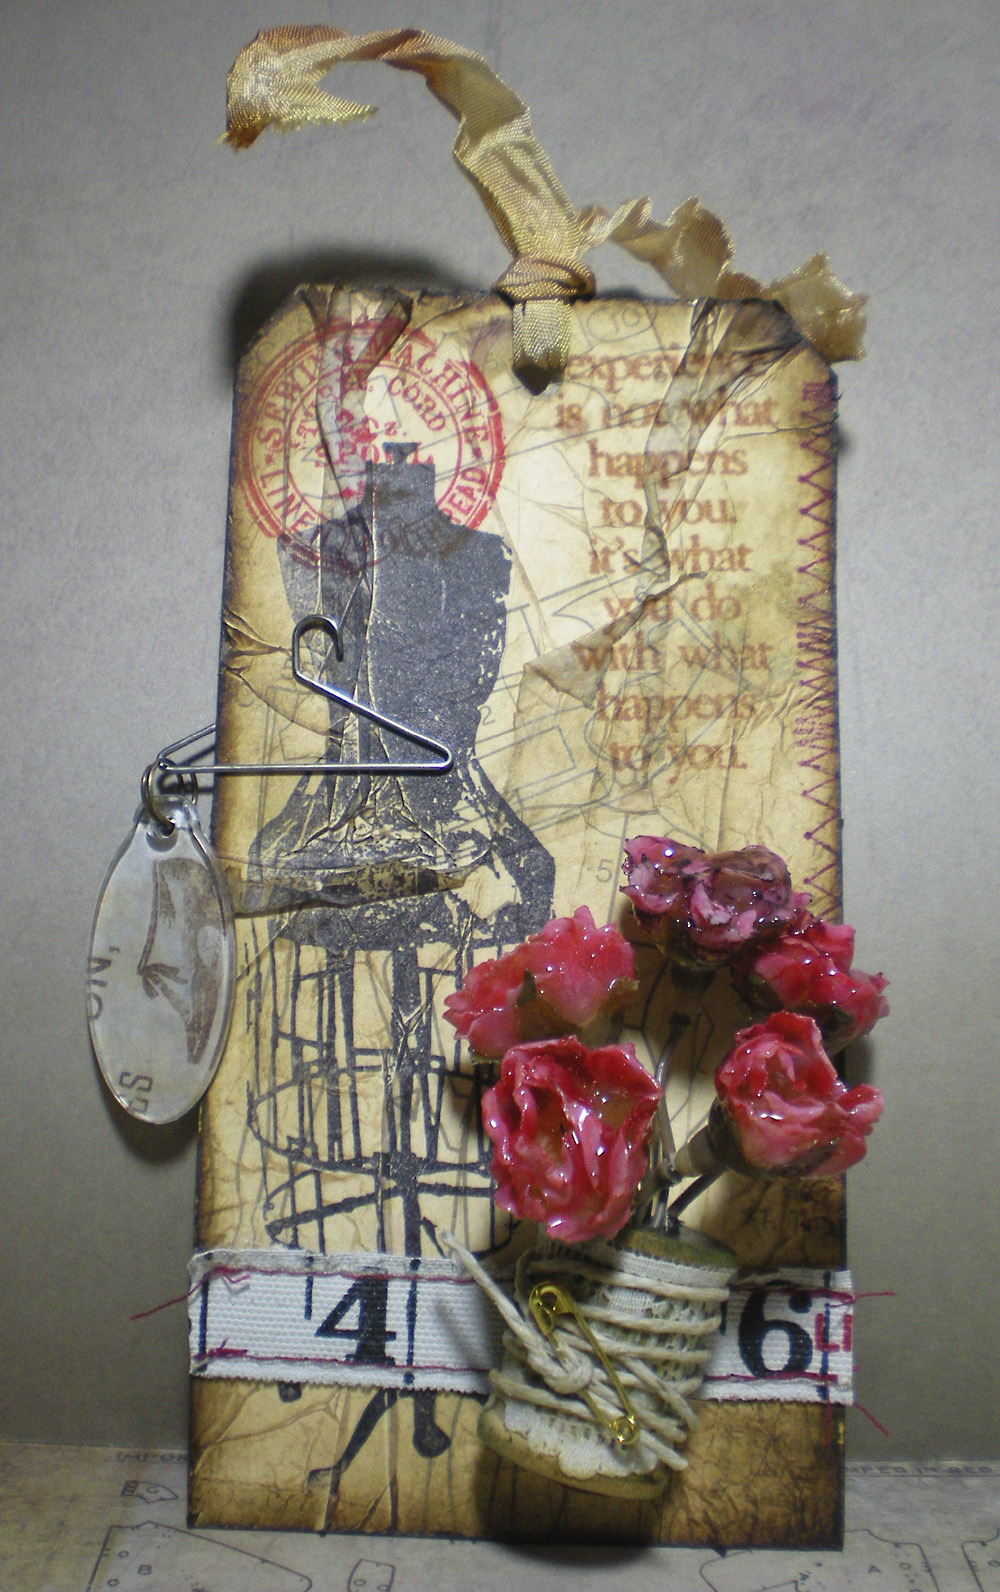
So I needed to clear off a space on my quilt design wall this week. Not that I do much quilting anymore, I mostly just hang stuff on it. Some of the items that needed clearing were a bunch of technique tags from Tim Holtz’s monthly tags series.
I like to make more useful stuff like cards or scrapbook layouts, but sometimes it’s easier and quicker to just make a tag.
Click on any of the pics for a closer view.
Of the seven tags on the wall I decided to hang these two in my sewing room. They’re special enough on their own.
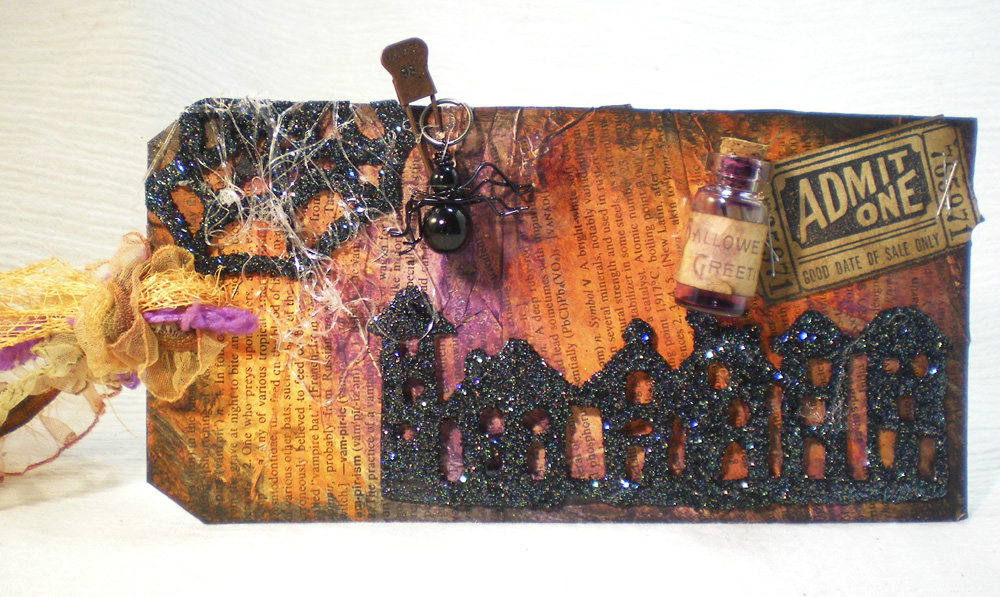
This one I’m going to make into a Halloween canvas. Hopefully some time before Halloween. 😉
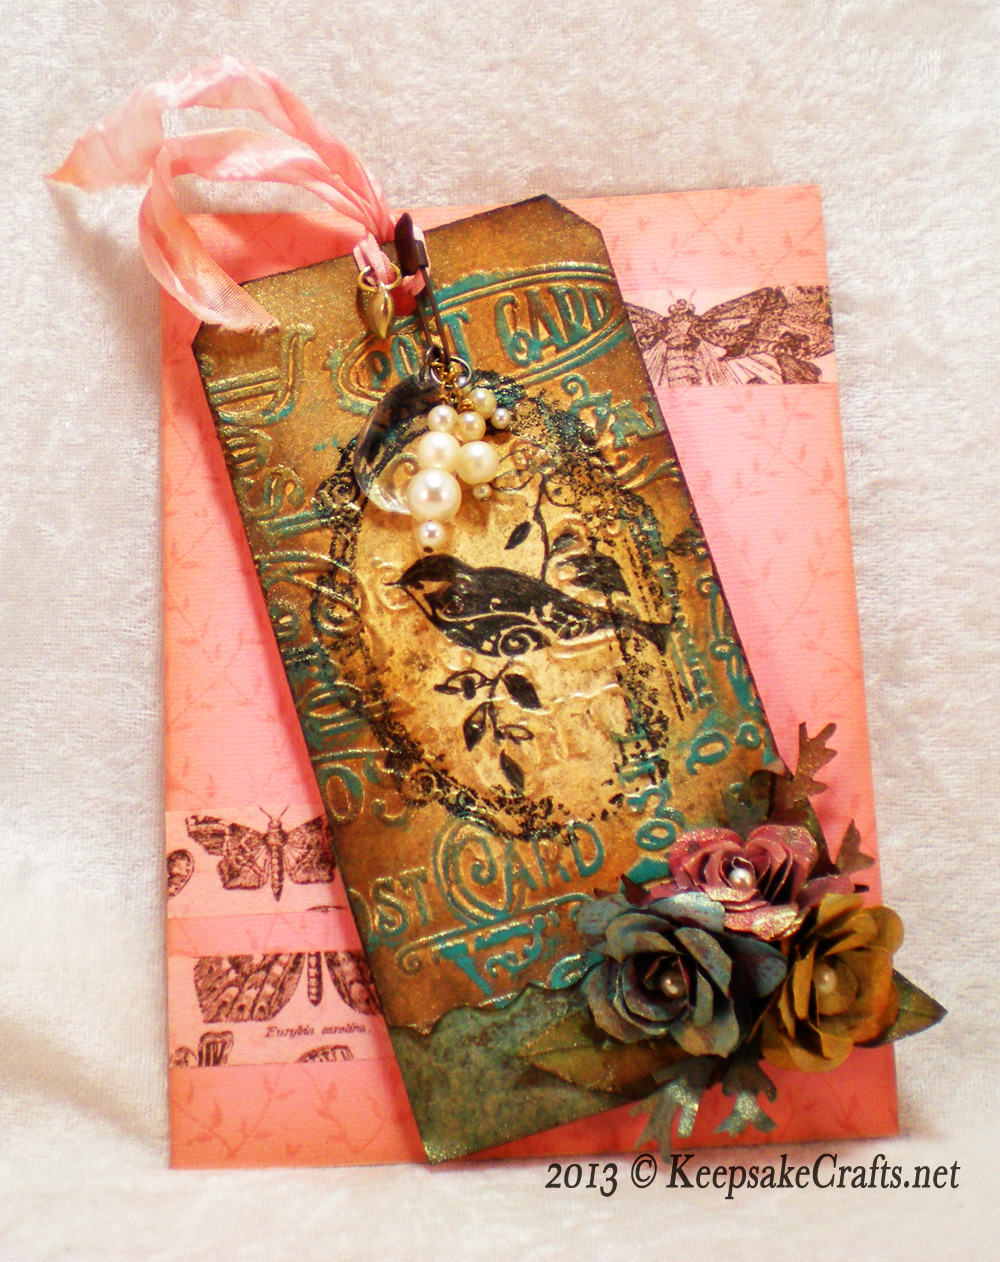
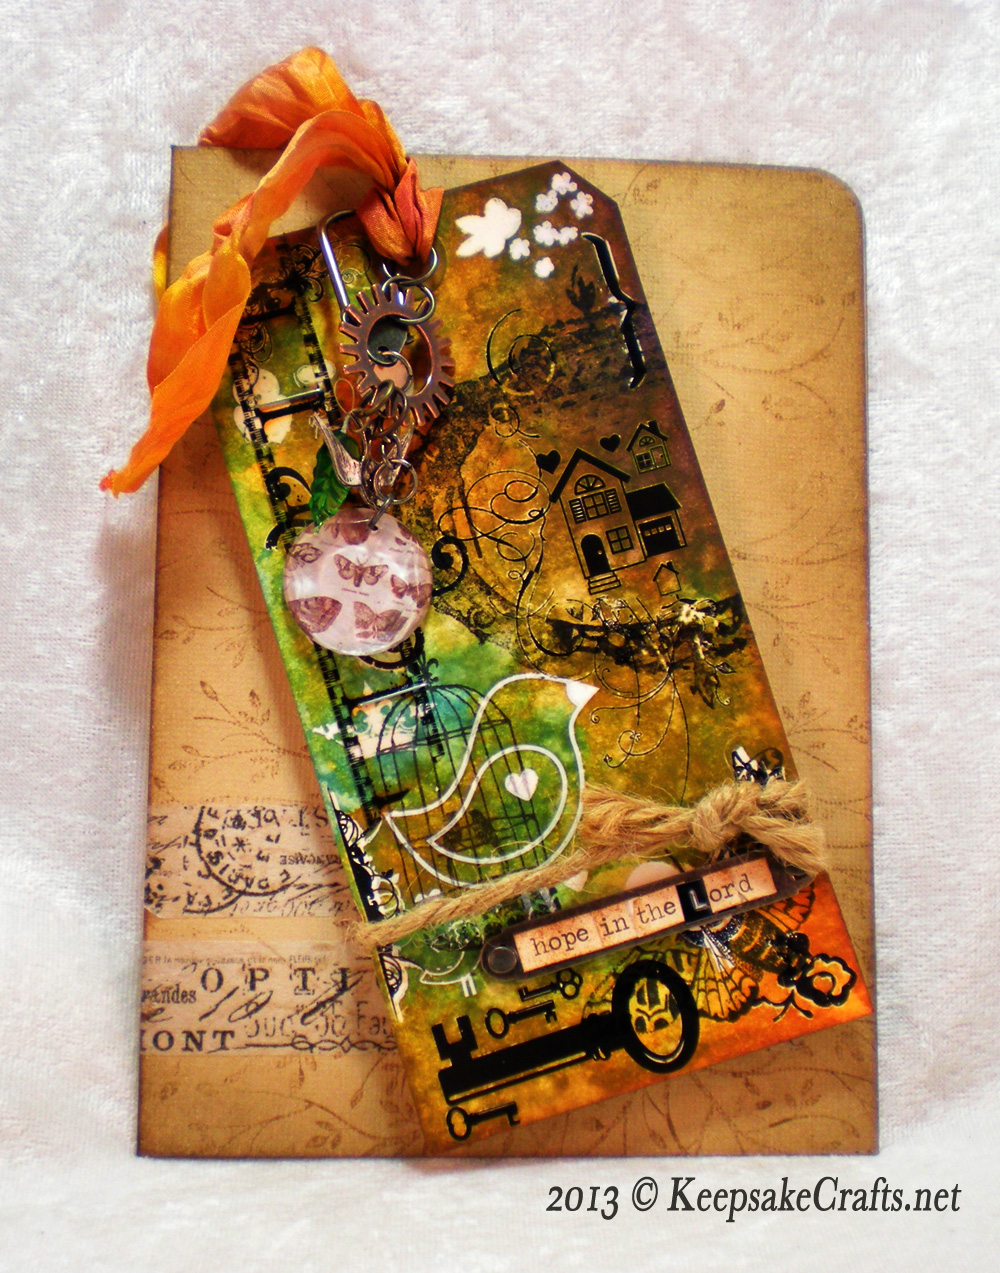
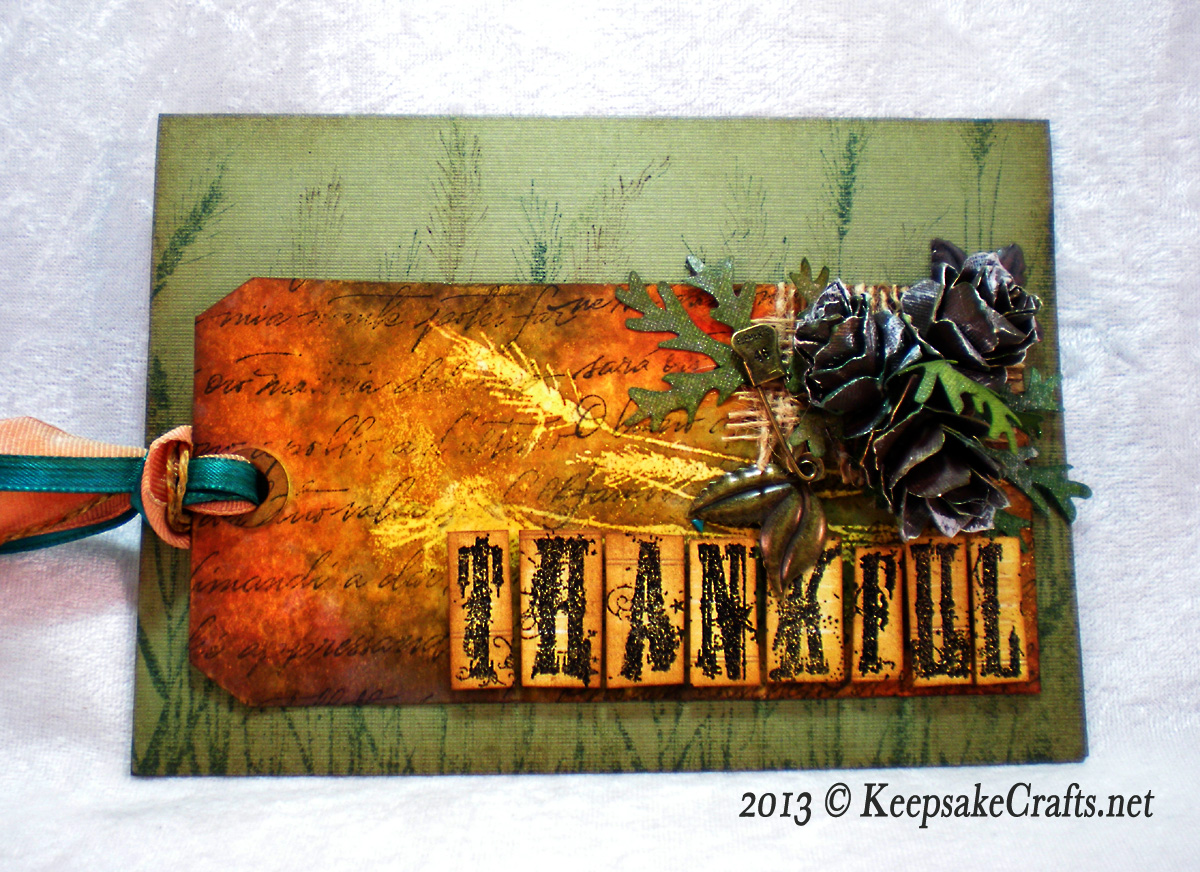
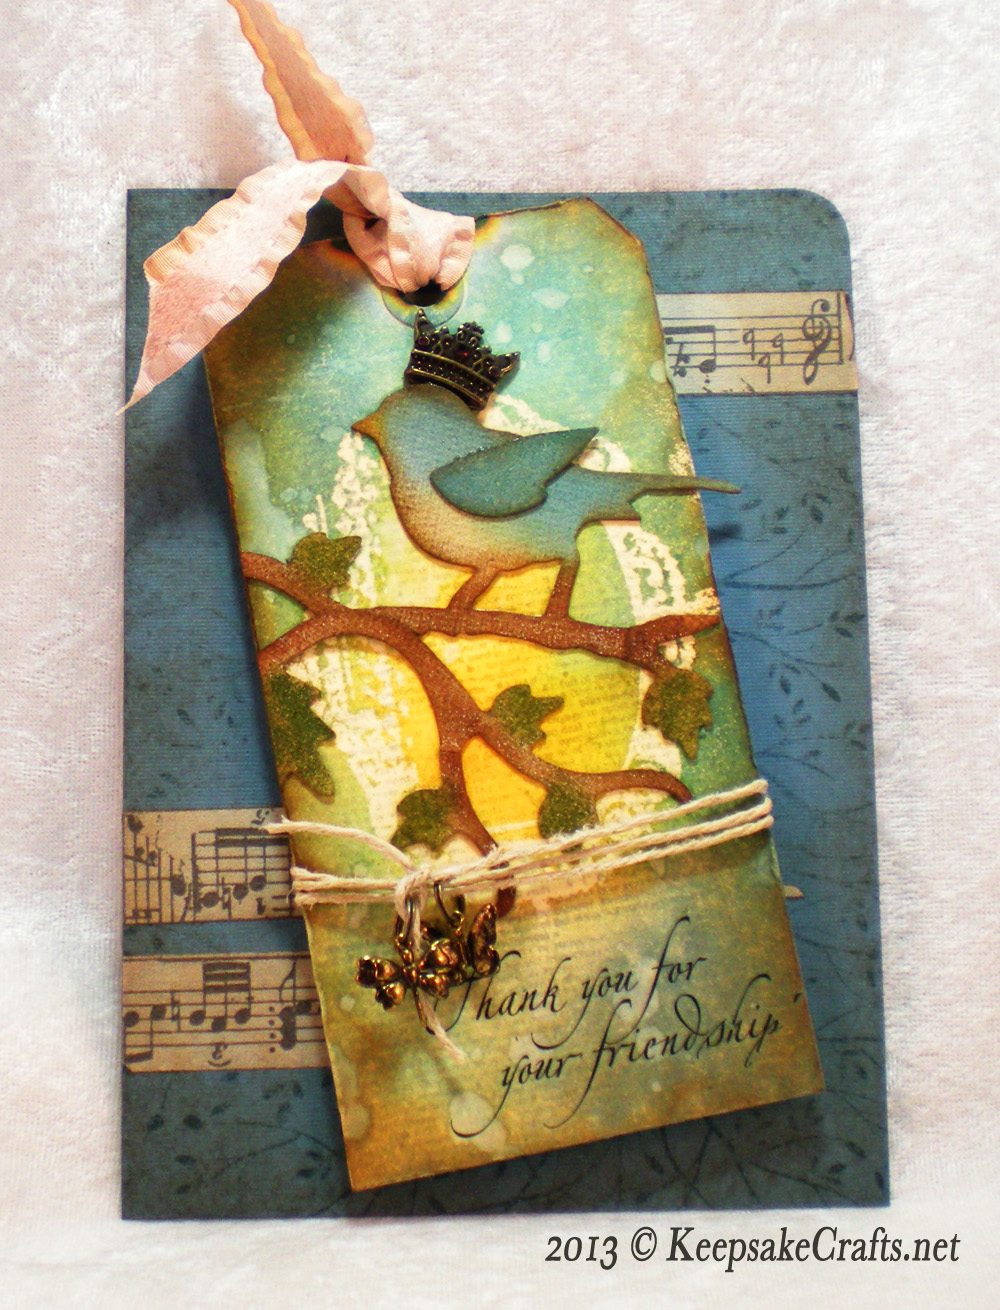
The remaining four I decided to make into greeting cards.
Due to the size of the tags, these cards will be 5″x7″.
Due to the lumpiness of the tags, these will be super-special, probably hand-delivered type cards. For example, I would not give one of these to someone who wonders aloud why I don’t just go the store and buy a card. YOU know who I mean, lol.
So the basic steps to turn a 3″x6.25″ tag into a greeting card:
- Choose a color of cardstock that goes well with your tag.
- Cut the cardstock to 10″x7″.
- Score and fold the card at 5″ to make a 5″x7″ folded card.
- Choose a background stamp that works well with your tag. (Two of my favorites that I used on these cards are Hero Arts Silhouette Grass and Designblock Tree by Hero Arts. Script stamps like Old Letter Writing Stamp also make great backgrounds.
- Choose a color of ink to stamp your background onto the 5″x7″ card. I like to go for a tone-on-tone effect. If you’re not sure how the colors will look together, use a scrap from cutting down the cardstock to test. (You can see that on the pink strip in the photo below.)
- Stamp your background stamp. If you need to repeated stampings for coverage keep in mind that the middle of the card will be covered by the tag, so that’s a good spot for messy overlaps.
- If you like, add some washi tape, Symphony Tissue Tape or Sketchbook Tissue Tape to the bottom left and top right edges. Trim the excess off the edges with scissors.
- Ink around the edges of the card with Distress Ink. I used Vintage Photo on most of mine. The pink one needed something a little lighter so I went with Antique Linen. If you need to go darker try Walnut Stain. (If you don’t want your background stamping to smudge, make sure to dry it with a heat tool before inking the edges.)
- Mount your tag on Foam Adhesive Squares (pop dots) to give dimension and adhere to the card at whatever angle looks best to you.
And there you have it! You’ve turned your tags that you worked so hard on into very special greetings for those you care about.
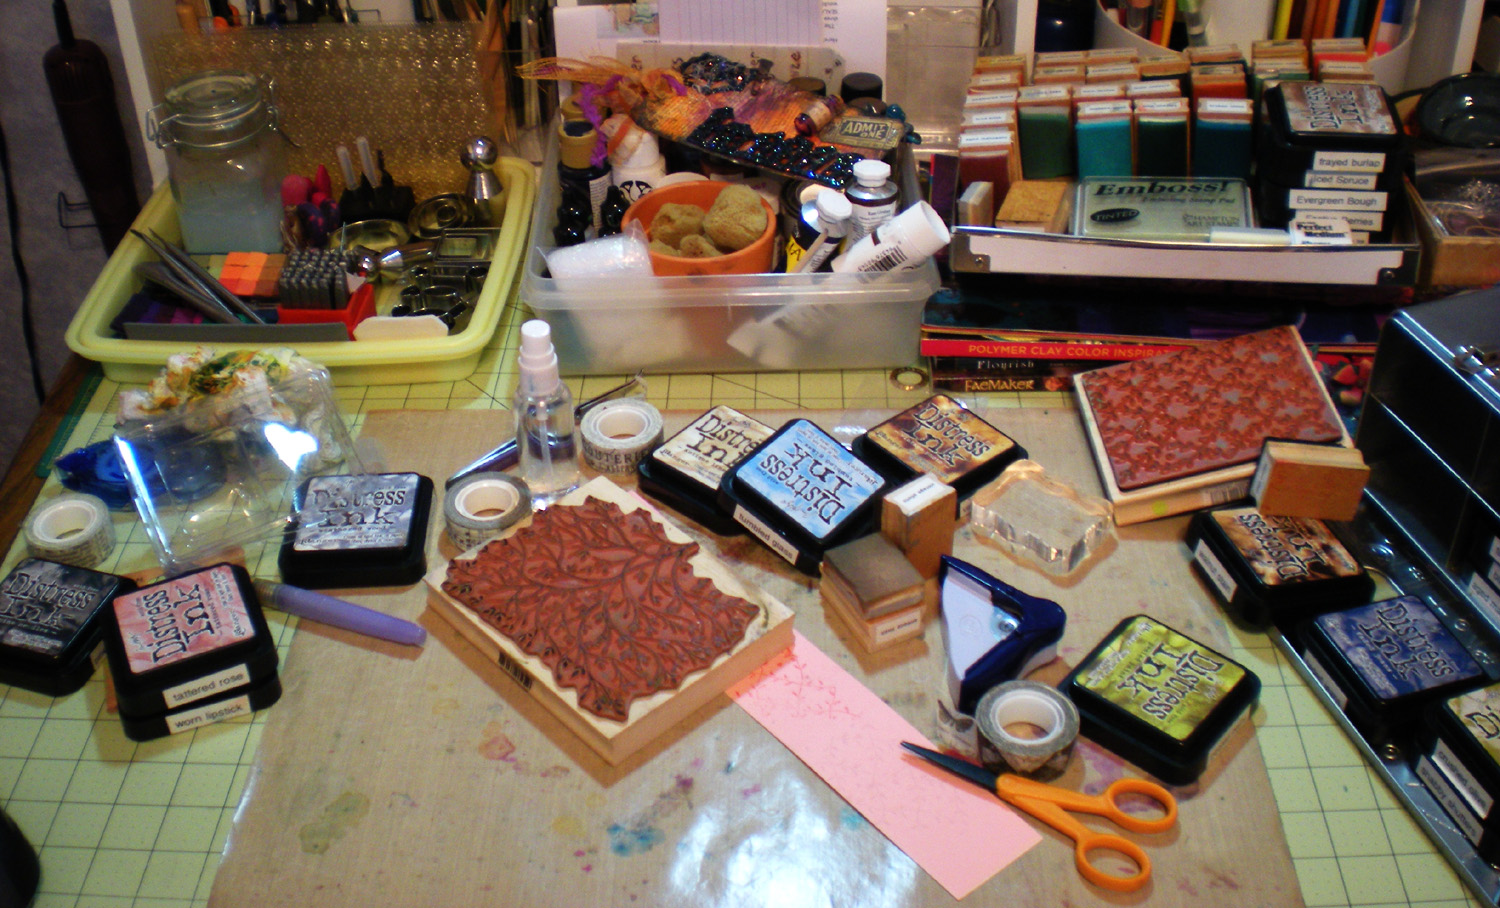
Oh, and I nearly forgot, it’s What’s on Your Workdesk Wednesday, so here’s a pic of my desk while I was working on these cards. Isn’t this kind of mess so much fun?
Happy creating!




Your tags are stunning. Each are a work of art. Love them…Happy crafting #1
Your tags are gorgeous! I agree, they can be made into so many wonderful things including cards. Happy WOYWW! Sandy Leigh #11
Great idea–atcs are fun to add to cards, too!
Happy woyww to you!
:)trisha
#17ish this round
I’ve never made one of these tags, and I am not very good at making tags, anyway. However, I now see a reason for taking time to make a few. What a clever idea.
Happy WOYWW from #2.
What awesome work with these stunningly beautiful tags! Sensational details!
Happy WOYWW!
Lynn #21
Tags make great cards and never give them to people who price them against store bought
Monica 29
Your tags are great – and it is wonderful to use them for something – I agree (I make lots of tags too!) I must take a leaf out of your book!! Have a good week. Helen 6
What a great idea to turn them into cards and they do make such pretty cards Nikki 7
I see you are a fellow Timmy fan! I love what you have done with his tags. Great idea to turn them into cards. #43
Very interesting! And very beautiful and wonderful artworks on Your wall.
Happy WOYWW, Uuna #42
Gorgeous tags!
Happy WOYWW!
Tuire #53
Super idea to recycle your tags into cards. Nice big background stamps you have on your desk too. Cheers RobynO#51
What a great idea and thank you for sharing. Your tags are beautiful. Love the foliage stamp on your desk too. MMx #65
Love those tag cards – yes I know just what you mean about who to send them too. Must read your instructions more closely, but then I would have to learn how to make such lovely tags in the first place.
Lynda #82
It looks like you have been having lots of fun re-purposing all your gorgeous tags, and I can totally see why you are leaving the first two alone and simply hanging on your wall to admire. Have a great week and Happy WOYWW! Danie #14
Love the tags. I often turn them into cards and love what you’ve done with yours. Happy WOYWW. Pam#40
Sandy, I love your tags, they are so clever. I’m not very good at tags but your have inspired me to make more effort. Thanks
Chris # 66
Wow, those are fantastic! I love the Halloween and the little crowned bird…
Jean 10
Such beautiful tags. x Jo
Beautiful! Love the 25th one the most. Desk looks like creativity has been flowing. Kim 56
Love those tags, really pretty and the cards are SO not for the people who ask why you don’t just buy one! Happy WOYWW! Karen 79 x
Super tags and I agree with you about preferring to make items that are more useful. As a result I am now veering towards more fabric/textile stuff. Even started making patchwork items for myself and not just my LillyBo project.
Thanks for visiting,
Jo x
Yeah, I LOVED the cards you made for me. I’m trying my hand at making some of my own. They’re not as pretty as yours, but good for quick notes to my stepmother. 😀
Good for you! I’d love to see what you’ve made. 🙂
You have worked so very hard on all those tags – well done. Glad you made some into cards – they look good – but definitely not for posting – they’d be squashed, or cost an ENORMOUS amount of postage!!!
have a great week.
Margaret #68
Hi Sandy!
Those tags are pretty but wow when you turn them into cards, they rock! Love love the colors and texture. So pretty.
Thank you for the visit!
Belinda (89)
Your tags are certain special and worthy of giving only to special people, who will have some appreciation of the work and love you have put into them. xx Maggie #10
Lovely tags, you made me want to dash over to my desk and get inky!
Finally getting round to visiting, it has been a hectic week. Thank you for visiting.
Karen #69