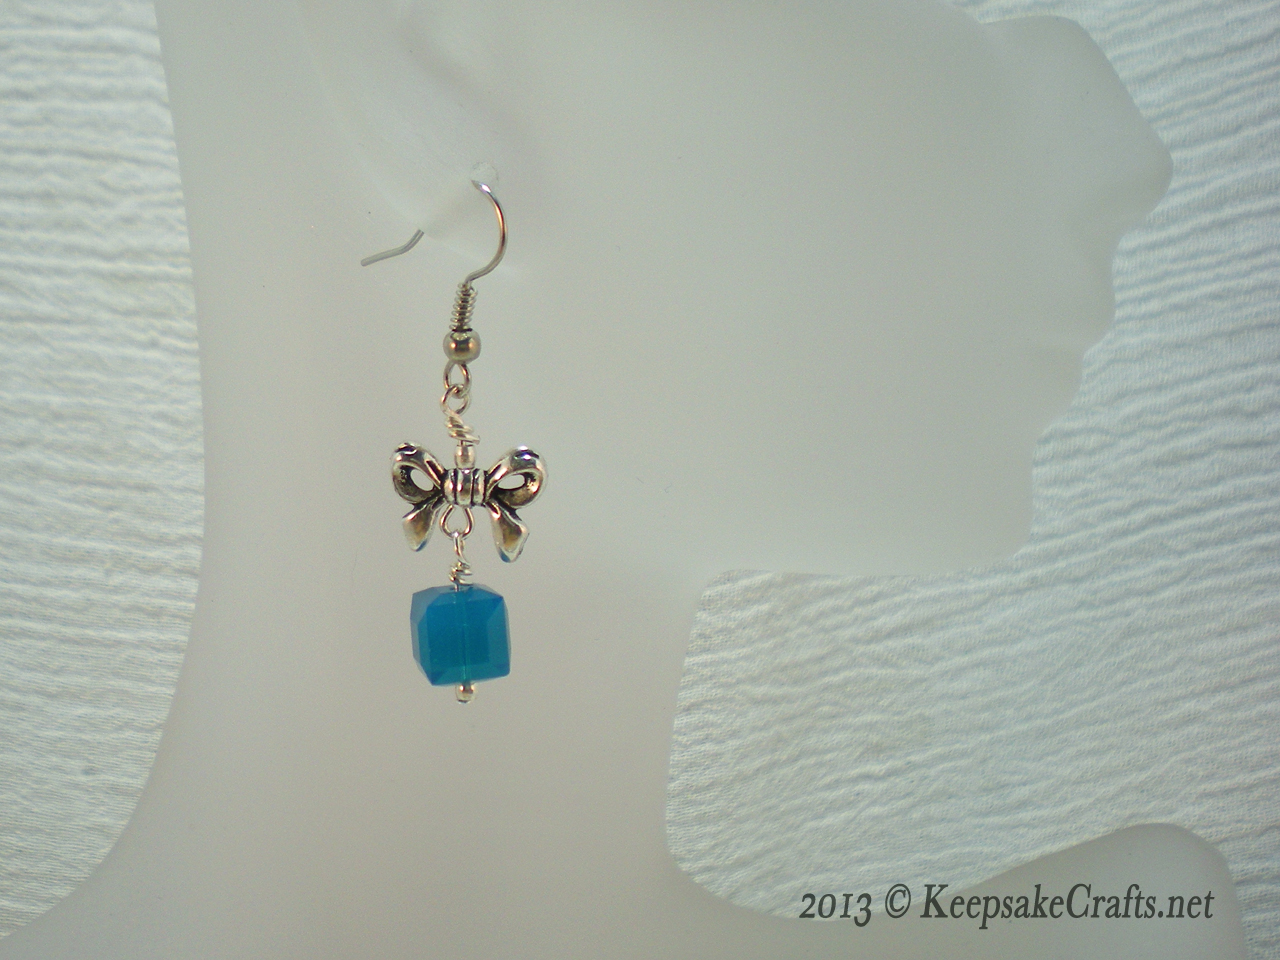
Aren’t these earrings adorable? I’ve been wanting to get these bow charms for quite some time, and finally placed a Fire Mountain Gems order not too long ago. Wow, was that a fun box to open! (What’s amazing is how much you spend and how small a package it can all fit into.)
In the video I’ll show you how to make two different versions, and give you other options as well.
I highly recommend you go to Fire Mountain Gems and request their free catalog. No, I’m not affiliated with them, I just think it’s too much fun to peruse. Keep a cloth handy to wipe off the drool. 😉
Once you’ve spent $100 in a year, they’ll send you their super humongous, gigunda, enormous 1324 page catalog. A. Maze. Ing.
So many ideas, so little time…. ===sigh===
Since I haven’t seen these products at any of my local stores, for your convenience I’ve put links to them in the materials lists. But I must warn you, once you start browsing Fire Mountain Gems website, you may never leave. You’ve been warned, bwah-ha-ha.
WordPress STILL hasn’t fixed the video embedding issue, bleah. So, once again, here’s the link for you to go watch the video over at YouTube.
Gift Box Earrings Video Tutorial
Happy creating!
***************************************************
Gift Box Earrings
Materials for earrings with larger bows:
- 2 16x9mm bow charms
- 2 8mm Swarovski crystal cube beads
- 4 crimp beads (or small seed beads)
- 4 small beads to accent cube beads
- 2 head pins
- 2 ear wires
- chain nose pliers
- round nose pliers
- wire cutters
- Slide beads onto a head pin in the following order: accent bead> Swaroski crystal cube bead > crimp bead> bow charm> crimp bead> accent bead.
- Use chain nose pliers to grasp wire just at point where it exits last bead. Bend wire at 90° angle. Grasp bend with round nose pliers and wrap wire around pliers as far as possible to start to make a loop. Reposition pliers to finish loop. Wrap remaining wire around wire below 90° bend. Use wire cutters to trim, if necessary. Use chain nose pliers to tuck in end.
- Use chain nose pliers to open loop of ear wire. Add wrapped loop with beads to ear wire and close loop securely.
- Repeat to make second earring.
Materials for earrings with smaller bows:
- 2 14×10.5mm bow charms
- 2 8mm Swarovski crystal cube beads
- 4 crimp beads (or small seed beads)
- 2 eye pins
- 2 head pins
- 2 ear wires
- chain nose pliers
- round nose pliers
- wire cutters
- Onto a headpin slide a crimp bead and an 8mm Swarovski crystal cube bead.
- Use chain nose pliers to grasp wire just at point where it exits crystal bead. Bend wire at 90° angle. Grasp bend with round nose pliers and wrap wire around pliers as far as possible to start to make a loop. Reposition pliers to finish loop. Wrap remaining wire around wire below 90° bend. Use wire cutters to trim, if necessary. Use chain nose pliers to tuck in end.
- Onto an eye pin slide bow charm and a crimp bead.
- Repeat step 2 to make a wrapped loop above crimp bead.
- Use chain nose pliers to open eye pin loop below bow. Add wrapped loop with crystal cube and close loop securely.
- Use chain nose pliers to open loop of ear wire. Add wrapped loop with bow to ear wire and close loop securely.
- Repeat to make second earring.



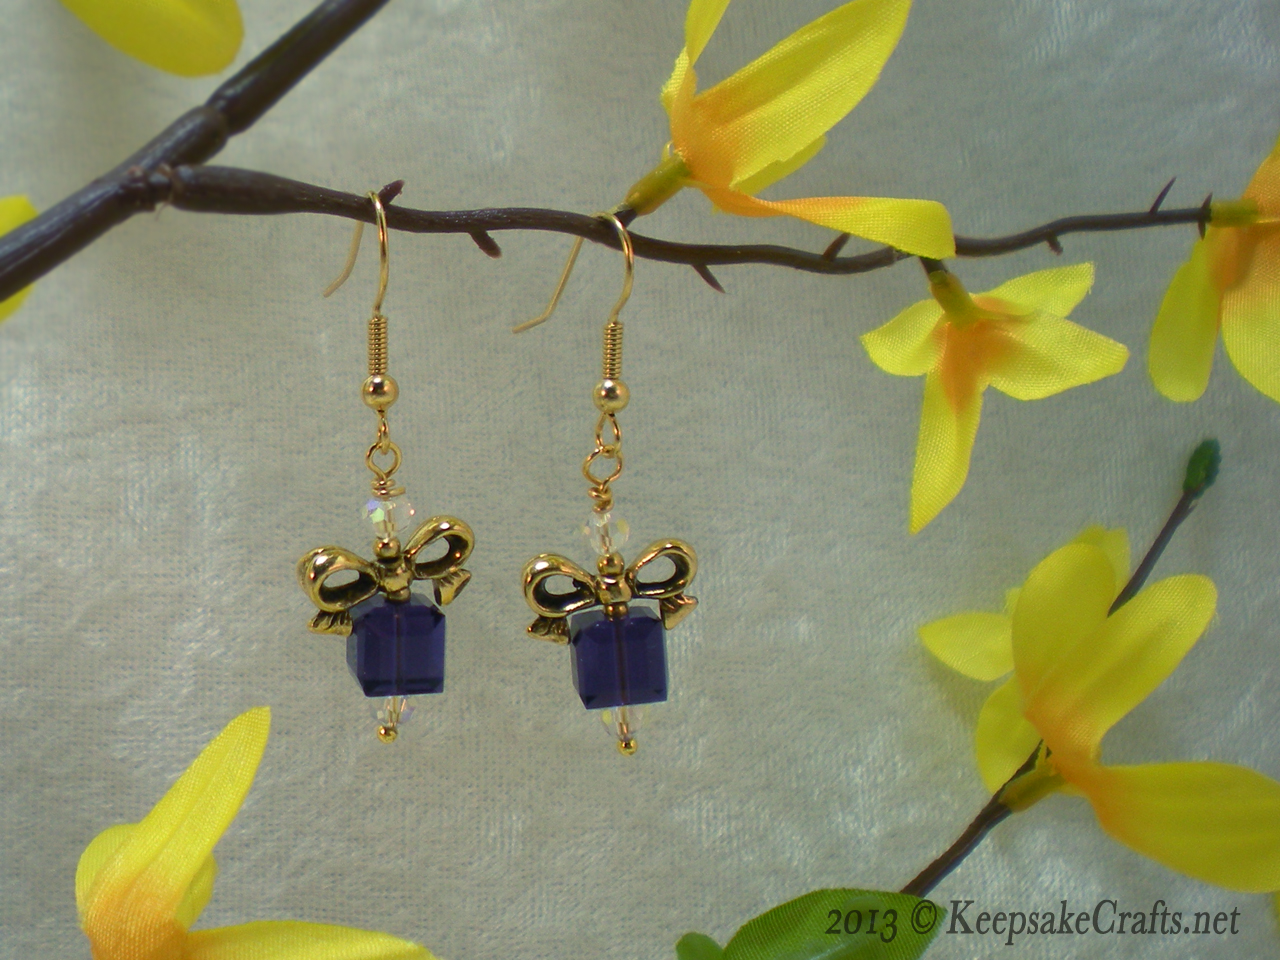
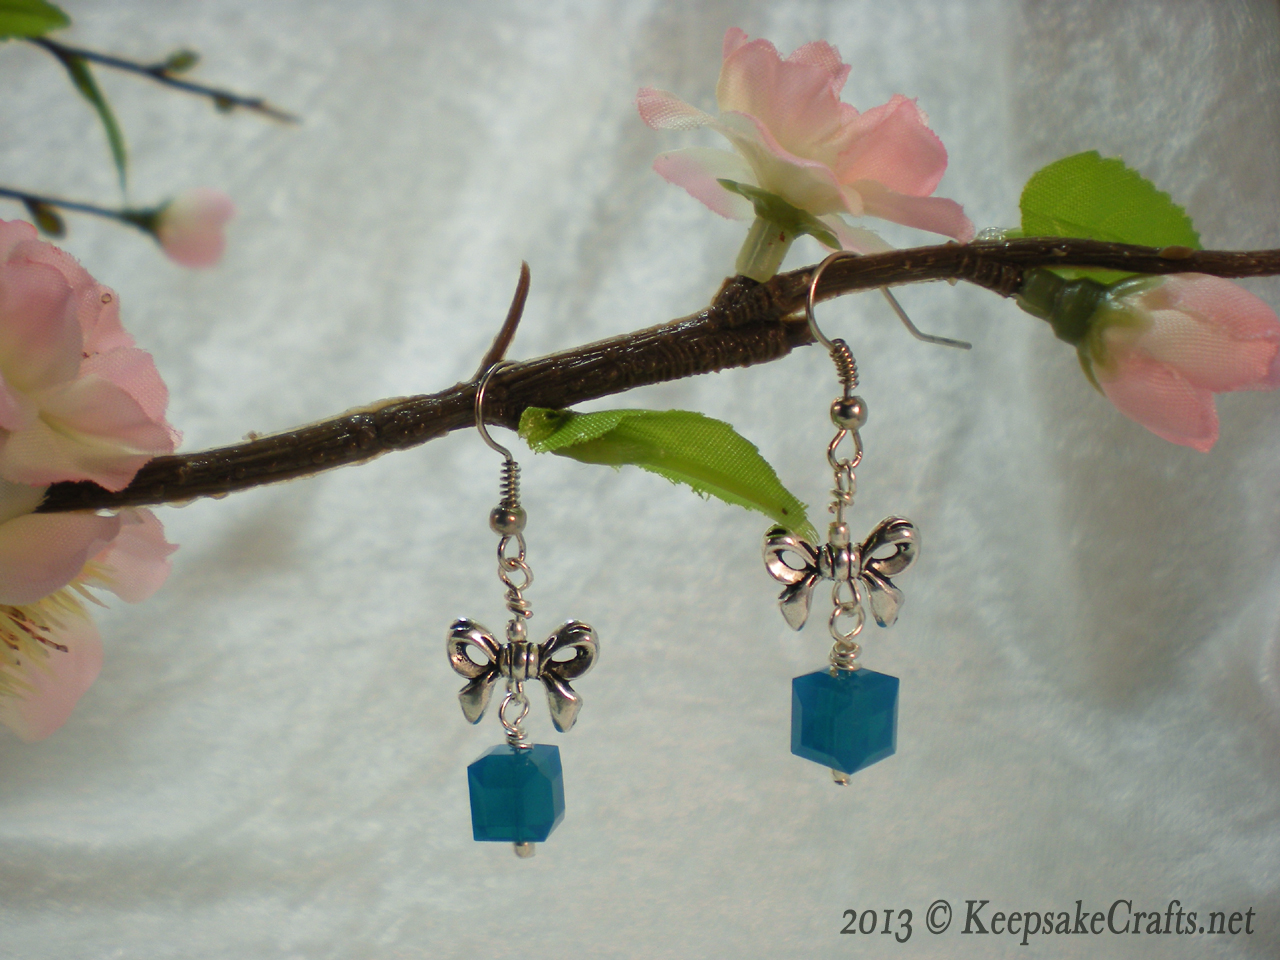
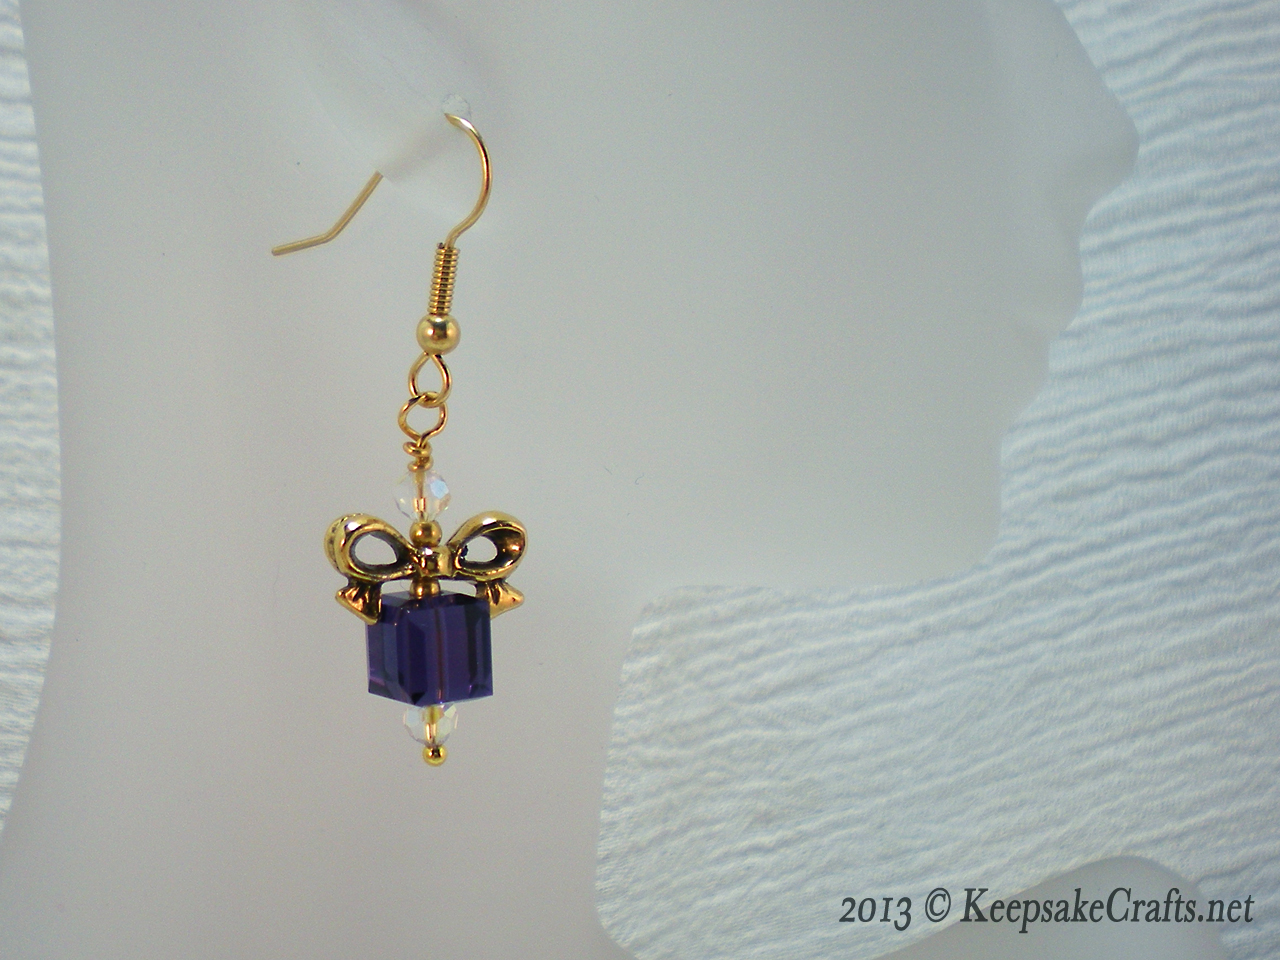

Those are lovely, in both colors. AND, good for Christmas, too! 🙂
When I started them, I figured they’d only be for Christmas, but after finishing the purple ones, I loved ’em and decided they’d be fine for any time of the year.
Gifts are always appropriate! 😀
Those are so cute and easy too. I’ve seen a similar style on another bead suppliers site. They stacked various sized cubes to resemble Christmas colours. I will have to remember these when the holiday season approaches.
I like how you shared your “oops” wrapped headpin. It always looks so easy in print and video but it takes practice to get a nice wrapped loop. Nice to know that even the experienced jewelry maker has a bad one now and then.
Glad you found it helpful, Shirlee!