


Today is time for a few quick projects. After spending the last several weeks working on machine quilting a queen size quilt, as well as making Roman shades for my living room, I was quite ready for something far less epic, ya know?
Cases for my new sunglasses and camcorder seemed to fit the bill. You’re gonna love this tutorial, all it takes is one piece of fabric and two seams. These took about 10 minutes each, and much of that was time spent choosing fabric. 🙂
First off, you need to measure the item you want to make a case for. Use a flexible tape measure to decide how wide around the case needs to be. Add 1″ to this measurement.
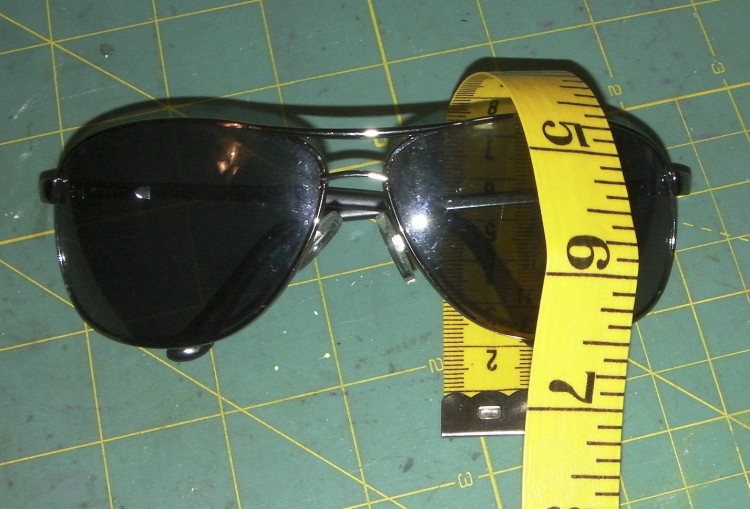
I want this to be 7″ around, so my first dimension is 8″.
Next measure how tall your case should be. Take this measurement, double it and add 1″. Since I want my case to be 6″ tall, my other dimension is 13″. (6×2) +1=13
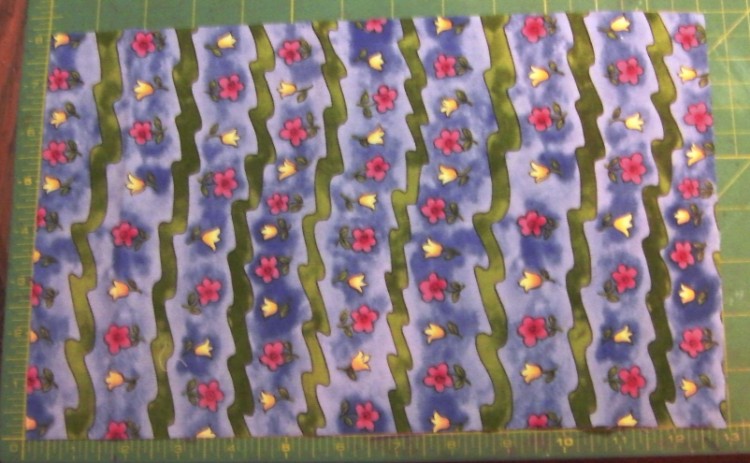
Now cut a rectangle of fabric with those dimensions, in this case 8″x13″. (Add fusible interfacing to the back if you wish.)
Sew the longer edges together, making a tube.
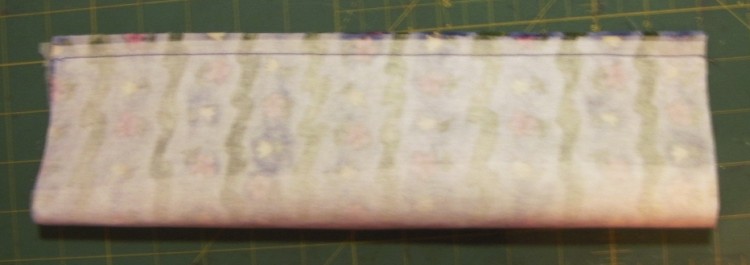
Press this seam open.
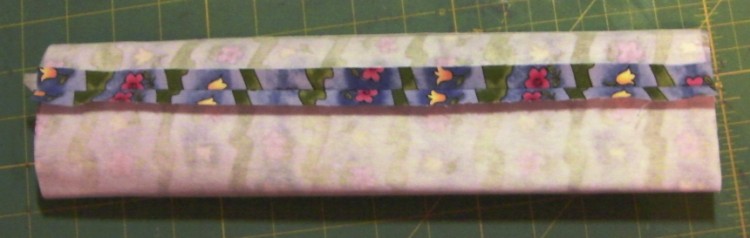
Now meet the remaining raw edges. You have to pull the tube up over itself to do this. Make sure the right side of the fabric is on the outside.
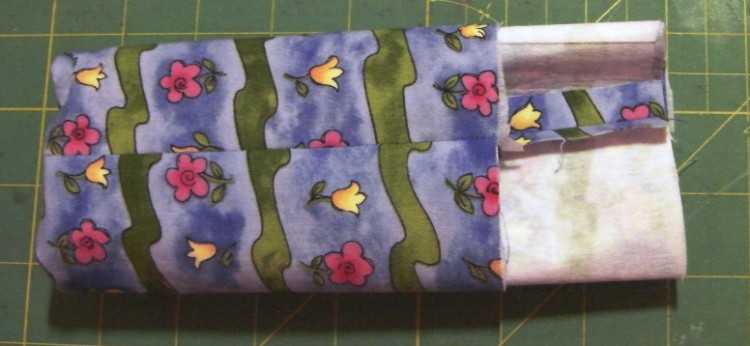
Here I’ve started pulling the tube up.
Here the raw edges are meeting. At this point you’ll want to meet the seams together as well, this will make sure your tube isn’t twisted.
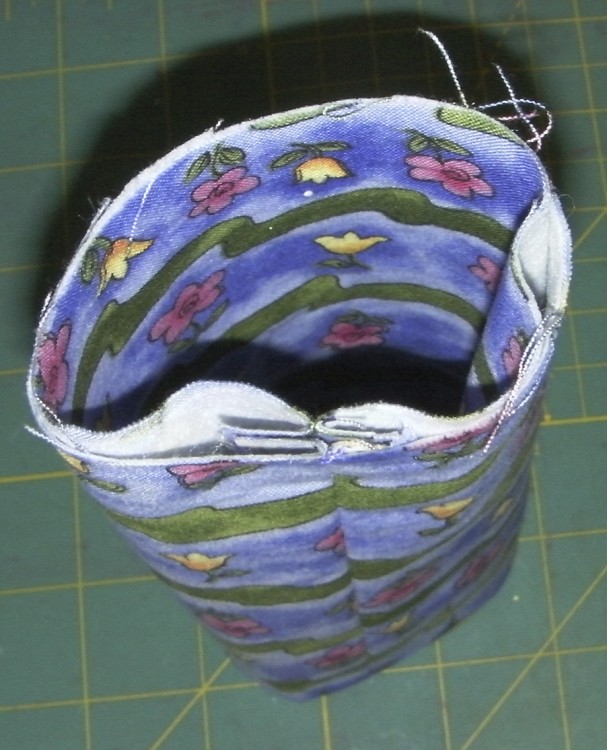
Now flatten out your tube and stitch together the raw edges. Finish the seam by pinking, zigzagging or serging.
Now turn this inside out, using a point turner to poke out the bottom points. You’re done!
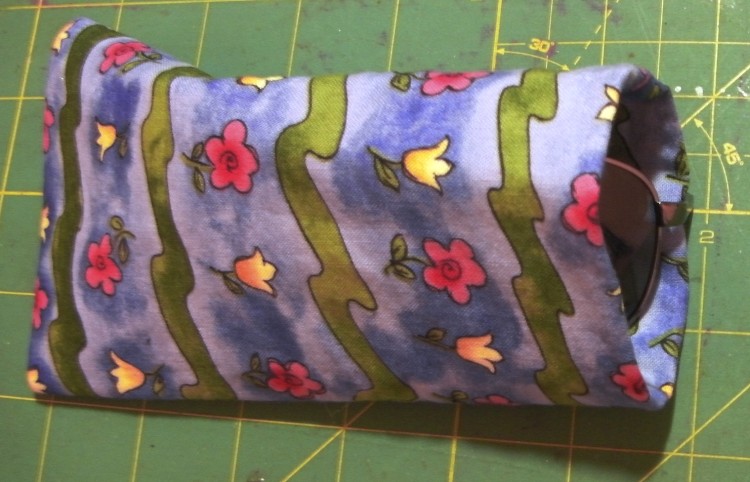
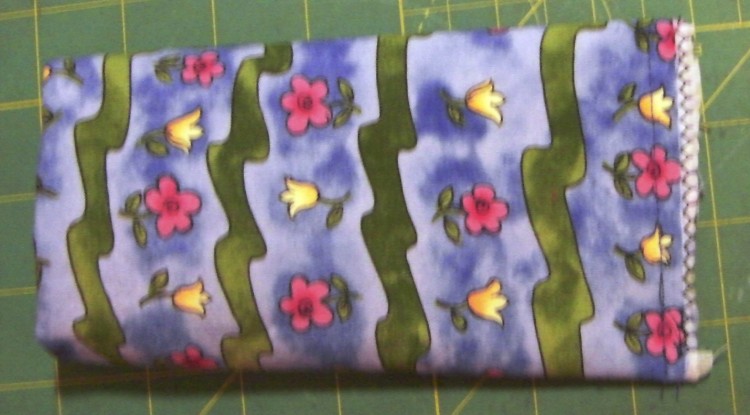
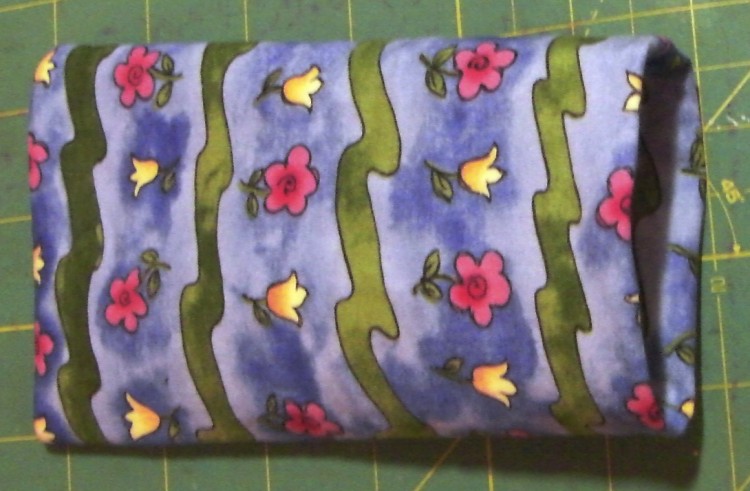
And here it is completed, the sunglasses fit perfectly.
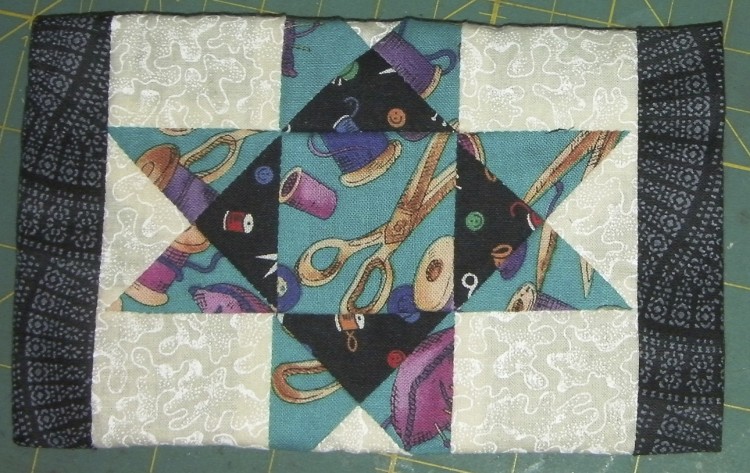
Of course I couldn’t stop there, but went digging through my stash of orphan quilt blocks to make this fancier case for my sunglasses:

And this for my camcorder:
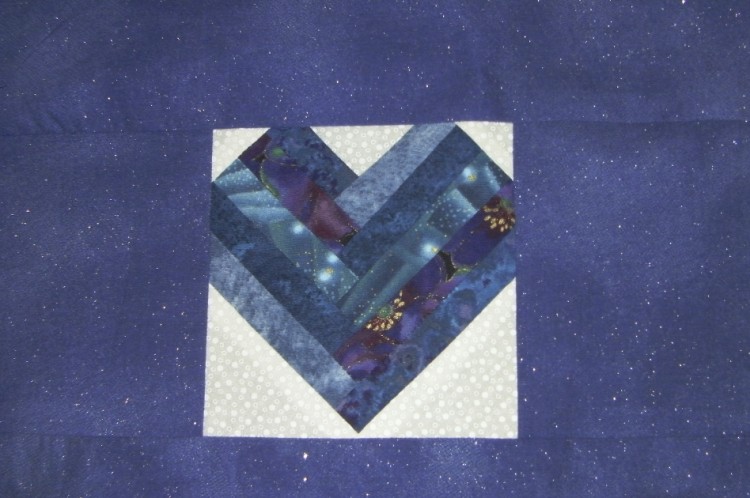
To use the heart block, I first pieced on extra fabric, then cut it to the needed size. Keep in mind that half of the fabric will be on the inside for the lining. (I recommend you first make a case with just a rectangle of fabric, then you’ll see how it goes together.)
For the camcorder case I made little pockets on the back for spare batteries.
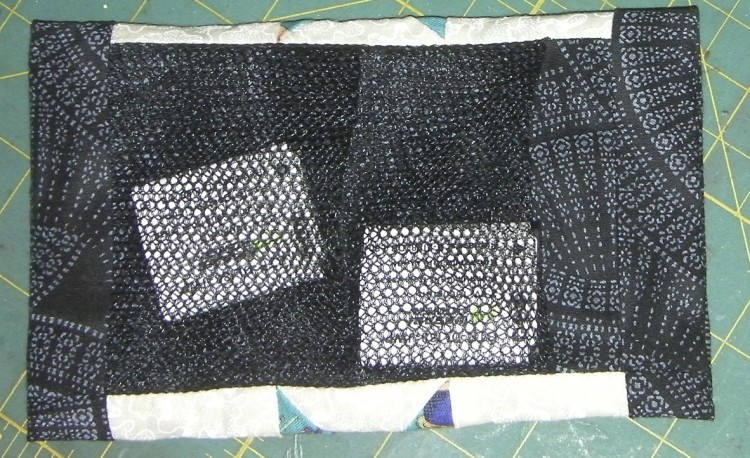
This was done by folding pieces of mesh in half (the fold is the top edge of the pocket.)
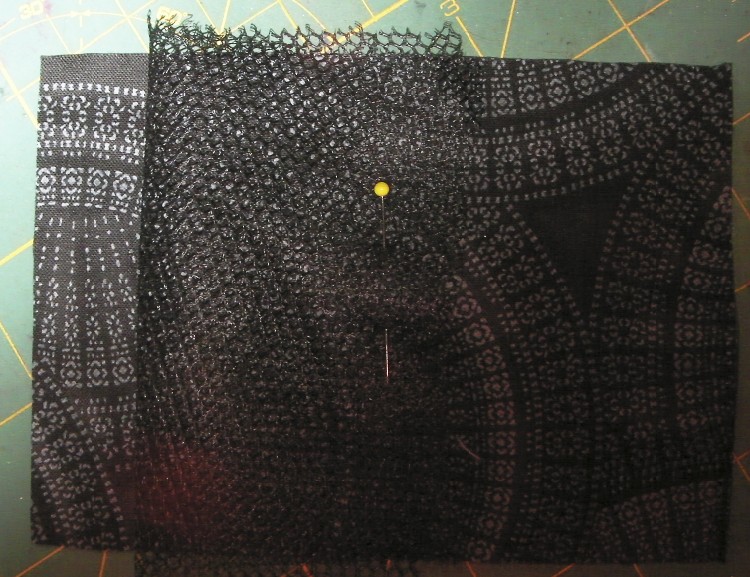
Zigzag or straight stitch to make the bottom of the pocket.
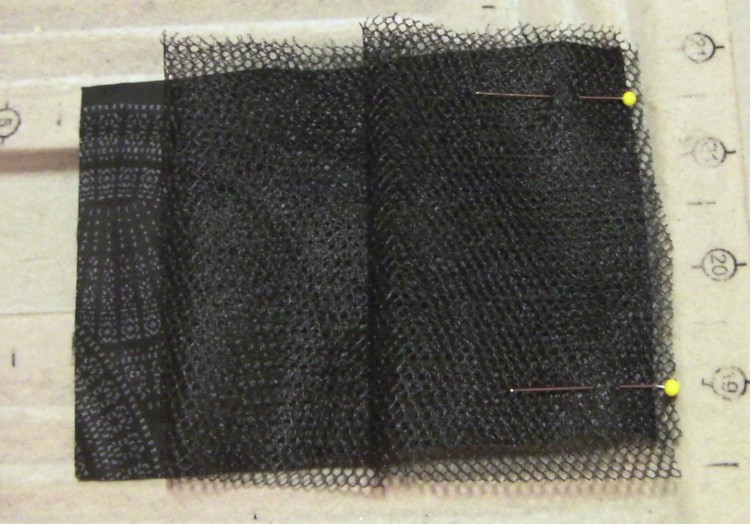
Add the second pocket and baste along sides and bottom. This was then stitched to my star block. After that I added more black fabric to the top and bottom of the star to make it 8″x13″.
When sewing the final seam (bottom edges) make sure to position your block where you want it. This part is a little fiddly. Like I said, if you sew one first with just plain fabric, you’ll see how it all goes together.
Have fun. 🙂
If you make your own custom cases, make sure to upload your pics to the gallery!
