


Happy Thanksgiving all!
Since I’m not cooking today, I get to play for a bit this morning.
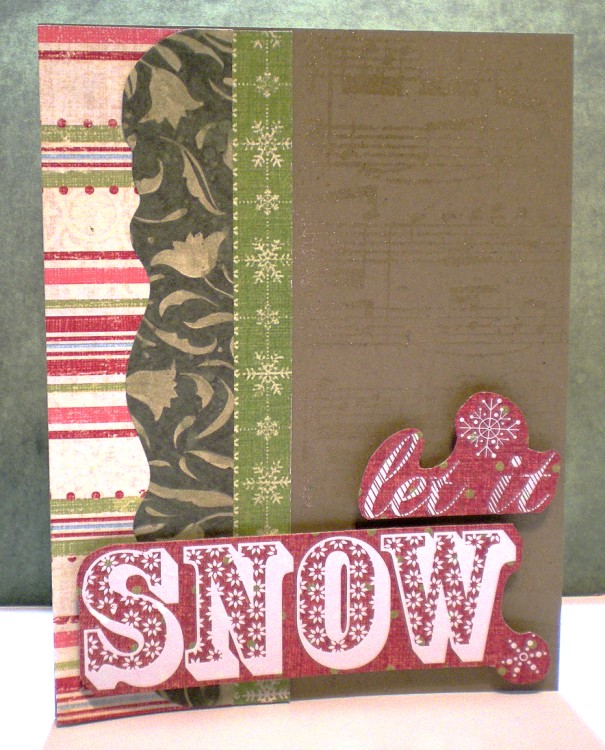
This green die cut edge was hanging out on my table, leftover from Tuesday’s cards, so I decided to put it to work as a border in today’s card. In fact, all the paper strips were scraps.
The music background stamp adds a nice, subtle touch. I meant to just clear emboss it, but I think a little Bundled Sage distress ink was left on the stamp. No problem!
The “Let it Snow” rub-on was just begging to be used, and there you have it! Easy-peasy. 🙂
Btw, Kristina’s day 15 card got me started with the layout of this one. You’d never guess it by the end result, but I like to give credit where credit it due. 🙂
Supplies:
Paper: Glad Tidings Card Make Paper Pad (K & Company), Yuletide 12X12 Specialty Paper Pad (K & Company), Seasonal Paper Stash Paper Pad (Tim Holtz)
Ink: Bundled Sage Tim Holtz Distress Inks
Adhesive: Squares Foam Tabs, Mono Adhesive Dispenser Permanent
Embossing powder: Ranger Embossing Powder 1-Ounce, Clear
Stamp: Music Background Cling Stamps (Hero Arts)
Rub-ons: October Afternoon, Snow Flurries
**********************************************************
This next card fits in a business envelope. You’ll need to cut your white card stock to 8″ x 9 1/2″. The supplies do most of the work, so this one was really quick! (Based on day 16 of the Holiday Card Series.)

Supplies:
Paper: Yuletide 12X12 Specialty Paper Pad (K & Company)
Stickers: Jolee’s By You-winter Snowman, Jolee’s Boutique – Bold Christmas
Ink: Vintage Photo Tim Holtz Distress Ink j
Adhesive: Mono Adhesive Dispenser Permanent
