


Last week the kit to make this set arrived in the mail. I loved the colors and just HAD to keep it. It wasn’t like I needed any more decor, or yet another project . . .
This worked up so quickly, I think I need to make at least one more set in purples, blues and greens for my winter decor. Oh, the possibilities!
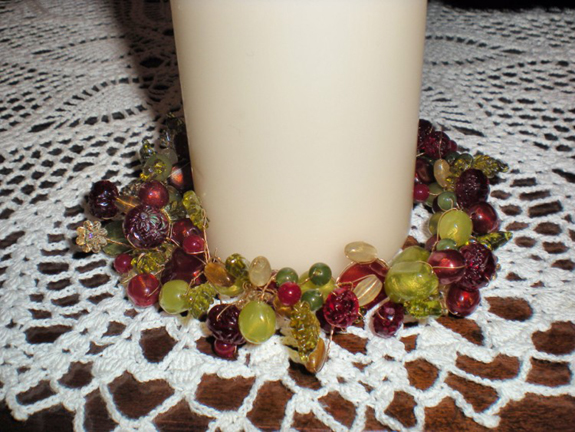
The process to make these napkin and candle rings is much simpler than it looks. Here are the basic steps:
1. Start with fine beading wire (somewhere around 30 gauge is good) and string a length of 10-15 mm beads that will fit around your candle.
2. Thread the wire ends through several beads and wrap the tails to secure. Trim excess.
3. Now take a fairly long length of wire (start with around 36″, you’ll be using it up quick) and wrap one end anywhere on the beaded ring to start.
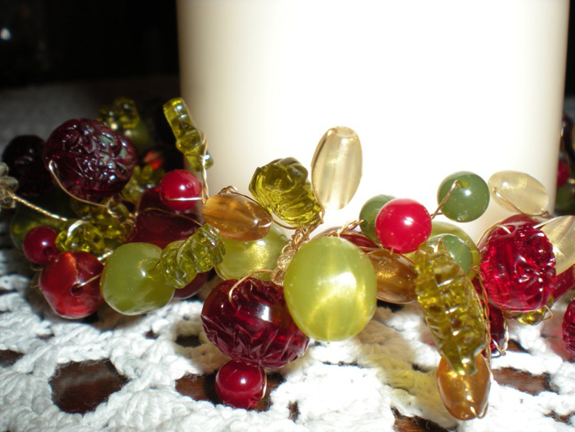
4. Have a variety of shapes and colors of smaller beads ready to go. Leaves, flowers, rounds, bicones, whatever, just have several different types.
5. String any bead onto the wire leaving 1/2″ to 1″ of wire slack.
6. Begin twisting the wire slack to secure bead in place. (Note: If you have beads like leaves or flowers that want to flop over, try inserting the wire through the bead a second time to hold it in place.)
7. Repeat steps 5 and 6 several times with various sizes and shapes of beads to create a bead cluster. (That’s it! String on a bead, twist, repeat.)
8. Start next cluster by wrapping wire between next two large beads. (You do NOT need to cut the wire between clusters.)
9. Repeat steps 5-8 working around candle ring. When more wire is needed, repeat step 3.
10. To end, wrap wire twice between two beads to secure. Trim excess.
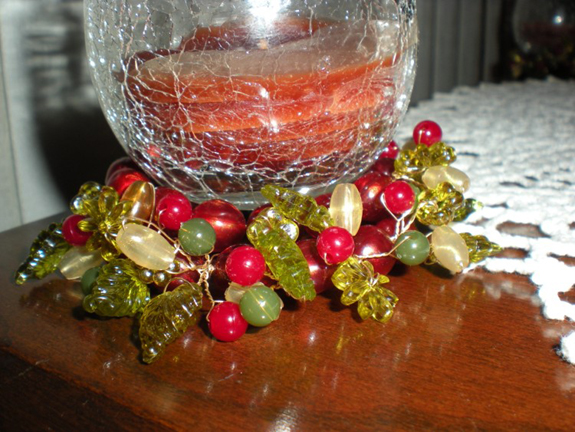
To make napkin rings, just start with a smaller ring of beads.

I am trying to make these for a rehearsal dinner. I have just spent a fortune, and I am completely confused by step 6. I am lost! Please help!
Sorry if I didn’t explain this very well it wasn’t meant to be a detailed tutorial.
Try watching this video https://youtu.be/Msv0LnjTKoM to understand the twisting technique.