


We’ve made strung jewelry and we’ve made wire wrapped jewelry. How about combining the two by adding wire wrapped dangles to a strung bead bracelet?
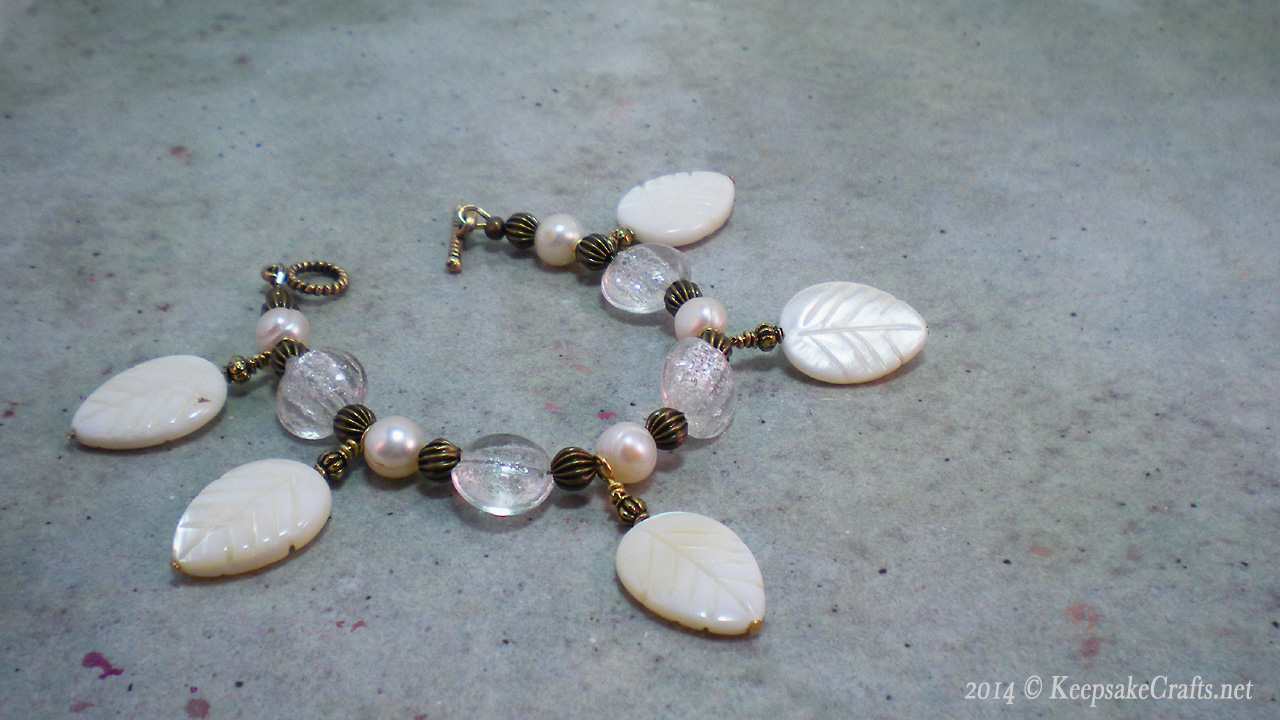
These mother of pearl leaf dangles add some great movement and the simple color scheme keeps it elegant. Want it even less busy? I think 4 or 6mm Swarovski crystals would be lovely as well.
Enjoy the video and Happy creating!
You can watch the Gold ‘n’ Pearls Bracelet Video Tutorial over at YouTube.
Materials:
- 5 8mm pearls (House of Gems)
- 4 12mm crackle glass lentil beads
- 10 5mm antique gold plated fluted spacer beads
- 5 4mm antique gold finish spacer beads
- 5 15mm x 20mm mother of pearl leaves
- 5 head pins
- 2 crimps
- 2 crimp covers
- 2 wire protectors
- 11 inches bead stringing wire
- toggle clasp
Tools:
- round nose pliers
- chain nose pliers
- wire cutters
- crimping pliers
1. Slide a 15mm x 20mm leaf onto a head pin, followed by a 4mm spacer. Use chain nose pliers to grasp wire just at point where it exits spacer bead. Bend wire at 90° angle. Grasp bend with round nose pliers and wrap wire around pliers as far as possible to start to make a loop. Reposition pliers to finish loop. Close loop and hold with chain nose pliers. Use another pair of chain nose to wrap remaining wire around wire below 90° bend. Use wire cutters to trim, if necessary. Use chain nose pliers to tuck in end.
Repeat to make five dangles with 15mm x 20mm leaves.
2. Onto one end of bead stringing wire slide a crimp, then slide wire into one end of wire protector and out the other. Add one end of your clasp to the wire protector. Slide the wire end back through the crimp and bring crimp to within 1/8-inch of wire protector. Flatten crimp and squeeze ends of wire protector together. Trim excess wire. Cover crimp with a crimp cover by picking up with crimping pliers, sliding over flattened crimp and gently squeezing pliers. Use crimping pliers to shape cover into a round bead shape if necessary.
3. String onto the wire the antique gold plated spacers, 8mm pearls, wire wrapped leaves and glass lentils in the following pattern:
spacer > pearl >wire wrapped leaf > spacer > lentil >
Repeat until you have four pearls and four lentils strung, then finish with a spacer, a pearl, a wire wrapped leaf and another spacer.
4. Repeat step 2 to add remaining piece of toggle clasp to other end of bracelet.

Oh, the leaf dangles are a nice touch. Very pretty!
Thank you. 🙂