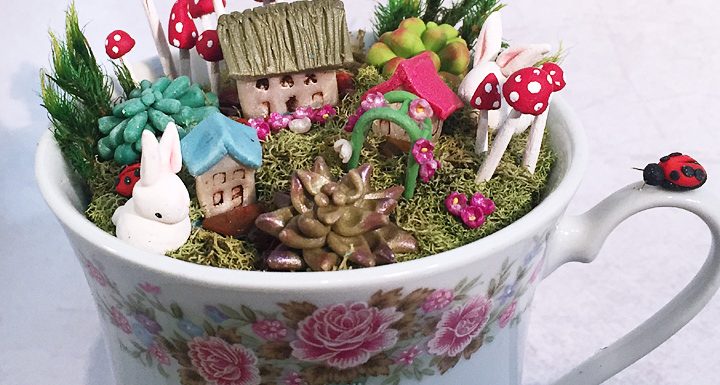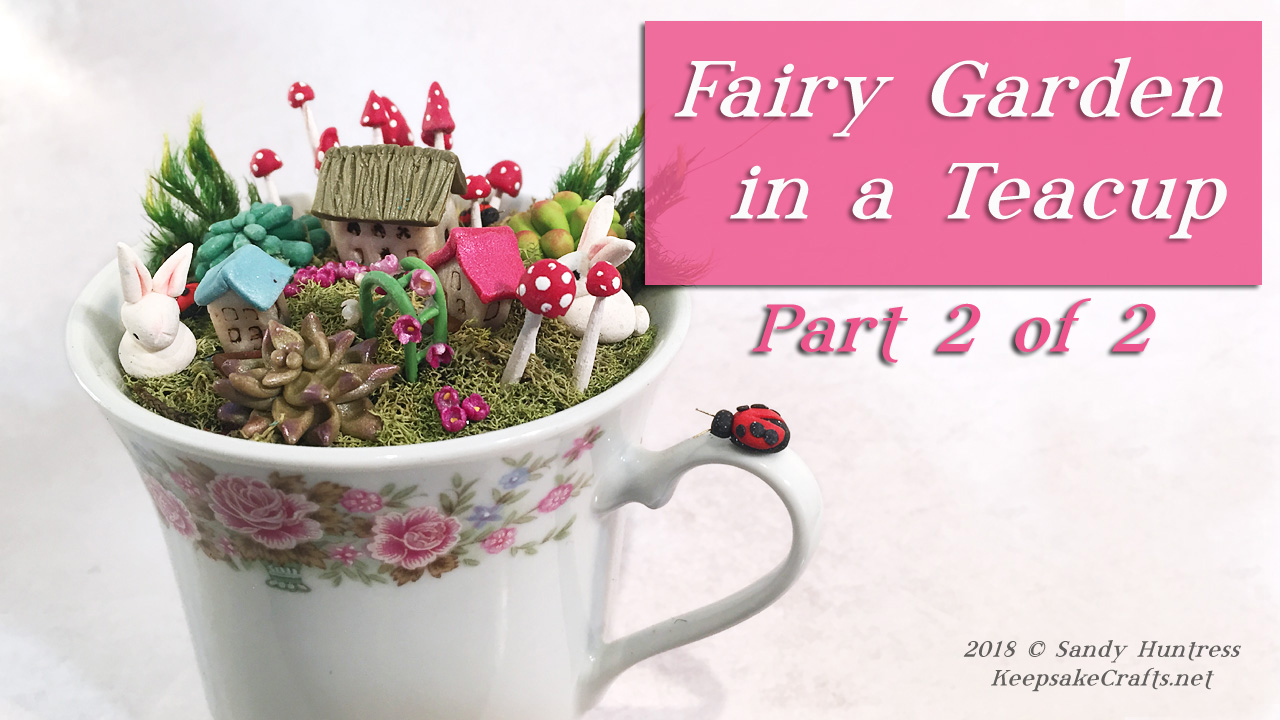
Last week I showed how to sculpt miniature houses, flowers, succulents and a forest of mushrooms for our fairy garden teacups.
Were you able to find a teacups to build your project in?
If not, you might be able to use a pretty bowl, candle holder or even a teapot!
This week, as promised, I’ll show you how to create sweet little bunny rabbits, ladybugs and a garden trellis. Then we’ll put it all together and complete the project.
If you missed the first part, click here to watch part one of the Fairy Garden in a Teacup.
Tools & Materials (from part one):
- Teacup
- Aluminum foil
- Scraps of green and brown clay for the ground
- Scraps of clay in colors of your choice for houses, mushrooms, succulents and flowers
- Toothpicks
- White acrylic paint
- Translucent Liquid Sculpey
- Clay blade
- Acrylic roller and/or pasta machine
- Dotting tools
- Needle tool
- Marking tool
- Paintbrush
- 3/16 inch flower cutter
- Chalk pastels and/or mica powders for dusting succulents
- Magnifying light (I could not do this project without it!)
Tools & Materials (for part two):
- scraps of white, red, black and green polymer clay
- 3/16 inch round cutter (part of same set as 3/16 inch flower cutter)
- 30 gauge wire
- flat nose pliers
- wire cutters
- pink and white chalk pastels
- black acrylic paint
- small detail paintbrush
- tiny scoop set
- Repel Gel
- undrilled stone chips
- dried moss
- wax carving set
- Poly Bonder glue
Enjoy the video and happy creating!
Watch the Fairy Garden In a Teacup Polymer Clay Sculpting Miniature Tutorial-Pt. 2 of 2 video at YouTube.


That’s just the cutest thing ever. Can you say SPRING? By the way, your succulents look real. O.O
Thank you! I’m afraid the only season when I’m not thinking about spring is summer, lol. Glad you like the succulents, they are really easy (if a bit tedious) to make and like I said, it’s the powders that make them look real. 🙂