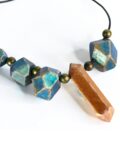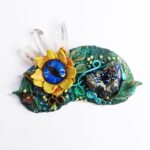
If you’ve been watching me for a while, you’ll know that I love to add lots of interesting details to my work.
But sometimes, we need to simplify a design and pare things down.
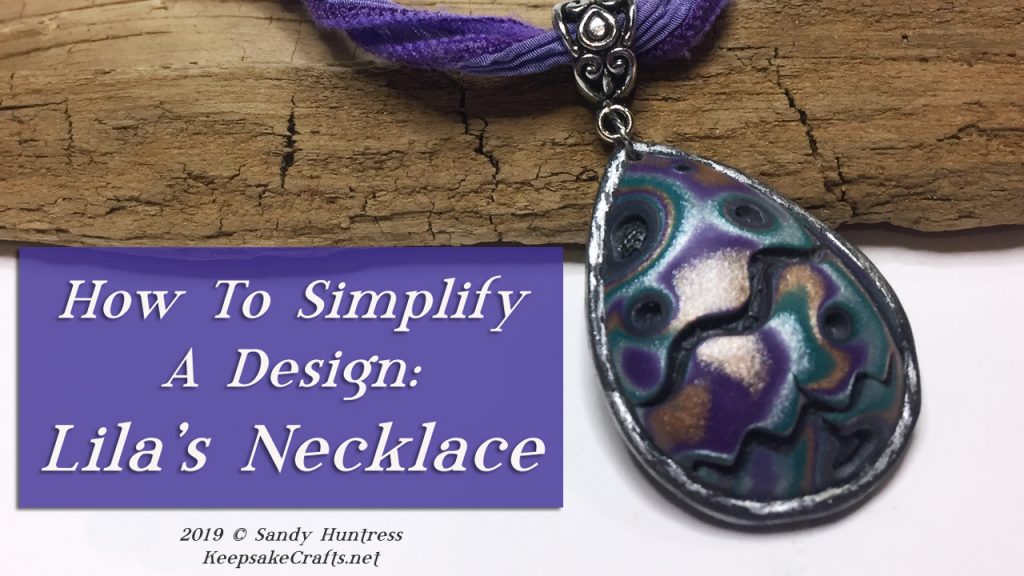
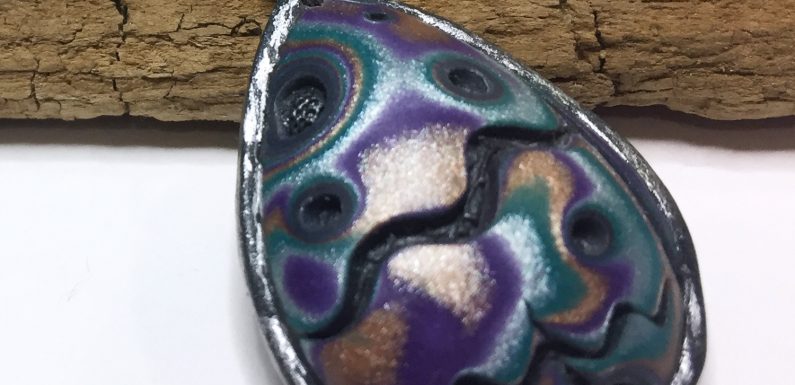
In today’s video, I show how I take one of my complex pieces of jewelry, and simplify the design for my patron, Lila.
If you prefer less complicated designs, you’ll want to watch the steps for how to take a piece you like, keep it’s essence, but streamline all the details.
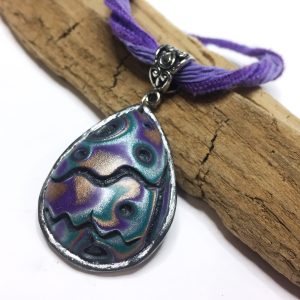
This video was done as a “thank you” to Lila for six month’s of support on Patreon at the Creative Genius level.
She’ll not only receive the necklace I made for her, but she also gets a custom PDF and will be able to download her video to keep!
Want me to design a special project for you? Check out Patreon.com/sandysewin for details. Your video could be next!
Polymer clay:
- Small amount of scrap clay
- Used in Lila’s necklace:
- Used in mokume gane demo:
- Premo Peacock Pearl, Pearl, Sunset Pearl, Bronze
- Graphite Pearl for behind mokume gane, backing and bezel
Tools and Materials:
- Acrylic roller
- Texture sheet (Pattern Play deco disc set by CreateAlong)
- Armor All
- Pasta machine
- Clay blades: rigid, flexible and ripple
- Variety of tools for creating mokume gane patterns such as:
- TLS
- DIY Sanding Pads video by Polymer Clay Tutor
- Sculpey Cabochon mold
- Sculpey Bezel mold
- Cutter slightly larger than chosen cabochon, I used the Fat Daddio teardrop cutter set
- Mica powder, optional
- 400-3000 grit wet/dry sandpaper
- Rotary tool
- Buffing wheel
- Craft knife
- Lucy Clay slicer, optional (but useful!)
- Vintaj Patina, Nouveau Silver
- 8x10mm bail with loop
- 6mm 20 gauge twisted wire jump ring
- Hand-dyed Chinese Silk Cord, Violet
- TierraCast Antique Pewter Jardin Crimp End Cap, 2
- Drill bit set for miniatures
- Clasp, jump rings and extender chain
Watch the How To Simplify a Design-Lila’s Necklace-Polymer Clay Jewelry Tutorial video at YouTube.
