


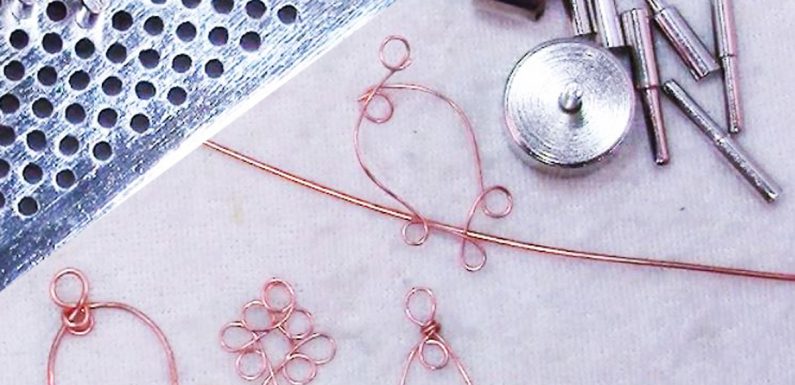
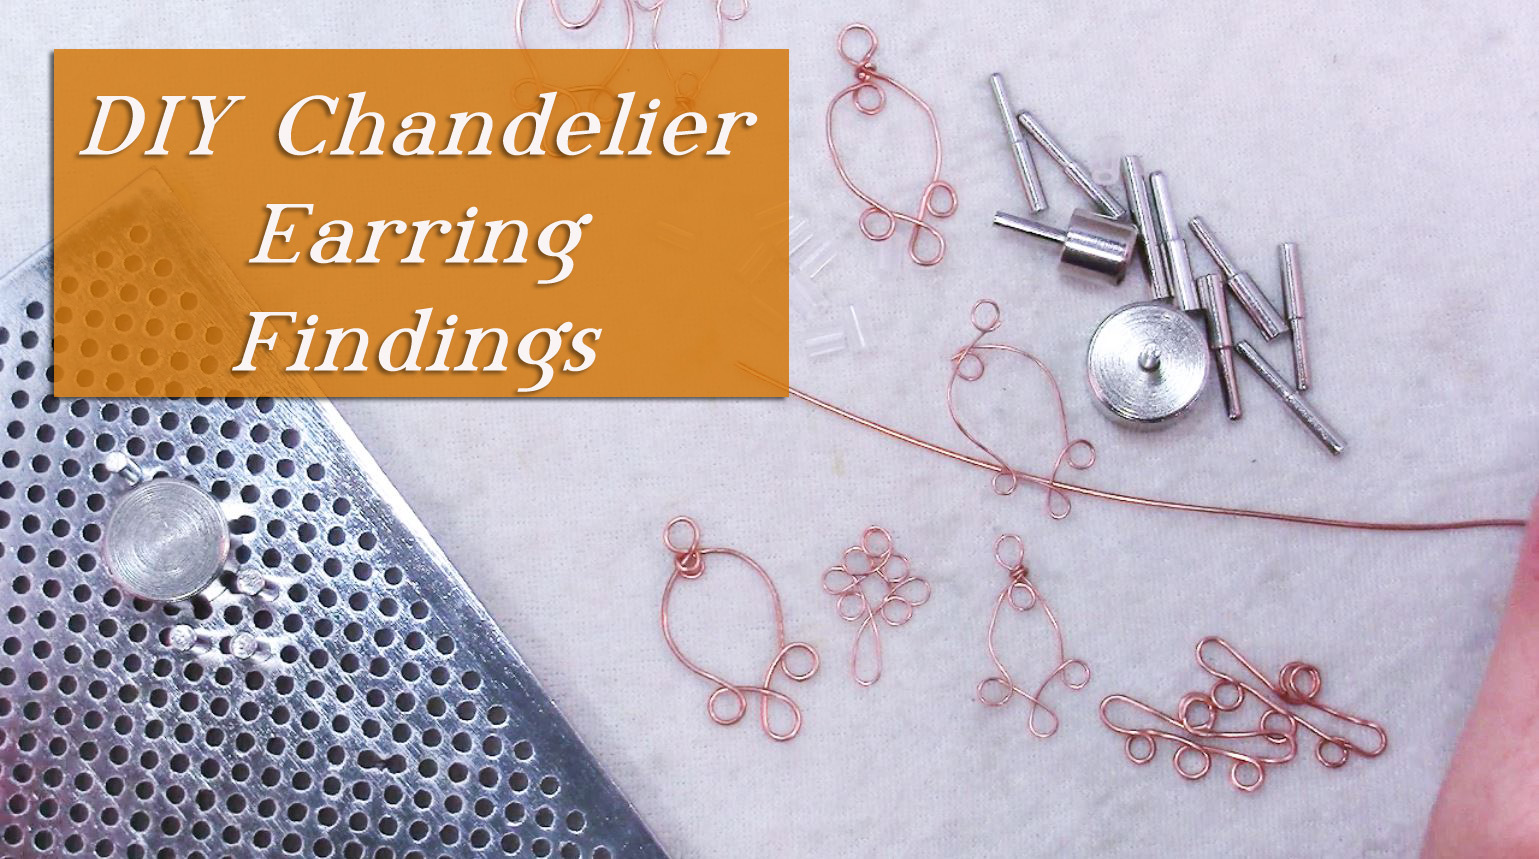
Learn how to use a wire jig to create your own unique chandelier earring findings out of 20 gauge wire.
This video is sure to inspire you to get out a wire jig and try making your own jewelry findings!
It’s so much fun to just play around and see what new designs you can come up with.
In this video I give design tips and ideas for expanding on this technique for yourself.
If you want to learn more details about working with a wire jig, check out my DIY Multi-Strand Finding video.
Tools and Materials:
- wire jig
- 20 gauge wire
- 24 gauge wire (for practicing)
- nylon jaw pliers
- wire cutters
- round nose pliers
- chain nose pliers
- bench block
- nylon or rawhide hammer
- chasing hammer (if you want to add texture)
- leather sandbag (makes hammering less “bouncy” and a bit quieter)
Let me know if you have any questions, I’m always here to help!
Watch the DIY Chandelier Earring Findings video on YouTube.

Those are so pretty! I love copper in any context. I imagine that it takes a certain amount of practice to get the coils smooth. Nicely done!