What was the first thing you did when you started playing with polymer clay?
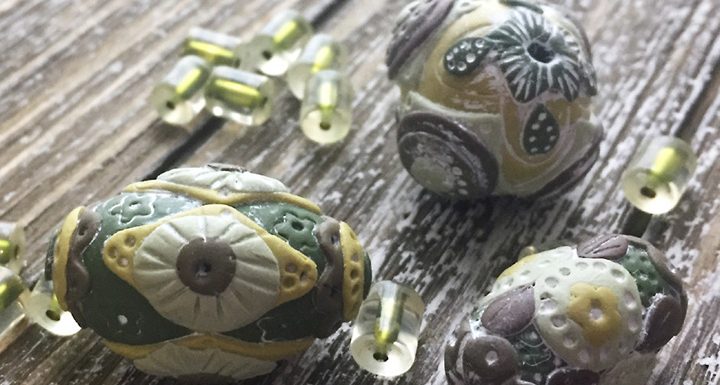
If you are like many of us, you probably rolled it into a ball to make a bead.
Lots of beautiful pieces of jewelry start with simple, hand rolled shapes.
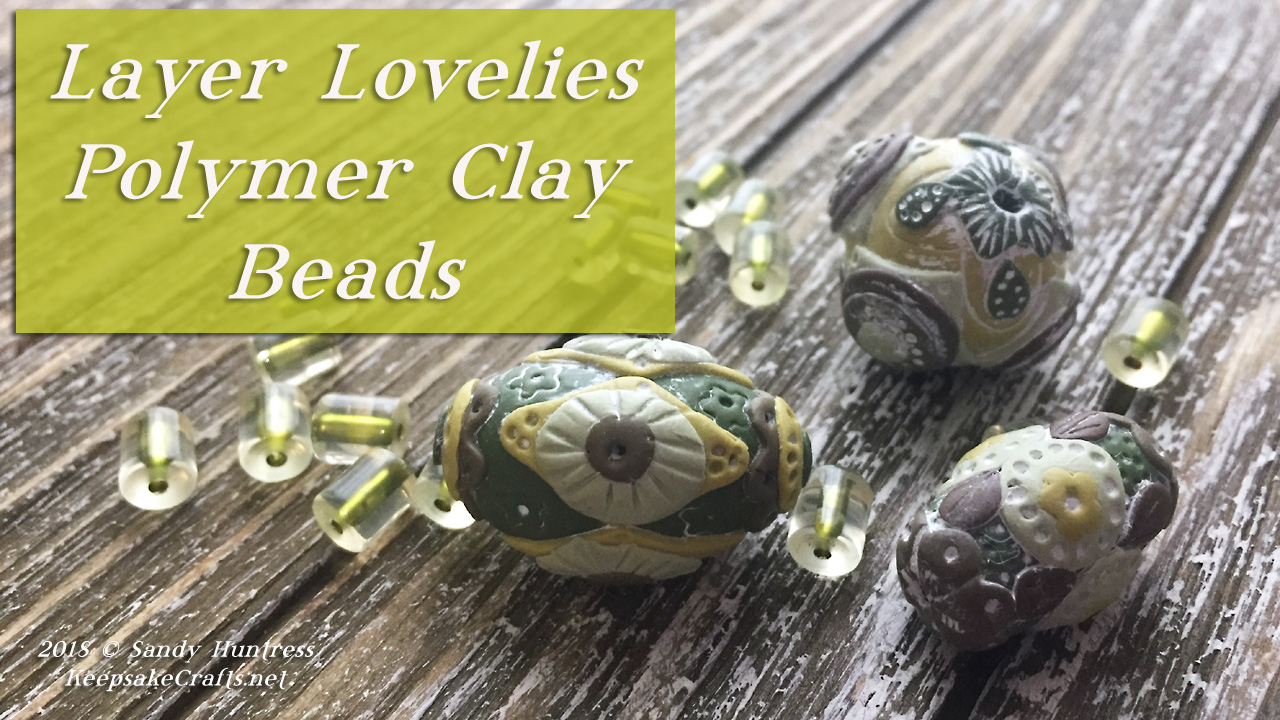
Today I have for you a technique that takes the concept to a whole new level…. or layer, if you will.
Make these beads any size you want, in any colors you want, applying any shapes you want.
The possibilities are endless, which, as you may know, is my favorite kind of creative play.
Watch the video for several tips and tricks for getting the best results. I was really pleased with the beads I antiqued with white paint. It just softened all the edges and made the shapes meld together nicely.
Tools & Materials:
- Polymer clay in assorted colors of your choice
- Sculpey mini geometric cutters
- Kemper cutters: oval set, circle set, 3/16 inch mini set
- acrylic roller or pasta machine
- Bent needle tool
- 1mm dotting tool
- Doll needles
- Scruffy paintbrush
- White acrylic paint
If you’d like to organize your small cutters the way I did, watch my Custom Organizers for Clay Cutters video.
Enjoy the video and happy creating!
Watch the Layered Lovelies-Rustic Shabby Chic Polymer Clay Beads video at YouTube.


Oooh, I love that color palette. Of course, there’s an app for that. 😀 You do make the best use of tools, I have to say. Nice!
Thank you, I LOVE technology! It’s like magic. 🙂