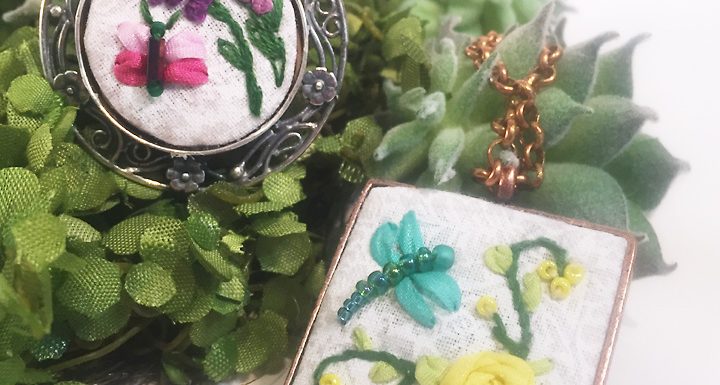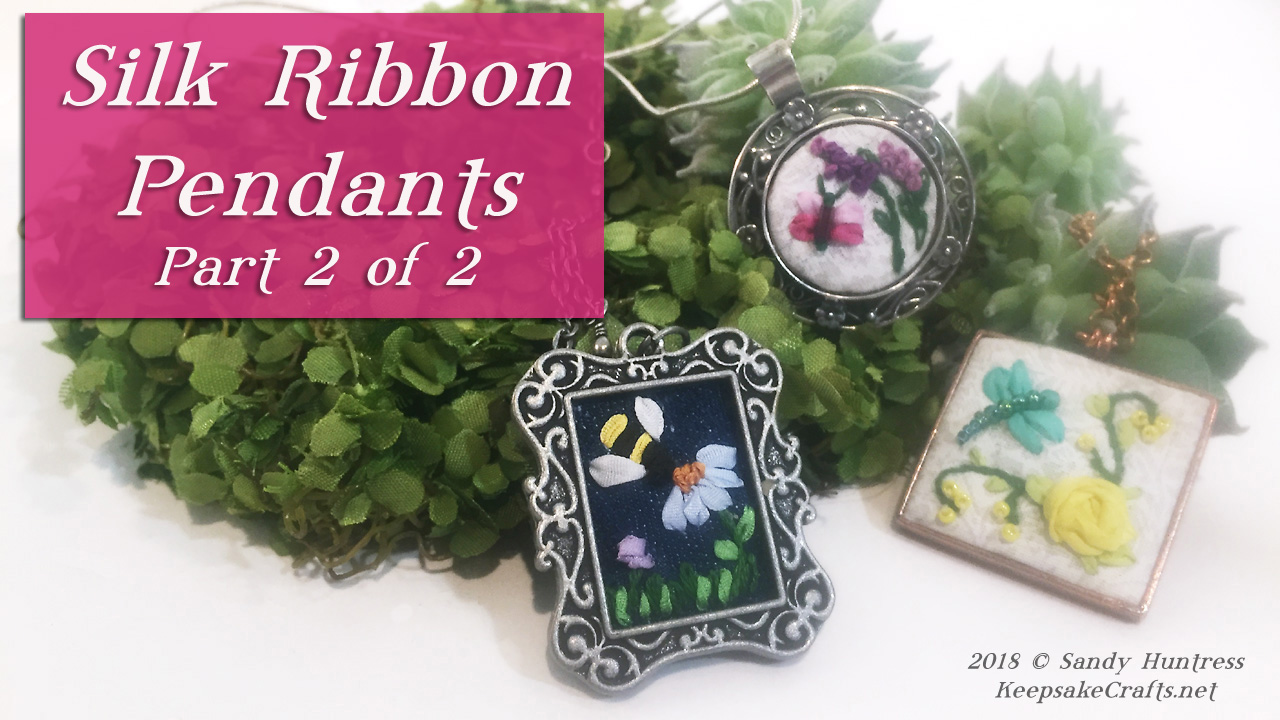
In part one of this series I showed how to design and create cute little scenes using silk ribbon, beads and simple embroidery stitches.
This is such a relaxing and fun pastime, I hope you give it a try.
In today’s video I will show how to take your embroidered scene and fit it into a bezel so you can wear it as a necklace or other jewelry.
We’ll cover:
- How to deal with round forms
- How to create an easy miter for a clean finish on square or rectangular shapes
- How I dealt with an usual style bezel frame.
- **As a bonus I’ll show you my very first piece of silk ribbon embroidery! (Be prepared to wince.)
In case you missed it, you’ll find part one here:
Tools and Materials:
- Metal bezel frames such as:
- embroidery hoop
- silk ribbon
- fabric
- chenille needles
- sewing needles
- embroidery floss
- beads for accents, if desired
- beading needles (if using beads)
- acid free paper (such as for scrapbooking)
- E6000 glue
- sharp pencil w/eraser
Those of you who are patrons, don’t forget that I have the sketches available to you for download at https://www.patreon.com/sandysewin/posts.
Enjoy the video and happy creating!
Watch the Silk Ribbon Jewelry-How To Create Darling Embroidery Pendants, Tutorial Pt 2 of 2 video at YouTube.
Watch part 1: Silk Ribbon Jewelry-It’s Easier Than You Think! Simple Embroidery, Pretty Pendants, Tutorial Pt 1 of 2


Those are adorable–lovely, TINY detail work!