I’ve enjoyed hand embroidery since I was a little girl of around eight or nine years old.
So when I first encountered the concept of doing those same stitches I had made with wool and floss, but instead using silk ribbon, I was intrigued
This was about 20 years ago and I wasn’t into jewelry making then, but I sure did have fun embellishing lots of garments and home dec!
Then the kind folks at Thread Nanny contacted me and wanted to know if I would like to use some of their ribbons in my videos.
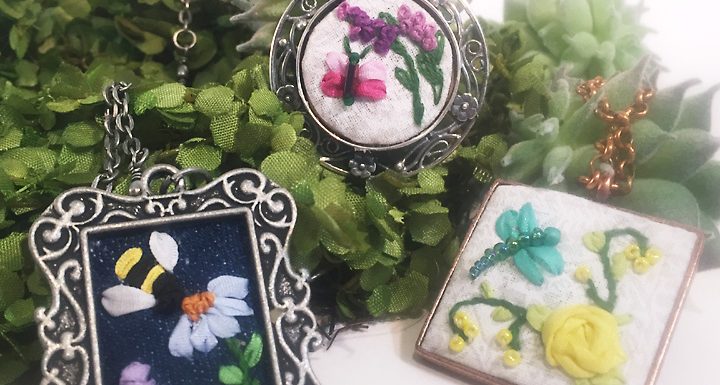
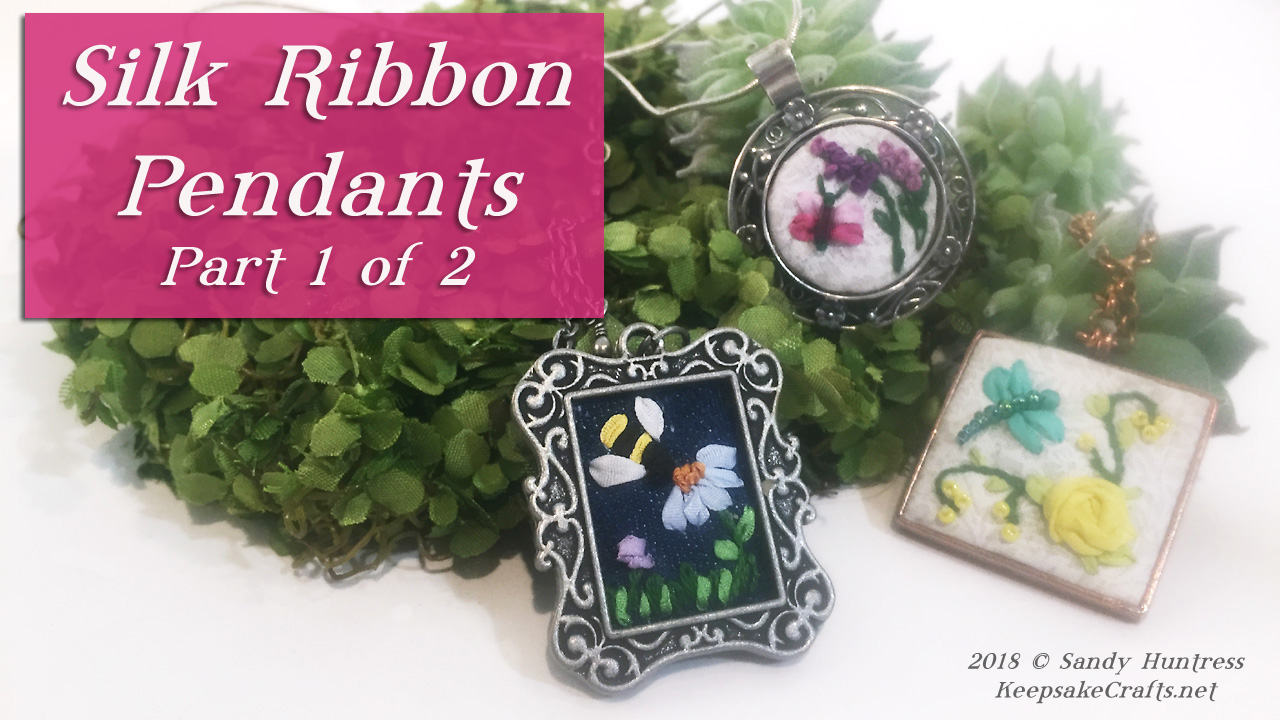
And so I took another look at the possibilities for silk ribbon, especially in jewelry as that is where my focus is these days. It was a lot of fun finding cute bezels and sketching out charming little scenes.
I especially delighted in adding beaded and embroidery floss embellishments.
By the way, here’s a secret I didn’t think to mention in the video: that blue oval hoop I use for embroidery? It’s the same one I used as a little girl!
In fact, it even has my maiden name engraved on it, lol.
I hope you give designing and creating your own little silk ribbon scenes a try, it’s fun, relaxing and very satisfying.
Be sure to watch for Part 2 of the tutorial, where I’ll show how to finish your embroidered pieces.
Tools and Materials:
- Metal bezel frames such as:
- embroidery hoop
- fabric
- silk ribbon
- chenille needles
- sewing needles
- embroidery floss
- beads for accents, if desired
- beading needles (if using beads)
- acid free paper (such as for scrapbooking)
- E6000 glue
- sharp pencil w/eraser
Enjoy the video and happy creating!
Watch the Silk Ribbon Jewelry-It’s Easier Than You Think! Simple Embroidery, Pretty Pendants, Tutorial Pt 1 of 2 video at YouTube.
Part 2 is up now: Watch the Silk Ribbon Jewelry-How To Create Darling Embroidery Pendants, Tutorial Pt 2 of 2 video at YouTube.


1 thought on “Silk Ribbon Jewelry-It’s Easier Than You Think! Simple Embroidery, Pretty Pendants, Tutorial Pt 1 of 2”