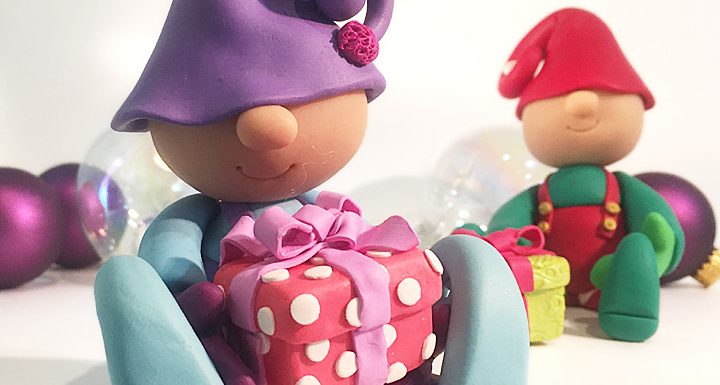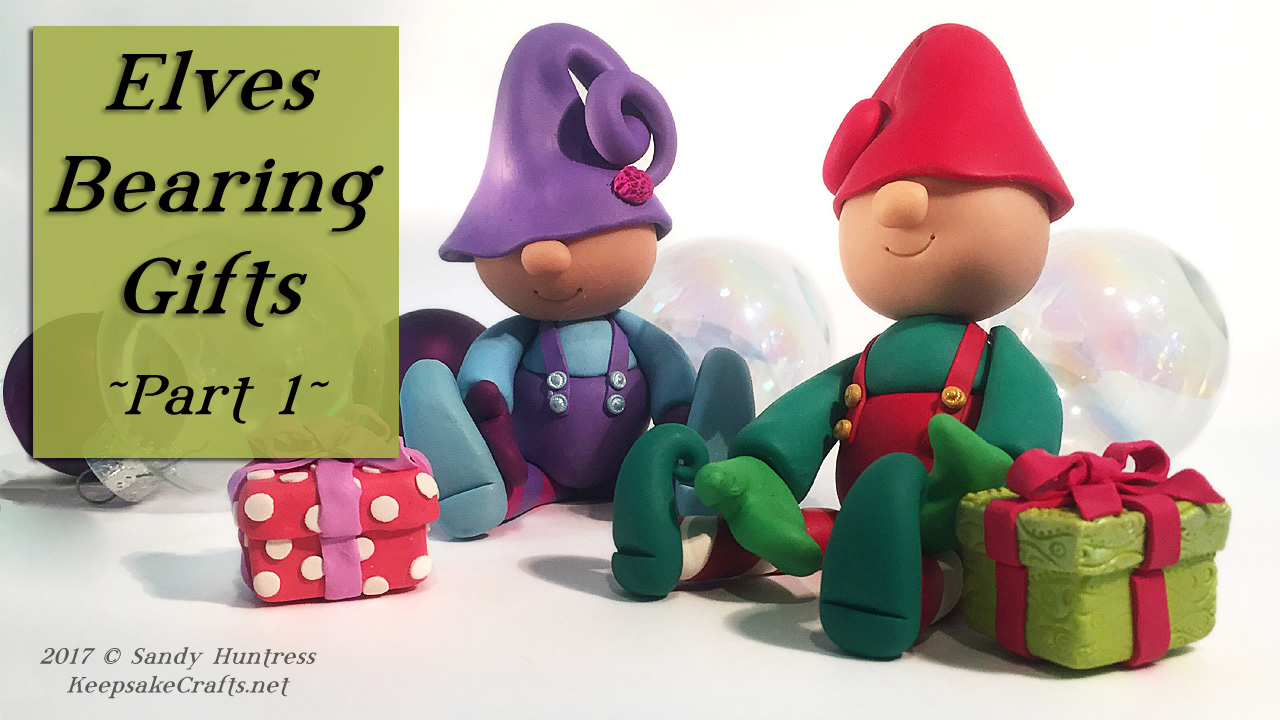
These darling little elves are so much fun to sculpt!
And their little boxes open, so you can tuck a small gift inside (or hide some chocolate, hehe.)
If you don’t feel like making the gift box, your elves can hold ornaments, candy canes (like the Gingerbread Cuties from last year) or whatever your imagination can dream up.
Today’s video is part one of two. Next Tuesday I’ll show you how to finish the project.
Tools and Materials:
- clay
- 2 oz. = 1 block: pants, hat and half the legs stripes
- 1 oz. = 1/2 block: shoes, shirt and sleeves
- 1 oz. = 1/2 block: other half of leg stripes and accents
- 1 oz. = 1/2 block: flesh tone
- 1/2 oz. = 1/4 block: gift
- small scraps of other colors for buttons, mittens & ribbon, if desired
- clay blade
- aluminum foil
- acrylic roller or pasta machine
- long acrylic block for rubber stamping
- 1/2″ round cutter
- leather stamping set
- mica powder
- craft knife
- toothpick
- needle tool
- Christi Friesen Can’t Live Without It tool
- wipe out tool
- 6 inch quilting ruler
- wooden block as a form for gift box
- rubber stamp for decorating box
- 3/16 inch kemper cutter for polka dots
- extra clay blade and magnets, optional
Enjoy the video and happy creating!
Watch the Elves Bearing Gifts-Polymer Clay Christmas Sculpting Figurine Tutorial video Part 1 of 2 at YouTube.
Watch Part 2 to finish the sculpture: Elves Bearing Gifts-Part 2 of 2


Aw, these guys are adorable! And I finally get to see them after suffering through a week-long internet outage. :O Nice work!
Awww, bummer about the ‘net being down. Glad you like the project!
Glad you made it back! I still miss seeing your posts on FB, btw.